Boldly 22 Prism-Colored Micro Beads Threaded Through Protective Twists
Okay, let’s be real. Sometimes you see a hairstyle online and your first thought is, “That is stunning… but I could never.” I used to feel that way about bold color, especially on my natural hair. It felt like a commitment I wasn’t ready for.
But what if you could get that wow-factor without the permanent dye or damage? That’s the magic of accessories. We’re talking about adding serious personality to your protective style, in the most temporary and fun way possible.
Today, I’m breaking down exactly how to get the look with prism-colored micro beads. It’s playful, it’s protective, and it lets you test-drive a trend without the long-term vibe. Let’s get into the how-to, so you can decide if this bold moment is for you.
Why Micro Beads Are a Game-Changer

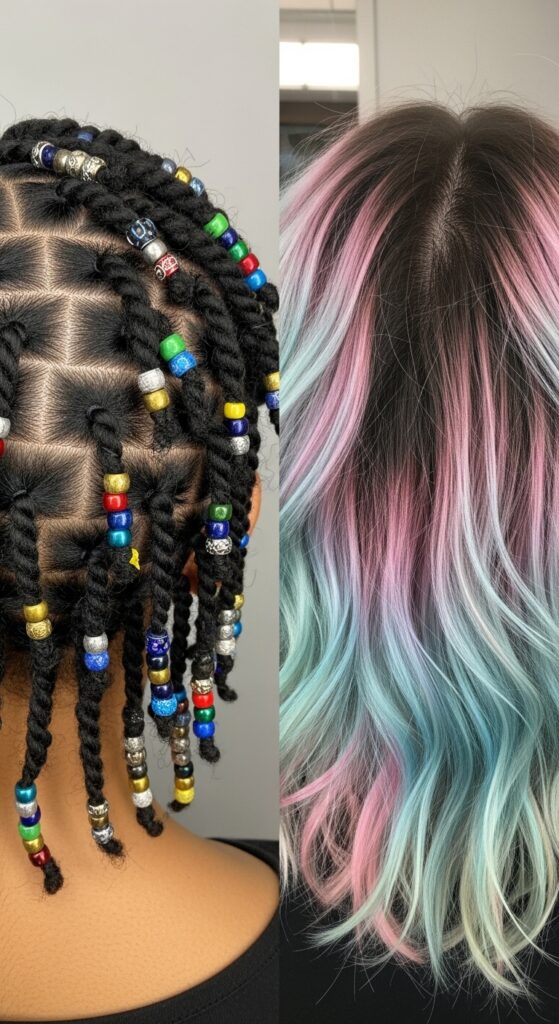
Micro beads are tiny, often smaller than a grain of rice, and they come in every color you can imagine. The “prism” or iridescent ones are my favorite because they shift color depending on the light. It’s like having a hidden sparkle.
Unlike bigger hair jewelry, they’re super lightweight. This means they won’t weigh your twists down or cause tension at the root. They’re perfect for adding a subtle (or not-so-subtle) pop that feels special and intentional. It’s a detail people will notice up close.
The Perfect Base: Your Protective Twists
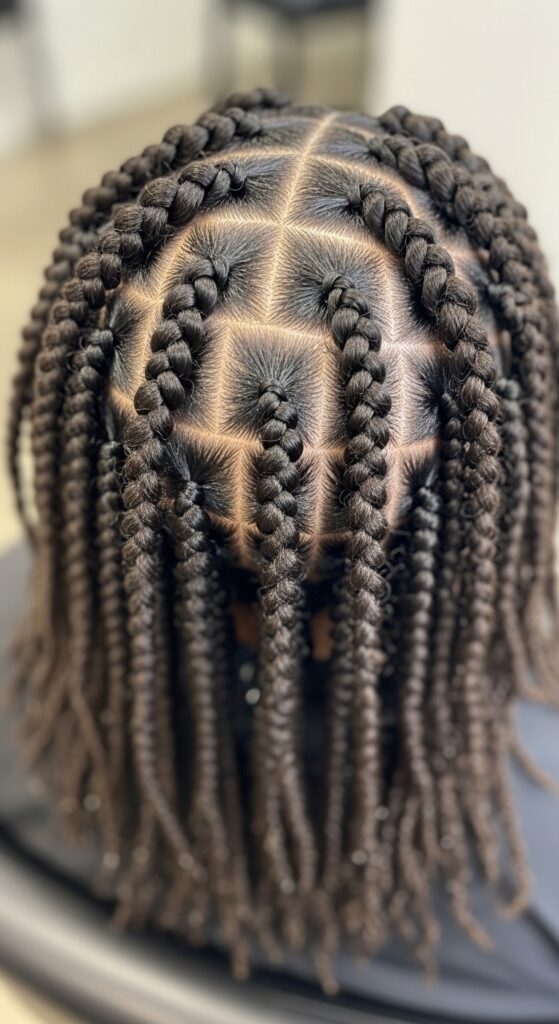
This technique works best on a solid foundation. Your twists should be neat, fully dried, and well-moisturized. I recommend a medium size—not too chunky, not too thin—so the beads have something to grip onto securely.
Make sure your hair is clean and product-free where you’ll add the beads. Any heavy oils or butters can make them slip right off. A little holding mousse or gel on the twist before you bead can help with security, but don’t overdo it.
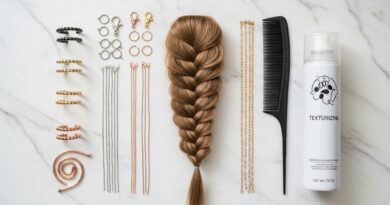
Gathering Your Supplies
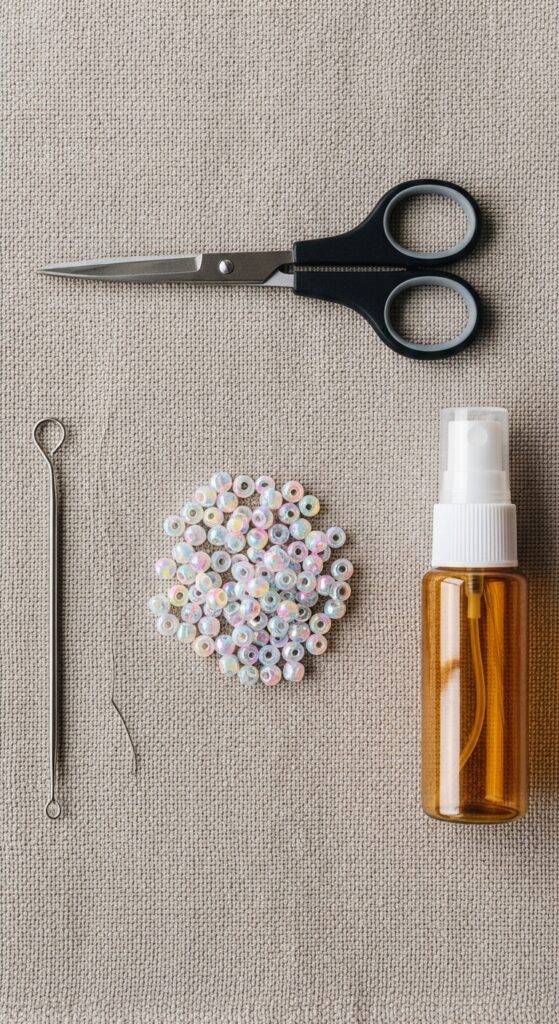
You don’t need much! Here’s your shopping list:
- Prism-colored micro beads: Look for 2mm or 3mm size online or at beauty supply stores.
- Beading thread or clear fishing line: This is what you’ll thread through the bead and the hair.
- A thin threading tool: A big-eye needle or a specialized bead threading tool for hair is ideal.
- Small scissors: For trimming the thread.
Step 1: Preparing Your Thread
Cut a piece of your thread about 6-8 inches long. Thread your needle or tool. Now, pick up your first bead and slide it down to the middle of the thread length. You’ll have two equal tails hanging from the bead.
This double-thread method is key for security. It means the bead is anchored on both sides, making it much less likely to fall off. Think of it as creating a little knot-less lock right in the center of your thread.
Step 2: Choosing Your Twist & Placement
Decide on your pattern. Do you want a few random beads scattered throughout? Or a more uniform look with beads placed at the ends of every twist? For a bold look, go for 22 beads total, mixing the colors as you like.
I love placing them about 1-2 inches from the very end of the twist. This protects the sealed end of your hair and puts the color right where it will catch movement. Plan your layout before you start threading!
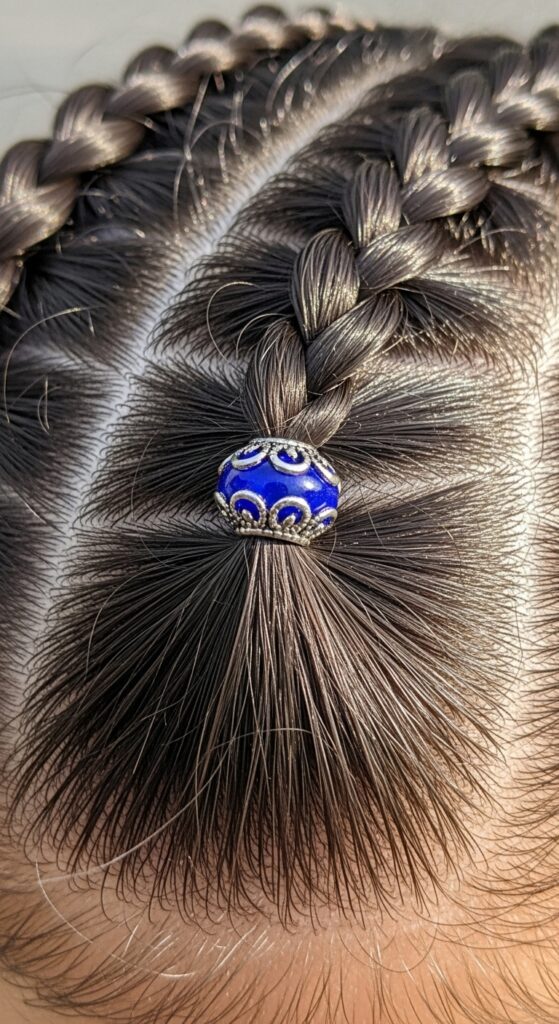
Step 3: The Threading Technique
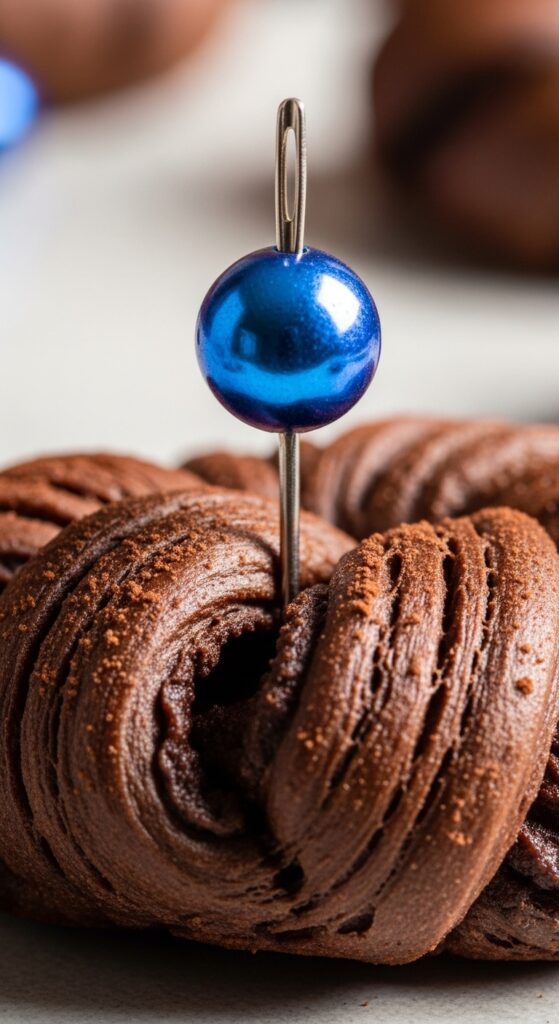
Hold your chosen twist firmly between your fingers. Take your needle and gently pierce through the center of the twist, right at your chosen spot. Be careful not to pierce your own finger! Go slowly.
Pull the needle and the thread all the way through until the bead sits snugly against the twist. You should now have the two tails of thread on the other side of the twist. The bead is now attached, but we need to lock it in place.
Step 4: Securing the Bead for Good
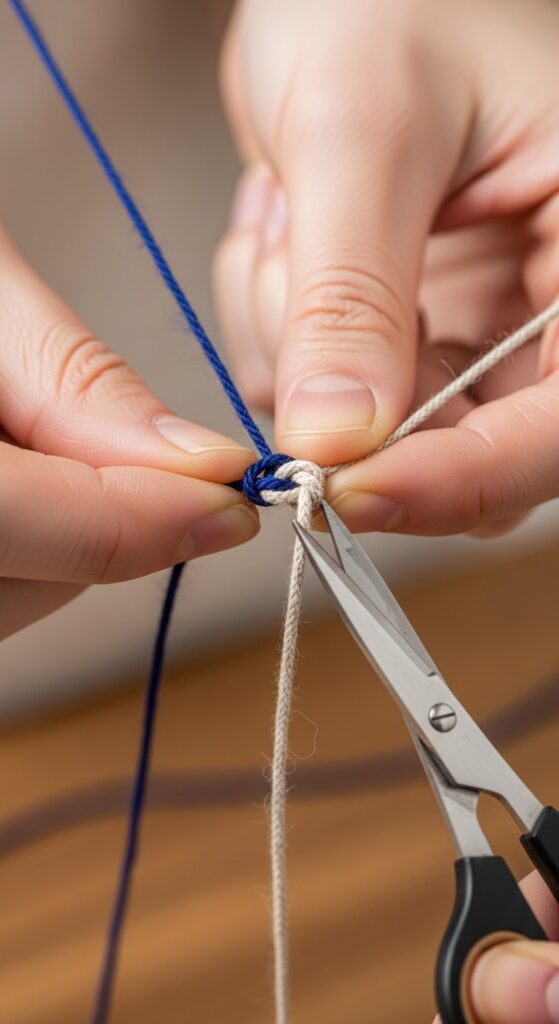
This is the most important step. Take the two tails of thread and tie them together in a tight, double knot right against the twist. Pull hard to ensure it’s secure.
Then, take your scissors and trim the excess thread as close to the knot as possible. You shouldn’t see any loose thread. The bead should look like it’s magically floating on your twist, held by an invisible force.
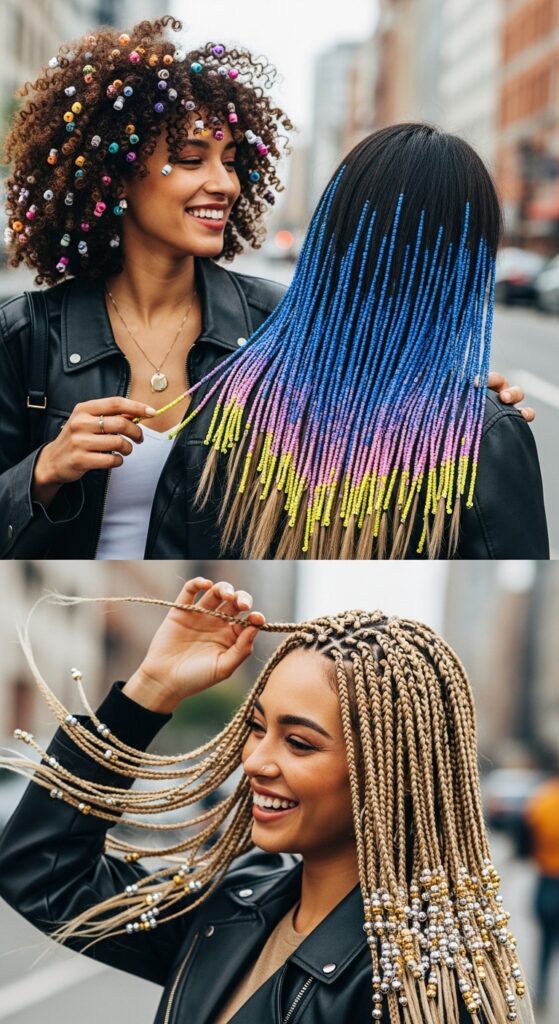
Playing With Color Patterns
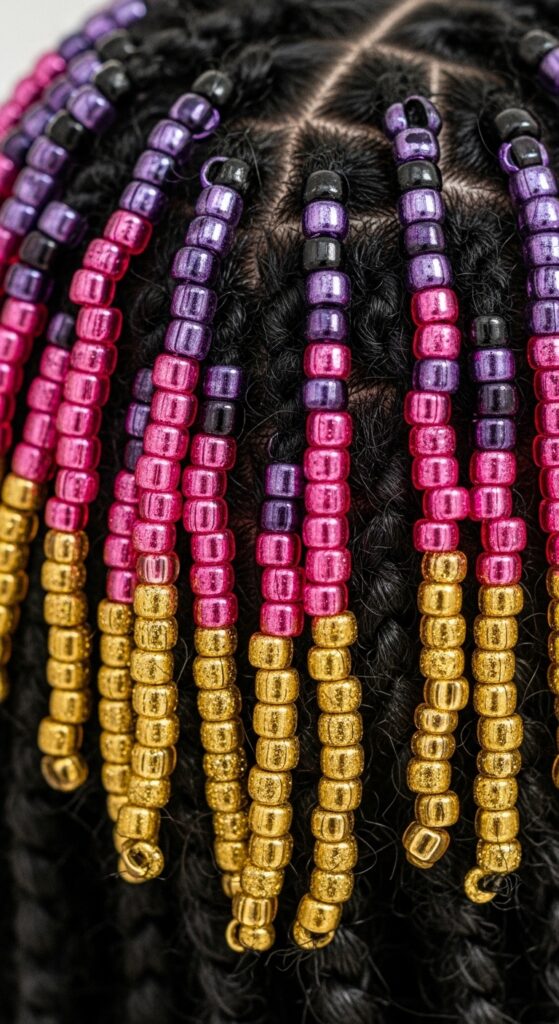
With prism colors, you can create amazing effects. Try an ombre by using darker colors at the roots of the bead section and lighter at the ends, or vice versa. You can also do a rainbow pattern or stick to cool tones like blues and purples.
Since the beads shift color, even a single-color scheme will have depth. Mixing matte beads with iridescent ones can also add a cool, glitchy glam hair texture that’s perfect for making a statement.
How Many Beads is “Bold”?
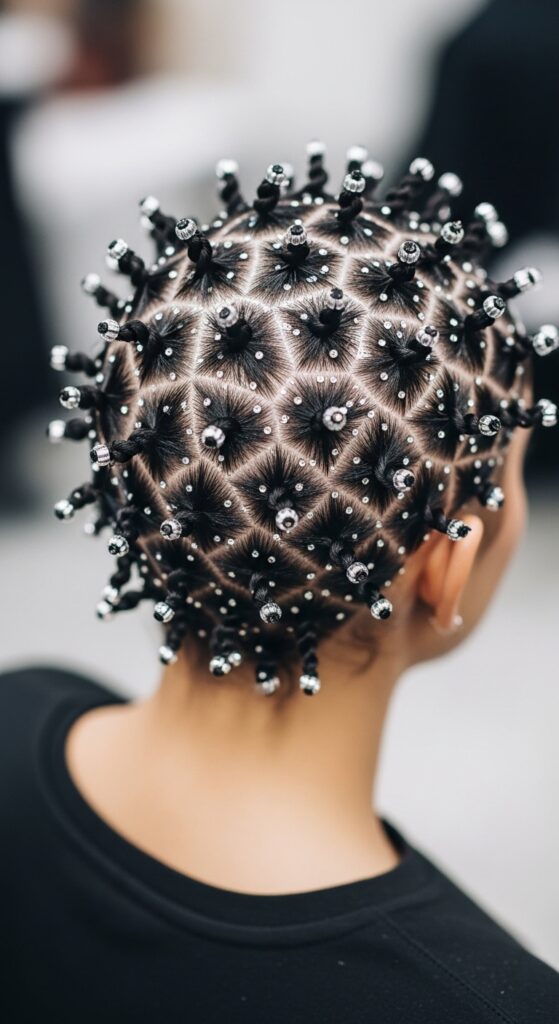
Twenty-two beads might sound specific, but it’s a great number for a full head of medium-sized twists. It means you can put one on every other twist, or cluster a few in the front for a face-framing effect.
“Bold” is less about the number and more about the contrast. Prism colors against dark twists will always pop. If you want subtle, use clear or pearlized beads. For bold, embrace the full rainbow. It’s your call!
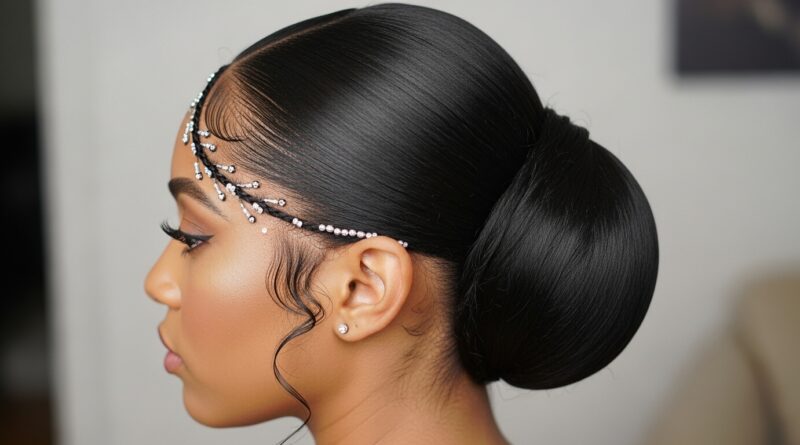
Styling Your Beaded Twists
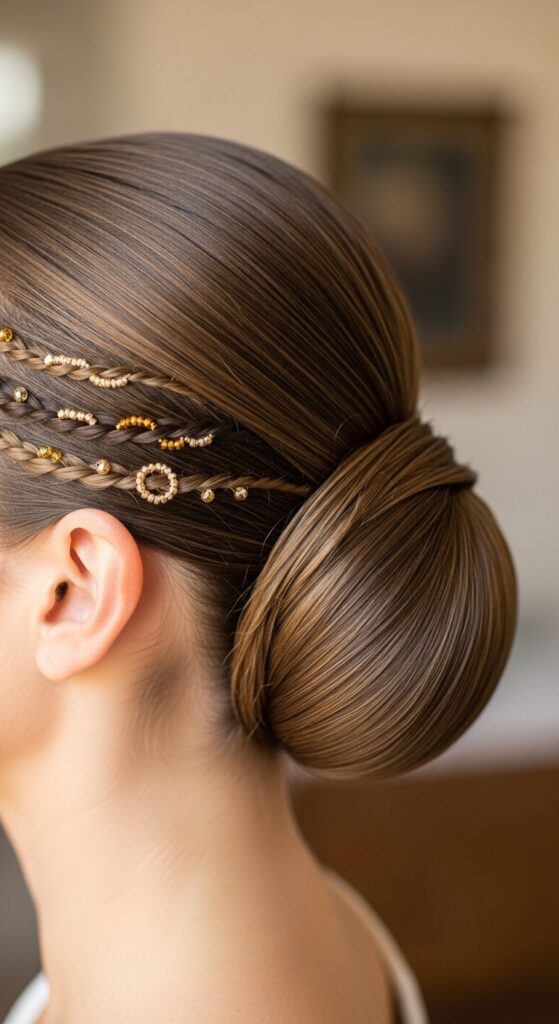
Your new beads are accessories, so style with them in mind! A high ponytail will show them off beautifully. For a more old money hair vibe, try a low, elegant chignon, letting a few beaded twists escape near your ears.
You can also do half-up, half-down styles to really highlight the beaded sections. The key is to not let the beads get tangled or caught. Gentle styling is the way to go.
Sleeping & Maintenance Tips
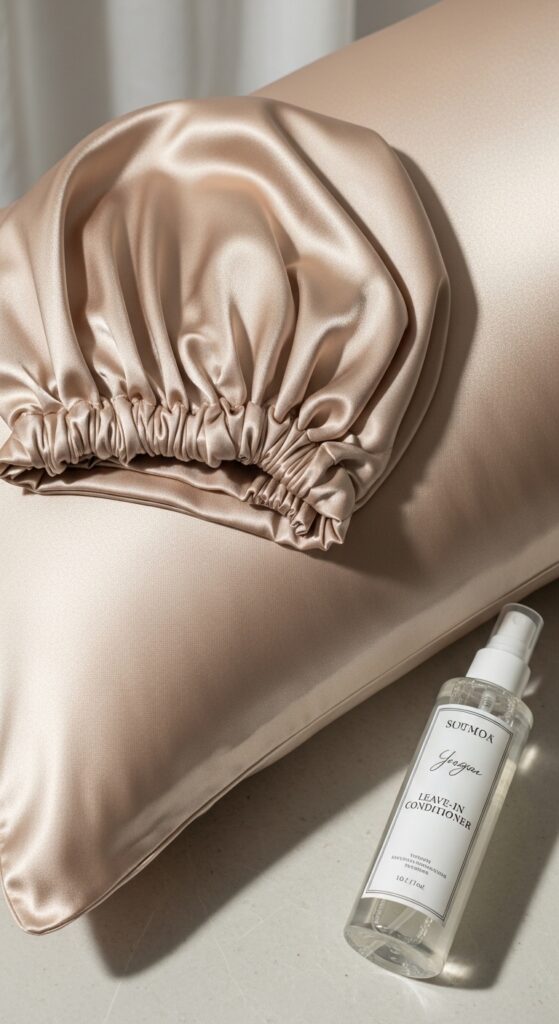
To make your beads last, always protect your hair at night. A silk or satin bonnet is non-negotiable. It prevents friction that could loosen the threads or cause the beads to rub against each other.
When refreshing your style, be mindful of the beads. Apply moisturizer or oil to your scalp and the length of your twist, but avoid the beaded area directly to prevent slippage.
How Long Do They Last?
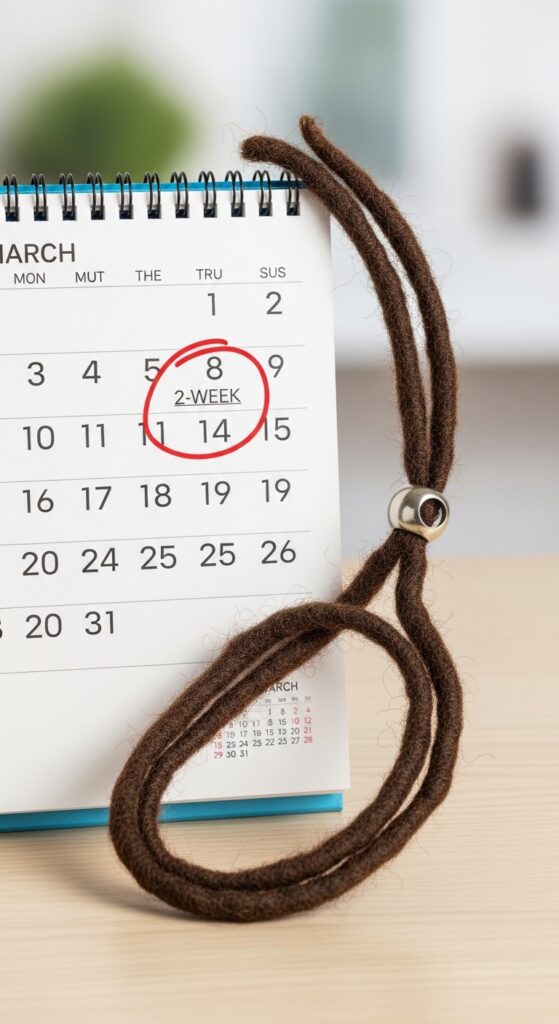
With proper installation and care, these beads can easily last 2-3 weeks, maybe even up to a month. They’ll stay put until you’re ready to take them out or until you take down the twist they’re on.
The great part is, they don’t affect your hair’s health at all. They’re just sitting on the outside of the twist. When you’re ready for a change, you just snip the thread and they’re off.
Removing the Beads Safely
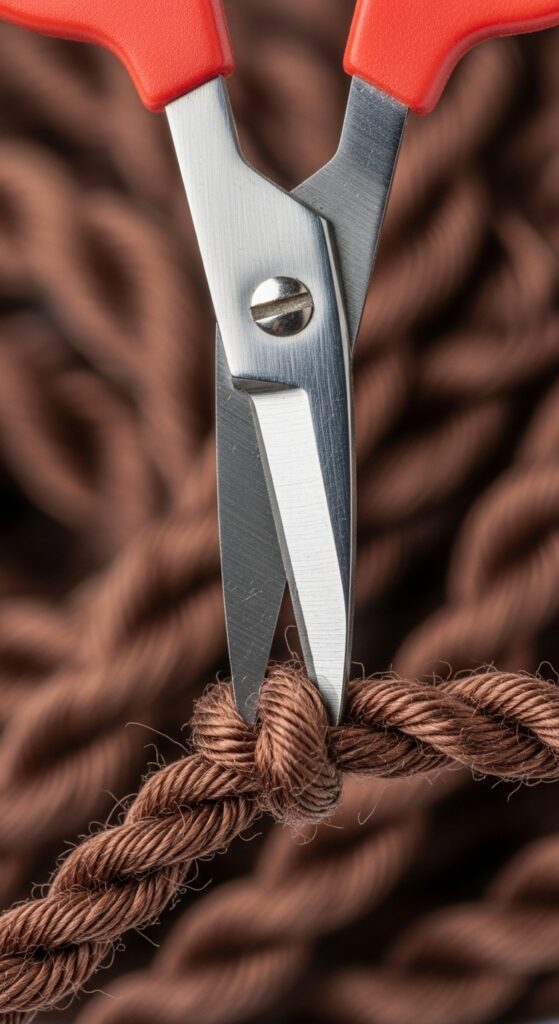
When it’s time, all you need are those small, sharp scissors again. Gently find the knot you made (it might be hidden under the bead). Carefully snip the thread right at the knot.
The bead and the thread will come right off. You might need to gently pull the thread out from the twist. There’s no damage done to your hair. You can then re-moisturize that section of the twist as normal.
Why This Beats a Full Color Commitment
I love colorful hair, but the maintenance of dye on natural hair is real. The regular touch-ups, the potential for dryness—it’s a lot. This bead method gives you that instant gratification of color without any chemical process.
You can change your color story next week if you want to. Feeling romantic goth hairstyles one day and bright rainbow the next? Just switch the beads. It’s the ultimate low-commitment, high-reward experiment.
Where This Trend Fits in 2026 Hairstyles
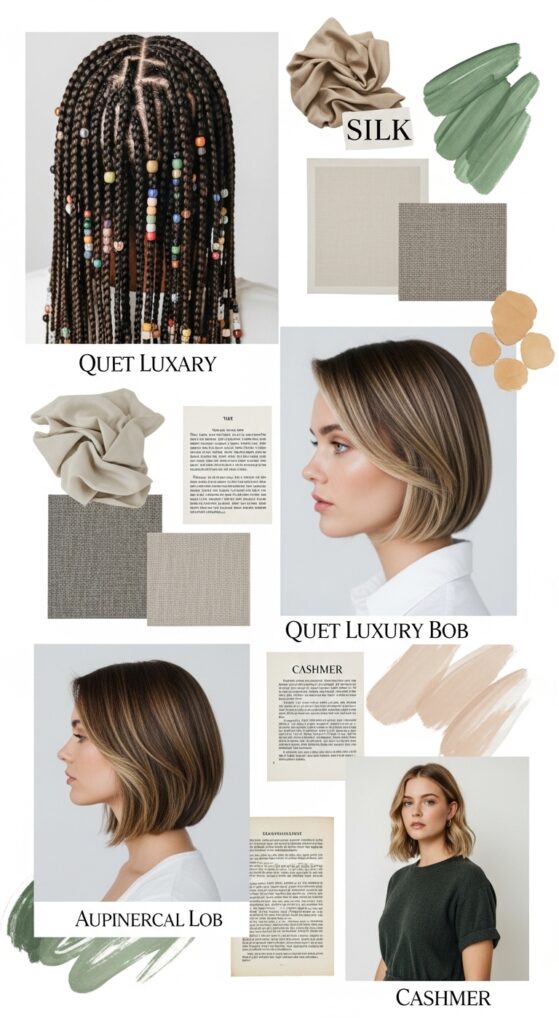
Looking ahead to 2026 hairstyles, personalization is everything. It’s not about one single look, but about adding unique signatures to classic styles. These micro beads are exactly that—a signature.
We’re seeing a mix of extremes: ultra-minimal quiet luxury bob cuts and maximalist accessory play. This trend sits beautifully in the middle. It’s a way to make a classic protective style feel fresh, custom, and forward-thinking.
Pairing with Other 2026 Trends

Imagine this: you have an asymmetrical lob with one side twisted and beaded. Or, think about the dramatic hime cut—you could add a line of beads to those sharp, face-framing pieces. Even the edgy vampire haircut could use a touch of iridescent sparkle.
The point is, hair accessories are becoming a core part of the style, not an afterthought. These beads can complement any of the big shape trends you’re loving right now.
Cost Breakdown: Is It Expensive?
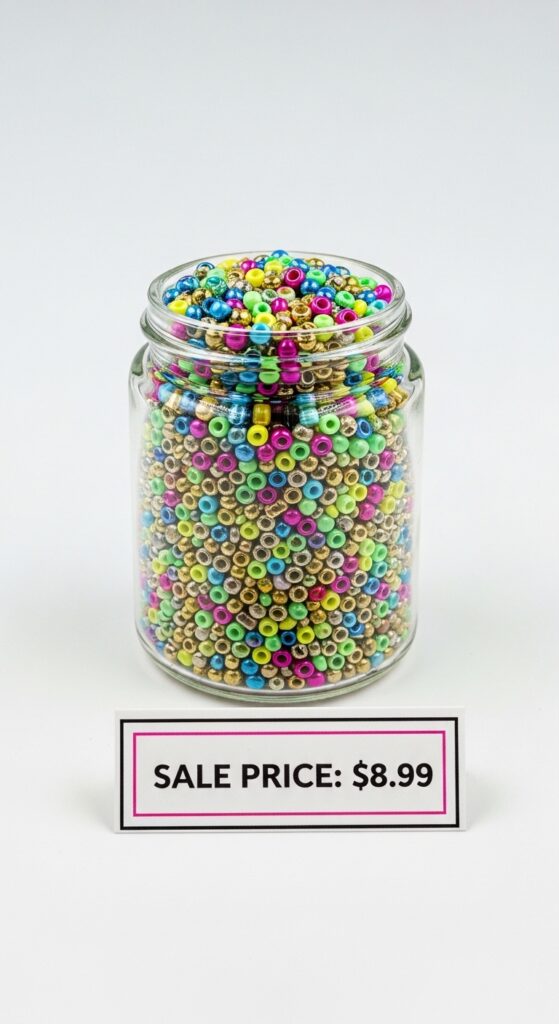
This is one of the most affordable ways to change up your look. A bag of 200-300 micro beads costs less than a fancy latte. The thread and needle are just a few dollars more, and they’ll last for countless applications.
Compared to a salon color treatment or even a box of high-quality dye, this is a steal. You’re investing in a reusable toolkit for creativity.
Common Mistakes to Avoid
First, avoid placing beads too close to your scalp. It can cause unnecessary tension and be uncomfortable to sleep on. Keep them on the mid-lengths to ends.
Second, don’t use thread that’s too thick. It won’t go through the bead or the hair easily. Third, never skip the double-knot. A single knot will unravel, and you’ll lose your bead.
Making It Your Own: The Blogger’s Challenge
I want you to make this your own. That’s the whole point! My challenge to you is to use the 22-bead idea as a starting point, but then break the rules. Use 15. Use 30. Put them all on one side for an asymmetrical look.
Your hair is your canvas. This technique is just a new brush. Play with it. The best trends are the ones you adapt to fit your personal vibe, not the other way around.
What My Team Thought of the Look

When I came into our co-work session with these in, the reaction was so fun. The first comment was, “How did you do that? It looks so intricate!” Then it was, “I need to try this on my box braids.”
It sparked a whole conversation about how we can personalize our protective styles without any fuss. That’s the best kind of style—one that inspires your friends to play, too.
Your Questions, Answered
Can I use this on braids? Absolutely! It works on individual braids just as well as twists.
Will it damage my hair? No, if done correctly, the thread does not cut or break the hair shaft.
Can I wash my hair? Yes, but keep it in twists and be gentle. The beads are secure, but rough washing might loosen them over time.
Ready to Try It? Your Final Checklist
Before you start, run through this list:
- Your protective twists are installed, clean, and completely dry.
- You have your micro beads, thin thread, and threading tool.
- You have a pair of small, sharp scissors for trimming.
- You’ve picked your color pattern or placement plan.
- You’ve set aside some quiet time to focus (put on a podcast!).
And that’s it, friend! The secret to pulling off a bold look is often just starting with a small, manageable step. These micro beads are exactly that. They let you play with the idea of full-on color without any of the stress.
I hope this gives you the confidence to add a little unexpected sparkle to your week. Sometimes the smallest details bring the biggest joy to your routine. Your hair is a fun part of your style—never forget that.
Save this post to Pinterest to keep this guide handy for your next style session! And I’d love to know—what color combo are you thinking of trying first? Drop your ideas in the comments below.