Braiding 21 Wet Hair Detailing Steps Avoiding Slippery Strands
Okay, let’s be real. We’ve all been there. You see a gorgeous braid tutorial, your hair is perfectly damp from the shower, and you think, “This is my moment!” Only to have your slippery, wet strands sliding out of your fingers before you even finish the first cross. It’s frustrating, and it makes you want to give up.
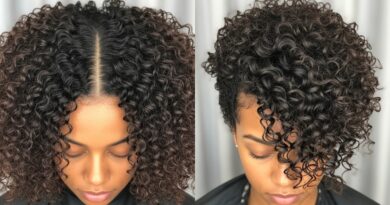
But wet hair is actually the BEST time to braid for certain styles, especially if you want those smooth, defined waves or a super-secure base for an updo. The trick is all in the prep and the process.
I spent a ton of time (and had many failed attempts) figuring out the exact steps to make braiding wet hair a breeze, not a battle. This isn’t just about getting a braid to hold. It’s about creating the perfect foundation for everything from an old money hair wave to intricate romantic goth hairstyles.
So, grab your towel and your favorite products. I’m breaking down the 21 simple, non-slip steps that actually work. Let’s turn that slippery mess into your best braid ever.
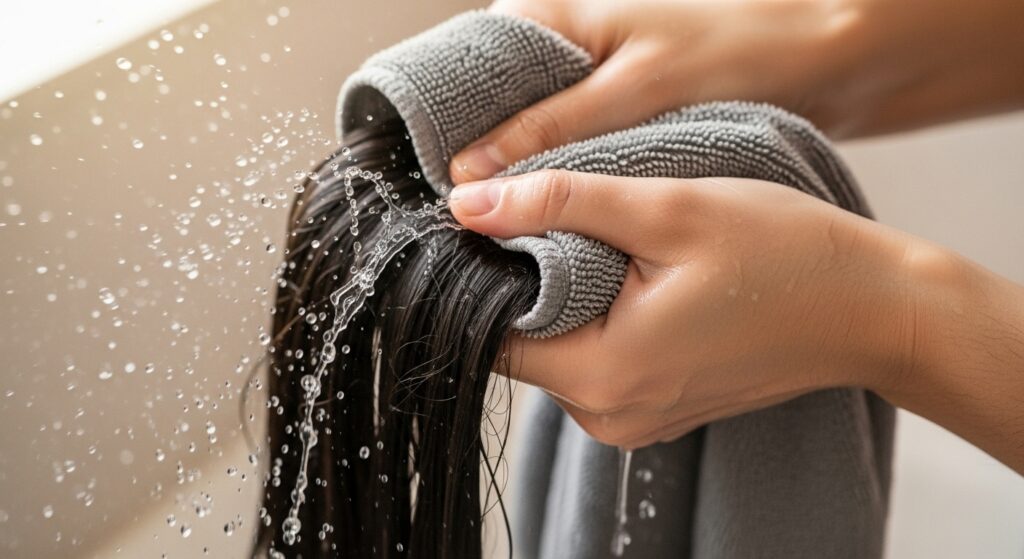
Step 1: Start with a Thorough, Gentle Towel Dry
Never, ever start braiding right out of the shower. Sopping wet hair is too heavy and slick. The goal is damp, not dripping.
Use a soft microfiber towel or an old cotton t-shirt. Gently squeeze the water from your hair from the ends upward. Avoid rough rubbing, which causes frizz and tangles.
Step 2: Detangle with a Wide-Tooth Comb First
This is your most important prep step. Trying to braid tangled, wet hair is a guaranteed path to breakage and a lopsided braid.
Start at the very ends of your hair, gently working out knots. Slowly work your way up to the roots. A wide-tooth comb is gentle and won’t snap your fragile wet strands.

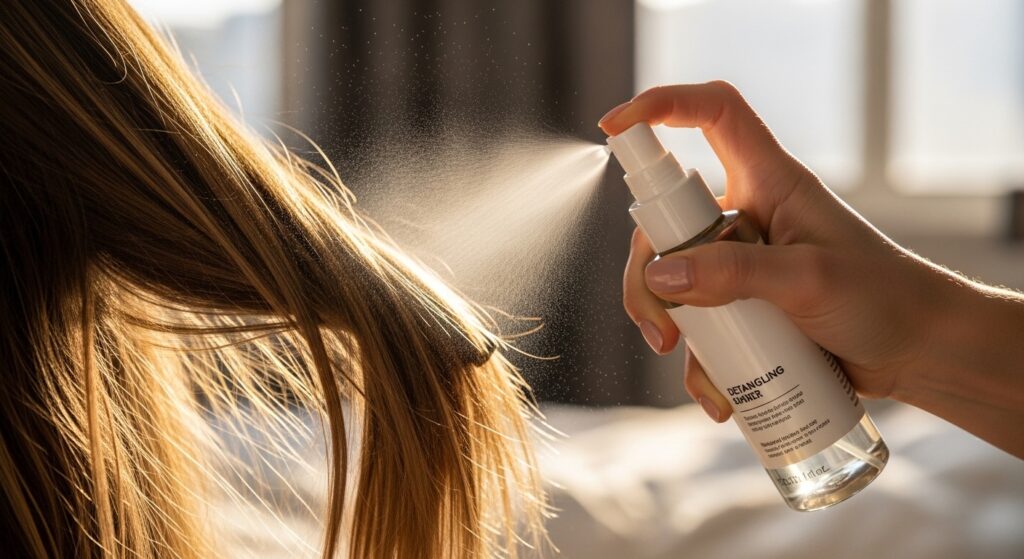
Step 3: Apply a Lightweight Detangling Spray
If your hair is prone to knots, a little help goes a long way. A light detangling spray adds slip, making combing easier, but won’t make your hair too slippery to hold.
Look for formulas with nourishing ingredients like argan oil or keratin. Spritz it lightly through your mid-lengths and ends after you’ve combed through once.
Step 4: Choose Your Styling Product Wisely
This is your secret weapon against slip. The right product gives grip and definition. For fine hair, a mousse is perfect. For thicker or curly hair, a light-hold cream or gel works wonders.
Avoid heavy oils or serums at this stage—they’ll make your hair too slick. We want control, not grease.

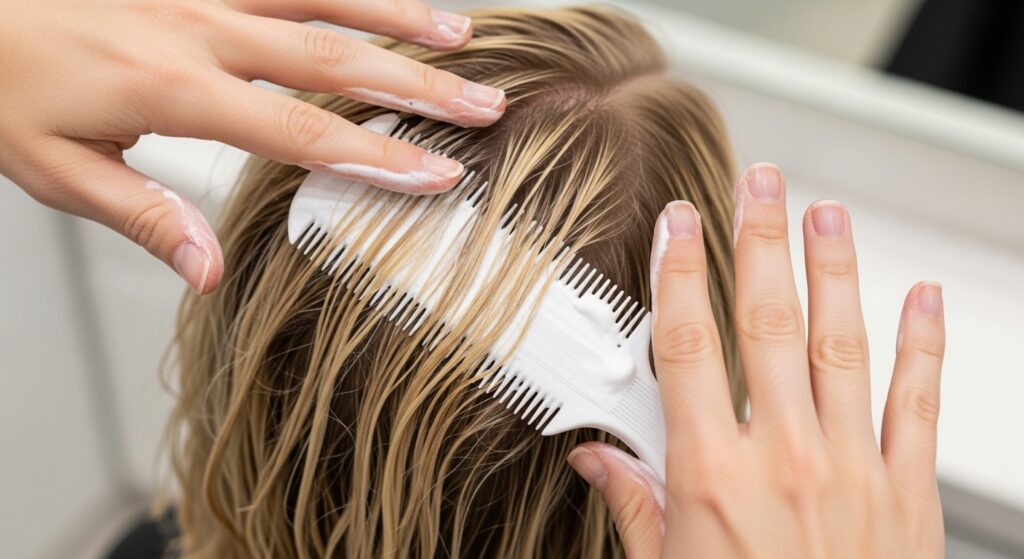
Step 5: Apply Product in Sections for Even Coverage
Don’t just glop product on top! To ensure every strand has grip, divide your damp hair into two or three sections.
Apply your chosen mousse or cream to each section separately, using a raking motion with your fingers to coat evenly from mid-lengths to ends. This guarantees no slippery strand gets left behind.
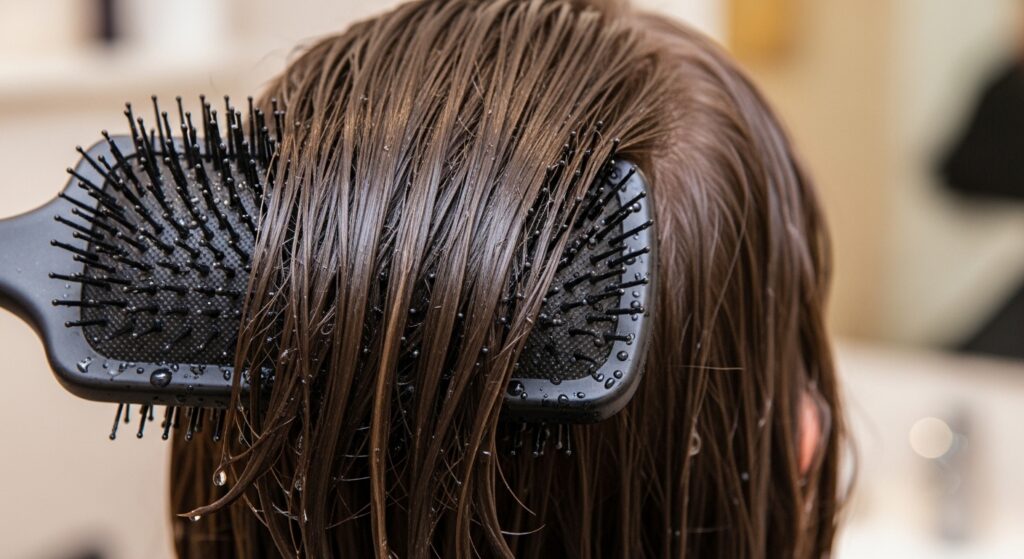
Step 6: Do a Quick Brush-Through for Distribution
Once your product is applied, use a gentle paddle brush or a wet brush to distribute it perfectly from roots to ends.
This smooths the hair cuticle, removes any final tiny tangles, and makes sure the product isn’t sitting in clumps. Your hair should feel uniformly product-y, not sticky.
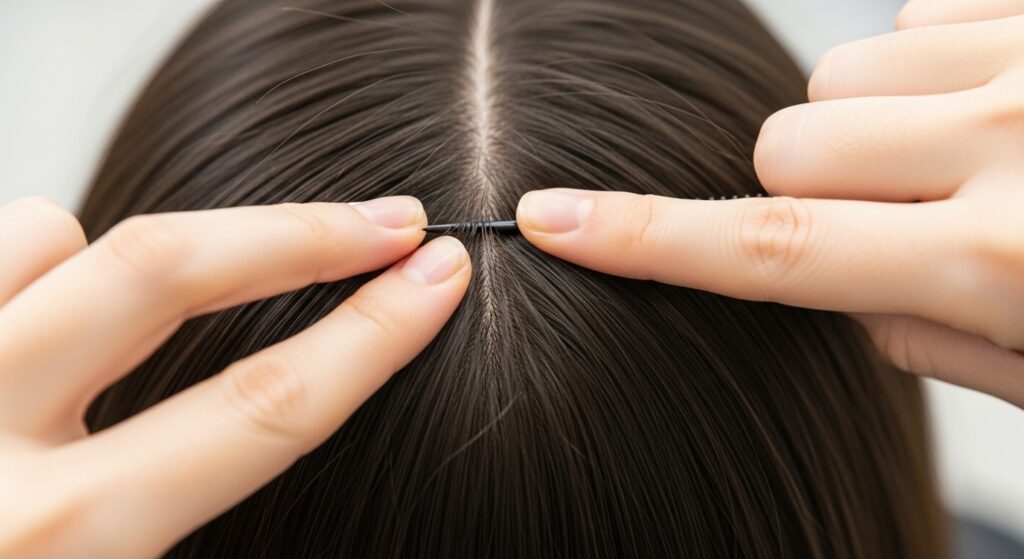
Step 7: Part Your Hair Precisely
A clean part is the foundation of a neat braid. Use the end of a comb or a pointed tail to create your part while your hair is still very damp and moldable.
Whether you’re going for a classic center part for a hime cut vibe or a deep side part for 2026 hairstyles flair, do it now. This step locks in your style’s direction.

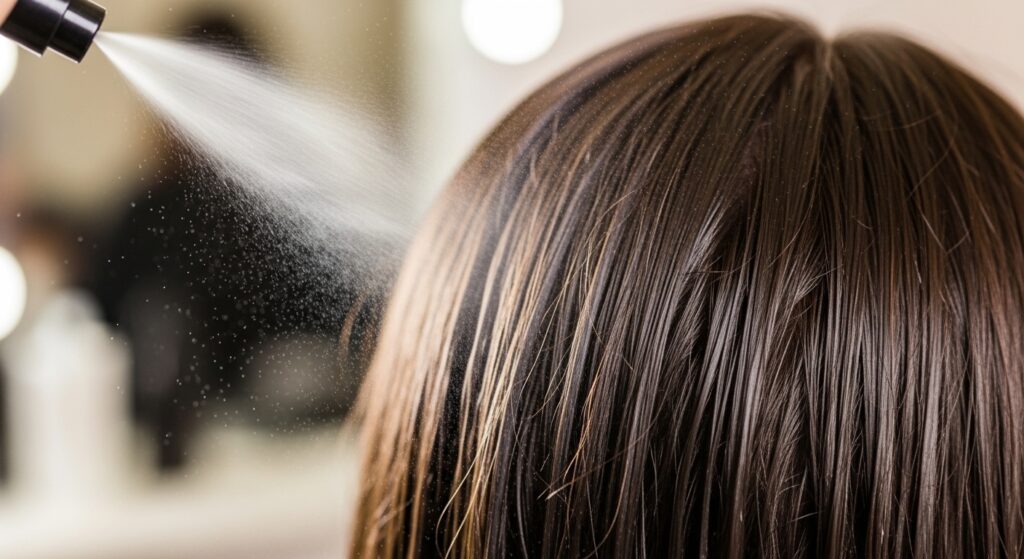
Step 8: Mist with a Texturizing Spray (Optional Grip)
For extra-hold braids or if your hair is very silky, a light texturizing spray is a game-changer. It adds a tiny bit of grit and texture.
Hold the bottle about 10 inches away and mist lightly over the section you’re about to braid. Don’t soak it—just a light dusting for added grip.
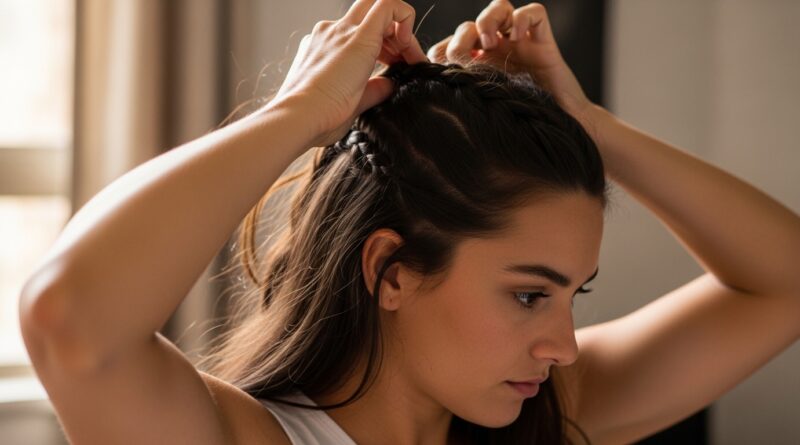
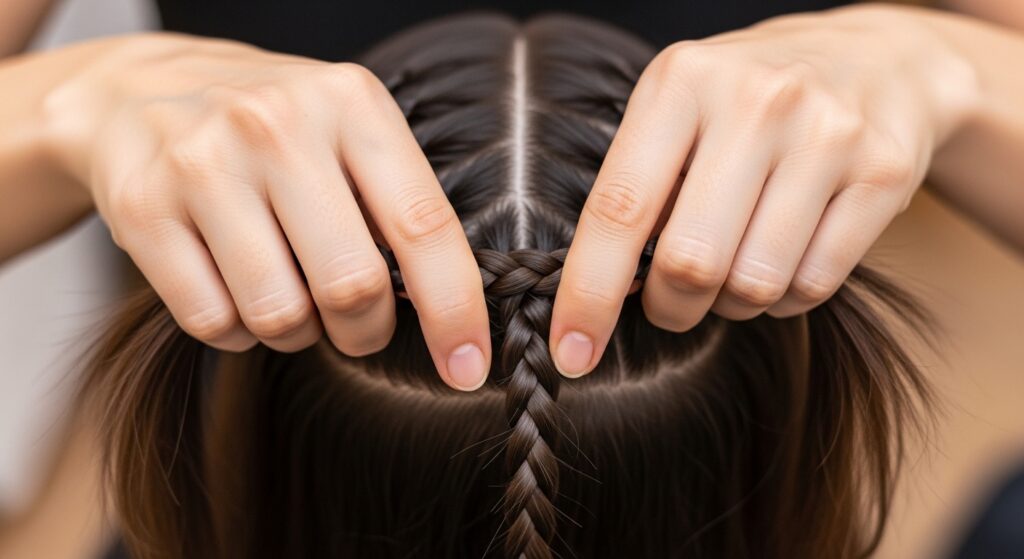
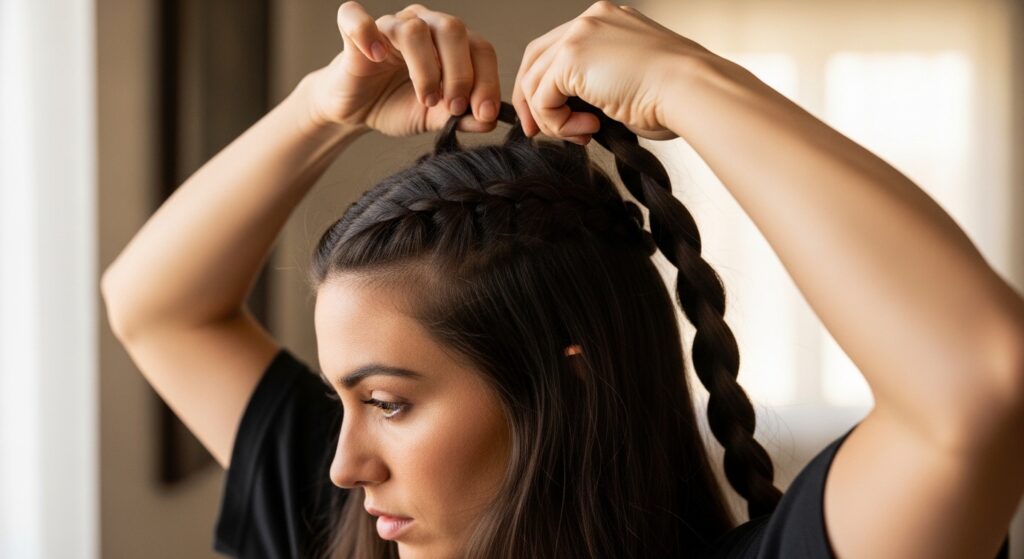
Step 9: Begin with Small, Tight Sections at the Crown
When you start your braid at the top of your head (like for a crown or Dutch braid), start with smaller sections than you think. Tiny sections at the crown give you more control.
This initial tightness will loosen gracefully as you go, but it prevents the top from falling flat or slipping out immediately. It’s a pro trick for any vampire haircut or regal style.
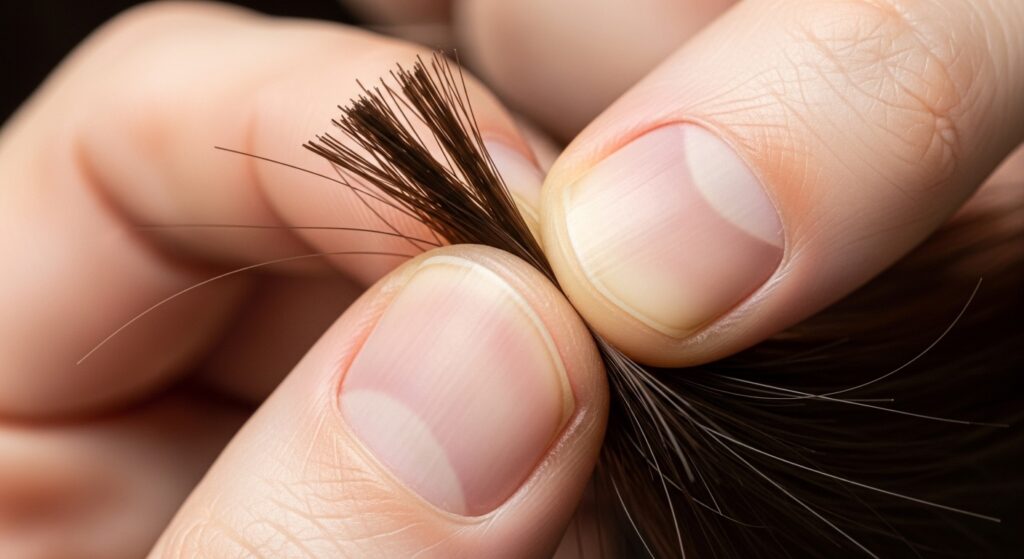
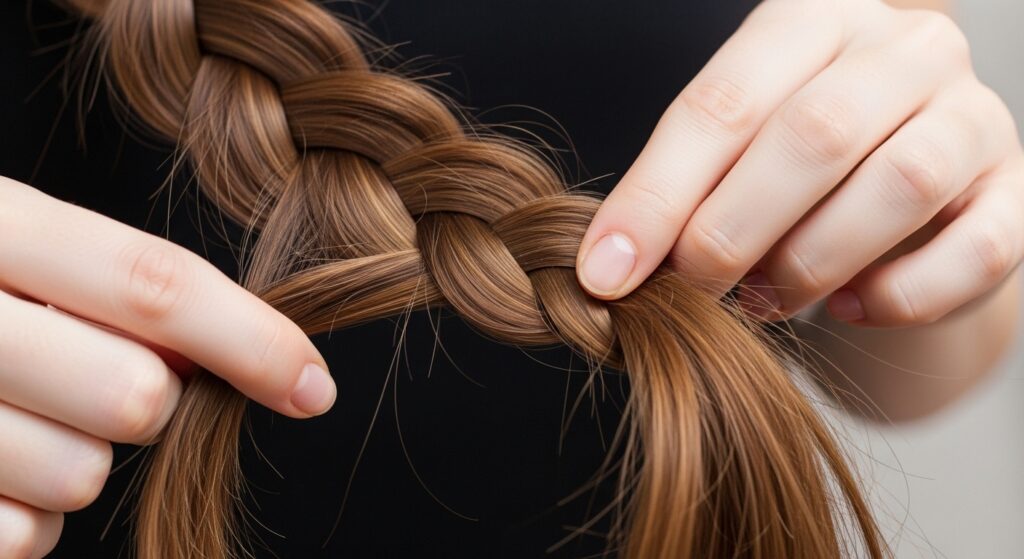
Step 10: Use a “Pinching” Motion, Not a “Gripping” Motion
How you hold the hair matters. Don’t grip the sections in your fists. Instead, use your thumb and forefinger to pinch each strand firmly.
This gives you more dexterity and control, allowing you to feel the tension and keep each section separate. It feels more precise and less like you’re wrestling your hair.
Step 11: Maintain Consistent, Firm Tension
The number one reason braids get loose and sloppy is inconsistent tension. As you cross each section, pull it firmly and evenly.
Imagine you’re giving each strand a gentle, consistent hug. Not so tight it hurts your scalp, but firm enough that the braid feels secure and doesn’t sag.
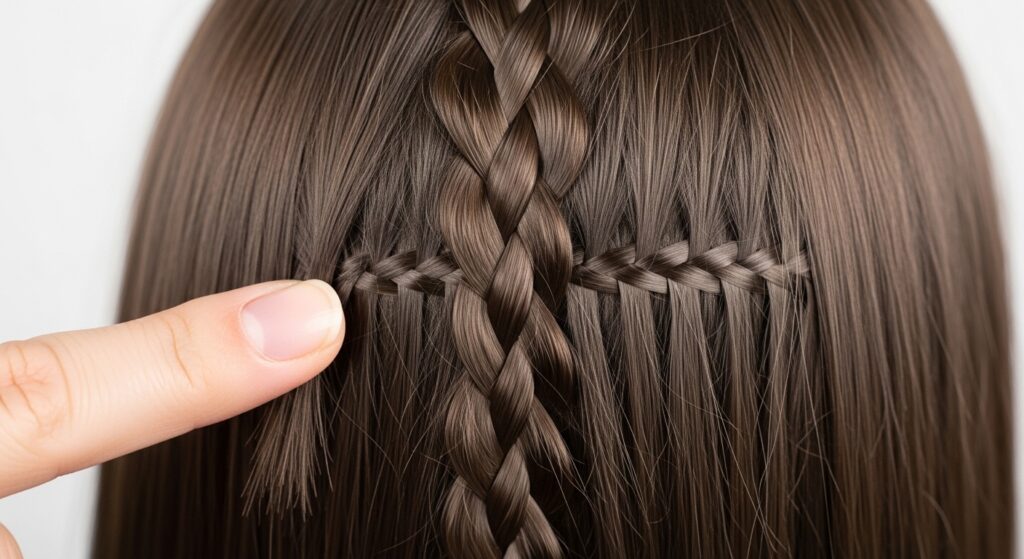
Step 12: Add Hair in Thin, Manageable Increments
For French or Dutch braids, adding hair is where slip happens. Each time you add new hair to a section, take a thin, manageable piece.
Adding huge chunks is hard to control. A thinner piece from your “free” hair blends seamlessly into your braid section, making it easier to hold and weave.
Step 13: Smooth Each New Addition with Your Thumb
As you incorporate that new piece of hair, use your free thumb to smooth it down onto the main braid section you’re holding.
This simple motion eliminates any little flyaways or loops that can later work themselves loose. It keeps the braid column clean and tight.
Step 14: Keep Your Elbows Up for Better Control
Posture helps! If your arms are down by your sides, you lose leverage. Try to keep your elbows up and out, almost like a chicken wing.
This position gives you a better angle to see what you’re doing and more strength to maintain that consistent tension we talked about. It feels weird at first but works.
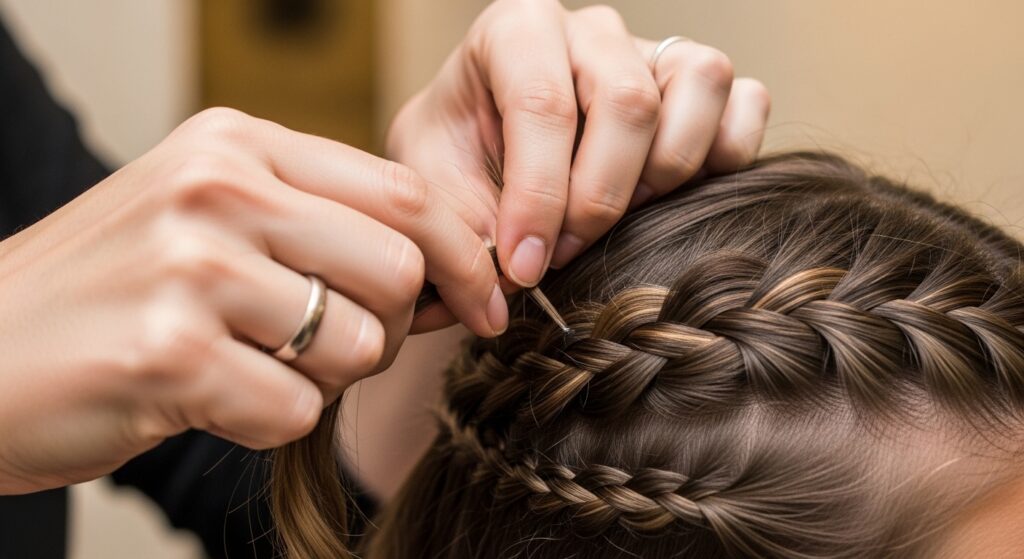
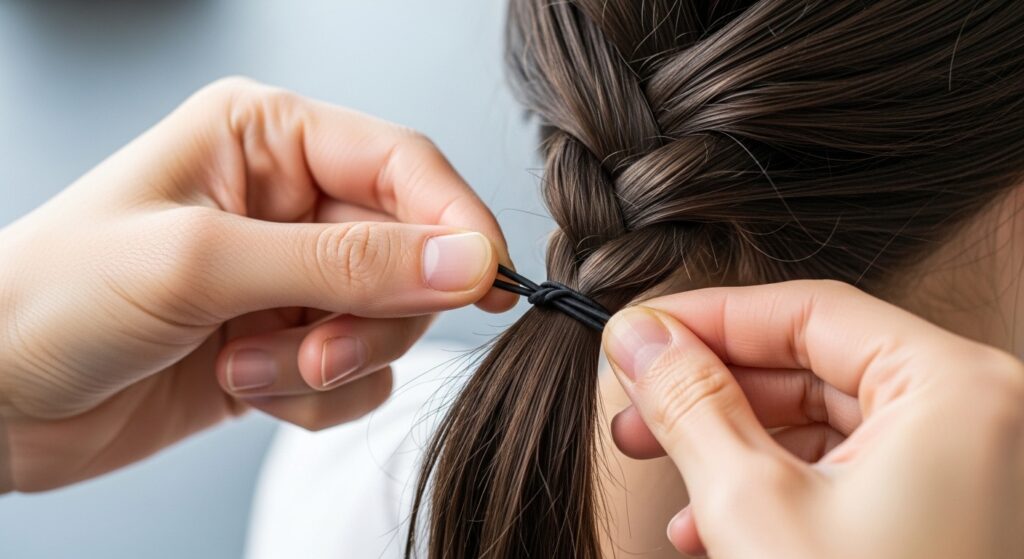
Step 15: Secure the End with a Coated Elastic
Once you’ve braided to the ends, don’t just use any old hair tie. A coated elastic (like silk or cotton-covered) is less likely to snag and slip on damp hair.
Wrap it tightly two or three times. If your braid is very thick, you can use two elastics for extra security. This is key for a sleek quiet luxury bob braided accent.
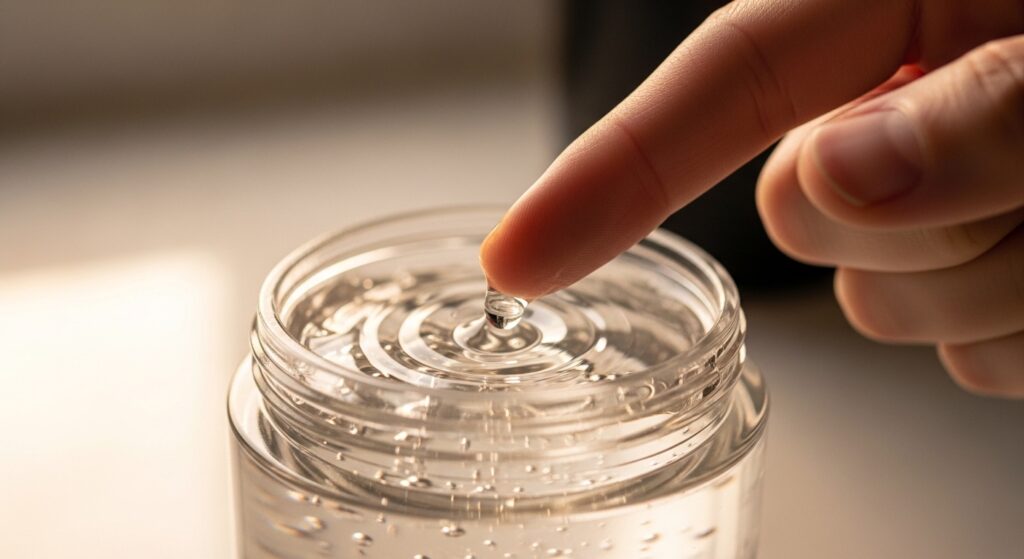
Step 16: Tame Flyaways with a Touch of Gel
Even with perfect technique, baby hairs rebel. Dip a finger in a tiny dab of strong-hold gel or a wax stick.
Smooth down any wispy flyaways around your hairline and the length of the braid. This gives that polished, intentional finish, perfect for glitchy glam hair details.
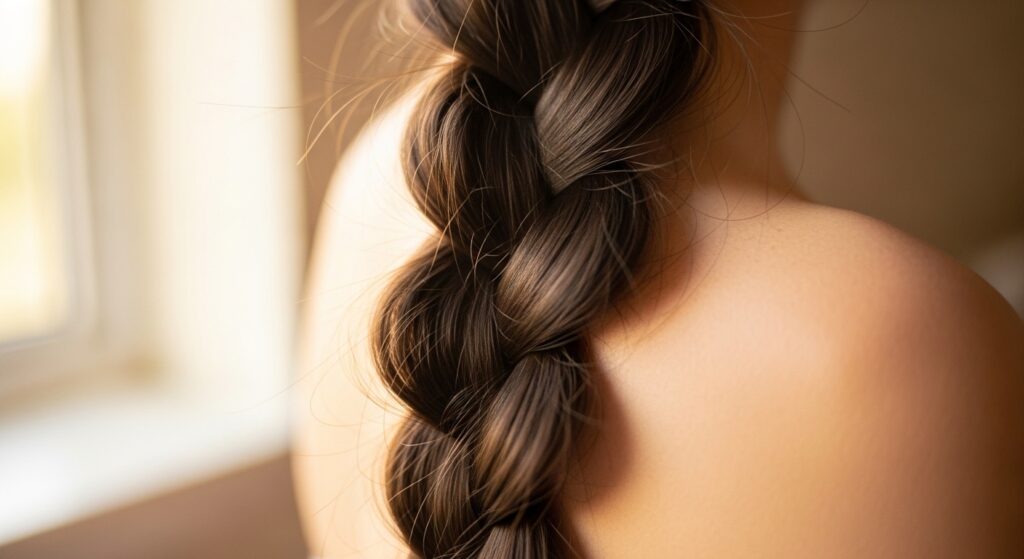
Step 17: Let It Dry Completely Before Touching
Patience is part of the process! Once your braid is secure, let it air dry or use a diffuser on a cool, low setting. Don’t fuss with it.
Moving or pulling on the braid while it’s damp can stretch it out and create dents. Let it set completely for the most defined waves or the neatest look.
Step 18: Sleep on a Silk Pillowcase to Preserve
If you’re braiding at night for next-day waves, protect your work. A silk or satin pillowcase creates less friction than cotton.
This means your braid won’t get fuzzy or loose while you sleep. You’ll wake up with smoother, more defined texture, ready for an asymmetrical lob style refresh.
Step 19: Unravel Gently, from the Bottom Up
When it’s time to take the braid out, don’t just yank the elastic and pull. Remove the elastic carefully, then slowly unravel the braid starting from the very bottom.
Use your fingers to gently separate the waves. This prevents tangles and preserves the beautiful, rippled pattern you worked so hard to create.
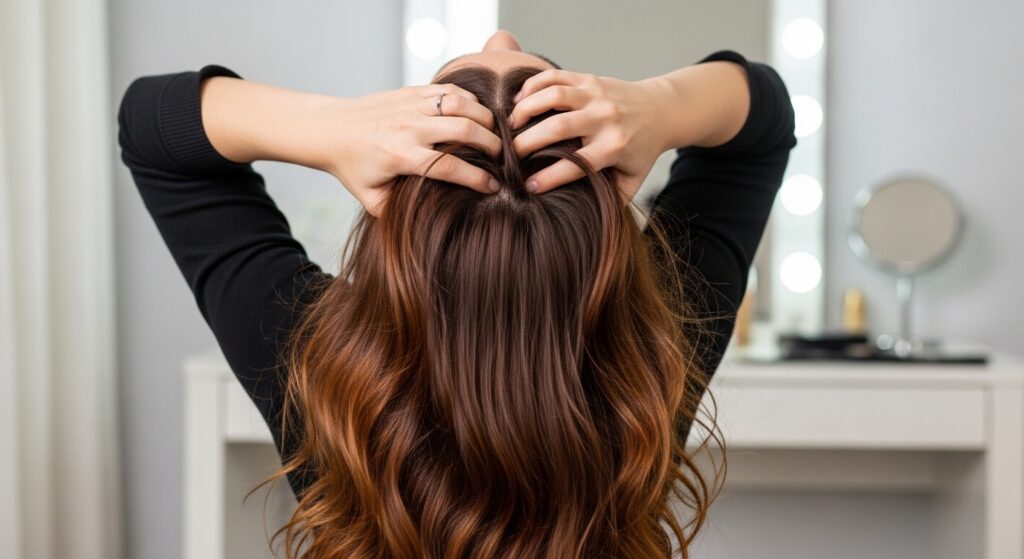
Step 20: Fluff Your Roots for Volume
After unbraiding, your waves might be flat at the roots. Flip your head over and gently massage your scalp with your fingertips.
You can also use a wide-tooth comb to lightly lift at the roots. This adds body and creates that effortless, romantic volume seen in so many romantic goth hairstyles.
Step 21: Lock in the Style with a Final Hold Spray
To make your braid-out waves or your sleek braided style last all day, a light-hold hairspray is the final step. Hold it at arm’s length and mist lightly all over.
This sets everything without making your hair crunchy. It’s the insurance policy that keeps every strand in place, from your old money hair waves to a sharp hime cut braid.
And there you have it! What seemed like a slippery, impossible task is now totally in your toolkit. It’s all about the right prep, the right technique, and a little patience while it dries.
Once you master these steps, braiding wet hair opens up a whole new world of styles. You can create the perfect, lasting waves, intricate updos that actually hold, or just a super-neat everyday braid that doesn’t fall apart by lunchtime.
I want to see your creations! Did you try these steps for a sleek look or for perfect waves? Save this post to Pinterest so you can always find it, and tell me in the comments below—what’s the first style you’re braiding your damp hair for? Can’t wait to hear!