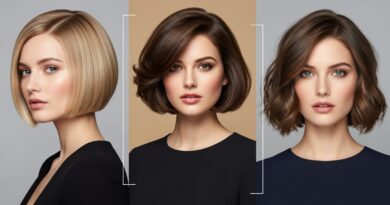
Bubble Braid Effect Created Step-by-Step at Home
Okay, let’s be real. We’ve all seen that perfect, bouncy bubble braid all over our feeds. It looks like it belongs on a runway or in a high-end salon, right? I thought so too, until I actually tried it.
Turns out, it’s one of the easiest “wow-factor” hairstyles you can do at home. No fancy tools needed, just your hands, some elastics, and five spare minutes. Seriously.
I’m going to walk you through the exact steps I use to get that full, romantic, and totally chic bubble effect. It’s the perfect mix of playful and polished, and it works on almost every hair length and type. Get ready to level up your lazy-day hair.
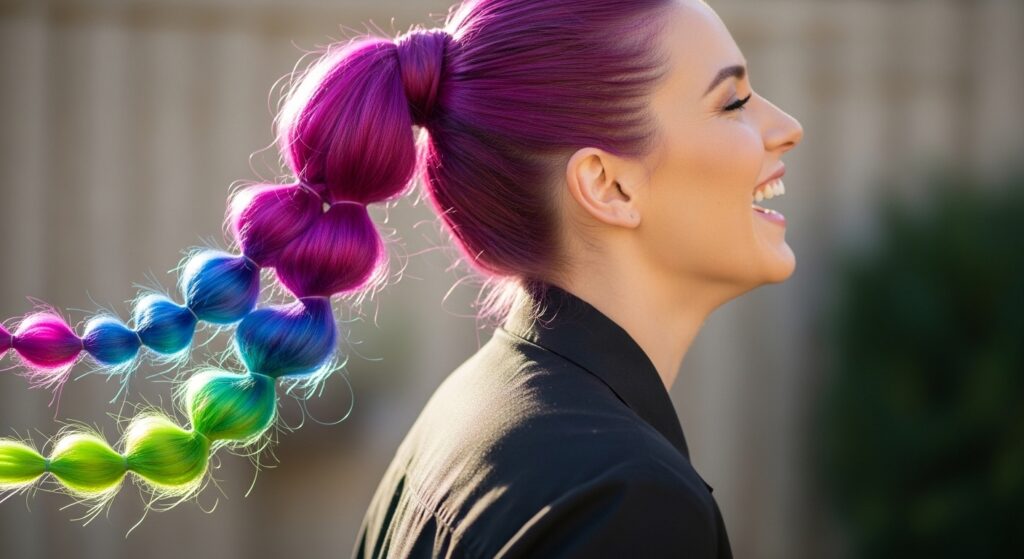
What Exactly Is a Bubble Braid?
Think of it as the cool, laid-back cousin of a regular braid. Instead of intricately weaving strands, you create a series of “bubbles” or puffs along a ponytail or braid.
The magic is in the pulling. You gently tug sections of the hair between elastics to create that soft, inflated look. It’s a forgiving style—messy is good! It gives off major romantic, effortless vibes that fit right in with trends like old money hair and romantic goth hairstyles.
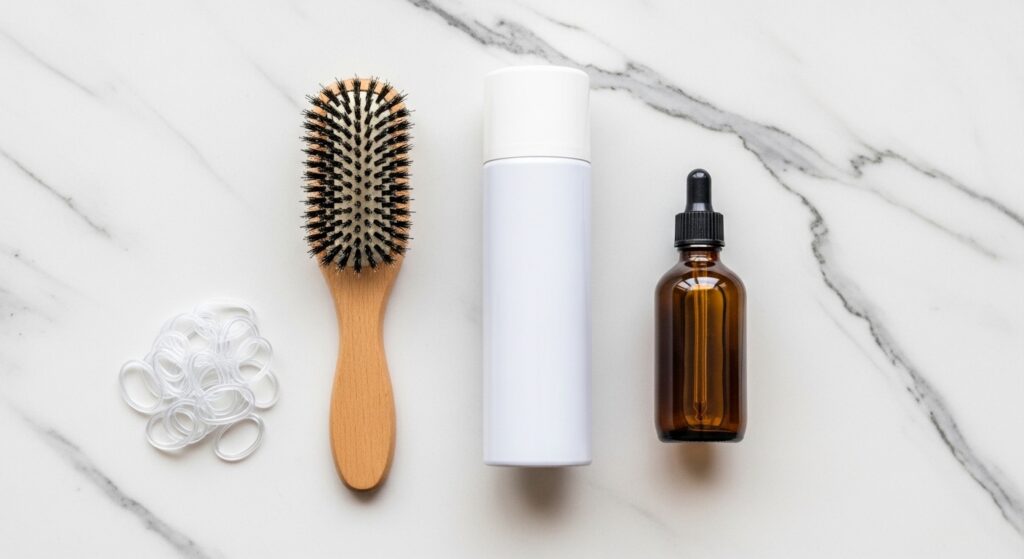
Gather Your Simple Tools
You don’t need a salon kit. Here’s your checklist:
- Hair elastics: Clear or matching your hair color for a seamless look.
- A fine-tooth comb or brush: For smoothing sections before you puff them.
- Hairspray or texture spray (optional): To hold the shape and add grip.
- Hair oil or serum (optional): A tiny bit on your ends fights frizz for a sleek finish.
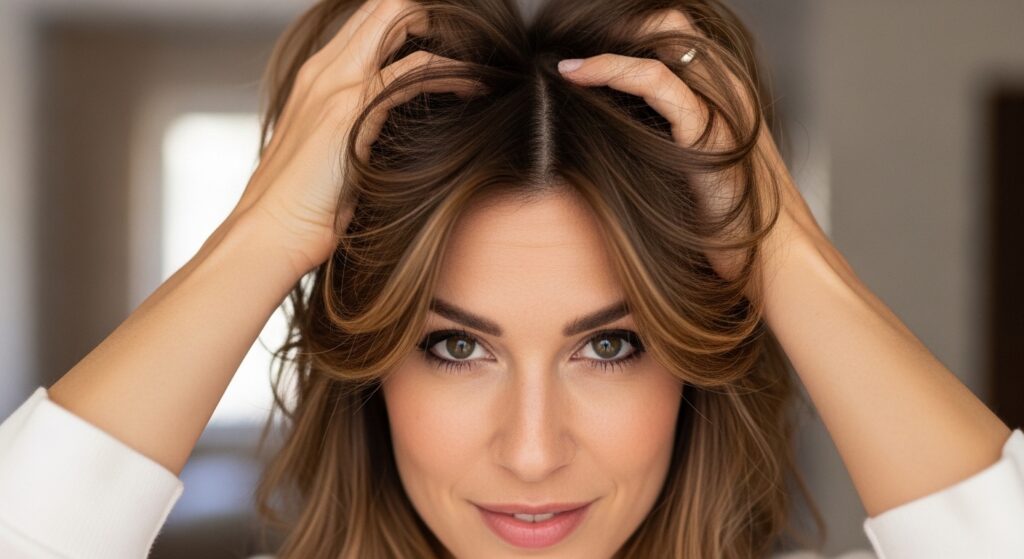
Start with Day-Old Hair
This is my biggest secret. Freshly washed hair can be too slippery. Day-two or day-three hair has natural texture and grip, making it easier to style and hold the bubbles.
If your hair is freshly clean, just spritz some dry shampoo or texturizing spray at the roots. This gives your hair the necessary “grit” to keep the elastics from sliding and helps the bubbles stay full all day.
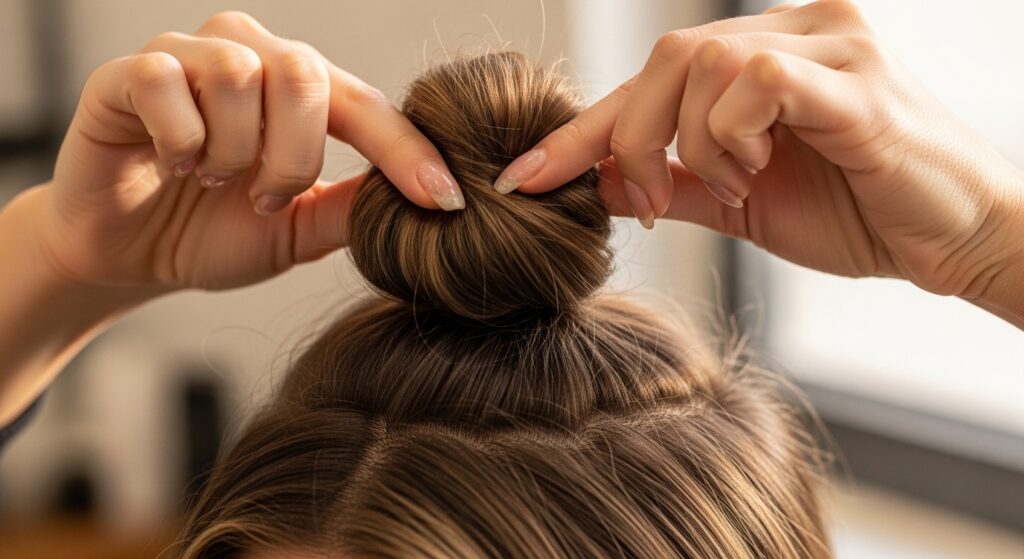
Create a Smooth Base Ponytail
Decide where you want your braid. High, low, or to the side? Brush all your hair back smoothly into a ponytail and secure it with your first elastic.
Don’t worry about being perfect. A little volume at the crown is great. Pull the ponytail tight—this first elastic is the anchor for your whole style. Smooth any bumps with your hands or a brush.
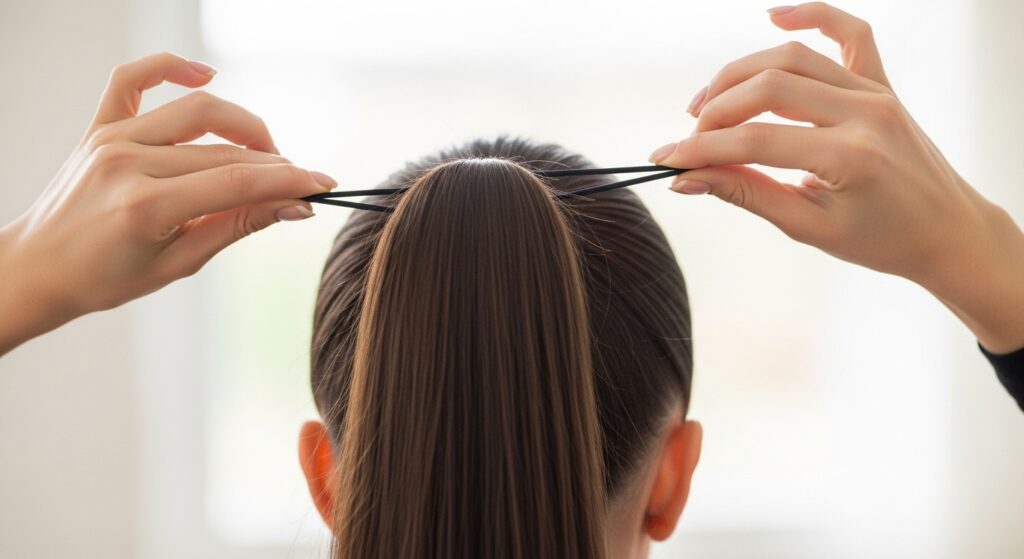
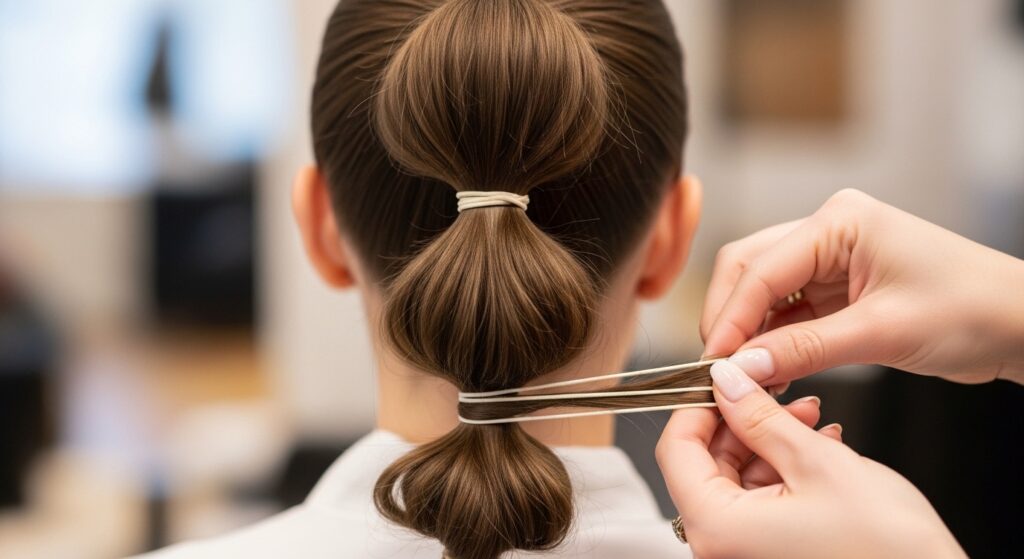
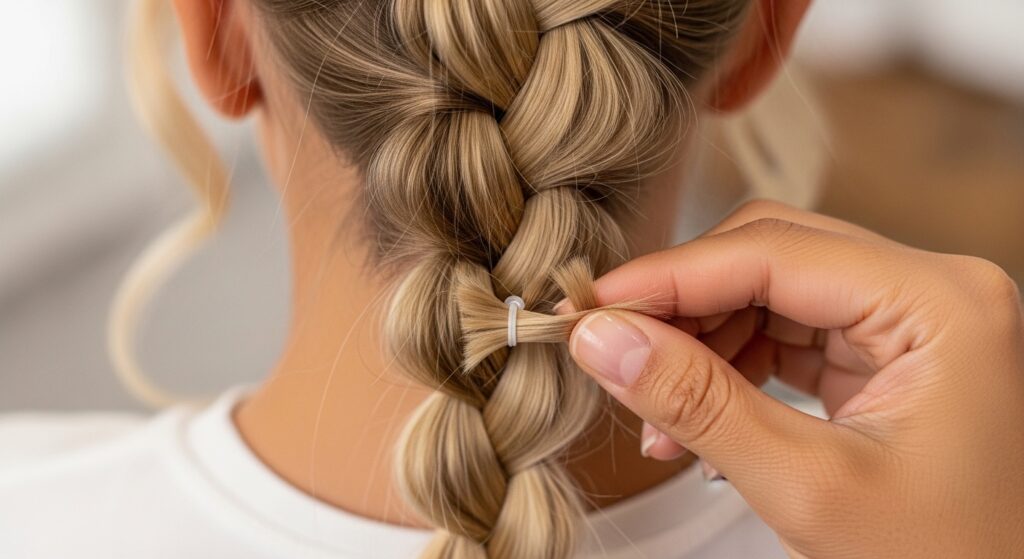
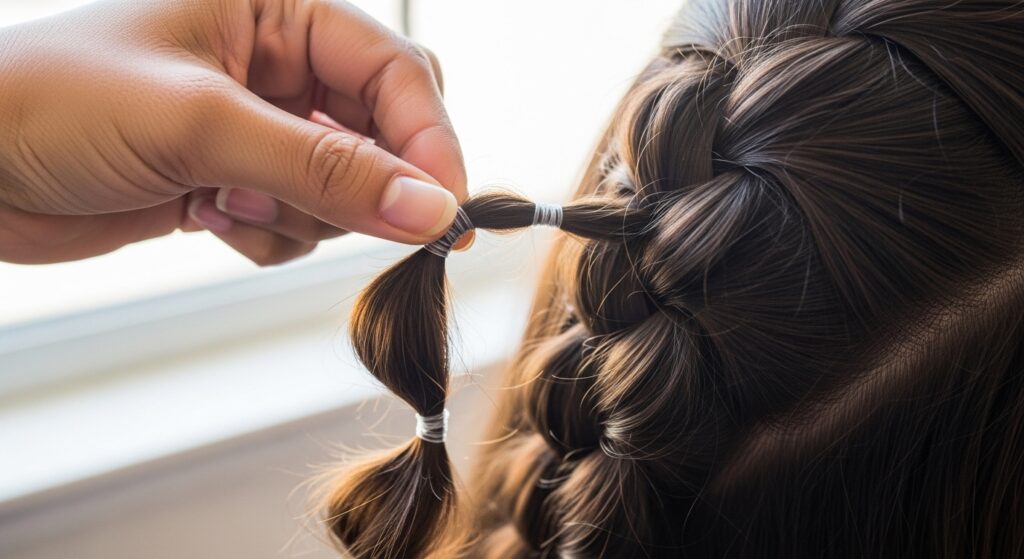
Add Your First Elastic
Move down your ponytail about 2-3 inches from the first elastic. Wrap another elastic around the hair to create your first section.
Make sure it’s snug, but don’t strangle the hair. You want it tight enough to hold, but loose enough that you can adjust the bubble later. This is where you start building the structure.
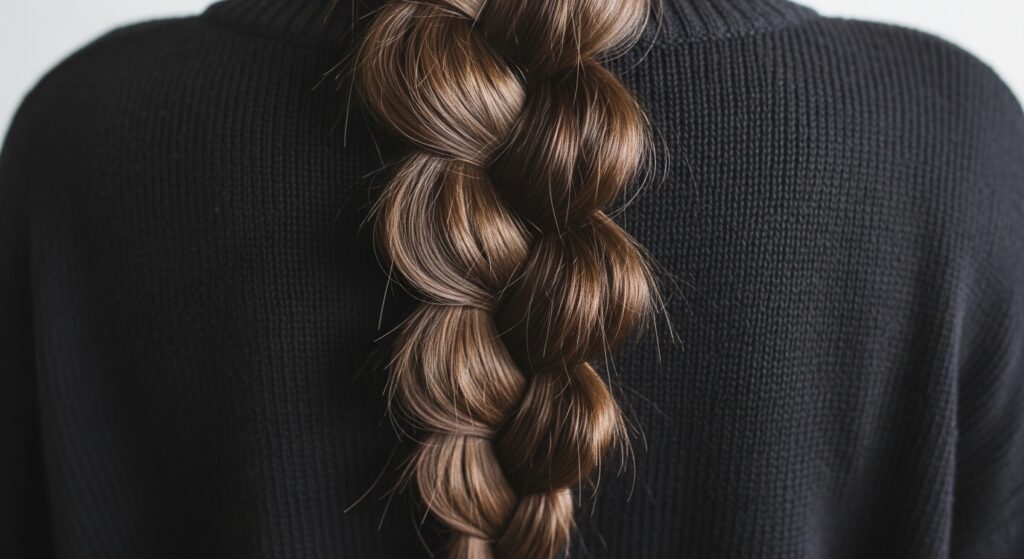
Time to Make the First Bubble
This is the fun part. Gently tug on the section of hair between the first and second elastic. Pull it outward from all sides to inflate it.
Work your way around the section, pulling evenly to create a round, full “bubble.” Don’t be shy! The bigger you puff it now, the better the final effect will be. It should feel soft and bouncy.
Continue Down the Length
Add your next elastic another 2-3 inches down. Secure it, then repeat the pulling process on the new section above it. Inflate that bubble.
Keep this pattern going: add an elastic, then puff the section above it. Your goal is consistent, evenly spaced bubbles all the way down to the ends of your hair.
How to Get Even, Round Bubbles
The key is even tension. When you pull, don’t just tug from one side. Gently pull from the top, bottom, left, and right of the section.
Think of it like fluffing a pillow. You want it round and full, not flat or lopsided. If one side looks deflated, just go back and give it a little more love.
Dealing with Thin or Fine Hair
If your hair is fine, you can still ace this! The trick is backcombing. Before you puff a section, gently tease the hair inside it with a comb to add volume.
You can also try this style on a half-up ponytail for a fuller look. It gives the illusion of thicker hair and is a super cute take on the asymmetrical lob or hime cut vibe.

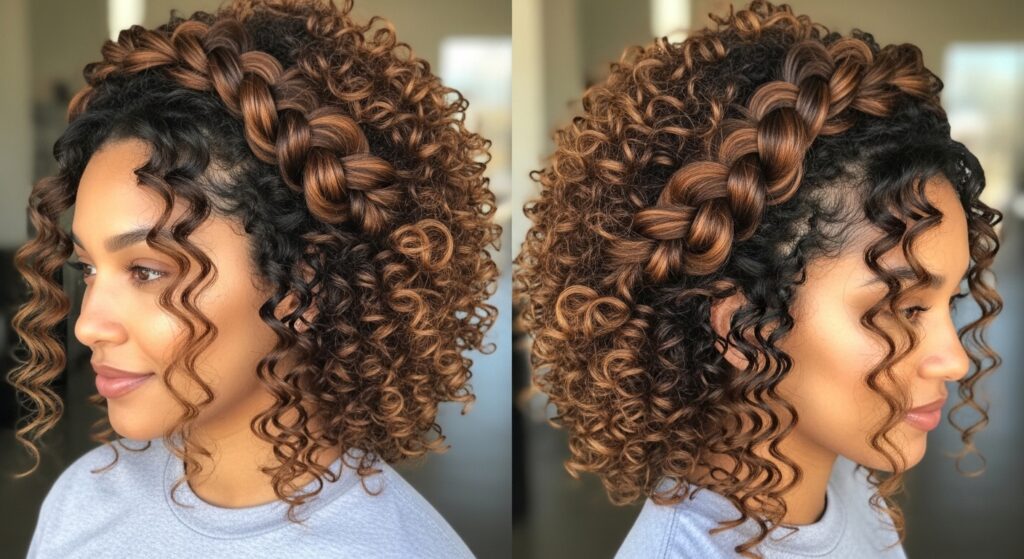
Making It Work on Curly Hair
Curly girls, this style is for you! Your natural texture already gives you amazing volume. Embrace it.
Skip the heavy brushing. Use your fingers to gather your hair into the ponytail for a more organic, textured feel. When you puff, your curls will create a gorgeous, voluminous effect that’s pure glitchy glam hair.
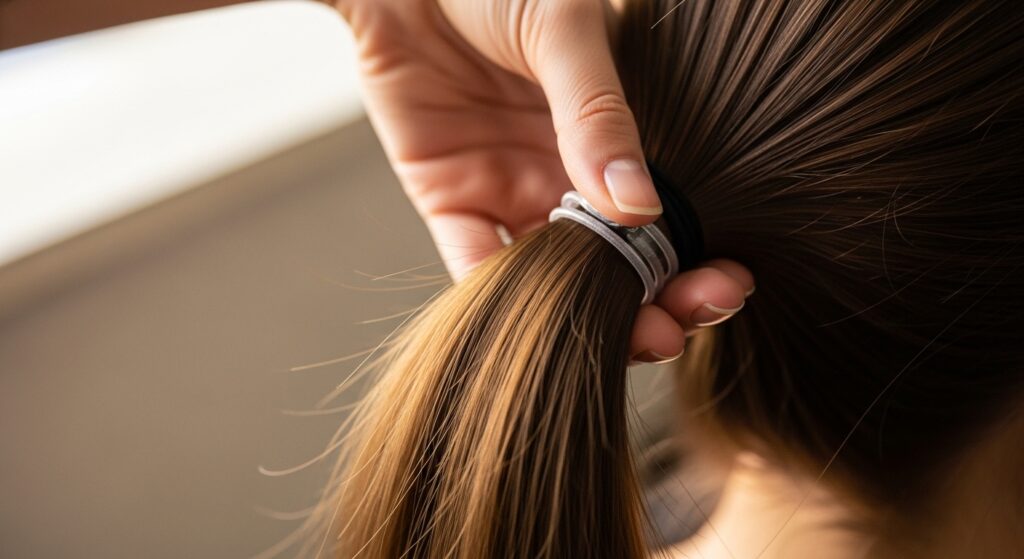
The Final Touch: Secure the End
Once you’ve bubbled all the way down, secure the very end of your ponytail with a final elastic. You can leave the tail as is, or give the last section a little puff too.
For a seamless finish, take a tiny piece of hair from the tail and wrap it around the last elastic. Secure it with a bobby pin hidden underneath. It looks so professional!
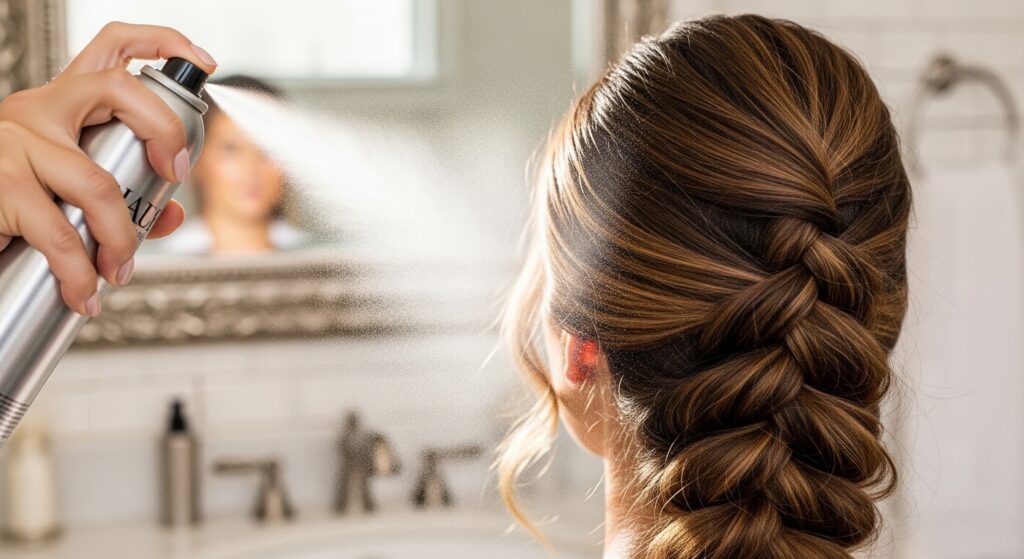
Lock It In Place
To make your bubbles last all day, a light mist of flexible-hold hairspray is your best friend. Hold the can about 10 inches away and give the whole style a quick spray.
Pay extra attention to the areas around the elastics. This helps prevent any slipping or deflating, especially on smoother hair types. You want movement, not stiffness.
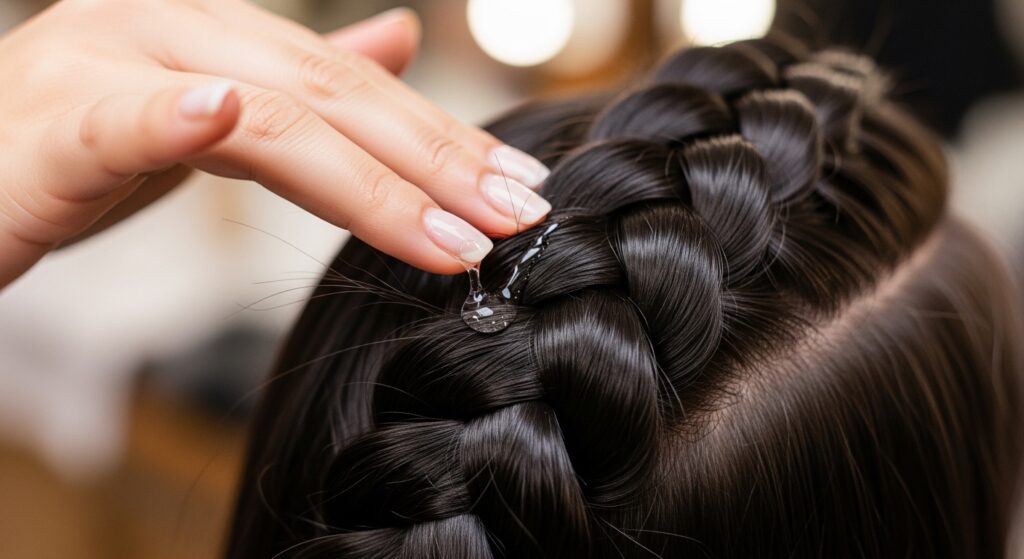
Fighting Frizz for a Sleek Look
If you’re going for that quiet luxury bob level of polish, frizz control is key. After you’ve puffed, take a drop of hair serum or oil on your fingertips.
Lightly smooth it over the surface of each bubble, focusing on any flyaways. This gives a gorgeous, healthy shine and makes the style look incredibly intentional and chic.
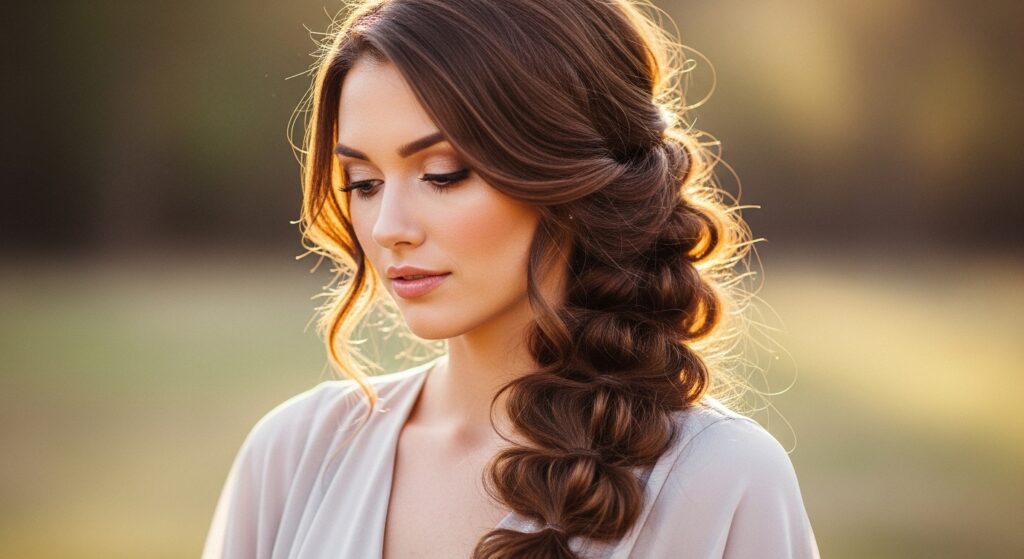
Try a Side Bubble Braid
For a softer, more romantic look, start with a low side ponytail. Follow all the same steps, but on an angle.
This style drapes beautifully over your shoulder and has a gorgeous, effortless feel. It pairs perfectly with the vampire haircut aesthetic—dark, romantic, and a little dramatic.
Experiment with a High, Playful Pony
A high bubble ponytail is pure energy. It’s playful, fun, and gives you an instant lift (literally).
This version feels very now and fits right into the playful side of 2026 hairstyles we’re starting to see. It’s a statement look that’s still incredibly easy to achieve.
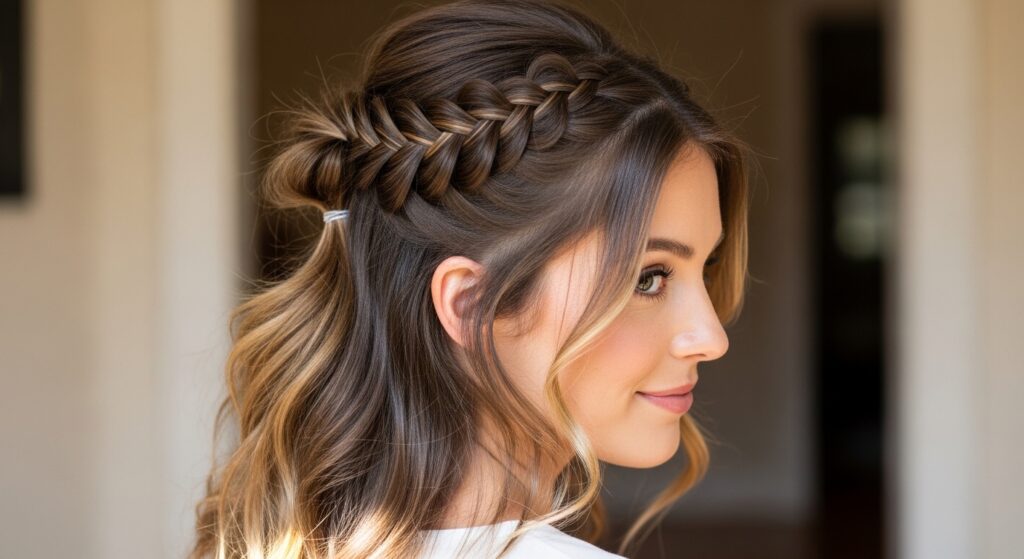
Incorporate into a Half-Up Style
Can’t decide between up and down? Do both! Create a half-up ponytail at the crown of your head, then turn that section into a mini bubble braid.
This leaves the rest of your hair down but adds fantastic volume and interest at the top. It’s a brilliant way to style growing-out layers or an asymmetrical lob.
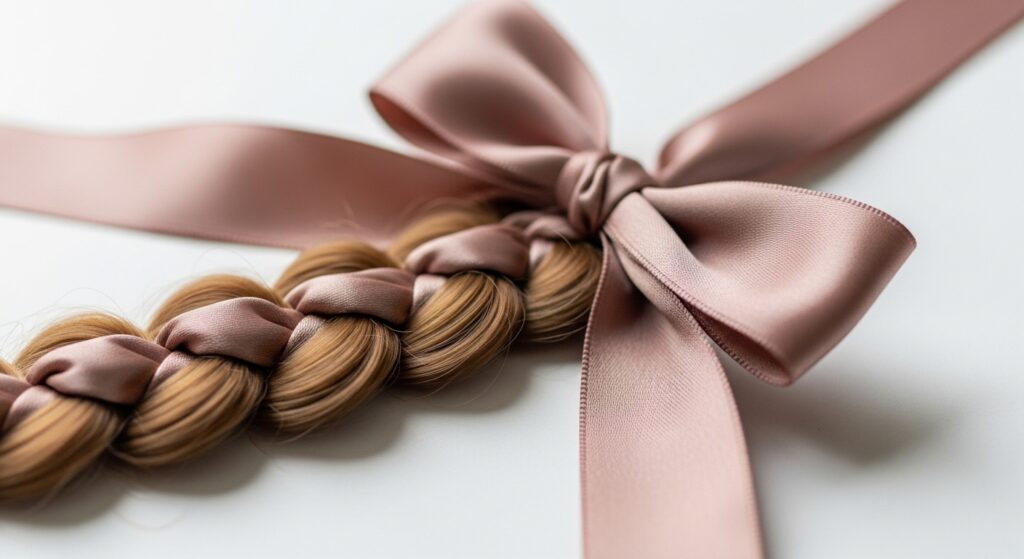
Add Some Ribbon for Extra Flair
Want to take it to the next level? Before you make your first ponytail, lay a long ribbon along your part. Incorporate it into your ponytail as you tie the first elastic.
As you add elastics down the braid, the ribbon gets woven in, creating a beautiful, woven effect. It screams special occasion.
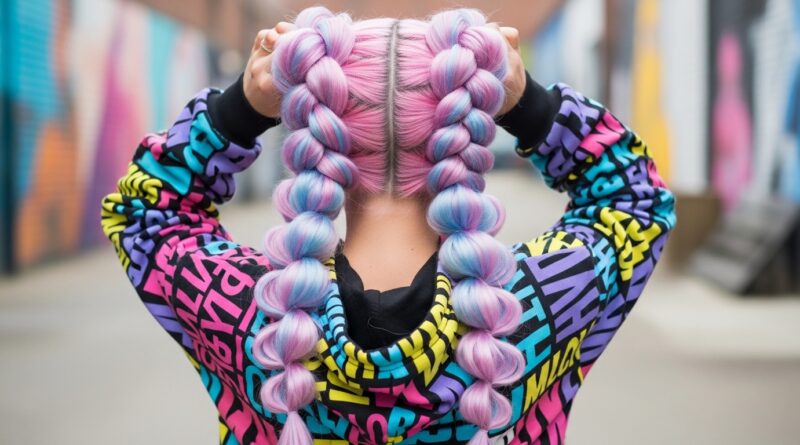
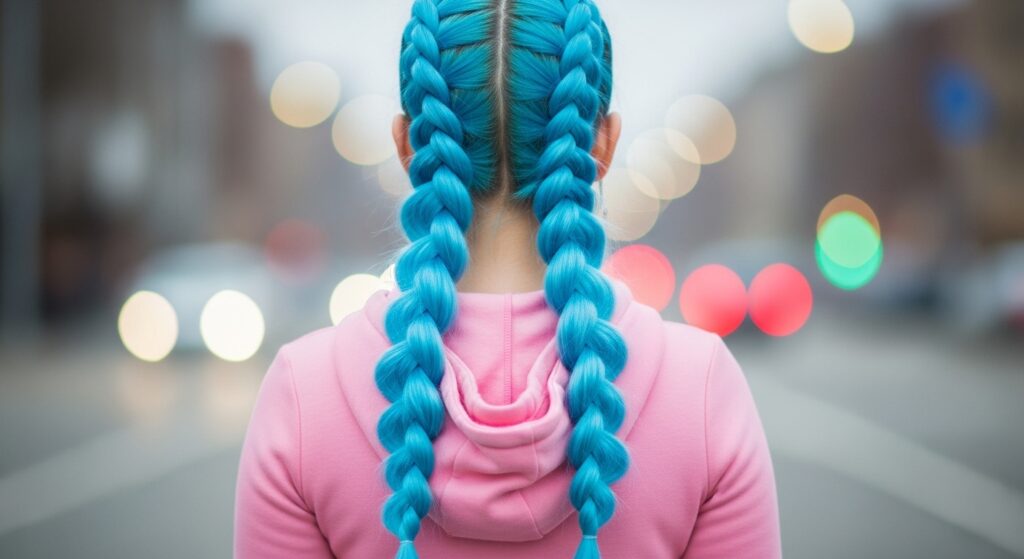
Two Bubble Braids for a Fun Look
Double the fun! Part your hair down the middle and create two identical bubble braids, one on each side.
This is such a cute, youthful look for festivals, workouts, or just a day when you want to feel extra. It gives off major cool-girl vibes and is surprisingly comfortable.
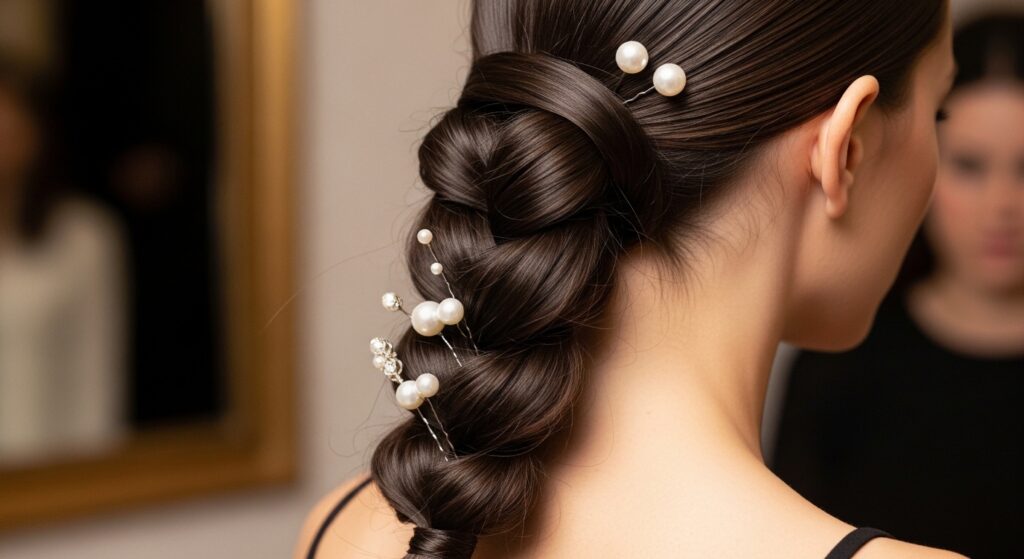
Dress It Up for Evening
This isn’t just a daytime style. For evening, make it sleeker. Start with a deeply side-parted, low ponytail. Make your bubbles larger and more defined.
Accessorize with a few delicate pearl pins tucked near the base or a sparkly clip. It transforms the look into something truly elegant and red-carpet worthy.
My Go-To Fix for a Deflating Bubble
If a bubble starts to sag by midday, don’t panic. It’s a quick fix.
Simply slide the elastic at the *bottom* of that bubble up just a tiny bit to tighten the section. Then, gently re-fluff the bubble with your fingers. Good as new!
Why This Hairstyle is a Total Win
It looks complicated but isn’t. It works on almost every hair type. It takes minutes. And it always, always gets compliments.
In a world of over-the-top 2026 hairstyles, the bubble braid is a perfect example of low-effort, high-impact beauty. It’s the kind of style that makes people ask, “Who does your hair?”
And that’s it! Your complete guide to mastering the bubble braid at home. I told you it was easier than it looks. The best part is how versatile it is—you can make it messy and cool or sleek and elegant depending on your mood.
Once you get the basic pull-and-puff motion down, you’ll find yourself doing it without even thinking. It’s become my absolute favorite quick hairstyle for days when I want to look like I tried, but really didn’t have to try very hard at all.
Save this post to Pinterest so you always have the steps handy! And tell me in the comments—which version are you trying first? The high pony, the romantic side braid, or something totally your own? Can’t wait to hear how it goes!