
Challenge Yourself with 10 Triple Braid Techniques Today
Hey there! So, you can do a basic three-strand braid. Maybe even a decent Dutch braid. But have you ever felt that little itch to level up? Like, your hair game is ready for its next chapter?
That’s exactly where I was a few months ago. I was stuck in a style rut, scrolling through endless 2026 hairstyle previews and feeling inspired but totally intimidated. All those intricate, beautiful braids seemed impossible.
Then I decided to break it down. I challenged myself to learn one new triple-braid technique at a time. And guess what? It was way easier—and way more fun—than I thought.
This isn’t about perfection. It’s about play. Let’s ditch the stress and just try something new with our hair today. I’m sharing 10 techniques that start simple and build up. You’ve got this.
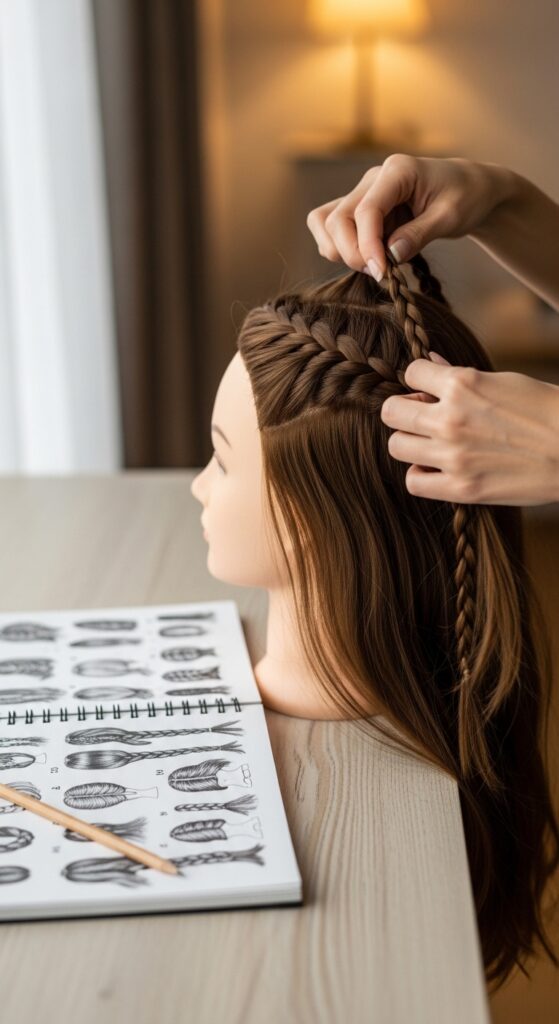
1. The Foundation: Perfecting Your Basic Braid
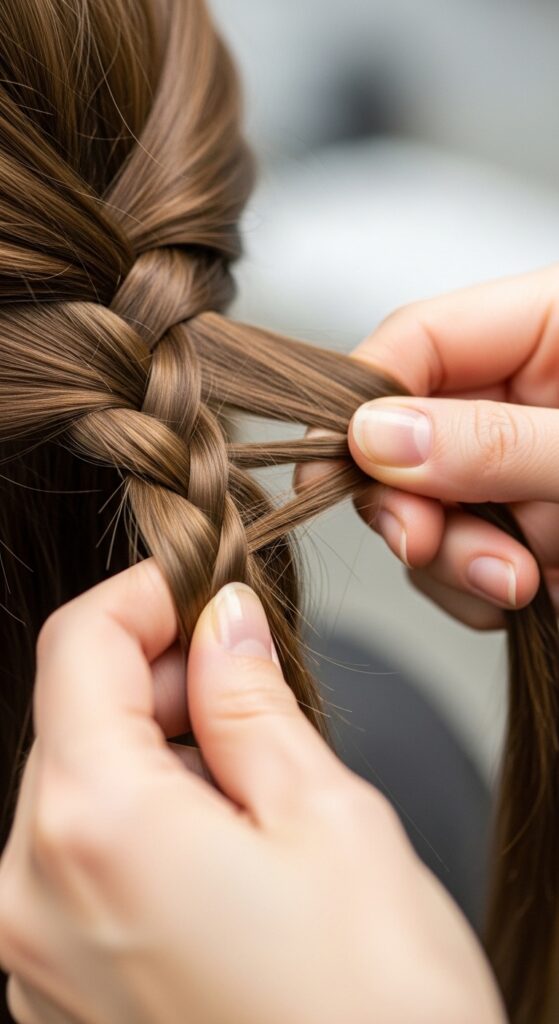
Before we run, we walk. And before we do anything fancy, we need a rock-solid basic braid. This is about control and even tension, which is the secret key to every style that follows.
Start with brushed, tangle-free hair. Split it into three absolutely equal sections. The motion is simple: right over middle, left over middle. But focus on keeping the sections separate and pulling firmly with each crossover.
- Practice on a friend or a mannequin first if it helps.
- Use a tiny bit of texturizing spray on dry hair for better grip.
- Aim for a braid that looks consistent from top to bottom.
2. The Inside-Out Braid (Dutch Braid)
This is the braid that gives you that beautiful, raised look. It’s often called a Dutch braid, and it’s simply the reverse of a French braid. Instead of crossing sections over the middle, you cross them under.
It creates a gorgeous 3D effect that looks intricate but follows the same simple pattern. It’s perfect for a sporty-chic look or as the base for more elaborate styles. Think of it as building the braid on top of your head.
- Take three sections at the front.
- Cross the right section under the middle, then the left under the new middle.
- Add hair to each section as you go, always crossing under.
3. The Elevated Pony: Braided Pony Tail
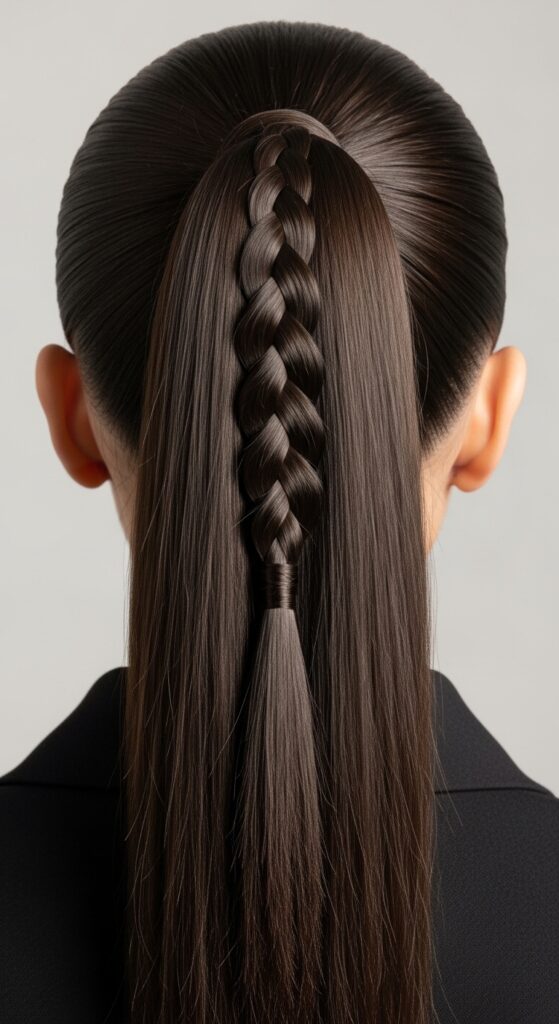
Let’s upgrade your everyday ponytail in two minutes flat. This technique adds instant detail and makes a simple style look thoughtfully put-together. It’s a hallmark of that effortless old money hair aesthetic.
Create your ponytail at your desired height. Take a small, thin section of hair from underneath the ponytail and braid it all the way down. Wrap that braid around the base of the ponytail to conceal the hair tie.
- Secure the end of the braid with a small clear elastic, then bobby-pin it underneath.
- Pull gently on the sides of your ponytail for a fuller look.
- This works amazingly on a quiet luxury bob for a touch of elegance.
4. The Boho Headband: A Front-Facing Dutch Braid
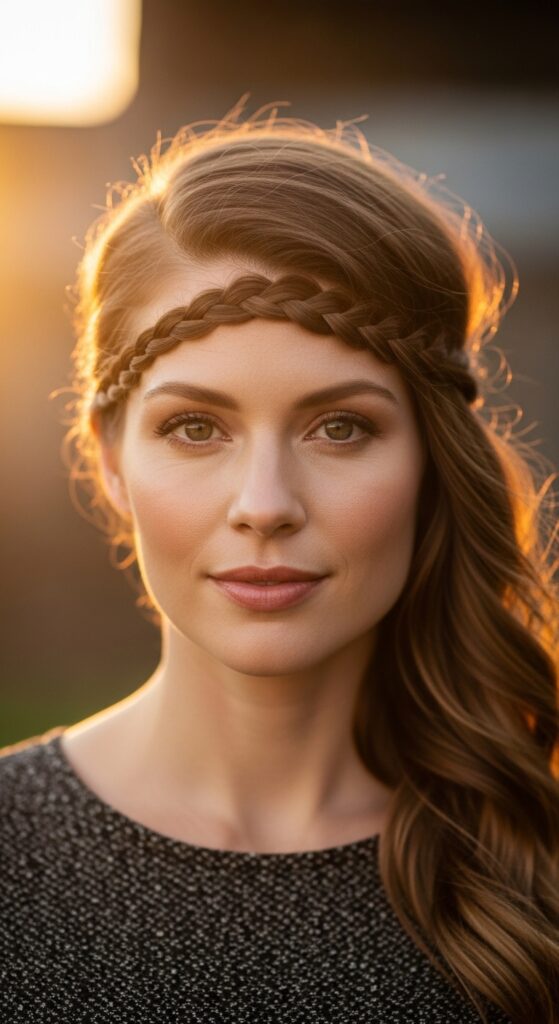
Need a style that keeps hair off your face and looks adorable? This is it. Start with a Dutch braid (that underhand technique!) at one temple, right where your hairline begins.
Braid along your hairline, adding in hair only from the top section, not the bottom. Continue braiding until you reach the other ear, then incorporate it into a loose ponytail or let it blend with the rest of your hair.
- Start with a small triangle section at your temple.
- Braid under, adding hair only from the top/forehead side.
- Stop adding hair once you hit the middle of your other ear and finish the braid.
5. The Romantic Rope: A Twisted Triple Braid
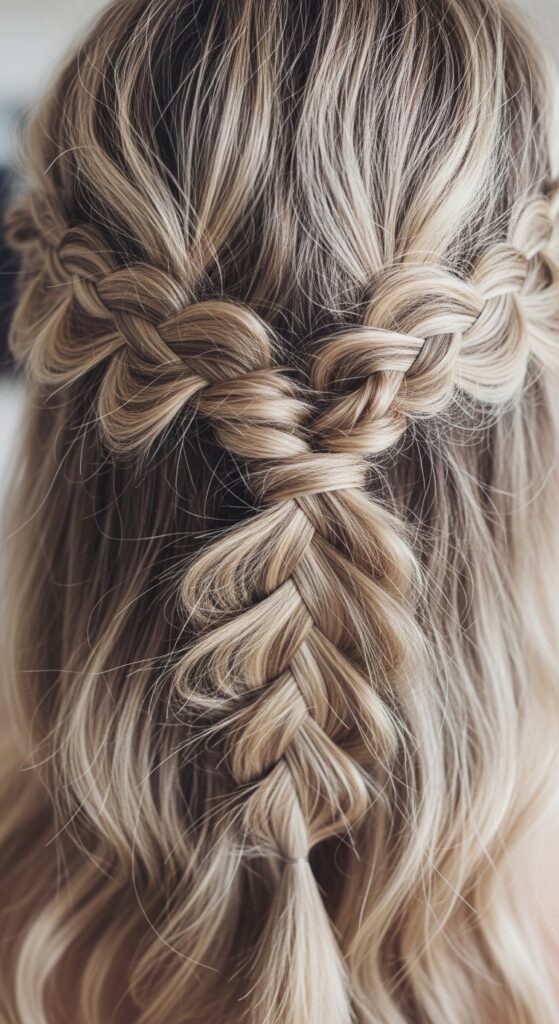
This sounds complex but creates the most beautiful, soft texture. It’s perfect for romantic goth hairstyles or just adding a touch of ethereal detail. We’re combining two simple techniques.
Divide your hair into three sections. Twist the right section clockwise, and the left section counter-clockwise. Now, treat these two twisted ropes as single strands and braid them together with the middle section of normal hair.
- Keep the twists tight as you braid.
- For a fuller finish, gently pull apart the braid once secured.
- This looks stunning on half-up, half-down styles.
6. The Glitchy Glam Base: Disconnected Feed-In Braids
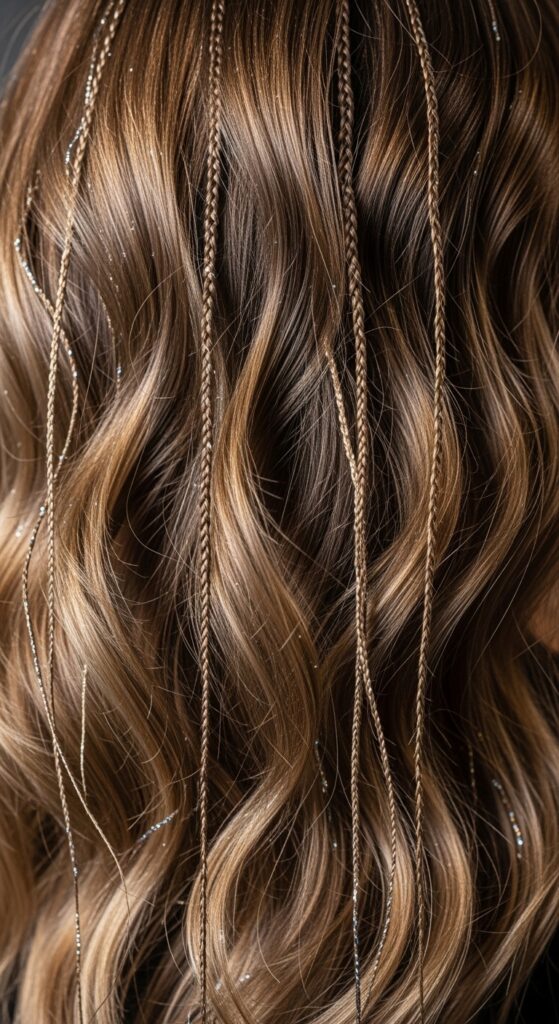
Glitchy glam hair is all about intentional imperfection and surprise texture. This technique uses tiny, disconnected feed-in braids (which are just tiny Dutch or French braids) placed randomly.
Part your hair as desired. Pick a tiny section and start a micro French or Dutch braid, adding in hair for only an inch or two before finishing it off. Make several of these in random spots for a cool, textured look.
- Choose 5-7 random, small sections around your head.
- Create a very short, tight feed-in braid on each.
- Leave the rest of your hair down and wavy or sleek.
7. The Asymmetrical Statement: One-Sided Triple Braid
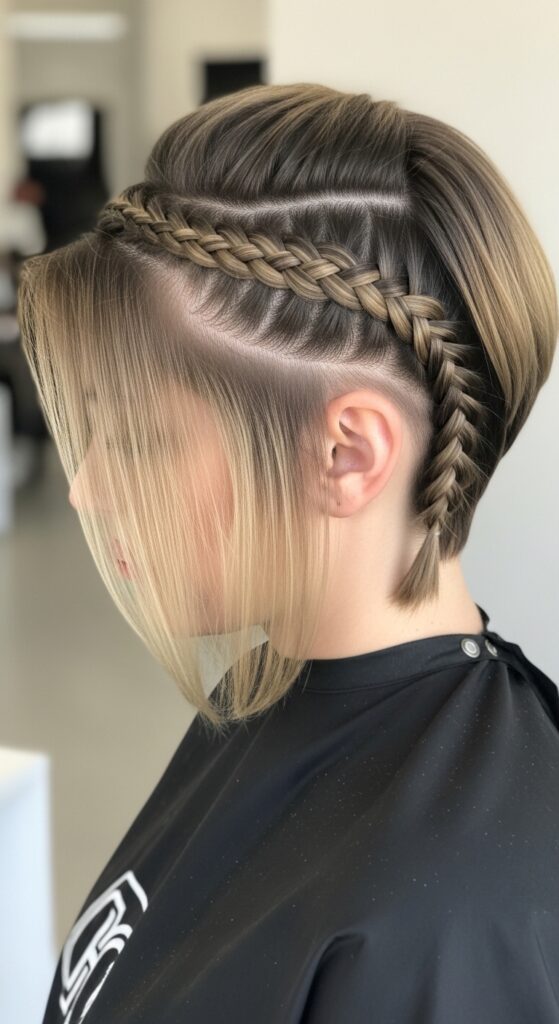
Asymmetry is huge right now. If you have an asymmetrical lob or just love a bold look, this technique is for you. It draws all the attention to one gorgeous, detailed side.
Deep-part your hair. On the heavier side, start a Dutch or French braid right at your hairline near the part. Braid it along the side of your head, following the curve towards the back. Secure it at the nape.
- Keep the braid tight and sleek for a modern vibe.
- Let the rest of your hair flow freely on the other side.
- This complements a sharp vampire haircut perfectly.
8. The Hime Cut Accent: Face-Framing Micro Braids
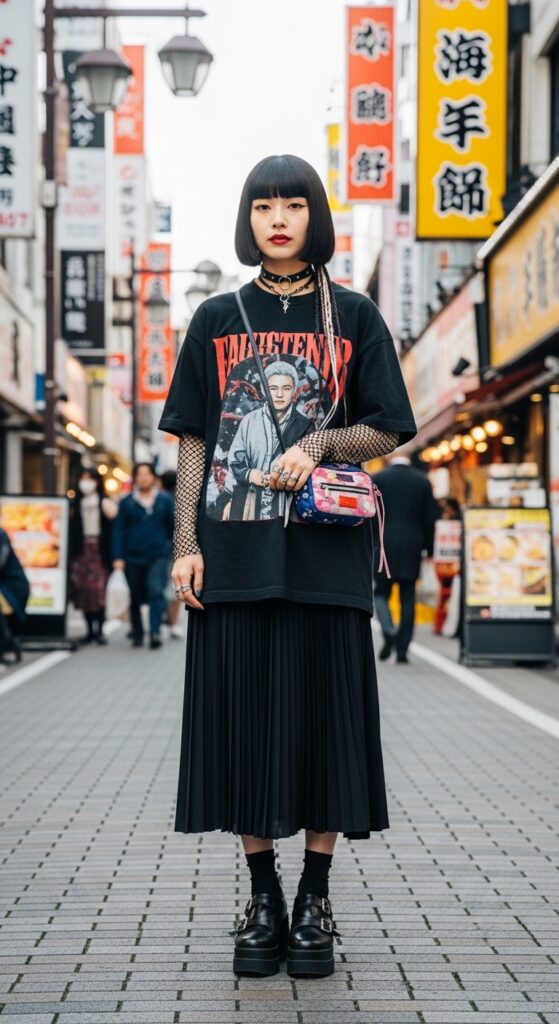
The hime cut is dramatic and beautiful on its own. But adding a tiny, delicate braid can personalize it. This is about subtle accent, not overpowering the iconic shape.
Take one of the long, face-framing sidelock sections. Divide it into three tiny strands. Braid it tightly and neatly, all the way down to the ends. Secure it with a clear elastic. You can do this on one or both sides.
- Isolate one sidelock section from your hime cut.
- Create a very tight, traditional three-strand braid.
- Use a tiny bit of wax to smooth any flyaways for a clean line.
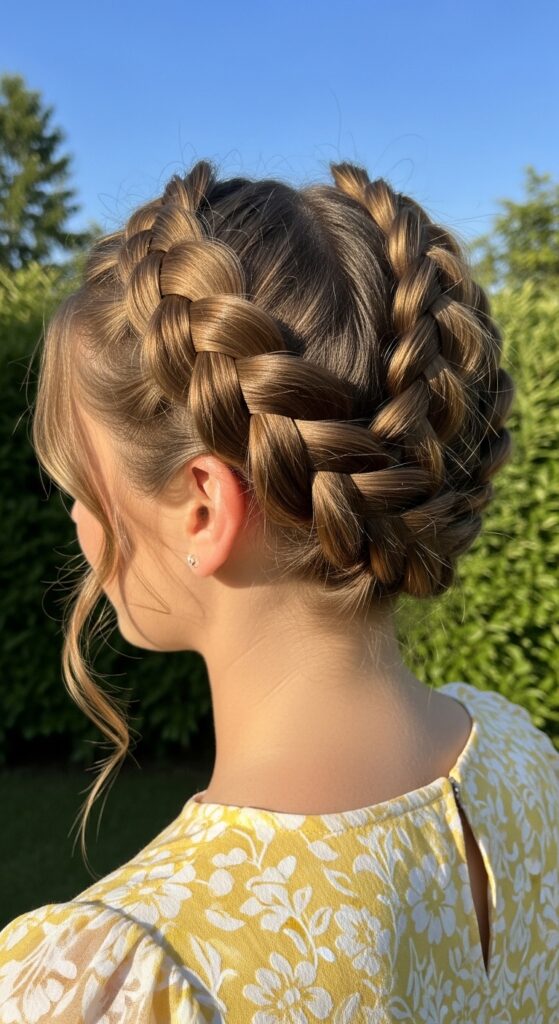
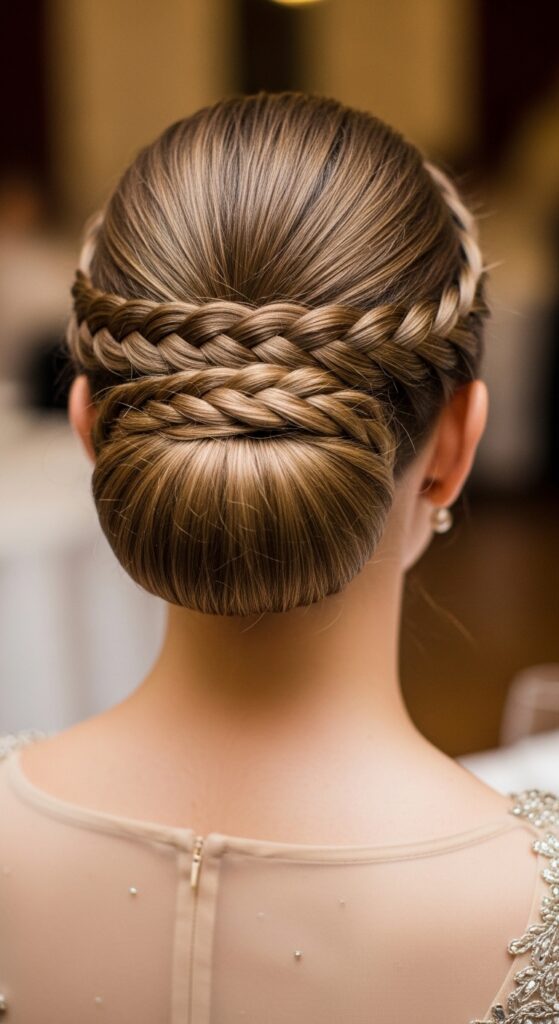
9. The Textured Crown: Triple Braid Updo Base
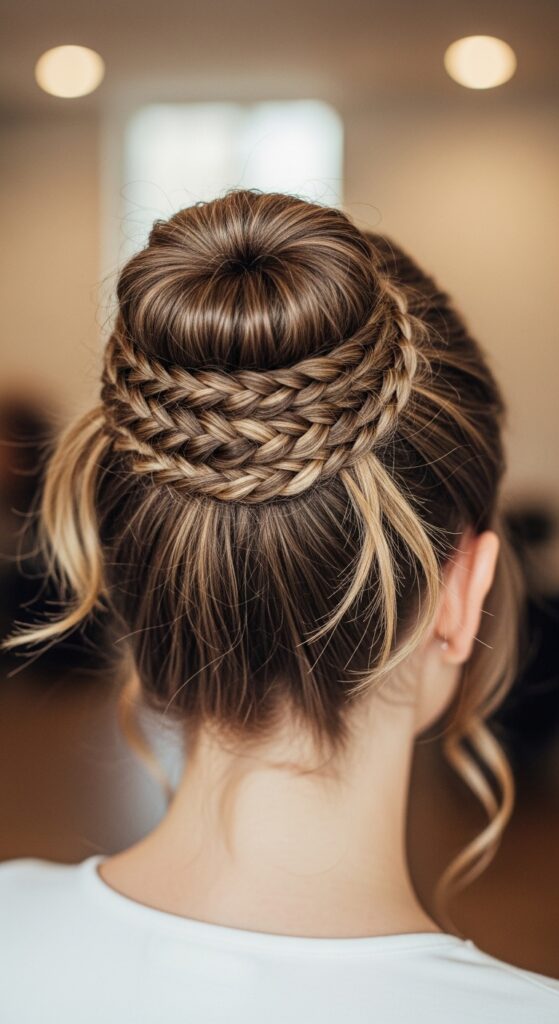
Forget the messy bun. Let’s build a textured updo using braids as both structure and decoration. This technique uses multiple small braids that you then pin together into a casual updo.
Create 3-4 small braids (any type!) in random sections of your hair. Don’t make them perfect. Then, gather all your hair, including the braids, into a low bun or twist. Use the ends of the braids to wrap around the base and pin.
- Leave out some face-framing pieces and the ends of your braids.
- Pull gently on the braids to make them fuller before pinning.
- This style lasts all day and hides second-day hair beautifully.
10. The Vampire’s Lace: A Dark Romantic Braid
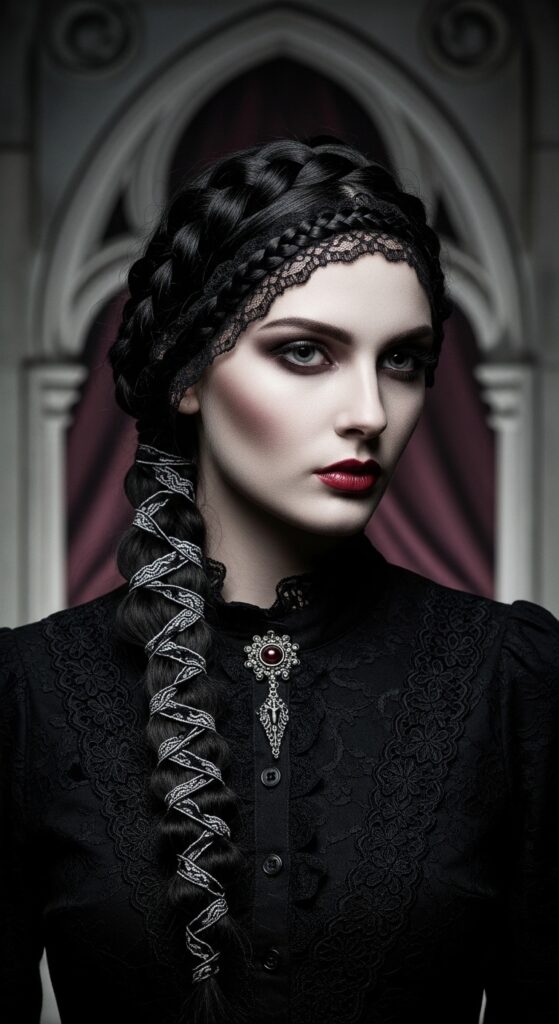
This is for your inner romantic goth. It incorporates a ribbon or lace for a touch of dark elegance. The ribbon becomes the third strand in your braid, creating a stunning visual effect.
Take a length of thin ribbon or lace. Tie it at the base of a small section of hair. Divide the hair into two sections and let the ribbon be the third. Braid normally, treating the ribbon as one of the strands.
- Secure the ribbon at the root of your braid section.
- Braid, crossing the ribbon over the hair sections alternately.
- Finish by tying the ribbon into a small bow at the end.
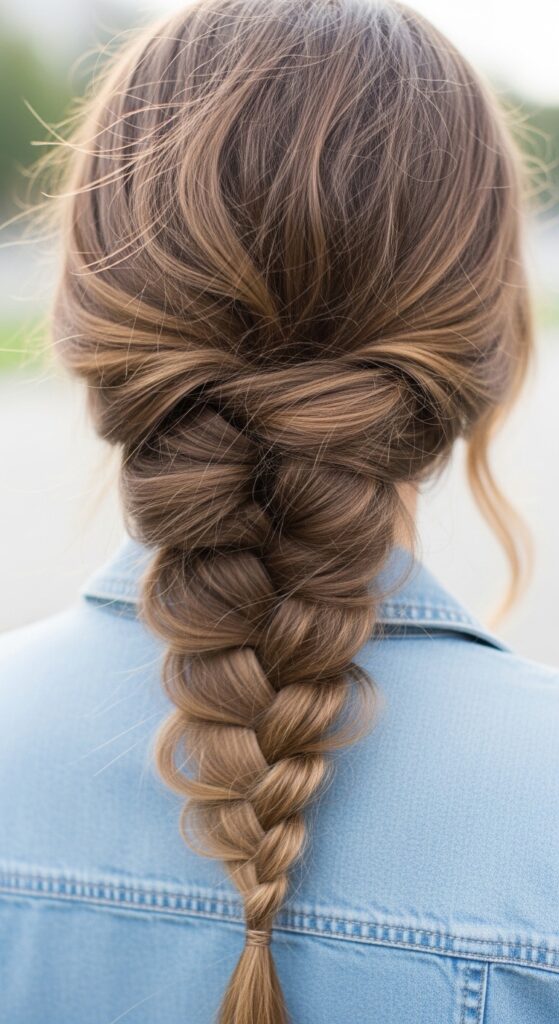
11. The Quick Refresh: Braiding Second-Day Hair

Second-day hair has the perfect texture for braiding—it’s slightly lived-in and holds better. This is your secret weapon for a quick, beautiful style when you’re short on time.
Embrace the texture. A loose side braid or a pair of pigtail braids works wonders. The natural oils and wave prevent your braid from looking too tight or severe, giving you that effortless vibe instantly.
- Spritz a little dry shampoo at the roots for extra volume.
- Go for a looser braid and pull it apart gently for a fuller look.
- No one needs to know it’s day-two hair!
12. The Tool You Need: Good Hair Elastics
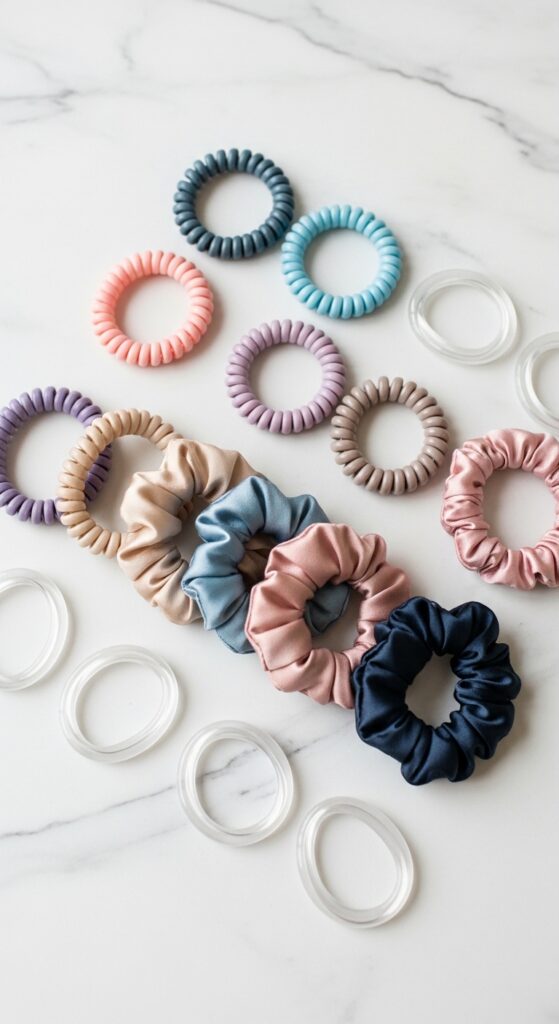
The right tools make all the difference. Nothing ruins a beautiful braid faster than a clunky, tight elastic that snaps your hair or gets tangled. Investing in good elastics is non-negotiable.
I swear by coil spring ties (they look like telephone cords) and seamless silk scrunchies. Clear elastics are great for securing ends inside styles. Avoid thick, rubber-band types that cause breakage.
- Coil Ties: Perfect for securing ends without dents.
- Silk Scrunchies: Gentle and great for thicker hair or ponytail wraps.
- Clear Elastics: Essential for webbing in updos and tiny braids.
13. Adding Grip: When to Use Products
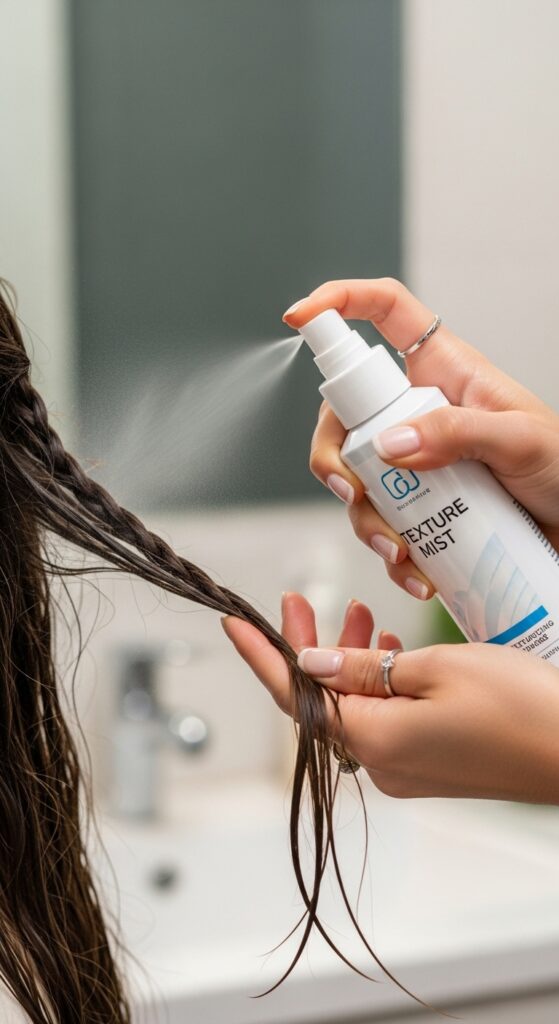
If your hair is super silky or fine, braids can slip out. A little product goes a long way to help. The key is using the right type and not overdoing it—you don’t want crunchy hair.
On dry hair, a light texturizing spray or a dry shampoo adds grit and hold. On damp hair, a mousse or light-hold gel can help control flyaways and set the style. Always apply to mid-lengths and ends, not the roots.
- Texturizing Spray: For grip and volume on dry hair.
- Light-Hold Mousse: For control and definition on damp hair.
- Hair Wax: A tiny dab to tame ends and flyaways after braiding.
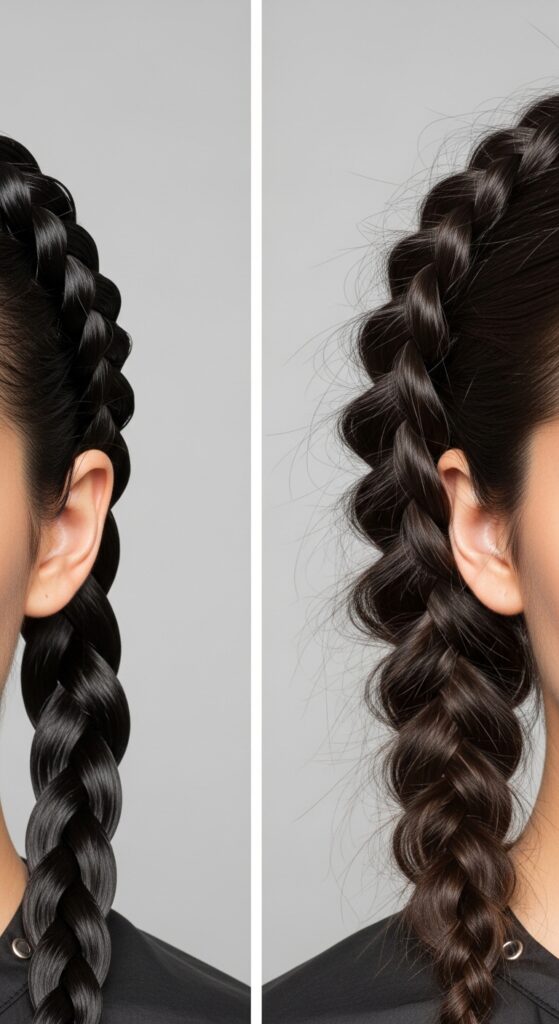
14. The Finish: Making Braids Look Fuller

A flat braid can look a bit sad. The pro trick to making any braid look voluminous, expensive, and intricate is “pancaking.” This just means gently pulling on the edges of each braided section.
Once your braid is secured with an elastic, start from the bottom and gently tug each loop outward. Work your way up. This widens the braid and gives it that soft, boho, full appearance instantly.
- Secure the end of your braid first.
- Gently pull each “bump” of the braid horizontally.
- Work from the bottom up for even volume.
15. Practice Makes Progress: Start Simple
Don’t expect to nail the most complex braid on your first try. I certainly didn’t. Give yourself grace and start with the simplest technique that calls to you. The goal is progress, not perfection.
Practice while watching TV or listening to a podcast. Use a mannequin head if braiding your own hair feels too tricky at first. Muscle memory is real—the more you do it, the easier it gets.
- Set aside 10 minutes every other day just to practice.
- Master the basic and Dutch braid first—they are the foundation.
- Celebrate the small wins! A neat braid is a win.
16. From Day to Night: Braid Transformations
Your daytime braid can easily transform into an elegant evening style. This is the ultimate time-saver. A simple side braid or crown braid can become the anchor for a beautiful updo.
For example, take a side Dutch braid and gather all your hair, including the braid, into a low twist. Use the tail of the braid to wrap around the base of the twist and pin it. You just created a detailed updo in seconds.
- Create your favorite daytime braid.
- Gather all hair into a ponytail or low bun.
- Use the length of the braid to decorate the base.
17. Embracing Imperfection: The “Lived-In” Look
Please remember: the coolest braids often look a little undone. A few flyaways, a piece that comes loose—this adds character and makes the style look effortless and modern. Don’t fight it.
This lived-in vibe is central to so many trends, from quiet luxury hair to romantic goth styles. It looks like you just threw it together, even if you practiced for 20 minutes. That’s the magic.
- After braiding, gently pull a few small face-framing pieces loose.
- Don’t obsess over every single hair being in place.
- A little texture spray can enhance this messy-chic feel.
18. Braiding on Wet vs. Dry Hair
The state of your hair changes the final look dramatically. Braiding on wet hair and letting it dry creates a sleek, defined, wave-like result. Braiding on dry hair gives you a textured, voluminous, boho finish.
For defined waves, apply a curl cream to damp hair, braid loosely, and let air dry or blow-dry on cool. For texture and volume, braid dry hair, leave it for a few hours, then take it out for gorgeous, crimped waves.
- Sleek Waves: Braid damp hair. Let dry completely before unraveling.
- Textured Waves: Braid dry, second-day hair. Leave in for 1-3 hours.
- Experiment to see which result you love more.
19. Incorporating Accessories
Accessories can elevate a simple braid into something special. Think tiny pearl pins, delicate chain headpieces, or even fresh flowers. Weave them in as you braid or add them after for a pop of detail.
For a subtle look, slide in a few pins after you’ve finished bra