Craft 16 Twisted Crowns Ideal for Brunch Date Vibes
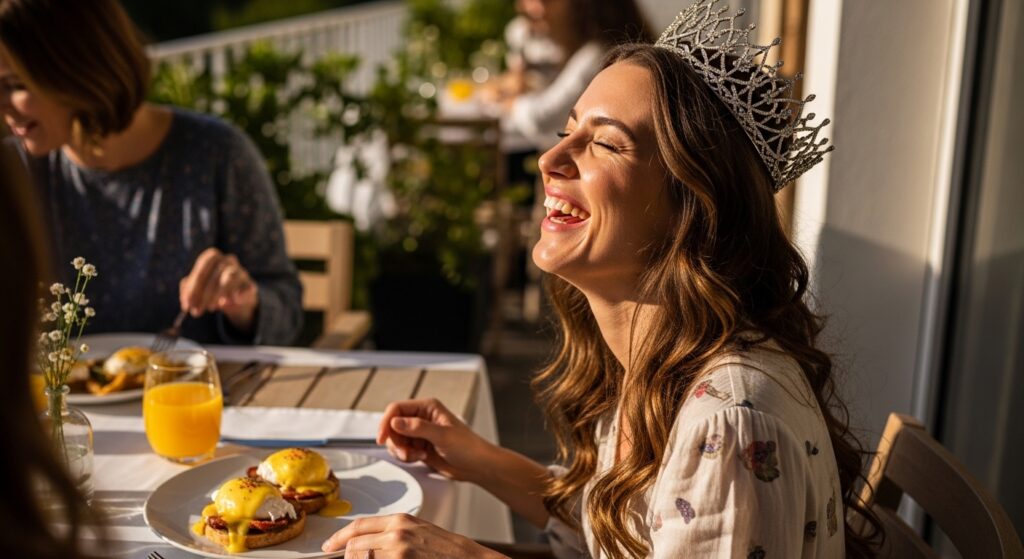
Okay, let’s be real. Brunch dates are a whole mood. It’s that perfect mix of casual and “I definitely made an effort,” where your outfit and your hair need to speak the same effortless language. You want to look put-together, but not like you spent three hours getting ready.
That’s where the twisted crown comes in. It’s the ultimate brunch hairstyle: elegant, a little romantic, and it keeps your hair perfectly out of the way of those avocado toasts and mimosas.
But “twisted crown” can mean so many things! From sleek and polished to messy and bohemian, there’s a version for every hair type and personal style. I’ve rounded up 16 of my absolute favorite ways to wear it.
Think of this as your quick, scrollable guide to looking amazing. Let’s find your perfect brunch ‘do.
1. The Classic Rope Twist Crown
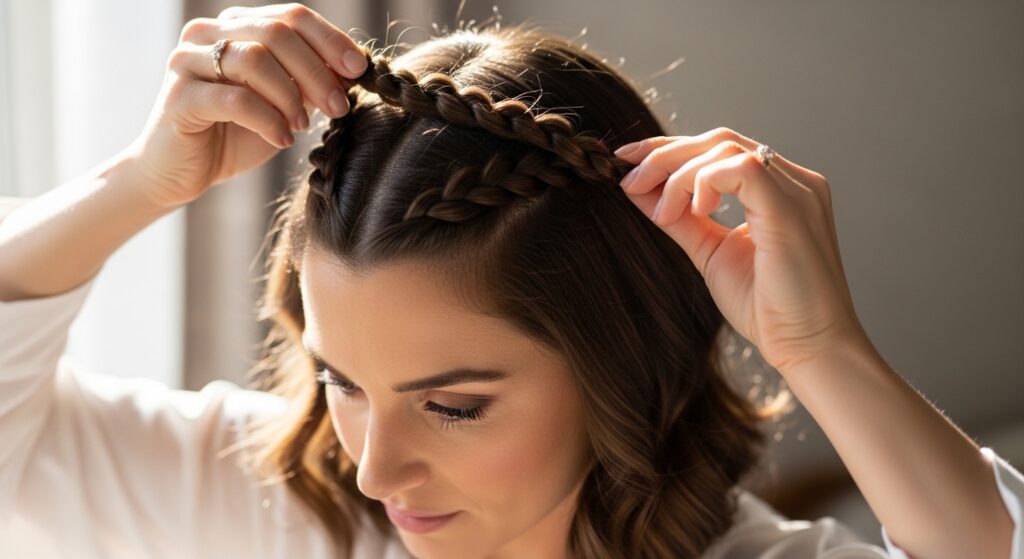
This is the foundation. It’s clean, timeless, and works on almost every hair length past the chin. The key is to create two simple rope twists (just twist two sections of hair) instead of braids for a smoother look.
Start with a deep side part for a touch of drama. Take a section from the front on each side, twist, and pin them back, crossing over at the crown. It’s that easy.
- Works best on: Straight to wavy hair
- Key tool: Strong, clear elastics and bobby pins
- Pro tip: Mist with a light-hold hairspray before twisting for extra grip and flyaway control.
2. The Messy Boho Crown Braid
For that “I just woke up like this” vibe, the messy boho crown is your best friend. This style embraces texture and imperfection. Start with second or third-day hair, or use a texturizing spray to add some grit.
Create a low, loose Dutch braid (braiding under instead of over) around your head. Don’t pull it tight! Gently tug on the edges of the braid to pancake it and make it look fuller and softer.
- Works best on: Wavy to curly hair, or hair with lots of texture
- Key tool: Texturizing sea salt spray
- Pro tip: Leave out your baby hairs and a few pieces around your face for that effortless feel.
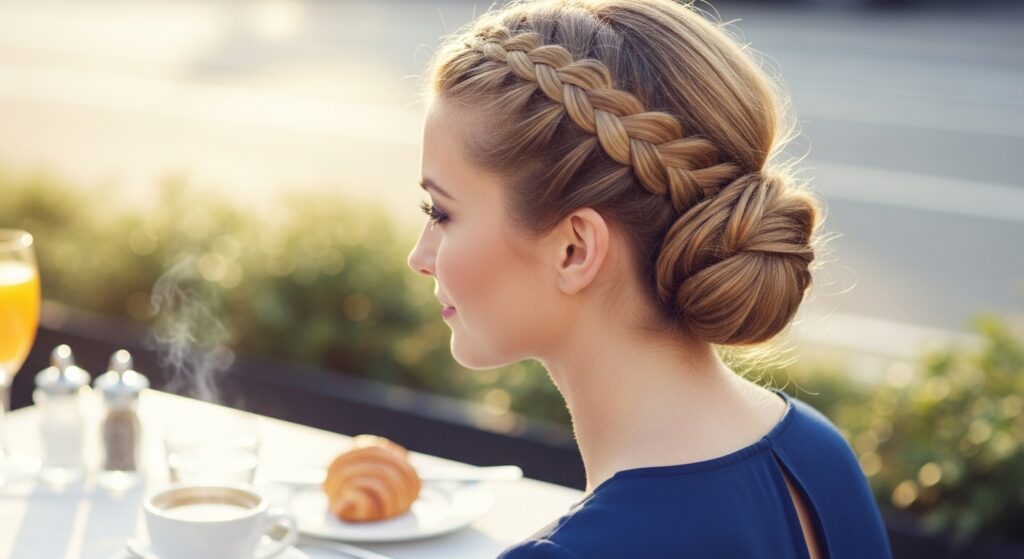
3. The Sleek Low Crown Twist

This is pure quiet luxury hair. It’s minimalist, polished, and screams old money elegance. Your hair needs to be super smooth, so use a serum and a fine-tooth comb.
Gather all your hair into a low ponytail. Split it in two, twist them together, then wrap the twist around the base to form a low bun. Tuck the end under and secure. It’s a twisted crown at its most sophisticated.
- Works best on: Straight, smooth hair
- Key tool: Shine serum and a boar bristle brush
- Pro tip: Spritz a shine spray on your hands and smooth over the finished style for a glass-like finish.
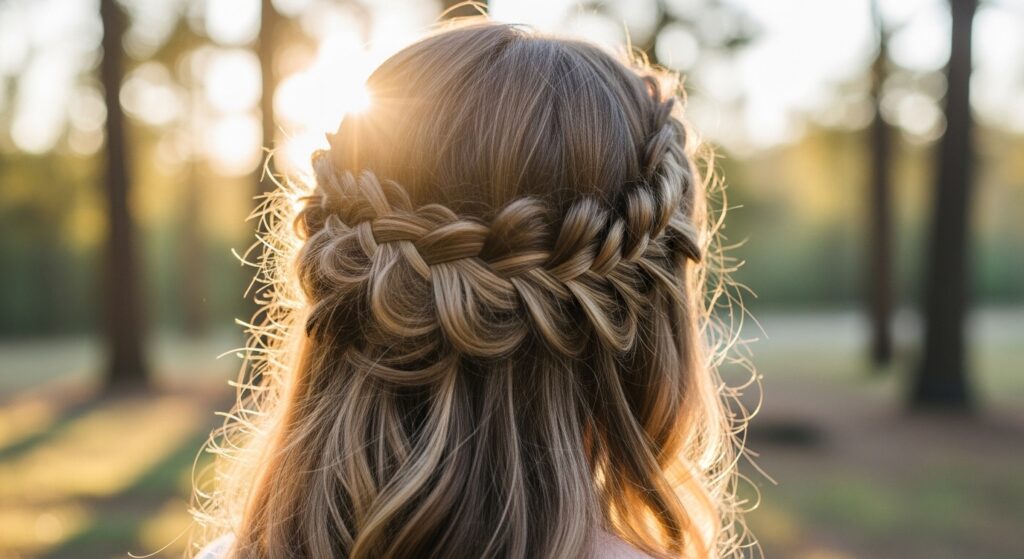
4. The Half-Up Twisted Halo
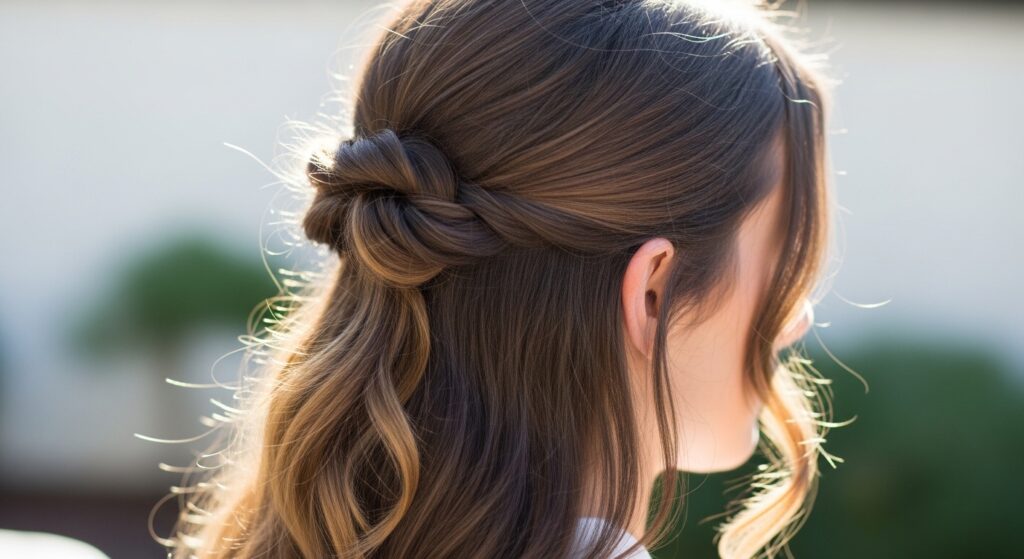
Can’t commit to a full updo? The half-up halo is your perfect compromise. It gives you the crown effect while letting your hair flow. It’s romantic and incredibly fast.
Take two front sections, twist them back, and pin them where they meet at the back of your crown. That’s it! This style pairs beautifully with the trending asymmetrical lob or a quiet luxury bob.
- Works best on: All lengths, especially lobs and bobs
- Key tool: Small, decorative hair clips
- Pro tip: For thicker hair, make smaller, tighter twists. For fine hair, gently pull the twist apart to make it look fuller.
5. The Accessorized Crown (With Scrunchie!)
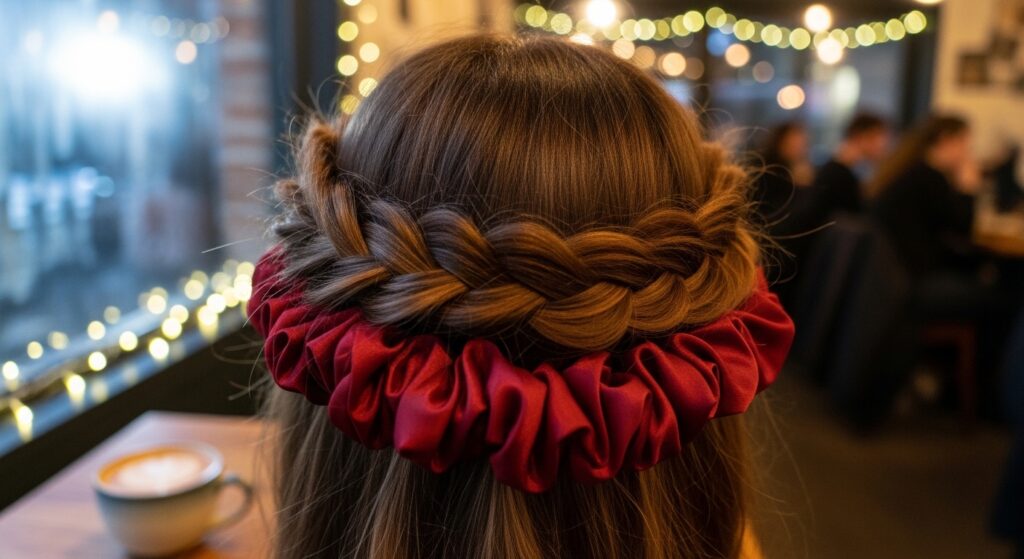
Bring back the scrunchie in the chicest way. This is a one-minute style that looks like you tried. Pull your hair into a high ponytail with a large, fabric scrunchie—silk or velvet for that luxe touch.
Split the ponytail in two, twist loosely, and then wrap it around the base. Tuck the ends under the scrunchie. The scrunchie becomes part of the crown, adding color and texture.
- Works best on: Medium to long hair
- Key tool: A statement scrunchie
- Pro tip: Let a few pieces escape at the nape of your neck for a soft, undone finish.
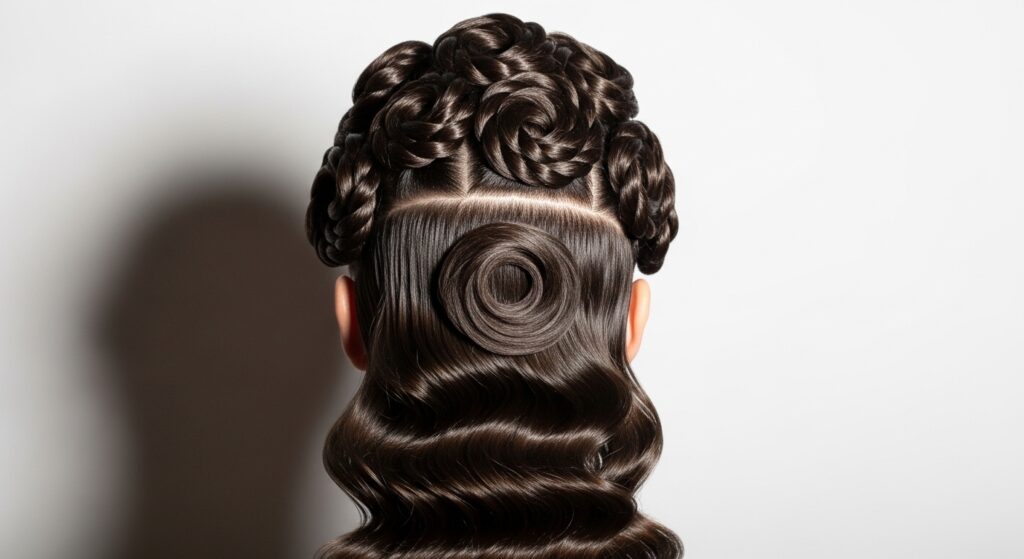
6. The Romantic Goth Twisted Updo
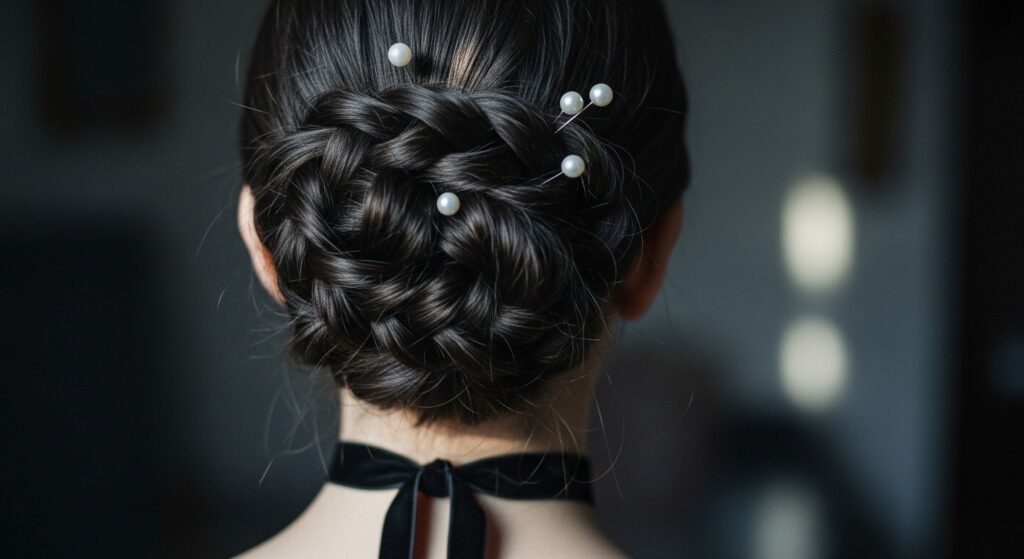
Think romantic goth hairstyles or a softer take on the vampire haircut. This is dramatic and perfect for a moody, evening brunch. Start with deep, dark hair or use a temporary color spray.
Create multiple small twists all over your head, gathering them into a low, intricate bun at the nape of your neck. The goal is artful disarray, not perfection. Add a few pearl-encrusted bobby pins for contrast.
- Works best on: All hair colors, but dramatic on dark hair
- Key tool: Black bobby pins and pearl hair accessories
- Pro tip: Backcomb the roots slightly before twisting for extra volume and a touch of haunting drama.
7. The Glitchy Glam Crown Pony
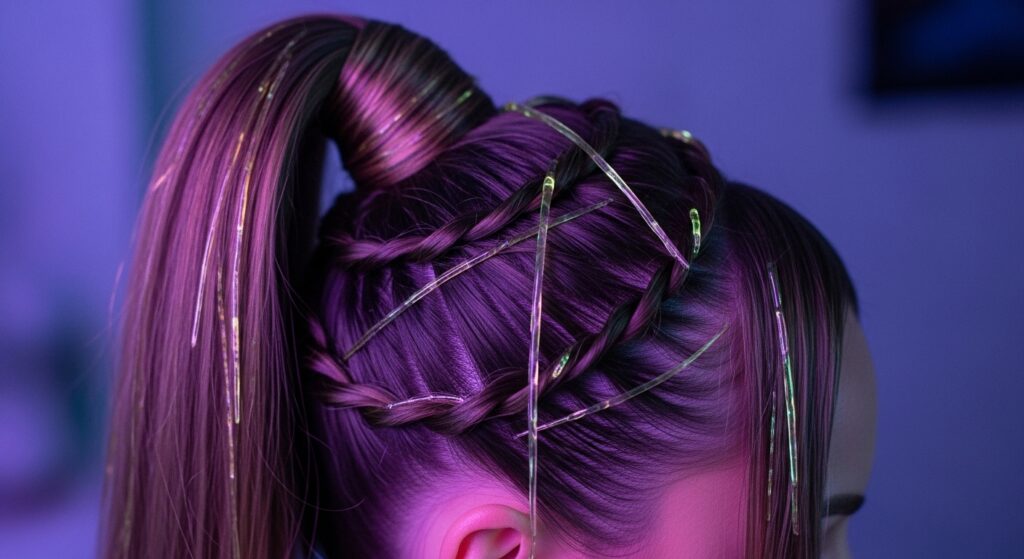
This is for the fashion-forward friend. Glitchy glam hair is all about intentional imperfection and digital-age texture. It’s a cool-girl look that turns heads.
Put your hair in a super high, tight ponytail. Twist a section of hair from the ponytail and wrap it around the base to hide the elastic. Then, deliberately pull out a few small, wispy sections and coat them with a strong-hold gel or wax for a “broken” look.
- Works best on: Straight or slightly textured hair
- Key tool: Strong-hold hair gel or wax for piece-y details
- Pro tip: Focus the “glitchy” pieces around your hairline and the crown for maximum effect.
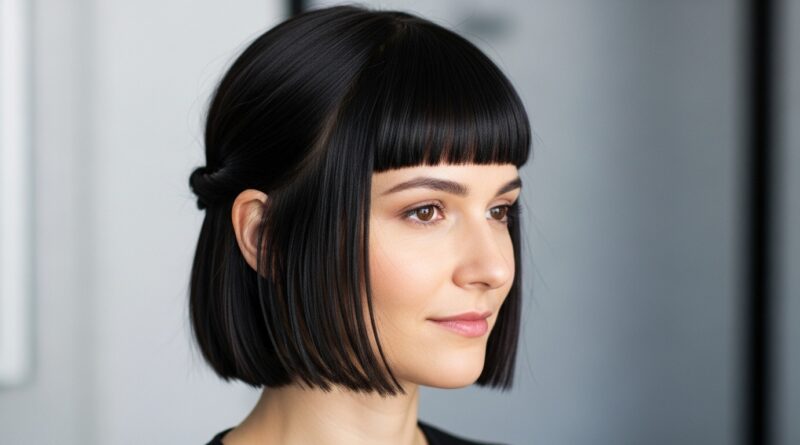
8. The Hime Cut-Inspired Front Twist
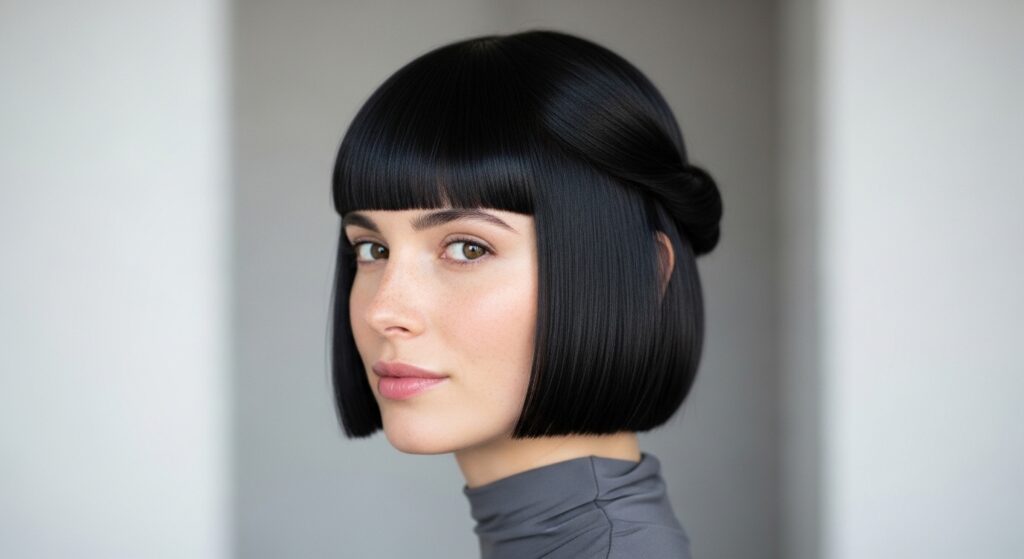
If you have or are inspired by the iconic hime cut (those long, front framing pieces with a blunt bob), this style highlights it perfectly. It’s a beautiful way to incorporate 2026 hairstyles’ love for structural shapes.
Simply take those two long front sections, twist each one back, and pin them at the back of your head. Let the rest of your blunt bob swing free. It’s architectural and sweet at the same time.
- Works best on: Hime cuts or lobs with face-framing layers
- Key tool: Small, matte-finish bobby pins
- Pro tip: For a sharper look, flat iron the front sections before twisting. For softer, leave them natural.
9. The Twisted Crown for Short Hair
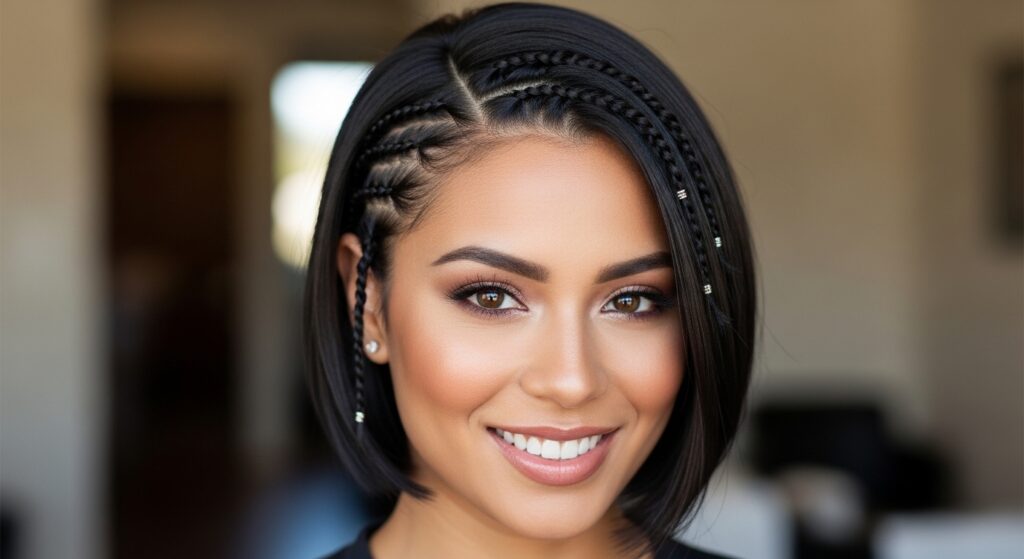
Short hair friends, you are not left out! You can absolutely rock a mini crown. Use the hair at your temples and around your hairline to create tiny, delicate twists.
Twist these small sections back and pin them at the crown or let them blend into the rest of your style. It adds a detail that feels special and keeps shorter pieces out of your face.
- Works best on: Pixies, bobs, and growing-out cuts
- Key tool: Very small, tight-holding bobby pins
- Pro tip: Use a tiny bit of pomade on your fingertips to control wispies and give the twists definition.
10. The Double Layer Crown Braid
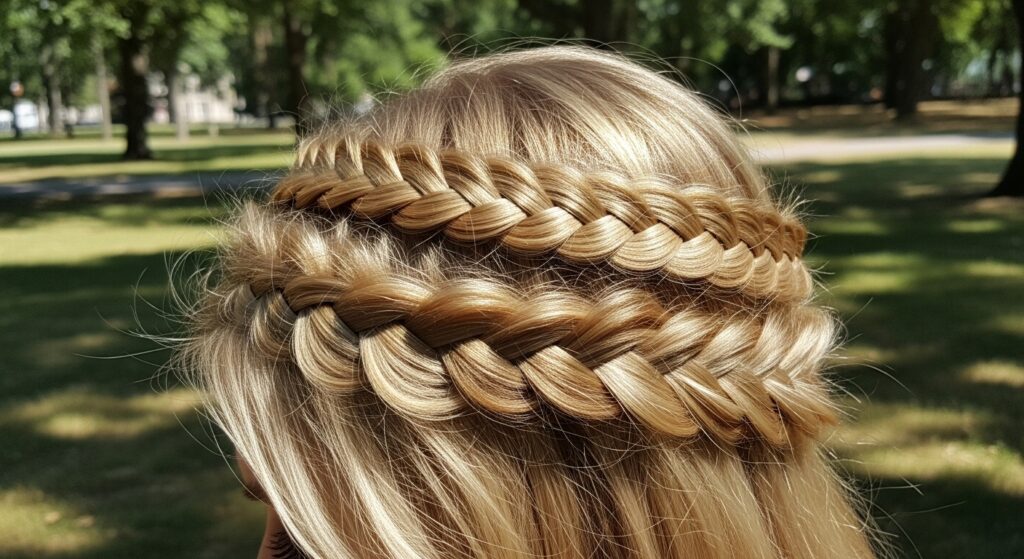
For those with thick, glorious hair, show it off! This style uses two separate crown braids stacked for major impact. It looks complex but is just two simple braids pinned one above the other.
Create a standard crown braid around your head. Then, directly below it, start a second braid using the hair left underneath. Pin it in place. The result is regal and perfect for a fancy garden brunch.
- Works best on: Very thick, medium to long hair
- Key tool: Lots of bobby pins and a mirror to check the back
- Pro tip: Braid the second layer a bit looser than the first for a more relaxed, less “armor-like” feel.
11. The Twisted Crown with a Ribbon

Ribbons are huge right now, and they instantly make any hairstyle more feminine and fresh. Choose a ribbon that matches your outfit for a coordinated look.
As you create your basic twisted crown (any style works!), weave a long ribbon in with one of the sections before you start twisting. Once pinned, tie the ends into a small, delicate bow at the nape of your neck.
- Works best on: All hair types and lengths
- Key tool: A long, thin satin or grosgrain ribbon
- Pro tip: For a modern twist, use a leather cord instead of a ribbon for an edgier contrast.
12. The Voluminous Top-Twist Crown
This is all about the volume at the crown. It’s a great way to add height and drama if you have flat hair. You’ll focus the twisting just on the top section of your hair.
Tease the hair at your crown lightly. Take two large front sections, twist them back, and pin them at the back of your crown, letting the rest of your hair fall down. It creates instant lift and a very romantic silhouette.
- Works best on: Fine to medium hair that needs a volume boost
- Key tool: A teasing comb and strong-hold root spray
- Pro tip: Spray the roots before and after teasing for all-day hold that won’t quit.
13. The Dutch Braid Into Twisted Bun
This combines two techniques for a look that’s secure and interesting. It starts with a Dutch braid along your hairline that seamlessly turns into the twisted crown base.
Begin a Dutch braid at one temple, braiding it back to about your ear. Then, incorporate the rest of your hair, twist it all together, and wrap it into a low bun. It’s elegant and keeps every hair in place.
- Works best on: All hair lengths, especially good for active brunches
- Key tool: Clear elastic to secure the braid before twisting
- Pro tip: Keep the Dutch braid tight and the twist/bun looser for a beautiful contrast in texture.
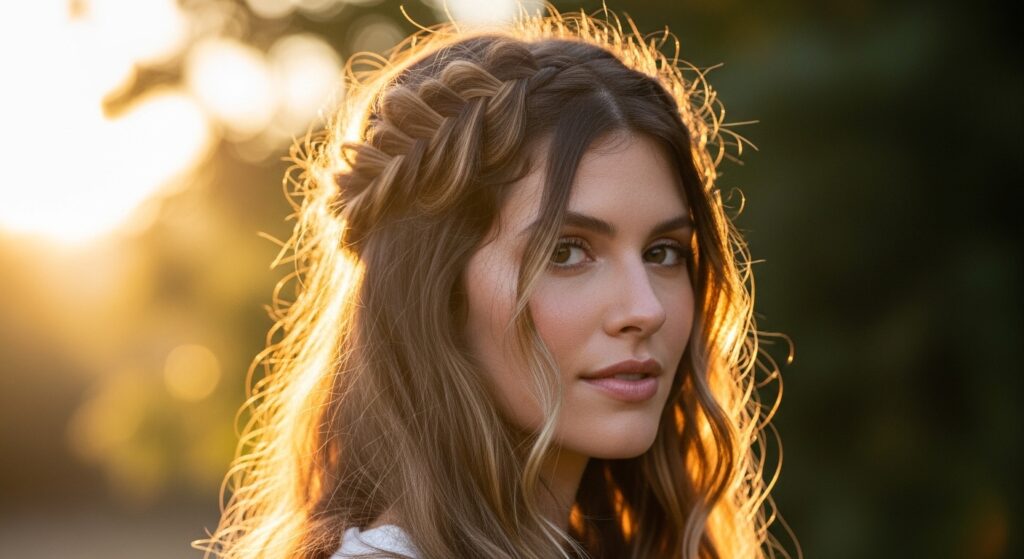
14. The Waterfall Twisted Crown
The waterfall technique creates a stunning, ethereal effect. Pieces of hair cascade down like a waterfall while the crown stays secure. It looks incredibly difficult but just follows a simple pattern.
Start a waterfall braid at one temple, working it across your forehead and back down to the other side. Instead of dropping all the pieces, secure the braid into a crown. It’s a show-stopper for a special occasion brunch.
- Works best on: Long, layered hair
- Key tool: Patience and a good tutorial video pulled up on your phone!
- Pro tip: Practice this one the night before. Once you get the rhythm, it’s surprisingly easy.
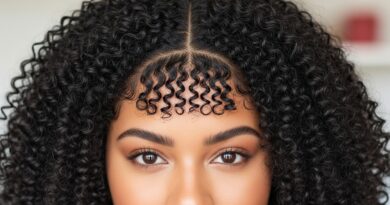
15. The Twisted Crown for Curly Hair
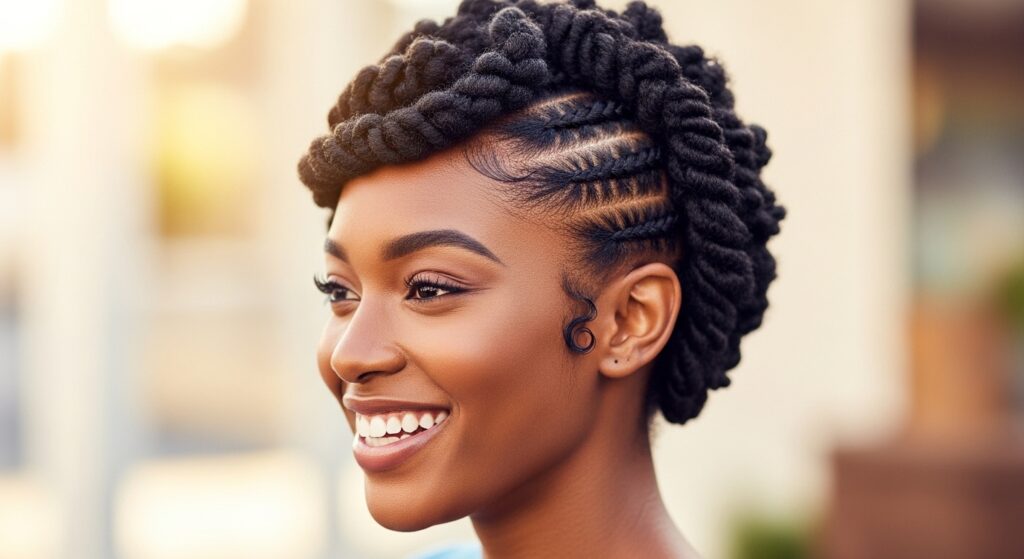
This style celebrates your natural curl pattern. The goal is definition, not control. Work with damp hair and a curl-defining cream for the best results.
Section your hair. Twist two large sections from the front, using your natural curl pattern to help the twist form. Cross them over your crown and pin. Let some curls escape freely. It’s a gorgeous, joyful look.
- Works best on: All types of curly and coily hair
- Key tool: Curl defining cream and a diffuser
- Pro tip: Do this style on freshly washed, conditioned hair for the most defined and frizz-free twists.
16. The “I Woke Up Like This” Knot Crown
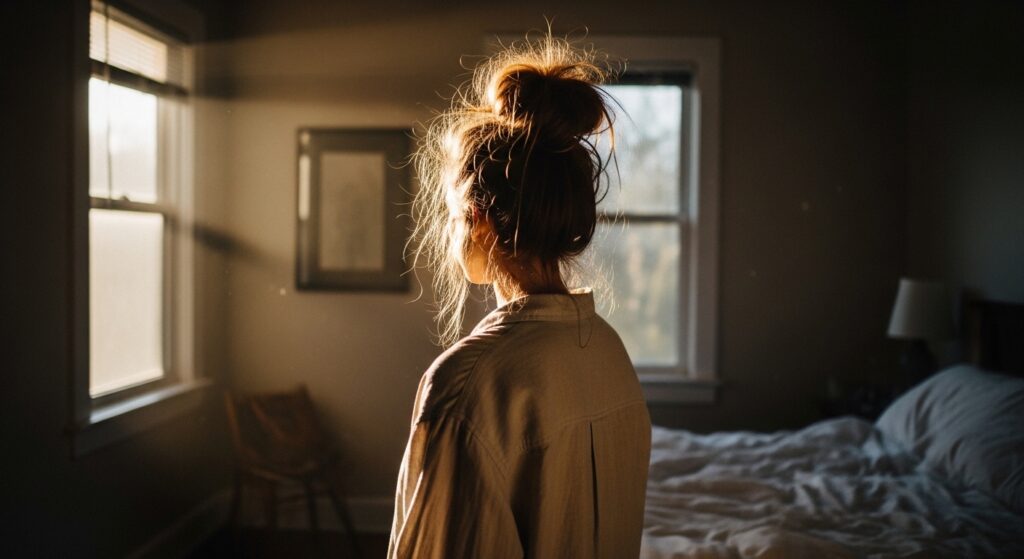
This is the ultimate lazy-girl hack. It’s literally just tying your hair in knots. It sounds weird, but it creates the coolest, messiest twisted crown effect with zero skill required.
Split your hair into two sections. Tie them together in a loose knot at the back of your head. Then, tie a second knot with the remaining length. Tuck the ends under and pin. Fluff it up. Done in 60 seconds flat.
- Works best on: Second or third-day hair with texture
- Key tool: Just your hands and a couple of pins
- Pro tip: The messier, the better. Don’t overthink the knots—just go for it.
Essential Tools You’ll Actually Use
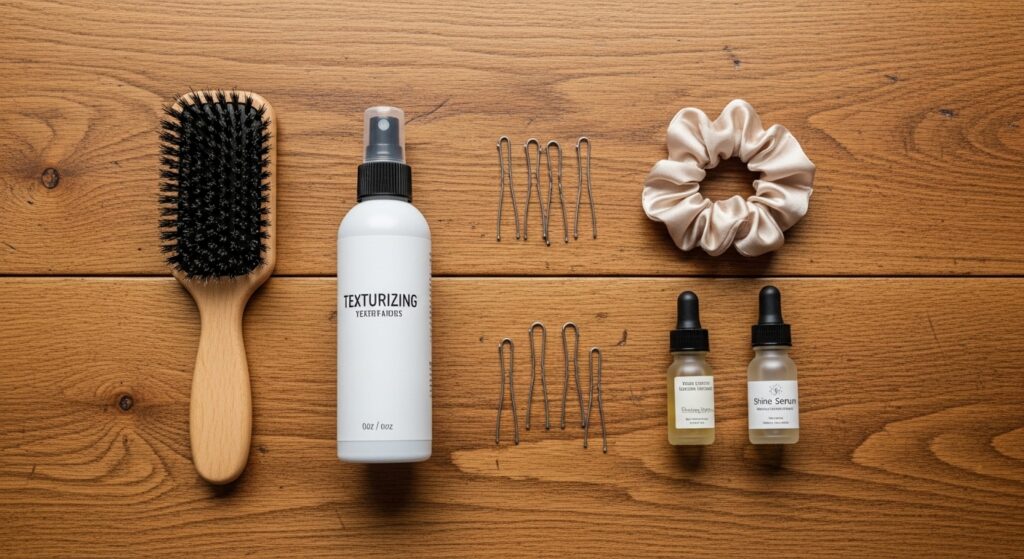
You don’t need a salon full of products. These are my ride-or-die tools that make every style on this list possible. Keep them in a drawer, and you’re always ready.
A good texturizing spray is a game-changer for grip and volume. Strong, matte-finish bobby pins that actually hold. A shine serum for sleek styles. And a silk scrunchie for gentle, stylish holds.
- Texturizing Spray: For grip and “lived-in” texture.
- Matte Bobby Pins: They disappear in your hair.
- Shine Serum: A drop smoothes flyaways instantly.
- Fine-Tooth Comb: For ultra-sleek parting and styling.
How to Make Any Crown Last All Day
Nothing is worse than a beautiful hairstyle that falls apart before the coffee arrives. The secret is all in the prep and a few strategic tricks. It starts before you even begin twisting.
Style on day-old hair, or use a dry shampoo at the roots for grip. Lightly mist sections with hairspray before you twist them. And always, always criss-cross your bobby pins when inserting them—it locks them in place.
- Prep: Start with dry shampoo or slightly textured hair.
- Pin Smart: Insert pins facing opposite directions so they grip each other.
- Final Seal: A light, all-over mist of flexible-hold hairspray finishes the job.