Crochet Braids Guide Without Needing Special Tools
Hey friend! Let’s talk about crochet braids. I know, I know—it sounds like you need a whole salon’s worth of tools and a professional degree to get it right. But what if I told you that you can achieve gorgeous, protective styles with things you already have at home?
That’s right. No special crochet hooks, no complicated gadgets. Just your hands, some hair, and a bit of patience. This method is a total game-changer for refreshing your look without the stress or the cost.
Whether you’re dreaming of 2026 hairstyles that are ahead of the curve or a timeless old money hair vibe, this technique is your secret weapon. Ready to give your hair a break and your style a major upgrade? Let’s dive in.
What Are Crochet Braids, Really?
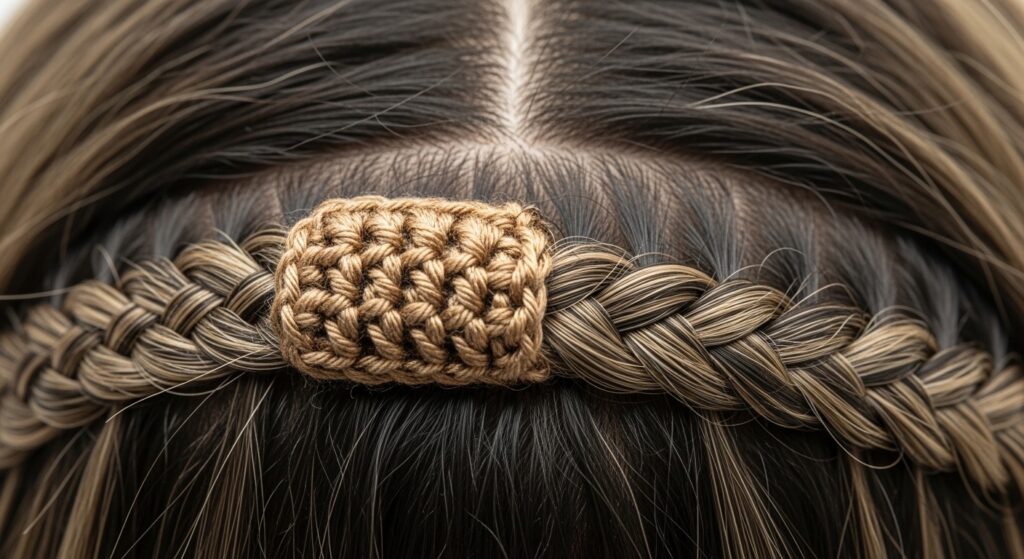
Crochet braids are a protective style where you cornrow your natural hair and then use a tool to “crochet” loose hair extensions through the braids. It’s faster than traditional braiding and way easier on your edges.
The best part? The version I’m showing you skips the special tool. We’re going old-school with a simple, everyday item you definitely own. This method creates a seamless, full look that can mimic any style, from a romantic goth hairstyle to a chic asymmetrical lob.
Gathering Your “No-Tool” Supplies
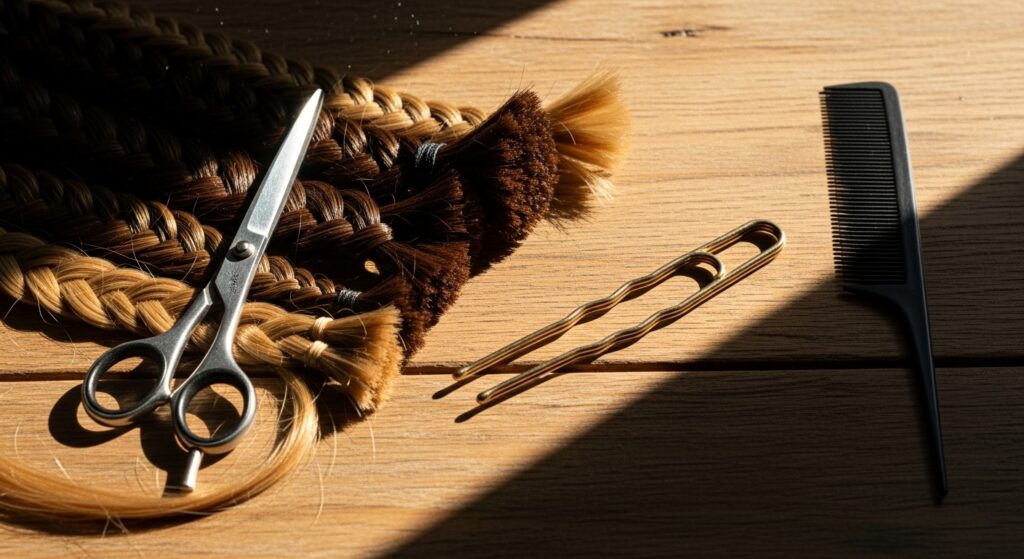
You don’t need much. For your hair base, grab a rat-tail comb, hair ties, and edge control. For the crochet part, you’ll need your chosen braiding hair.
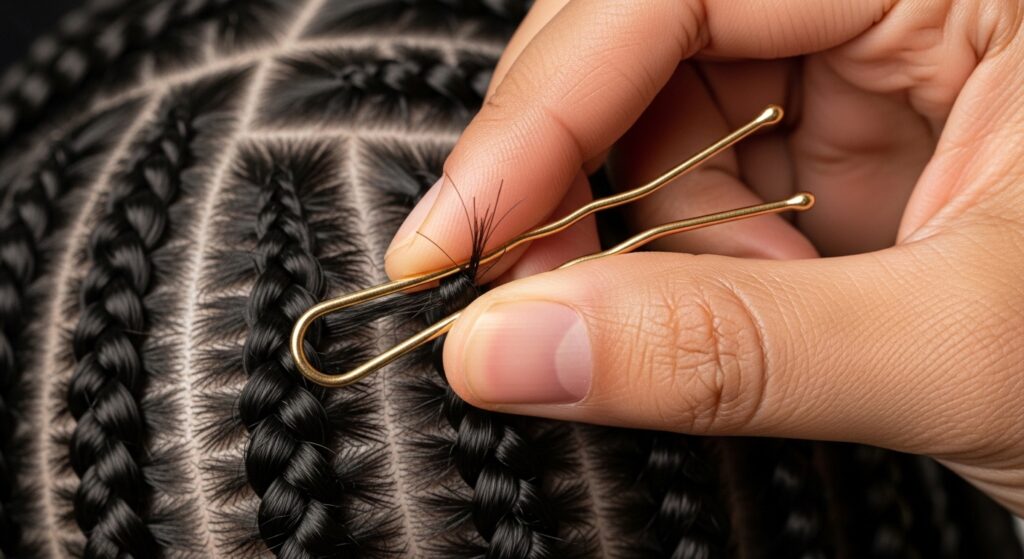
Here’s the tool swap: instead of a crochet hook, we’re using a large, smooth bobby pin. Yes, really! Make sure it’s the kind with a completely closed, rounded end. This will be your magic wand for pulling hair through.
- Braiding hair of your choice
- Large, smooth bobby pin
- Rat-tail comb
- Scissors
- Hair clips and ties
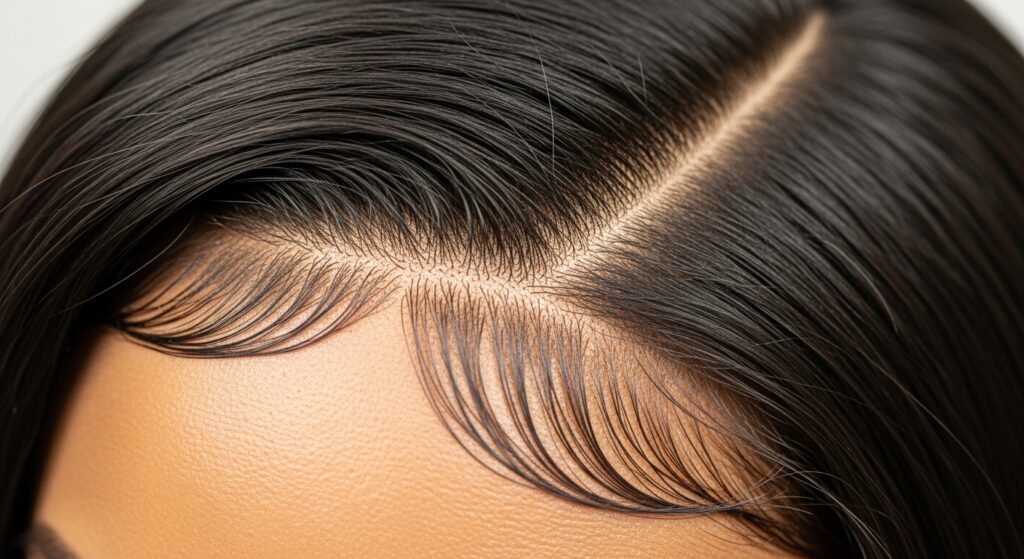
Prepping Your Natural Hair
Start with clean, detangled hair. I always braid on slightly damp hair with a good leave-in conditioner. It helps with moisture and prevents breakage.
Part your hair into sections that work for your desired style. For a full head, medium-sized cornrows going straight back are a classic. For a side-parted look like a quiet luxury bob, adjust your part now.
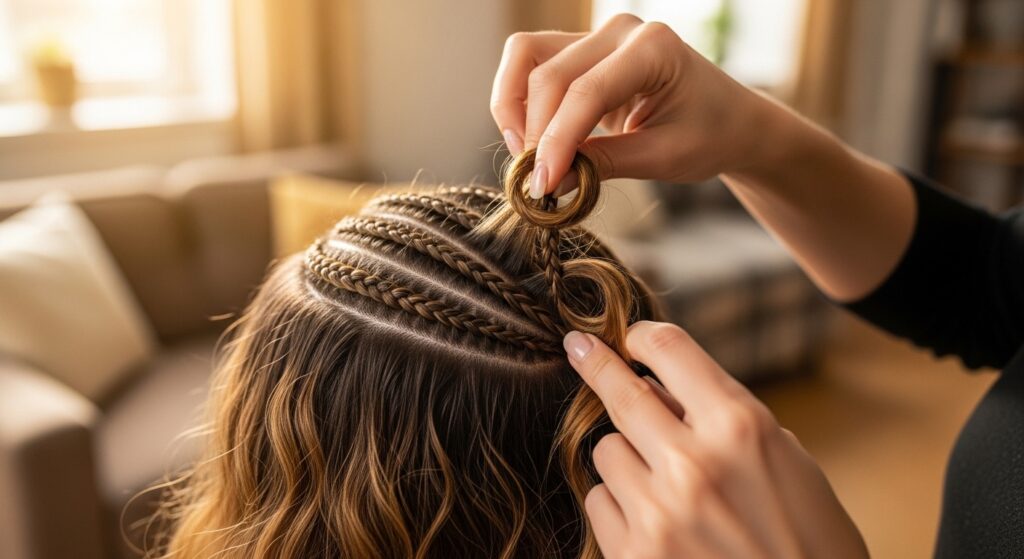
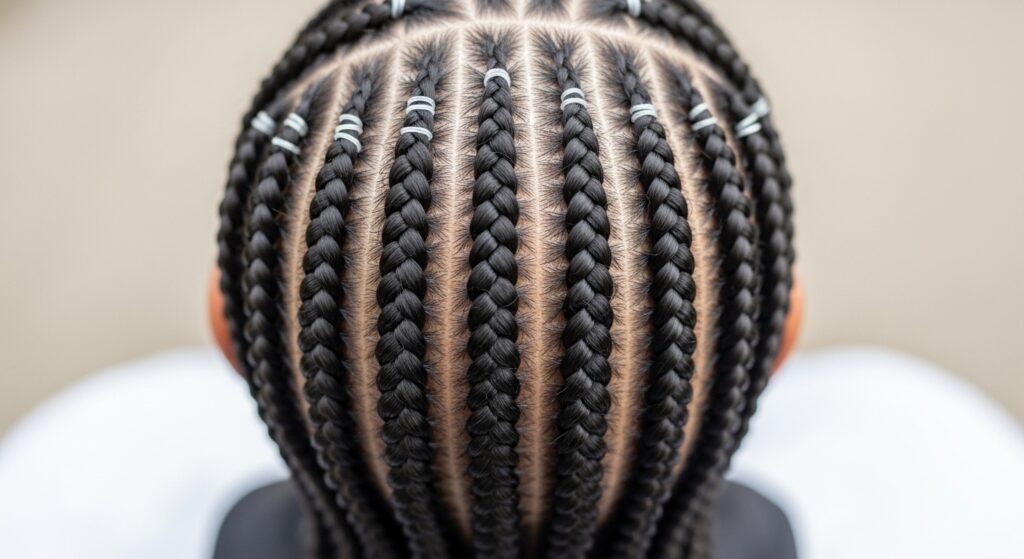
Creating the Perfect Cornrow Base
Braid your cornrows neatly but not too tight. Your scalp should feel comfortable, not tense. The braids are the foundation, so keep them flat and even.
Leave a small tail of unbraided hair at the end of each cornrow. This is crucial! You’ll use this tail to secure the crocheted hair later. Secure each braid with a small, clear elastic.
Your Secret Weapon: The Bobby Pin Method
Unfold your large bobby pin so it looks like a narrow “U” shape. The closed, rounded end is what you’ll use to hook and pull. It’s gentler than a metal hook and you have total control.
Practice on one braid first. Slide the rounded end under a stitch in your cornrow. It should glide easily without snagging. This creates the loop you’ll pull the extension hair through.
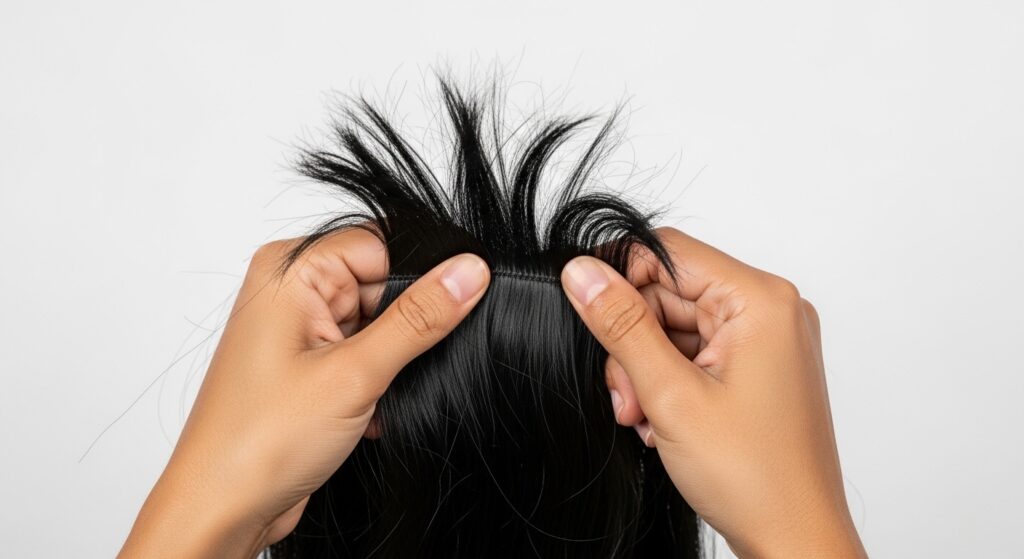
Prepping Your Extension Hair
Cut your braiding hair weft into manageable pieces, about 4-5 inches wide. Then, cut or pull those pieces into smaller, wispy chunks. This creates volume and a more natural look.
You’ll need less hair than you think. For a super dense look, prep more. For a breezy, glitchy glam hair effect with peekaboo scalp, use less. It’s all about your preference.
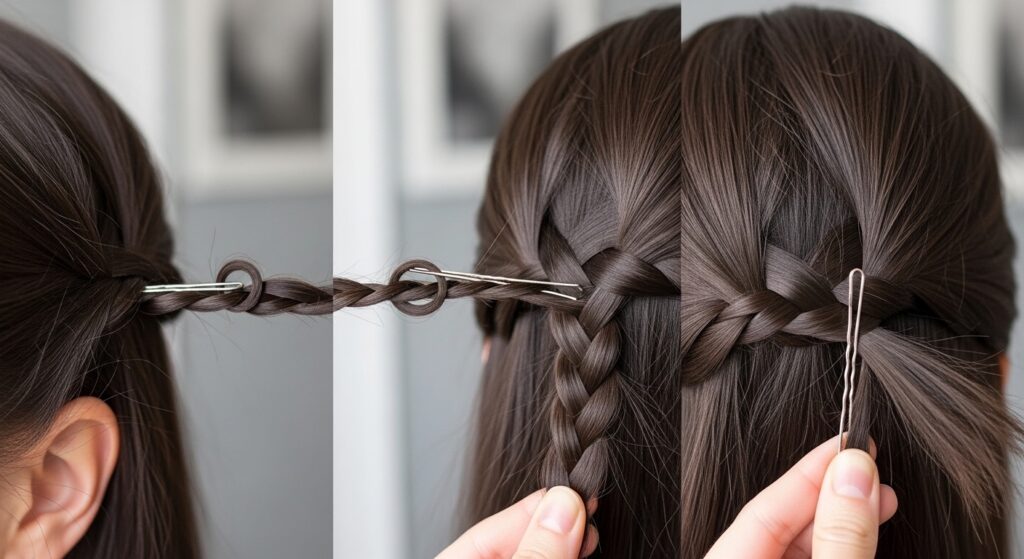
The Basic Crochet Loop Technique
- Take one small chunk of extension hair and fold it in half to create a loop.
- Insert the bobby pin under a cornrow stitch, hook that loop, and pull it halfway through.
- Now you have the loop on one side and two loose ends on the other.
- Pull the two loose ends through the loop and tighten gently down onto the braid.
Securing the Hair: The Knot That Isn’t
That pull-through action creates a secure, slip-proof hold. It’s not a traditional knot, so it won’t damage your braids when it’s time to take down. Pull it snug so the hair sits flush against the braid.
Tug on it gently to test the hold. It should feel firm. If it’s loose, undo it and try again, pulling the ends tighter through the loop. This is the core of the whole method!
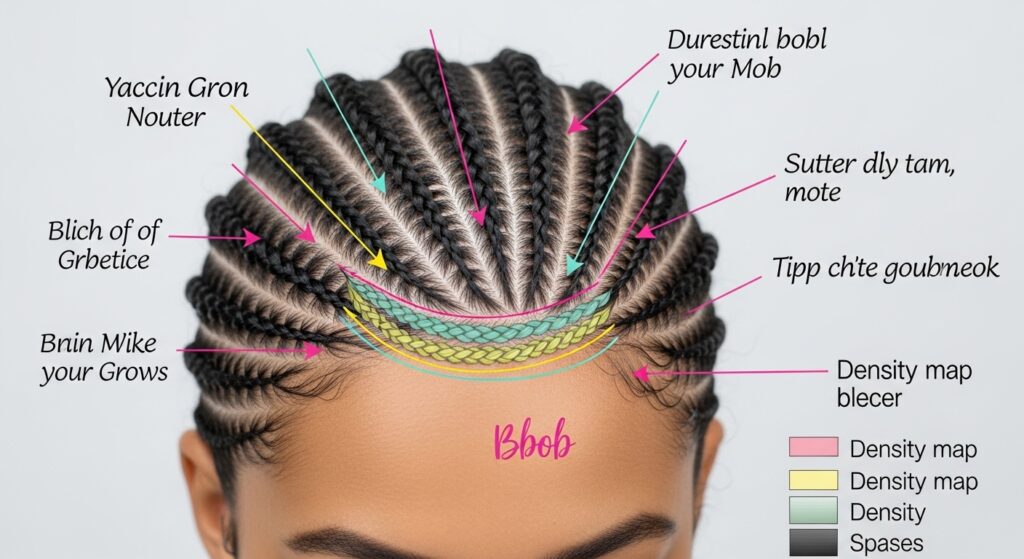
Mapping Out Your Style Pattern
Don’t just add hair randomly. Think about the final shape. For a bob, concentrate hair around the perimeter. For a hime cut, you’ll leave specific front sections clear for those dramatic blunt bangs and sidelocks.
Work row by row. I start at the nape and move upward. This helps you control density and ensures you don’t miss a spot, giving you that salon-perfect finish.
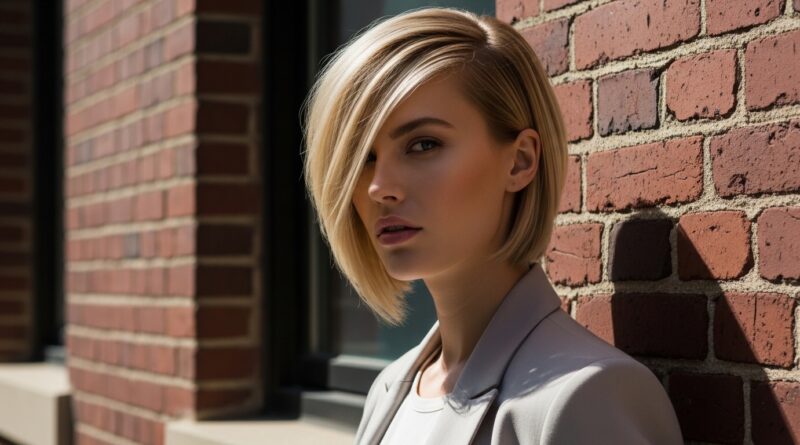
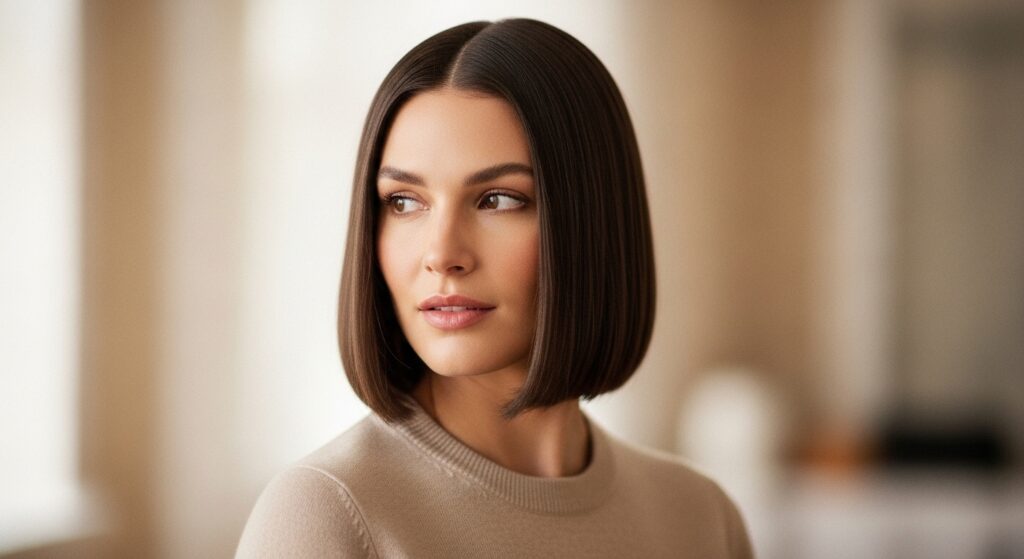
Creating a “Quiet Luxury Bob”
This style is all about impeccable, healthy-looking hair with a simple shape. Use a straight or slightly wavy hair texture in a natural color. Follow your cornrow pattern, keeping the length at jawline or collarbone.
The key is precision. Make sure your ends are blunt and even. The crochet method lets you place each piece perfectly to create that sharp, expensive-looking line synonymous with quiet luxury hair.
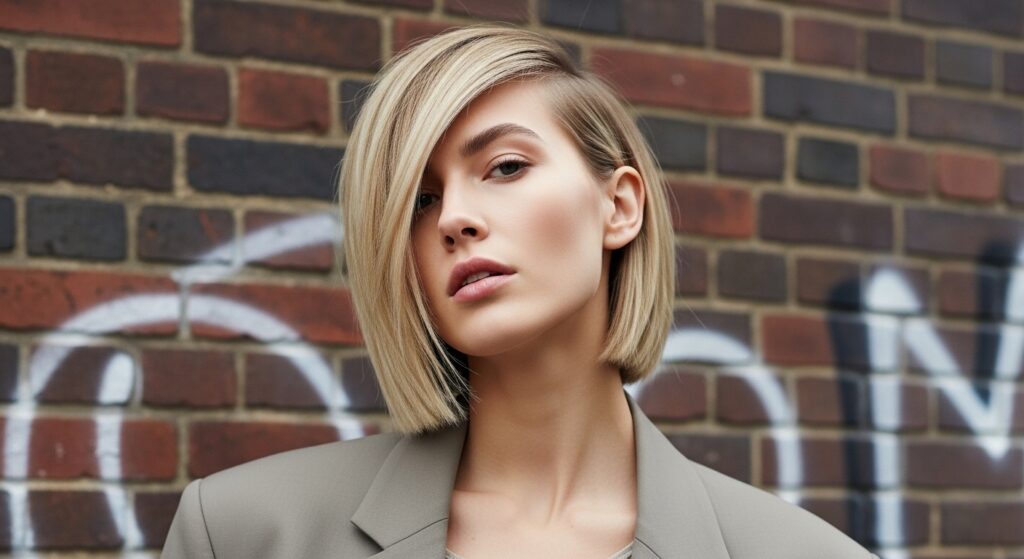
Achieving an “Asymmetrical Lob”
The asymmetrical lob is a forever favorite. Install your hair as usual, but when you cut it, leave one side significantly longer. A dramatic 3-4 inch difference makes the statement.
Style it with a deep side part. You can add soft waves to the longer side for movement. This style works amazingly with the crochet method because you can control the density exactly where you need it.
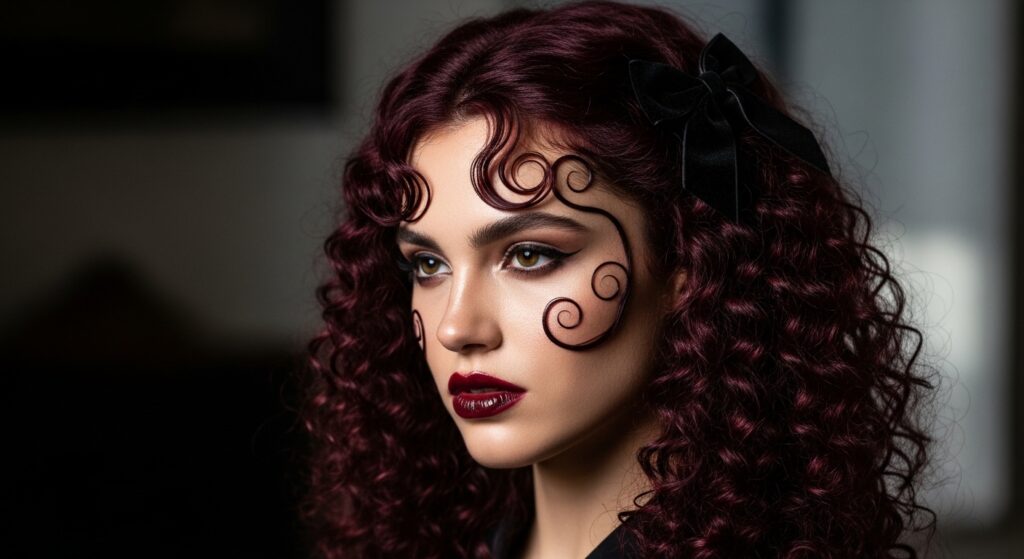
Channeling “Romantic Goth Hairstyles”
Think Victorian romance meets dark glamour. Use deep black or burgundy hair. Add loose, face-framing curls and maybe some subtle clip-in hair accessories like velvet bows or tiny charms crocheted in.
The texture is key here. Opt for a wavy or curly hair. Leave some pieces around the face intentionally wispy and soft to create that ethereal, romantic goth hairstyles vibe.
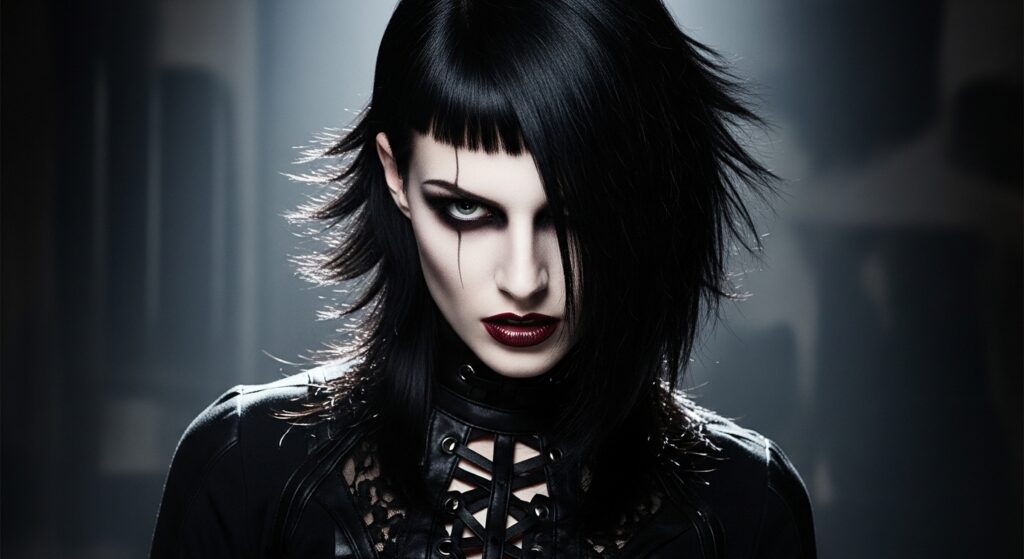
Trying the “Vampire Haircut” Trend
The vampire haircut is a sharp, layered mullet-shag hybrid. It’s all about texture and attitude. Use a straight or slightly textured hair. Install for maximum volume at the crown.
Once all hair is crocheted in, cut in heavy, disconnected layers. Keep the front pieces long and sharp for that dramatic frame. This is a bold look that the crochet method handles beautifully for temporary wear.
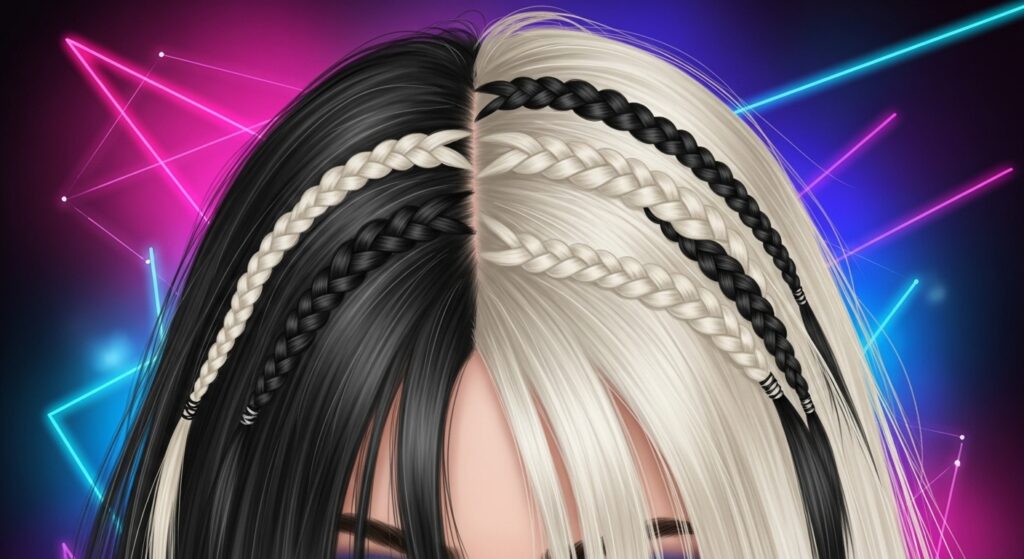
Experimenting with “Glitchy Glam Hair”
Glitchy glam hair is playful and intentionally “imperfect.” Use two contrasting colors—like platinum and black—in thin, alternating chunks. Crochet them in a random, patchy pattern instead of uniform sections.
Add some small, face-framing braids or twists into the installed hair. The goal is a cool, deconstructed look that feels artistic and fresh, perfect for those experimenting with 2026 hairstyles now.
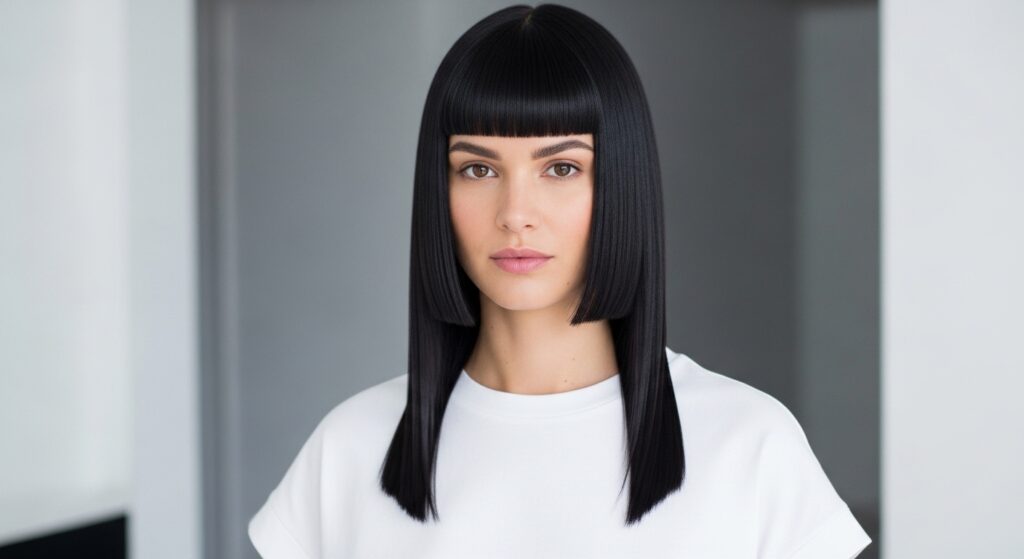
The Elegant “Hime Cut” Adaptation
The hime cut features straight, blunt bangs and long, straight sidelocks with shorter back hair. For crochet, leave your front cornrows very small and precise to later attach the blunt bang hair.
Use pin-straight hair. Install the back hair to your desired length (often a bob). Then, meticulously crochet the front sections to create those perfect, heavy blunt bangs and long, dramatic face-framing pieces.
Blending for a Natural Hairline
This is the pro tip. For the hairline, use smaller, thinner chunks of hair. Go for a color that matches your scalp or skin tone for an even more invisible part.
Crochet these pieces slightly behind your actual hairline, then gently pluck a few strands from the weft to create a wispy, baby-hair effect. You can also use a bit of edge control to blend your own baby hairs over it.
Styling Your Crochet Braids
Once installed, the world is your oyster. You can flat iron, curl, or wrap the hair. Because it’s braiding hair, it holds style incredibly well. Use heat protectant if applying heat.
For waves, try braiding damp sections overnight. For volume, flip your head over and gently backcomb at the roots. Accessorize with scarves, clips, or headbands to change up the look daily.

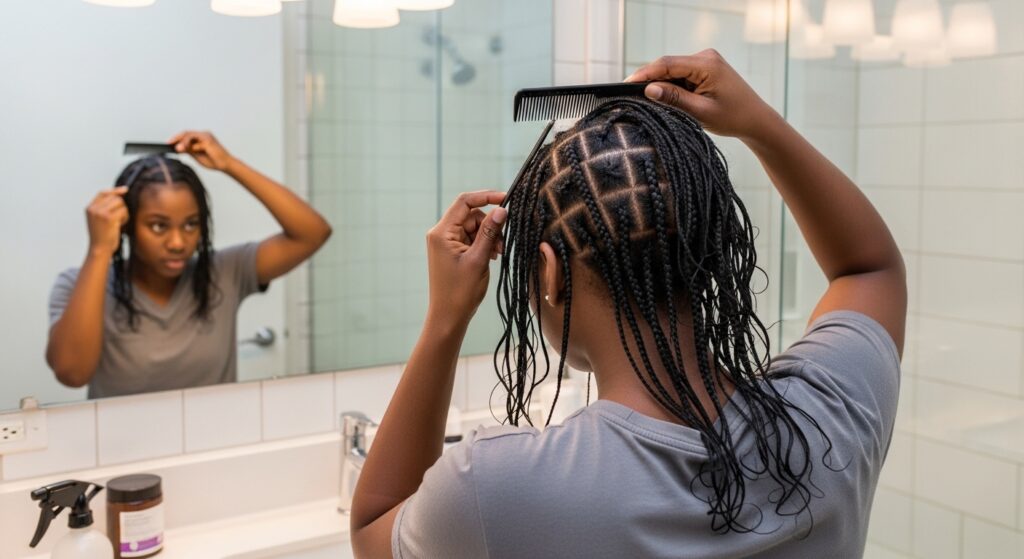
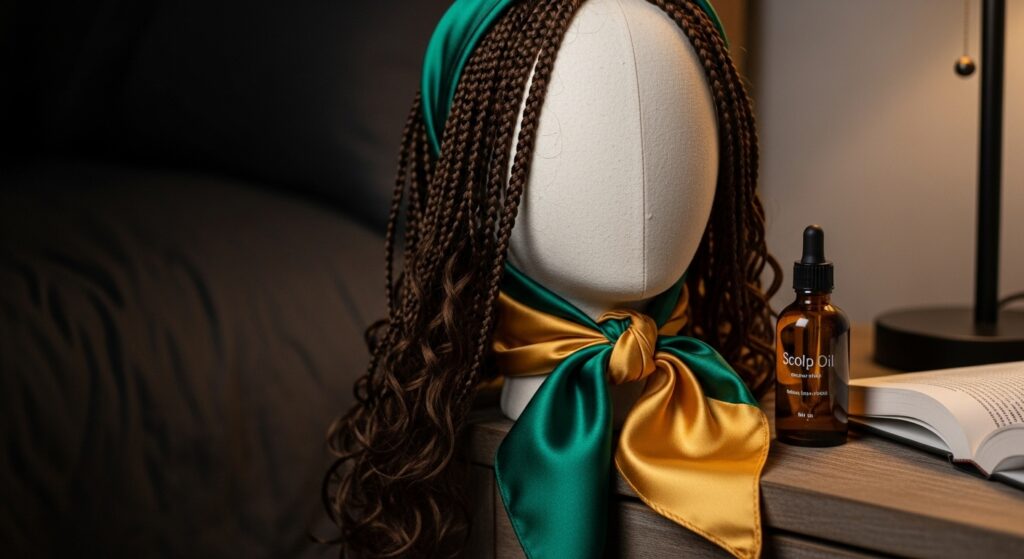
Daily Maintenance & Care
Wrap your hair at night with a satin scarf or sleep on a satin pillowcase. This prevents frizz and keeps your style fresh for weeks. Lightly moisturize your scalp with an oil spray every few days.
Gently itch your scalp along the parts of your cornrows—never scratch vigorously. If the installed hair gets dry, a light silicone-free serum can add shine. Keep it simple!
- Satin scarf or bonnet for sleep
- Lightweight scalp oil
- Dry shampoo for refresh
- Soft bristle brush for styling
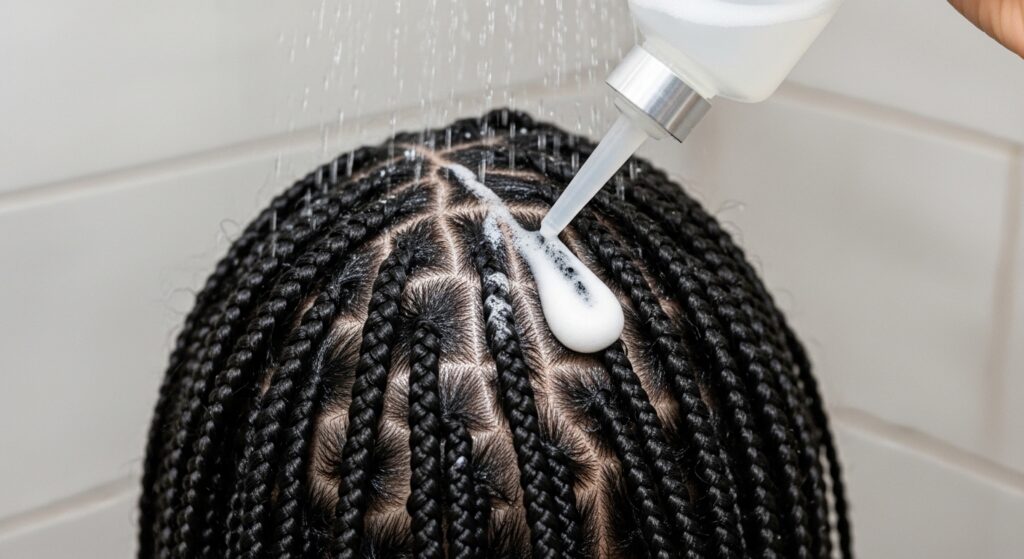
How to Wash Your Scalp Safely
Yes, you can wash your scalp with this style! Mix a diluted shampoo and water in an applicator bottle. Gently apply the solution directly to your scalp along the cornrow parts.
Massage with the pads of your fingers—not nails. Rinse thoroughly with a gentle stream of water. Follow with a light conditioner on the installed hair if needed, and let it air dry completely.
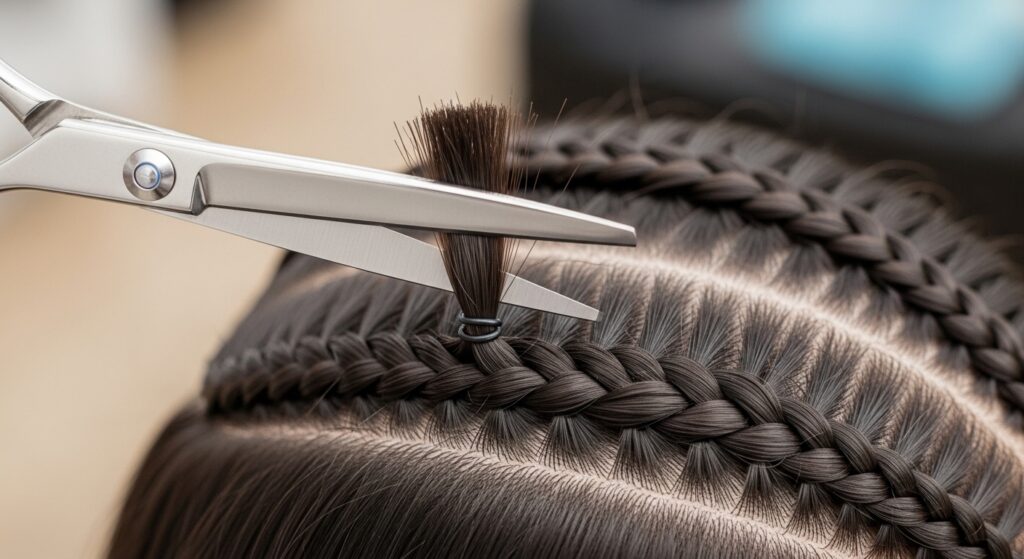
The Take-Down Process
This is why the bobby pin method rocks. Simply snip the installed hair away from the loop securing it to your cornrow. There’s no knot to unpick, so it’s fast and causes zero tension on your natural hair.
Once all the added hair is removed, carefully unravel your cornrows. Detangle gently with loads of conditioner. Follow with a deep conditioning treatment to pamper your own hair after its vacation.
Troubleshooting Common Issues
If hair feels loose, you didn’t pull the ends tight enough through the loop. If parts look too bulky, you used too thick a chunk of hair—go wispier. If your scalp itches excessively, check your moisturizing routine.
For shine, a tiny bit of argan oil on your hands smoothed over the style works wonders. For frizz, a light-hold edge control on a toothbrush can tame flyaways around your hairline.
Why This Method is a Game-Changer
It’s accessible. Everyone has a bobby pin. It’s low-tension, protecting your edges. It’s versatile, letting you try every trend from old money hair to vampire cuts without commitment.
Most importantly, it gives you the power to change your look on your own terms, saving you time and money. It’s the ultimate form of self-care and creative expression wrapped into one.
And there you have it! Your complete guide to getting stunning crochet braids with zero fancy tools. It might feel a bit tricky on that very first try, but I promise, once you get the loop-and-pull rhythm, it becomes second nature.
This is your sign to give that dream style a shot. Whether you’re craving a change or just want to protect your hair for a few weeks, you’ve now got the skills to make it happen right at your kitchen table.
Save this post to Pinterest to keep this guide handy for your next hair day! And I’d love to know—which style are you dreaming of trying first? Drop a comment below and tell me all about it.