Crown 17 Zigzag Parted Updos for Unique Brunch Party Vibes
Okay, let’s be real. A brunch party is the perfect excuse to try something a little more fun than your usual ponytail. You want a look that feels special, maybe even a little unique, but doesn’t require you to be a professional hairstylist. I get it. You want to look put-together without spending hours in front of the mirror.
That’s where this idea comes in. We’re talking about an updo, but not just any updo. We’re using a zigzag part as the secret crown. It instantly adds interest and a cool-girl edge to a classic style.
It’s easier than it looks, I promise. This post is your step-by-step guide to getting those unique brunch party vibes, with a touch of that glitchy glam hair energy everyone’s loving. Let’s ditch the boring and make a statement.
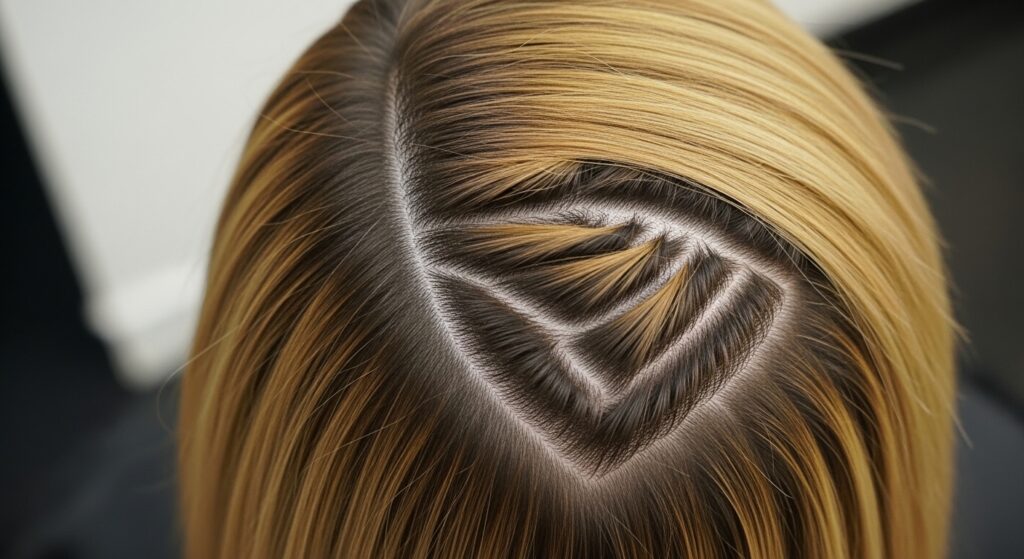
Why a Zigzag Part is Your New Best Friend
Think of your part as the foundation of your hairstyle. A straight part is classic, but a zigzag? It adds instant architecture. It creates volume at the roots and gives your hair a cool, almost geometric start.
This little trick works for almost any hair type and length. It’s that perfect mix of effort and effortless, fitting right in with the 2026 hairstyles trend of intentional, playful details.
Gathering Your Simple Toolkit
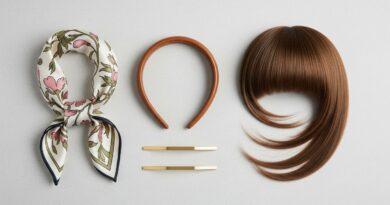
You don’t need a salon full of products. Just a few basics will get you there. First, a fine-tooth comb or a tail comb is key for creating a clean zigzag. A couple of hair elastics that match your hair color are a must.
- Fine-tooth or tail comb
- Hair elastics (clear or matching)
- Bobby pins (lots of them!)
- Light-hold hairspray
- Optional: texturizing spray for grip

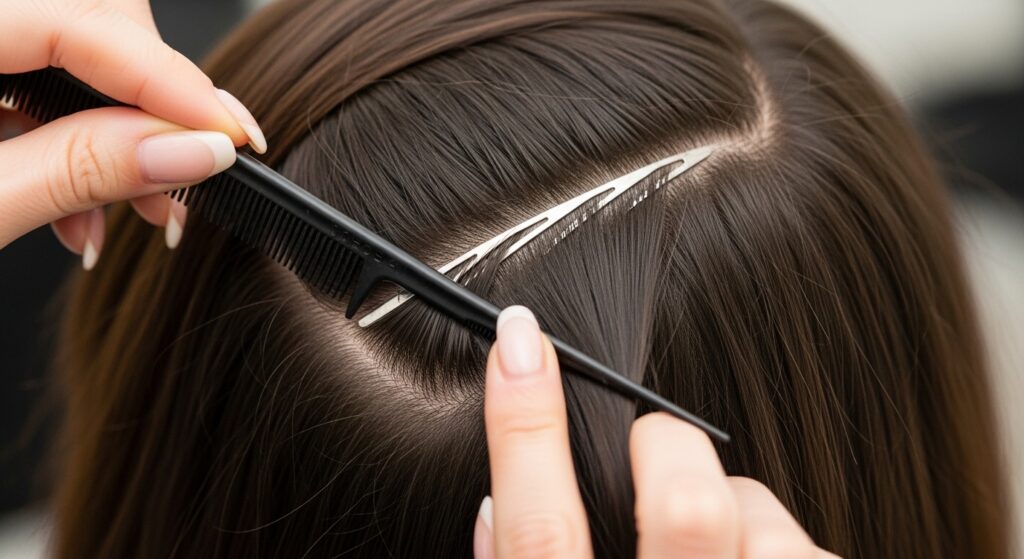
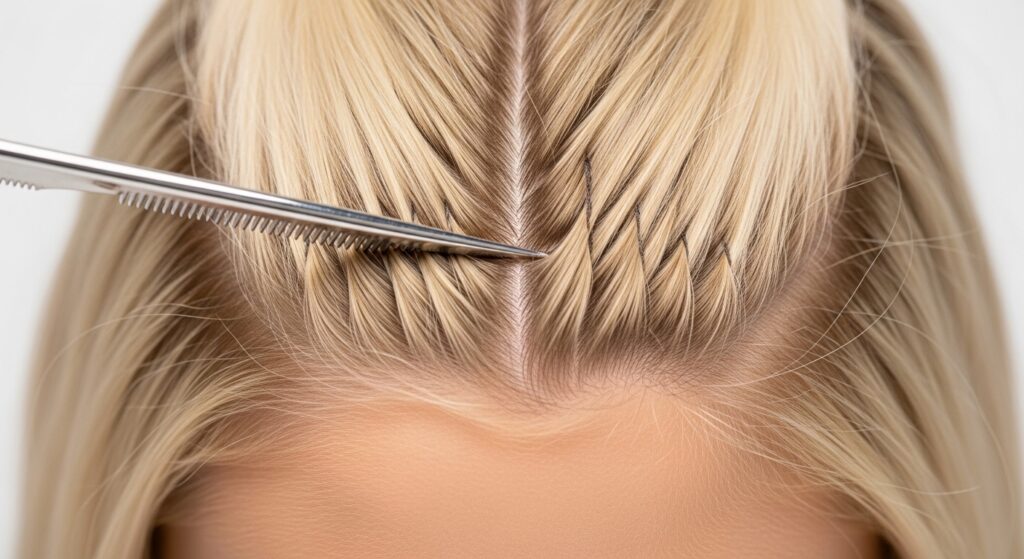
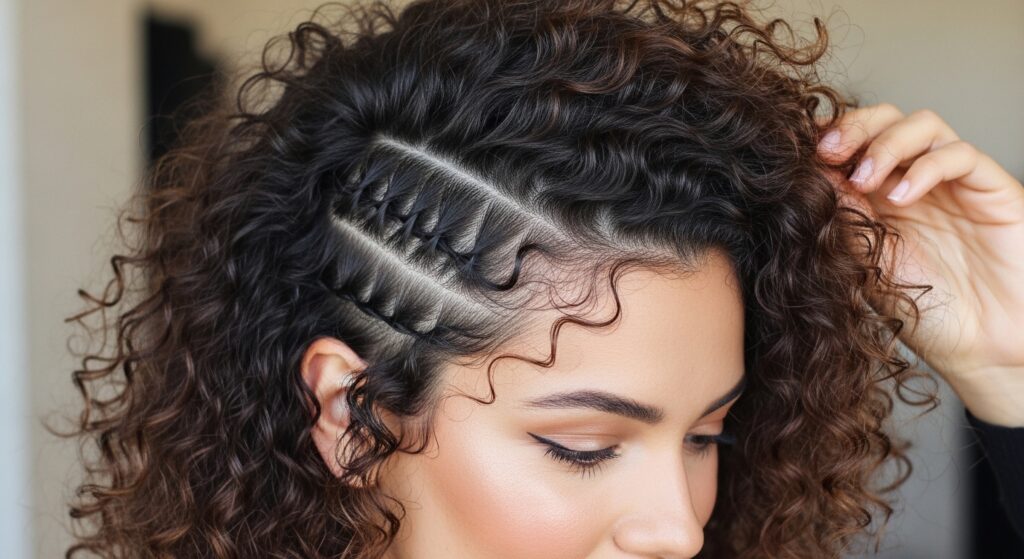
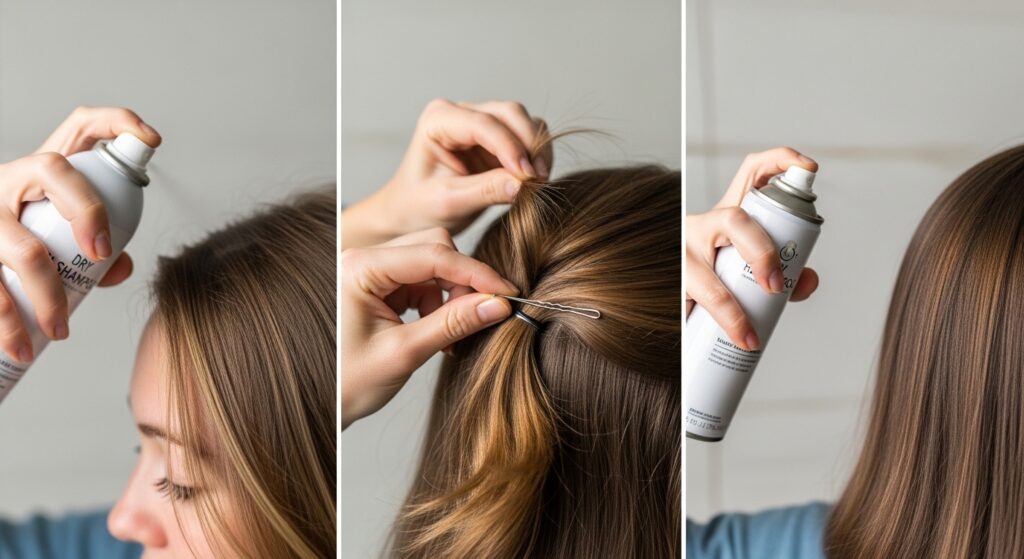
Step 1: Creating the Perfect Zigzag Crown
Start with day-old hair or use a little dry shampoo. It has more grip. Take your tail comb and choose your starting point. Instead of dragging it straight back, make small “V” shapes.
Angle the comb point to one side, then the other, moving back about an inch with each turn. Don’t overthink it! A slightly imperfect zigzag looks even cooler and more modern.
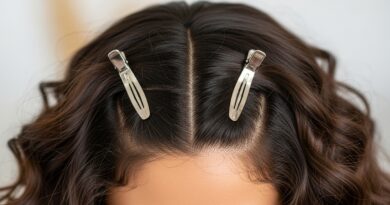
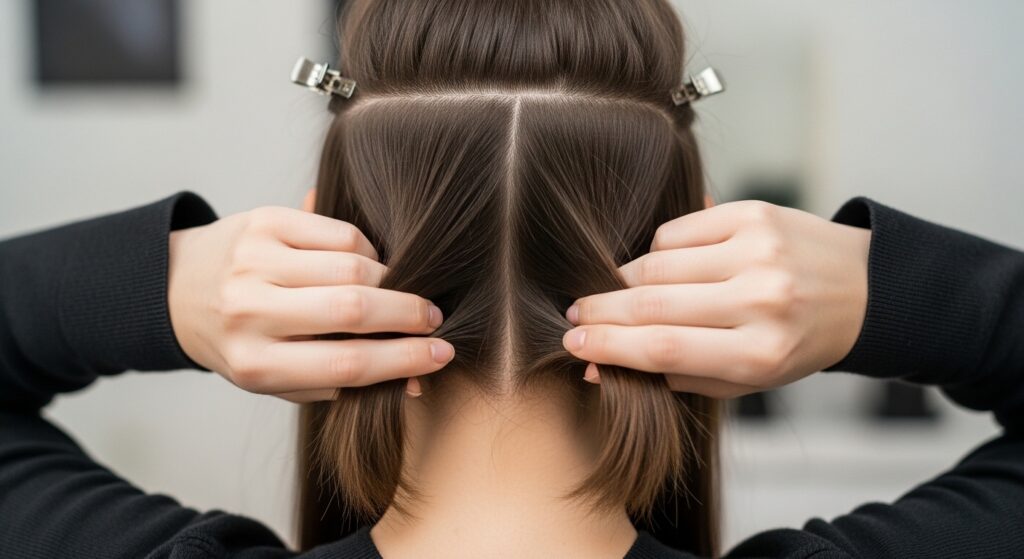
Step 2: Sectioning for the Updo Base
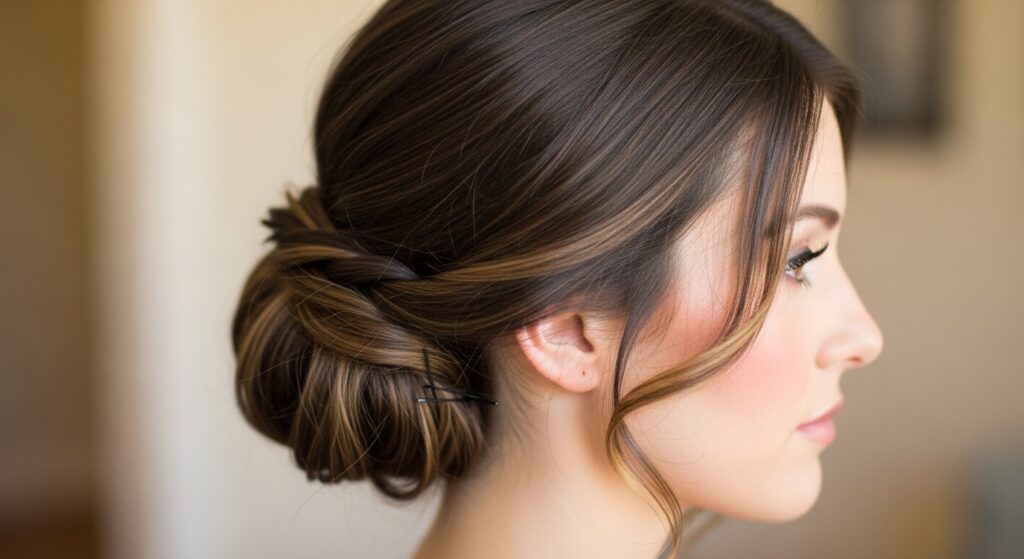
Once your zigzag part is done, you’ll see two distinct front sections framing your face. Gently clip these forward so they’re out of the way. These are your crown pieces.
Now, gather the rest of your hair at the nape of your neck as if you’re making a low ponytail. This back section is the foundation for your updo. Keep it loose and soft for now.
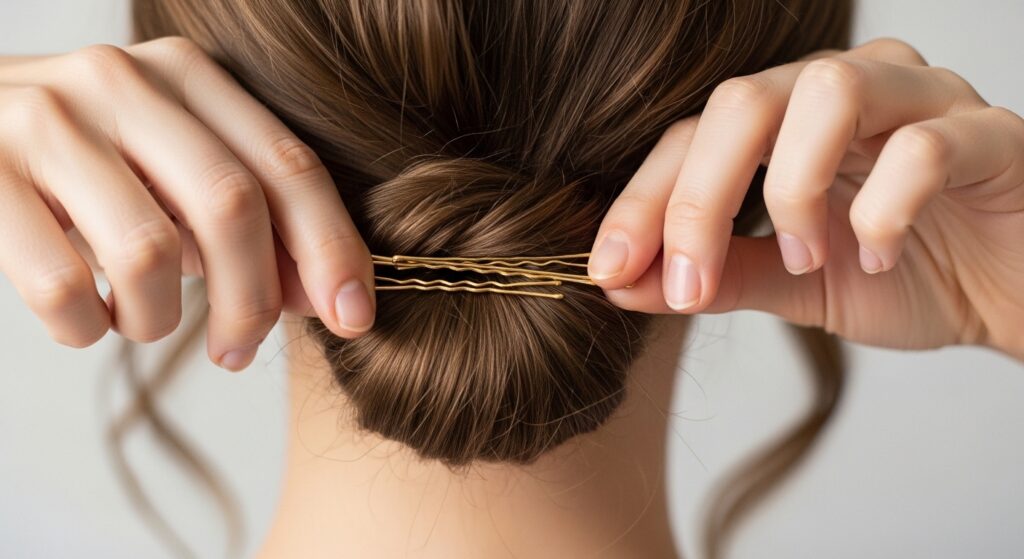
Step 3: The Quick Twist & Pin Technique
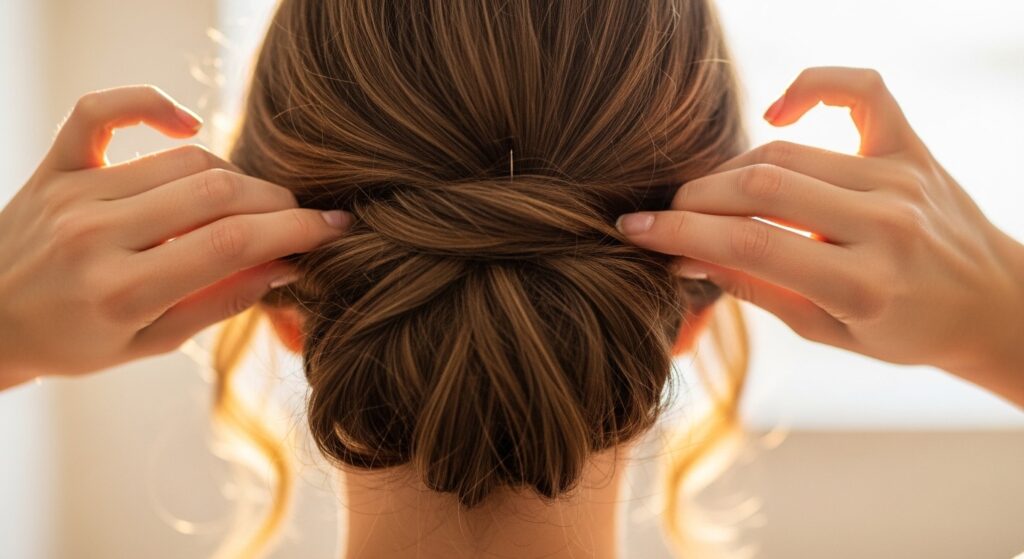
Take your gathered back hair and give it a gentle twist. Don’t twist it tightly all the way down. Just one or two turns to create a little structure. Then, coil the twisted length into a loose bun at the nape of your neck.
Secure it with bobby pins, criss-crossing them for hold. This isn’t a perfect ballerina bun. Let a few pieces fall out; it’s meant to be relaxed and chic.
Step 4: Incorporating Your Crown Pieces
Unclip one of your front zigzag sections. Loosely twist it back towards the bun you just created. Don’t pull it tight—you want a soft, romantic drape.
Wrap the end of the twist around the base of the bun to hide the elastic and pin it securely. Repeat on the other side. This frames your face and highlights that awesome zigzag part.
Step 5: The Art of the Perfect Pull & Loosen
This is the most important step! Once everything is pinned, gently pull on the edges of your updo. Pull at the sides of the bun and tug lightly on the crown twists.
You’re creating volume and that “lived-in” look. The goal is to make it look like you didn’t try too hard. A little mess is exactly right for those unique brunch party vibes.
Setting It All With Light Hold
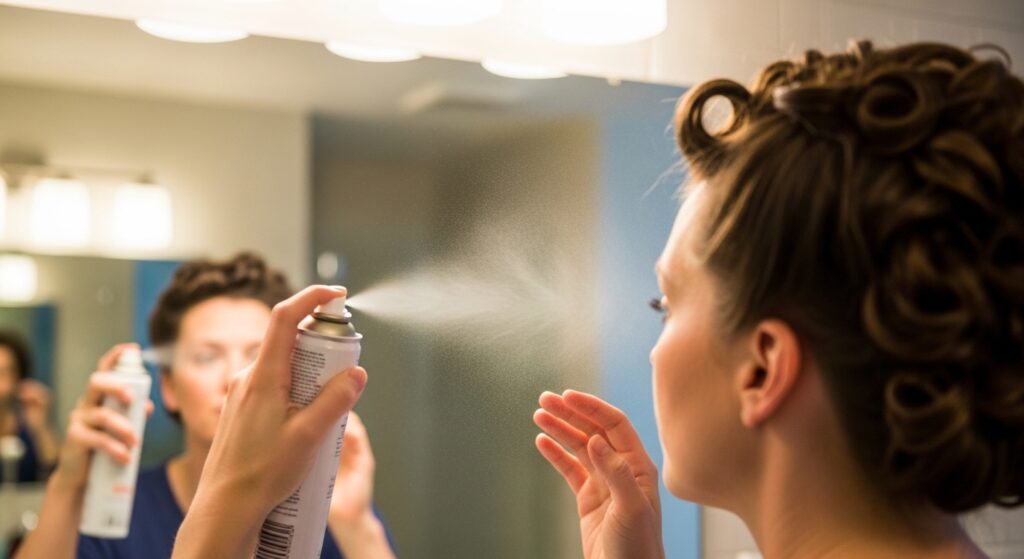
Reach for a light-hold or texturizing hairspray. Hold it about a foot away from your head and give everything a light mist. This will hold any flyaways without making your hair look stiff or crunchy.
The look should still feel touchable and move a little. You’re going for soft hold, not a helmet. This keeps it feeling fresh and modern.
Adapting for Fine Hair: The Grip Secret
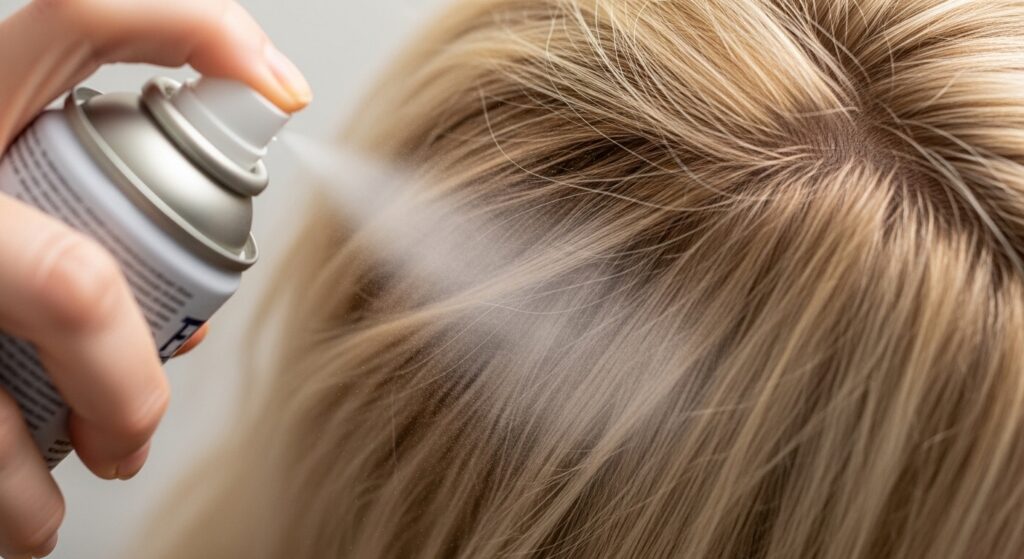
If you have fine or slippery hair, texture is your best friend. Before you start, spray a texturizing spray or dry shampoo at your roots. This gives your hair something to grip onto.
You can also make smaller, tighter zigzags in your part for more visual impact. When pinning, always criss-cross your bobby pins to lock the hair in place against your scalp.
Adapting for Thick or Curly Hair
Your hair has natural volume, so lean into it! Create a larger, more dramatic zigzag part. You might want to braid your front crown sections before wrapping them back for more control and a beautiful detail.
Use larger, stronger bobby pins and don’t be shy with them. The weight of your hair needs more support. Let your natural texture peek out for amazing dimension.
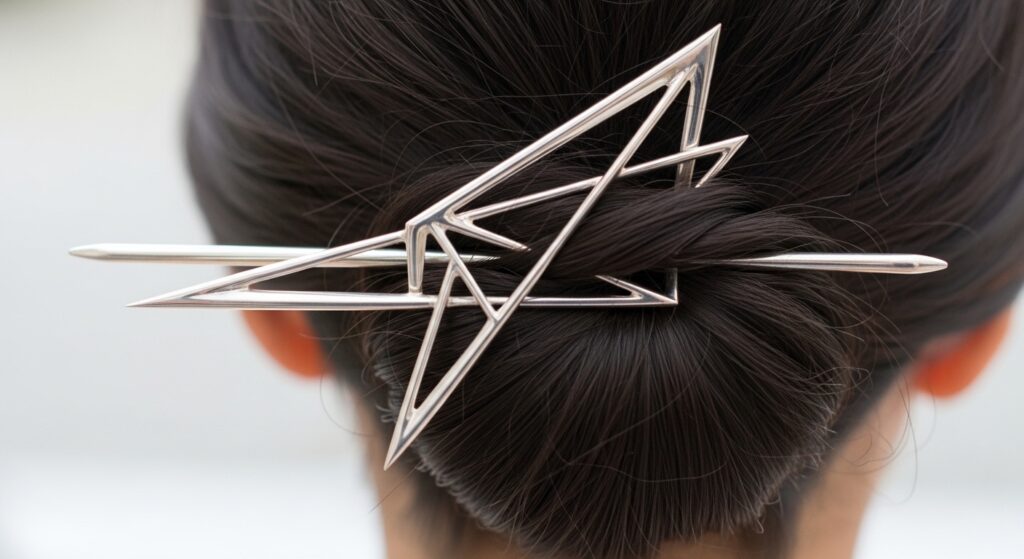
Adding a “Glitchy Glam” Accessory
Take this style into full glitchy glam hair territory with one accessory. Think a single, sparkly hair pin placed where your twist meets the bun. Or a few pearl-ended pins scattered randomly.
The key is one statement piece or a small cluster, not a head full. It should look like you just added one cool thing, not like you’re wearing a tiara. It’s that quiet luxury bob energy, but for an updo.
Playing With Color & Dimension
If you have highlights, balayage, or even a money piece, the zigzag part is your best friend. It showcases that color beautifully by creating shadows and light.
The zigzag line makes the color look more dynamic and intentional. It’s a simple way to make your color look fresh and expensive, giving off major old money hair vibes with a twist.
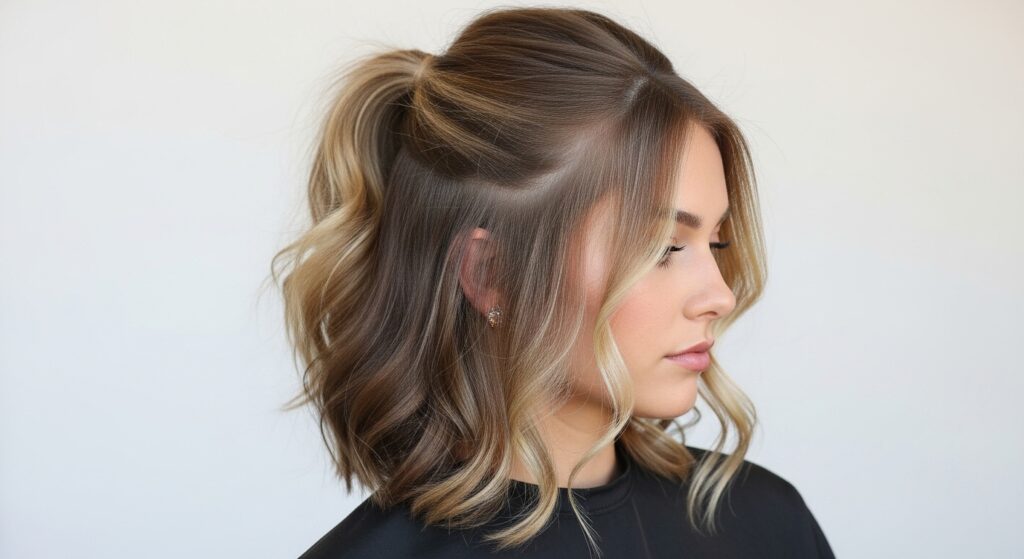
The Half-Up, Half-Down Variation
Not feeling a full updo? Do the zigzag part, but only gather the hair from your temples back. Leave the rest down in loose waves or straight.
This is a fantastic look if you have an asymmetrical lob or a vampire haircut. It keeps hair off your face but shows off your cut. It’s polished but super easy.
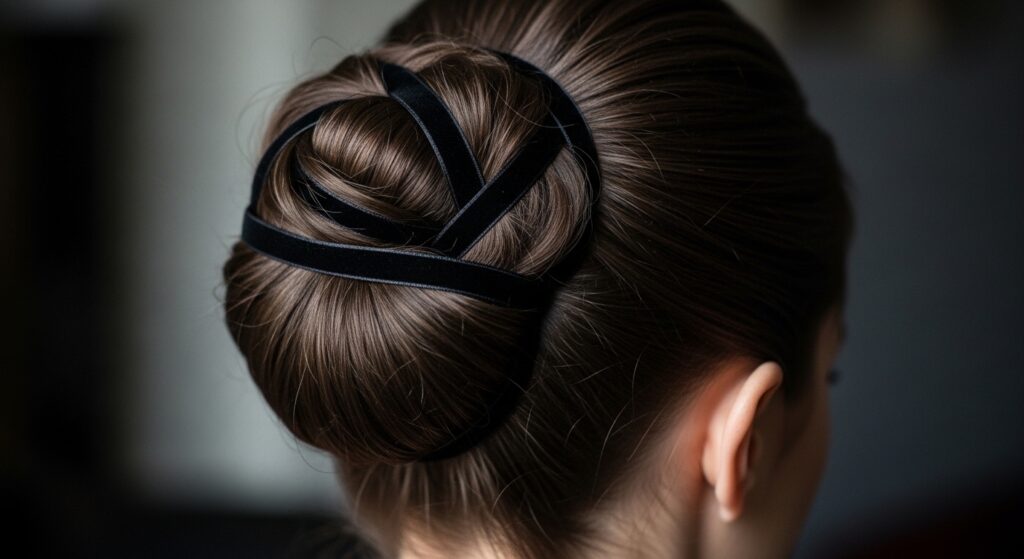
A Nod to Romantic Goth Hairstyles
To edge this towards romantic goth hairstyles, keep the structure but play with texture. Tease the crown slightly before pinning for a touch of Victorian drama.
Use dark, velvet ribbon woven through the twists or a single ornate, antique-looking hair comb. The contrast of the structured zigzag with romantic, dark details is absolutely stunning.
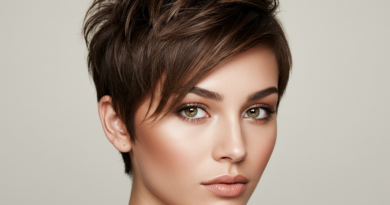
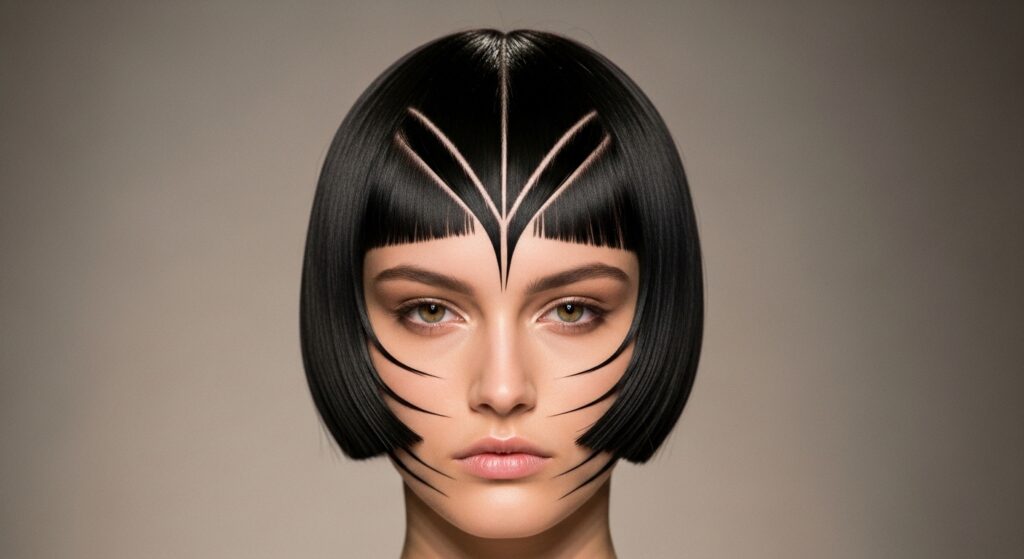
Channeling Hime Cut Energy
The hime cut is all about strong, blunt shapes. You can mimic that feel with your zigzag updo. Keep your front face-framing pieces more blunt and straight if you have them.
When you twist them back, keep the lines clean and sharp against your cheek. It creates that beautiful graphic, jaw-length line that defines the hime cut style, but in an updo form.
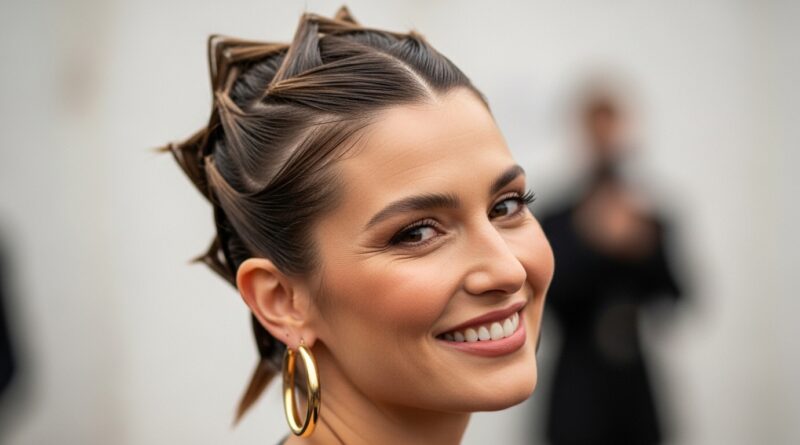
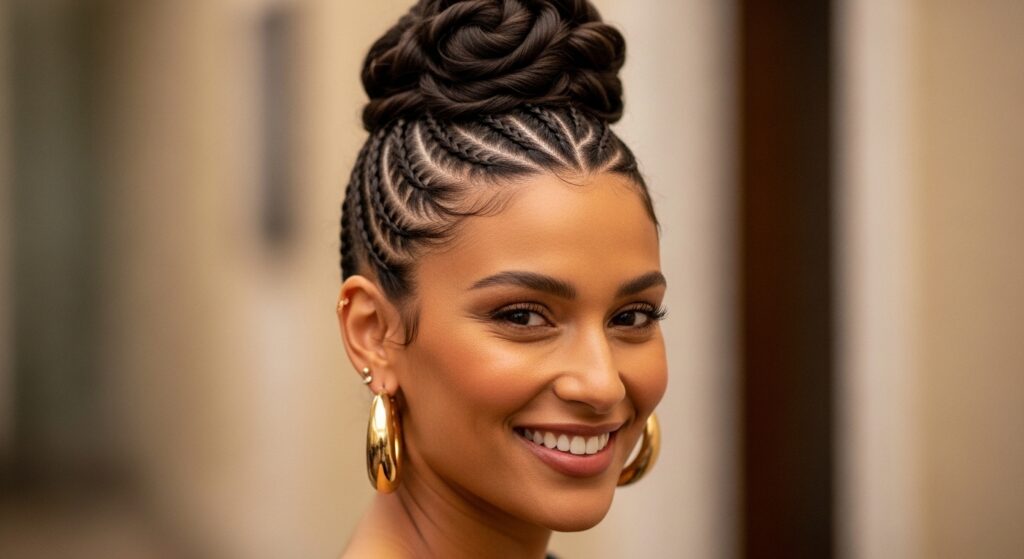
Pairing With Statement Earrings
With your hair up and off your neck, your ears are on display. This is the time for those statement earrings you never know how to wear.
Big hoops, dramatic drops, or bold studs all work perfectly. The zigzag part and clean updo provide a cool, minimalist backdrop that lets your jewelry truly shine.
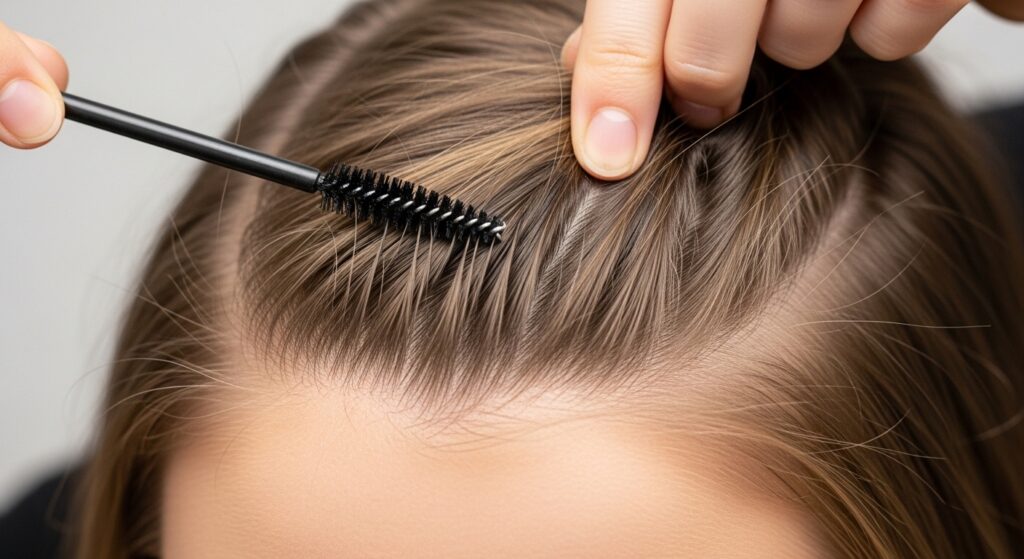
What to Do With Wispies & Baby Hairs
Don’t fight them! Use a tiny bit of gel or edge control on a toothbrush to gently coax them into soft waves or just to lay neatly. You can even make tiny curls with them.
These little hairs add to the soft, lived-in feel. They catch the light and make the style look more natural and less “done.” Embrace the wispies.
Making It Last Through Brunch & Beyond
Toss a few extra bobby pins and a travel hairspray in your bag. If you feel a section slipping after a few hours, find a bathroom, give it a quick pin, and mist lightly.
The beauty of this style is that it looks good even as it loosens up a bit. That “end of the party” vibe is part of its charm. No need for a full redo.

Common Mistakes & How to Avoid Them
The main mistake is pulling too tight. This style is soft, not severe. Another is using a zigzag that’s too small and gets lost. Go for a medium-sized “V” shape.
Finally, not using enough bobby pins. Use more than you think you need, and always pin in opposite directions so they lock together. This prevents sliding.

Your Quick 5-Minute Refresh Plan
- Spritz roots with a mini dry shampoo.
- Gently re-pin any obvious loose sections.
- Pull out a few more face-framing pieces.
- Smooth wispies with a touch of hand cream.
- Light final mist of hairspray.
Why This Look Feels So “Now”
It hits all the right notes for what’s trending. It has the intentional detail of 2026 hairstyles, the effortless chic of quiet luxury, and a touch of playful edge from glitchy glam.
It’s customizable, works on multiple hair types, and feels special without being over-the-top. It’s the perfect brunch party look because it says you have style, but you also have places to be.
And there you have it! Your guide to a hairstyle that’s sure to turn a few heads (in the best way) at your next brunch. It’s one of those looks that seems complicated but is really just a few smart steps put together.
The best part is how much you can make it your own. Play with the size of the zigzag, add your favorite accessory, or let your natural texture lead the way. It’s a framework for looking and feeling fantastic.
I’d love to hear how it goes for you! Did you try it? What variation felt most like you? Tell me in the comments below. And if you want to keep this idea handy for your next event, be sure to save this post to Pinterest so you can find it whenever you need a little hair inspiration.