Crowns 27 Interlaced Vine Patterns Organic for Nature Lovers
Okay, nature lovers, I have to tell you about the prettiest hair trend I keep seeing everywhere. It feels like it was made for us. It’s all about bringing the garden indoors—or rather, onto your head.
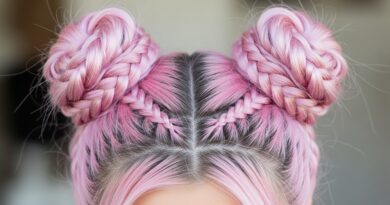
I’m talking about crowns of interlaced, vine-like braids. It’s organic, it’s romantic, and it has this effortless, earthy vibe that just feels so right. Think less perfect princess, more forest nymph who just discovered a quiet luxury bob.
This look is surprisingly versatile. It can be soft and bohemian, or you can edge it up toward something like romantic goth hairstyles. The best part? It works on almost every hair length and texture. It’s about the pattern, not perfection.
I’ve broken down everything you need to know, from the basic how-to to ways to make it feel modern and totally you. Let’s get into it.
What Are Interlaced Vine Crowns?
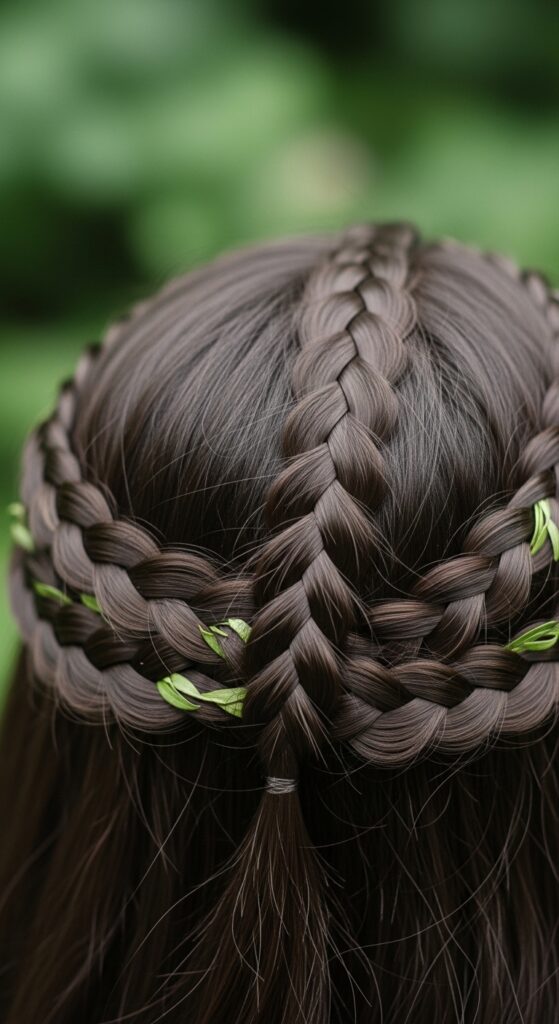
Imagine a braid that doesn’t just go straight back, but curves and wraps around your head like a delicate vine. That’s the core idea here. It’s a crown braid, but looser, more organic, and intentionally imperfect.
Instead of one thick braid, you often see multiple smaller braids that intertwine. They might start at one temple, travel up and over the crown, and tuck in at the other side. The goal is to mimic the way a plant grows—naturally and a little unpredictably.
Why This Style is Perfect for Nature Lovers
If you feel most at peace with a bit of dirt under your nails or a wildflower in your hand, this hairstyle will speak to you. It literally wears your love for nature. It’s a direct connection to that organic, flowing beauty we see outside.
It rejects overly polished, stiff styles. This look celebrates texture, movement, and a gentle, lived-in feel. It’s the hair equivalent of your favorite linen dress or a well-loved leather journal.
The Essential Tools You’ll Need
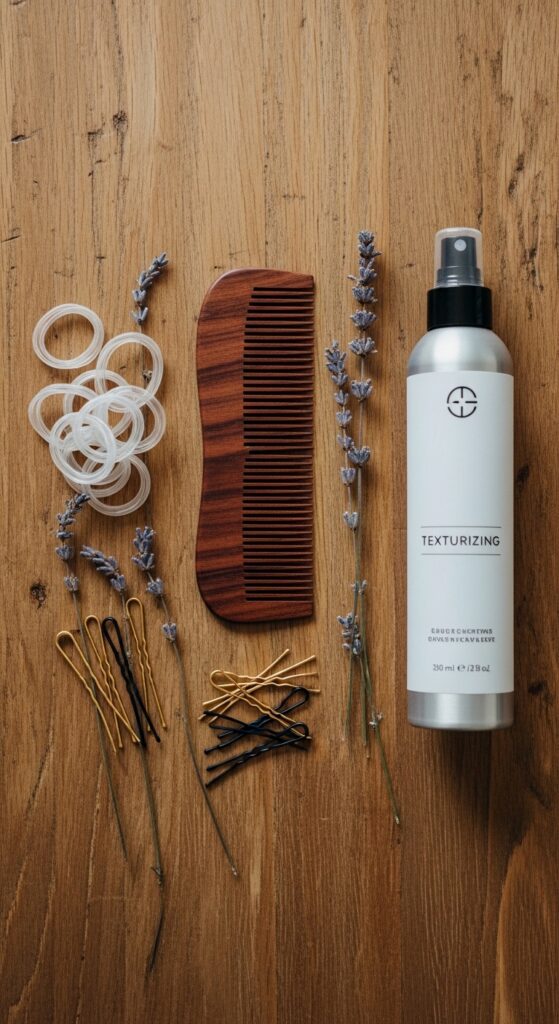
You don’t need much! That’s the beauty of it. A few basics will set you up for success. First, a fine-tooth comb for clean parts. Second, some clear elastic bands that match your hair color. They’re less visible when you tuck ends in.
Third, a good texturizing spray or light-hold mousse. Slightly second-day or textured hair holds braids better. Finally, bobby pins! Get the kind that matches your hair color. You’ll use them to secure the braids invisibly.
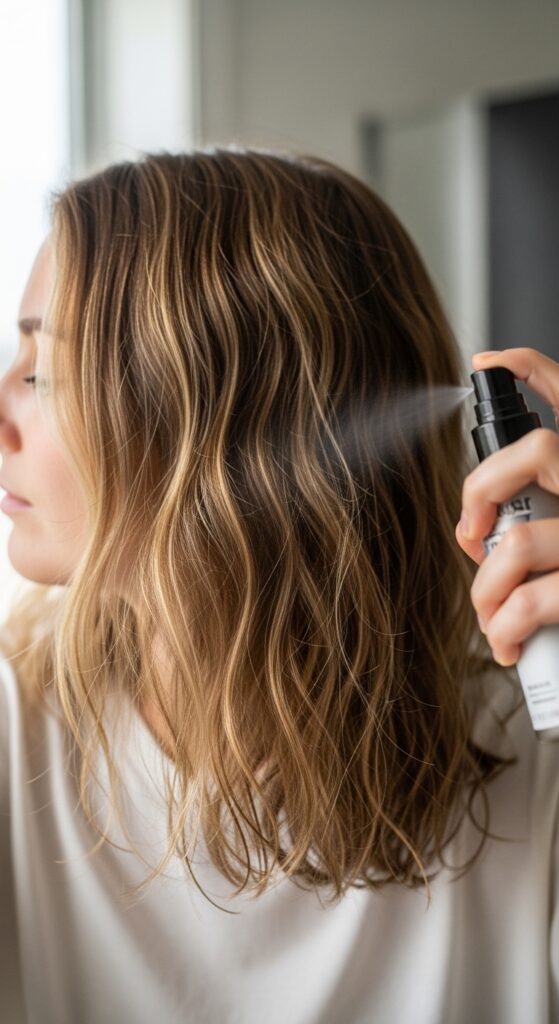
Step 1: Start With the Right Base
Don’t braid soaking wet hair. It can dry too tight and cause breakage. Start on day-old hair, or spray dry roots with a little dry shampoo for grip. If your hair is very silky, a light mousse through the mid-lengths adds perfect hold.
Brush your hair through to remove tangles, but don’t make it super sleek. We want a little body. Gently tease the hair at your crown with your fingers for a bit of hidden volume. This gives the vines something to “cling” to.
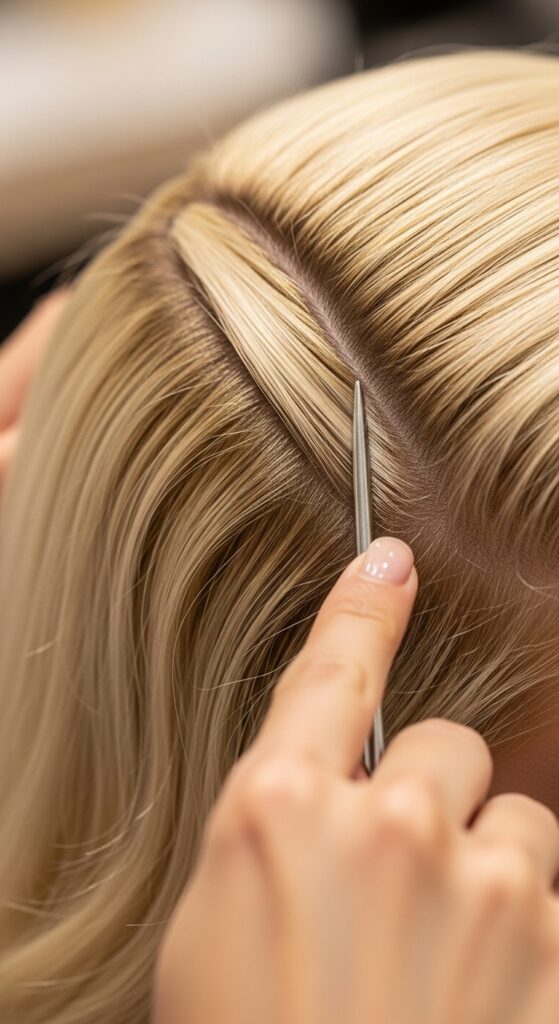
Step 2: Mapping Your Vine Path
This is your blueprint. Look in the mirror and decide your vine’s journey. The most common path is from temple, over the ear, across the crown, and down the other side. But you can start at the nape and go up, or do two vines that meet in the middle.
Use the end of your comb to draw a soft, curved part where you want the main braid to sit. It doesn’t have to be perfectly straight. A gentle curve looks more natural, like a winding path.
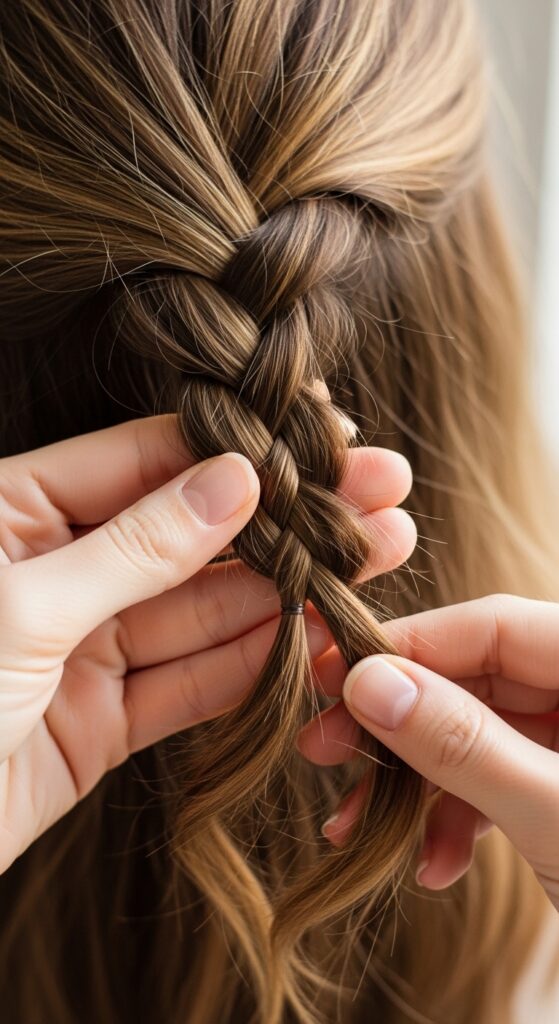
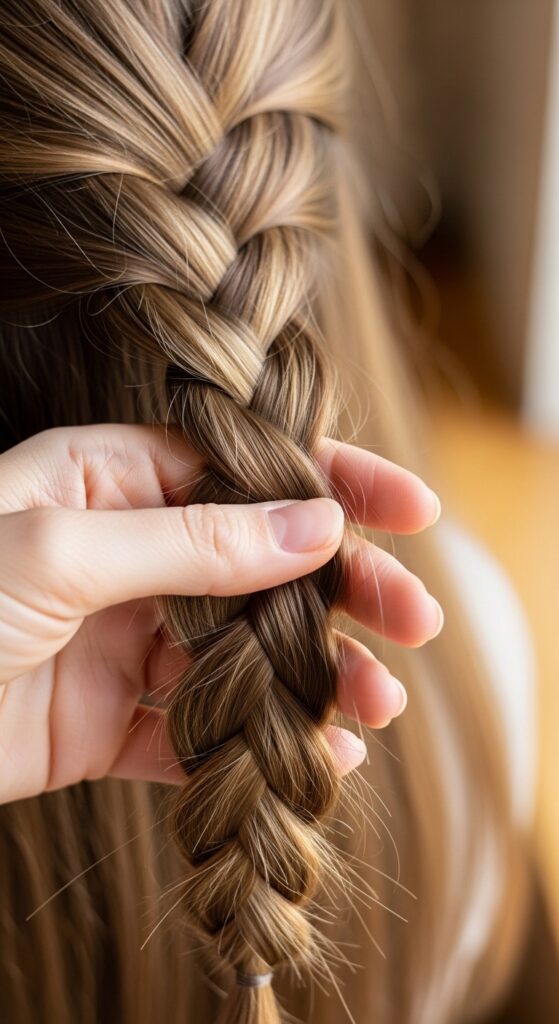
Step 3: The Basic Interlaced Braid Technique
Start with a small section where you want the vine to begin. Do a simple three-strand braid, but as you braid, gently pull the sections looser and wider as you go. This creates that soft, organic look instead of a tight rope.
After 3-4 stitches, stop. Pick up a new, small section of hair from the “vine path” you mapped. Add it into the braid as you continue. This is called a Dutch or inside-out braid technique, but keep it very relaxed.
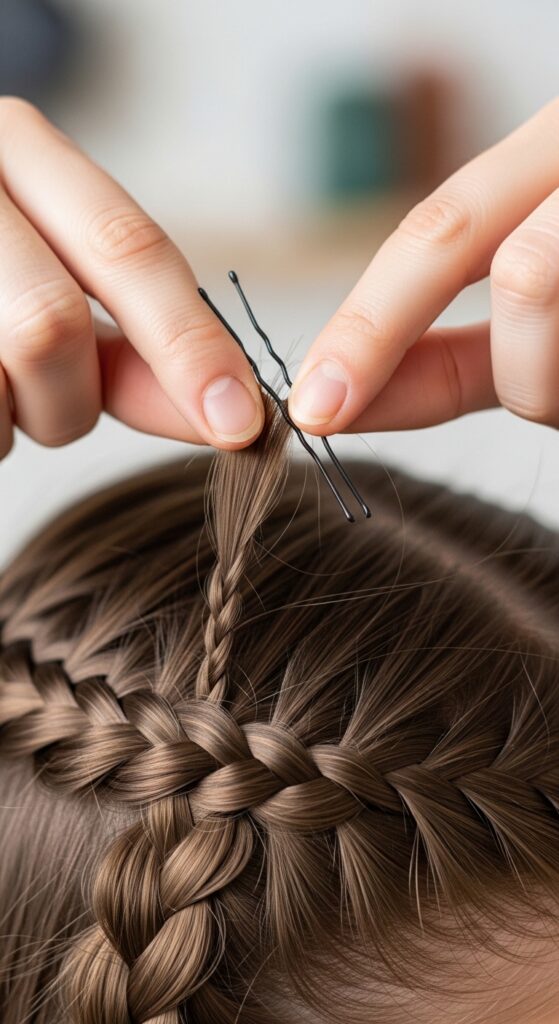
Step 4: Adding & Tucking for a Full Crown
As your braid grows, keep adding small sections from the top of your head. Let the braid curve along your part. When you reach the end of your “path,” stop adding hair and finish with a regular braid for an inch or two.
Now, gently pull on the outer edges of the braid to pancake it. This makes it look wider, flatter, and more vine-like. Take the tail and tuck it under the start of the braid, securing it with bobby pins hidden underneath.
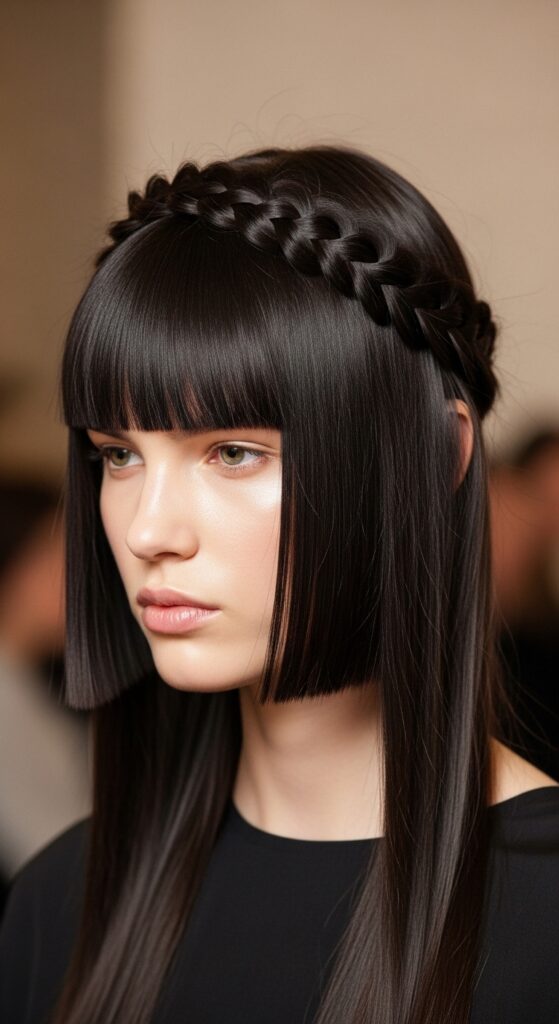
For Short Hair: The Asymmetrical Lob Vine
Yes, you can do this on a shorter cut! If you have an asymmetrical lob or a bob, create a mini vine along one side only. Start just above your ear and braid a tiny, delicate vine back toward your nape, tucking it behind your ear.
It becomes a stunning detail rather than a full crown. This works amazingly with 2026 hairstyles that focus on bold, singular accents. It’s a perfect match for the old money hair aesthetic—understated but intricate.
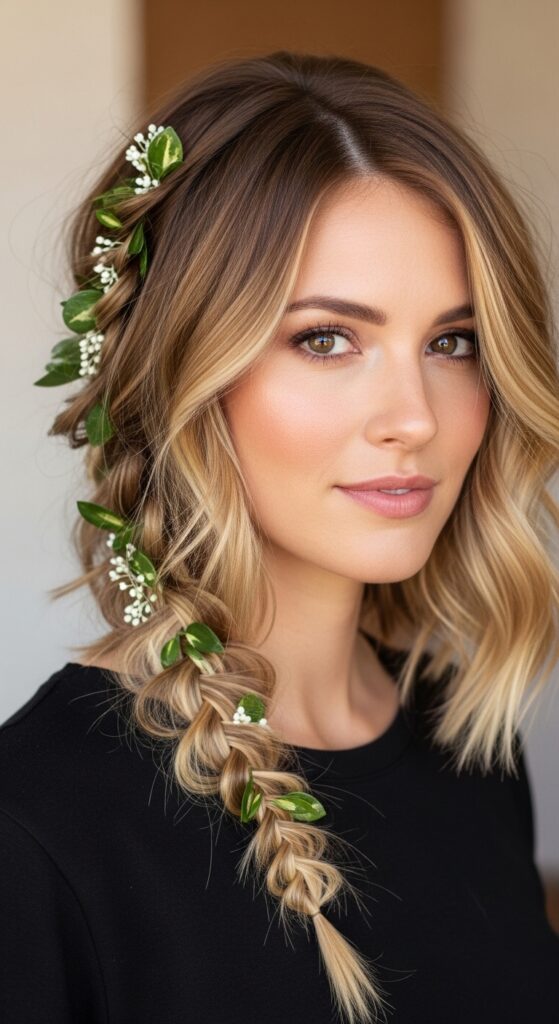
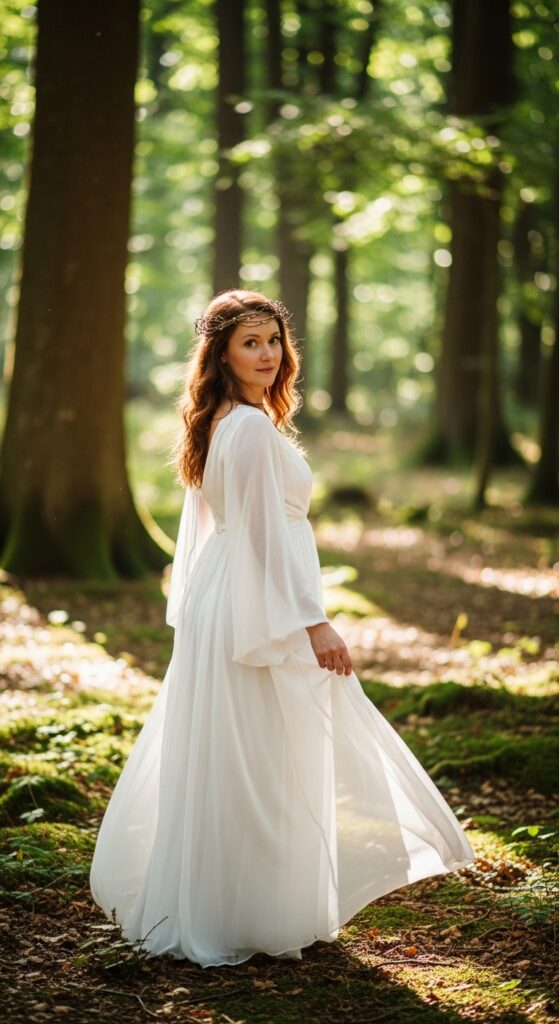
For Long Hair: The Boho Goddess Crown
With long hair, you have more to play with. Try creating two vine braids, one on each side, that start at the temples and meet at the back of your crown. Don’t join them tightly. Let them cross over each other loosely, then pin.
Leave the rest of your hair down in soft waves. The vines act as a natural headband, pulling hair away from your face beautifully. It’s pure, romantic festival vibes, but way more sophisticated.

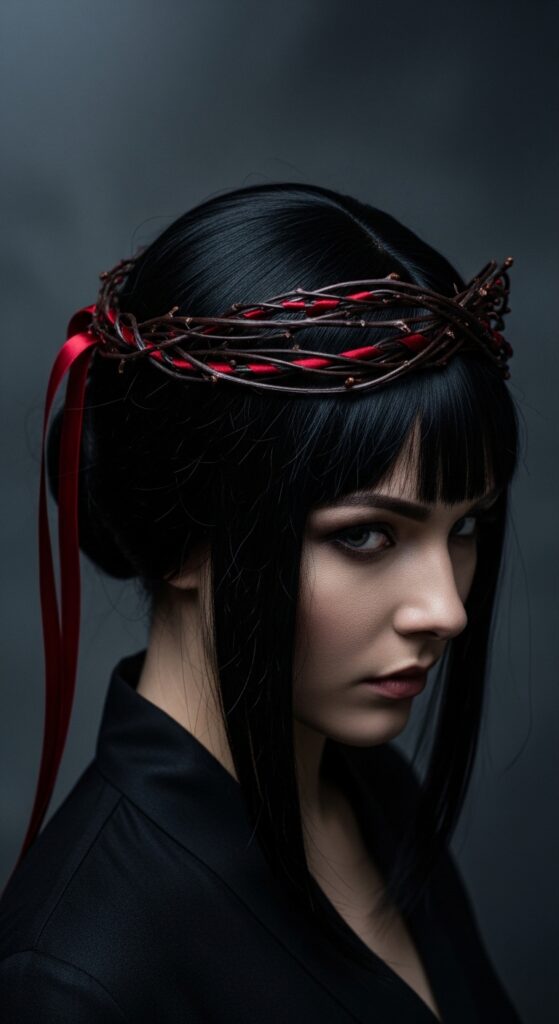
The “Romantic Goth” Twist
Love romantic goth hairstyles or the vampire haircut vibe? This is for you. Do your vine crown in perfectly sleek, dark hair. Then, weave in a single, thin strand of burgundy or black satin ribbon into the braid as you go.
Add a few strategic, face-framing pieces that are curled tightly for a dramatic look. Finish with a strong-hold, shine spray. It’s elegant, dark, and utterly romantic—like a modern vampire queen in a meadow.
The “Glitchy Glam” Version
To tap into the glitchy glam hair trend, introduce intentional imperfection. Braid your vine, but leave a few strategic sections completely unbraided, letting them jut out. Or, braid with two sections instead of three for a different texture.
Use a shine serum on those loose pieces to make them look intentional and glossy. The contrast between the structured vine and the “glitched” loose pieces is so cool and modern. It’s artful dishevelment.
Incorporate the Hime Cut Aesthetic
The hime cut is all about strong, face-framing sections. Use that! Isolate your classic hime front pieces first. Then, start your vine braid just behind those pieces, so they remain bold and clear in the front.
The vine then acts as a beautiful backdrop to that graphic cut. It softens the look while keeping its striking identity. It’s a genius way to blend a structured cut with an organic accessory.
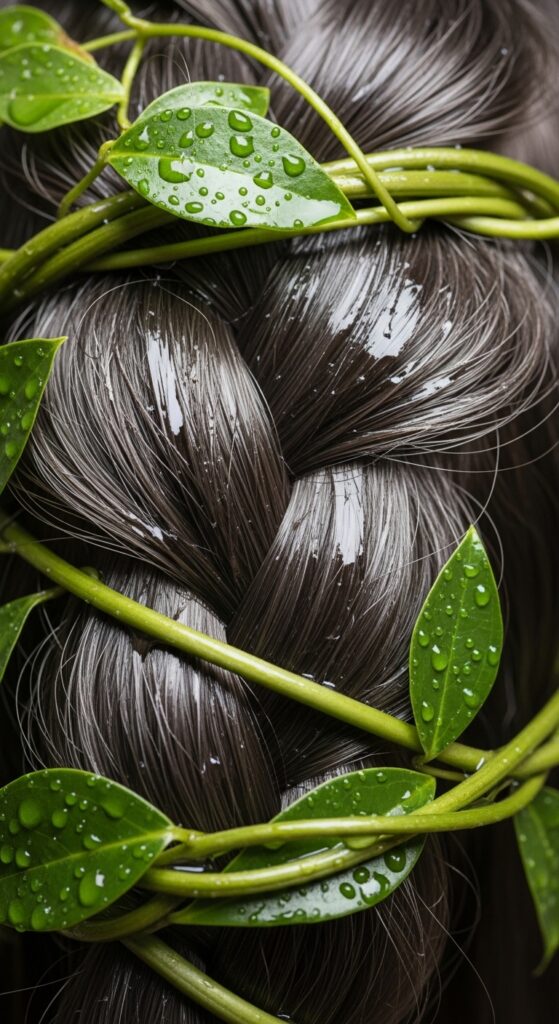
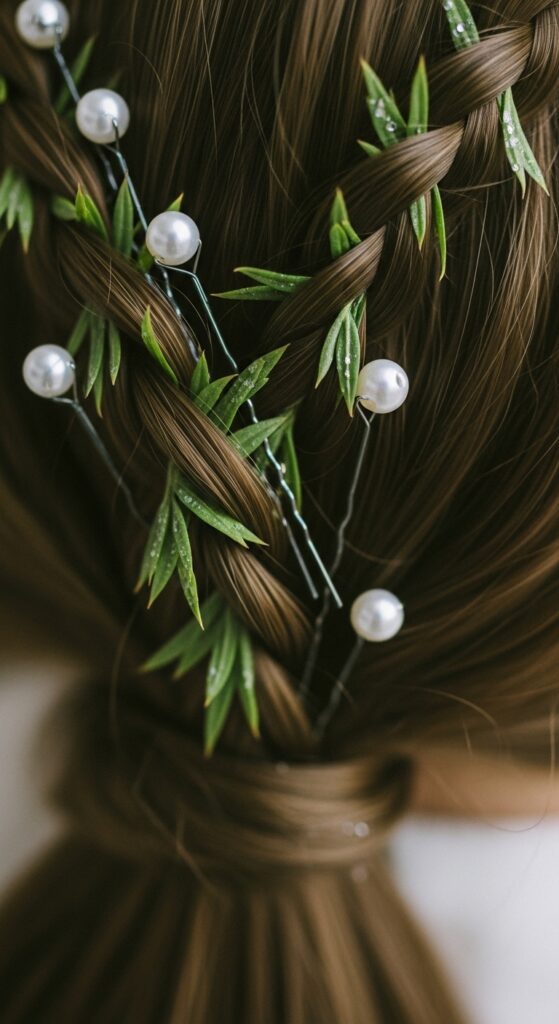
Accessorize Your Vine Crown
Take your crown to the next level with tiny accessories. Think like a gardener! Weave in a few pearl-headed pins (like dewdrops) or tiny, realistic fabric butterflies. You can also use a gold chain as a “trellis,” laying it over the braid and pinning it in place.
Keep it minimal. One or two accents are enough. The goal is to look like you found these things in the garden, not like you raided a jewelry box. Less is always more here.
Second-Day Vine Crown Magic
This style might be even better on day two or three. Your hair’s natural oils provide amazing grip. Simply refresh any flat areas with a little dry shampoo at the roots. Gently re-pin any sections that have loosened.
The braid will have softened and settled, looking even more natural and lived-in. This is the ultimate low-maintenance, high-style trick for busy weeks. It gets better with time, just like a good garden.

Quick Fixes for Common Problems
Braids too tight and headache-inducing? Take it all down. Start over with a much looser grip. Seriously, barely hold the hair. Pull the braid apart once it’s done. Hair too slippery? Spritz sections with texturizing spray before you braid.
Ends won’t stay tucked? Make sure you’re using enough bobby pins in a criss-cross pattern to lock the tail under the braid. You can also use a small, clear elastic on the tail before pinning for extra security.
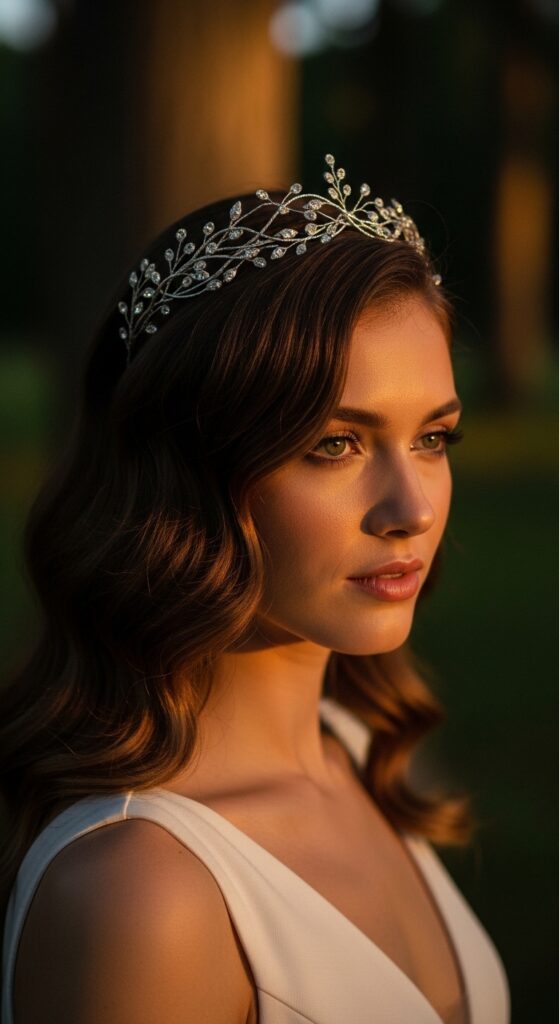
From Day to Night: Elevating the Look
Your daytime vine crown can easily go out for dinner. Smooth any flyaways with a tiny bit of hair wax on your fingertips. Swap out simple pins for something with a little crystal or pearl.
If your hair is down, consider curling the loose ends for a more formal wave. You can also add a dramatic side part before braiding for a sleeker, more evening-appropriate feel. It’s all in the details.
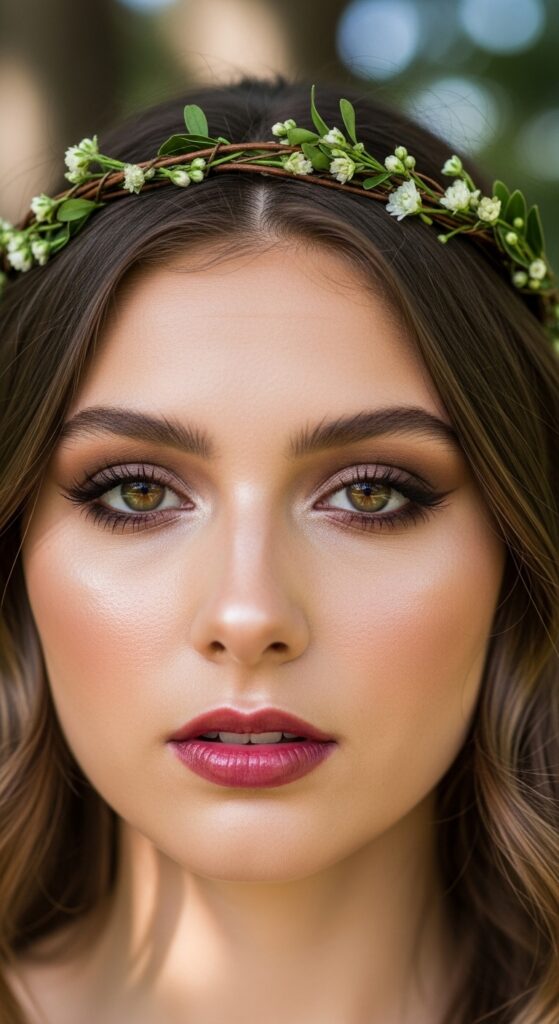
Matching Your Makeup Vibe
Keep your makeup in harmony with the organic theme. Focus on glowing, fresh skin. Use cream blushes and highlighters. For eyes, think earthy tones: mossy greens, soft browns, or terracotta shades swept lightly across the lid.
Let your lips be natural with a tinted balm, or go for a romantic berry stain. The idea is to look healthy and radiant, like you just came in from a walk in the fresh air. Your hair is the star.
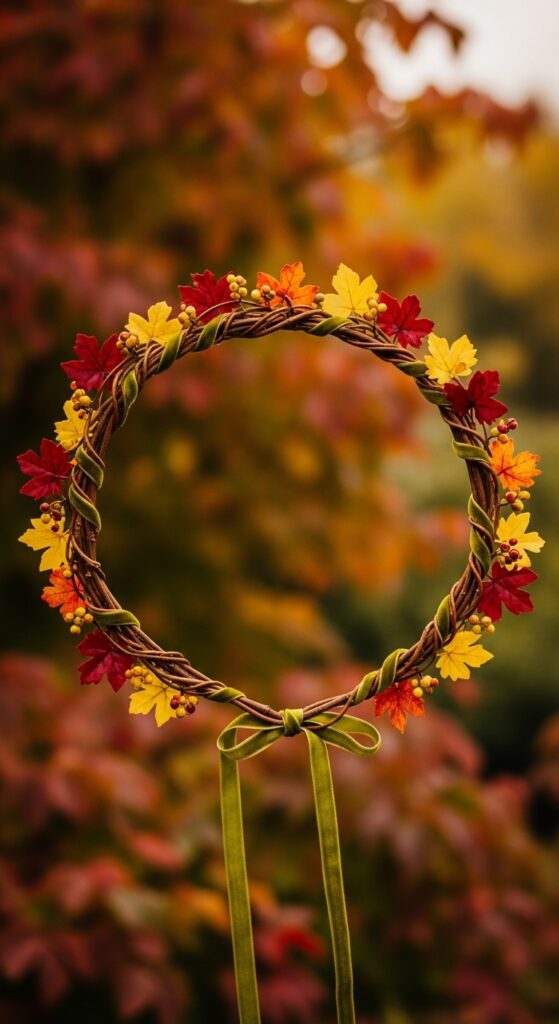
Seasonal Adaptations: Spring vs. Fall
In spring, weave in tiny faux flowers or use pastel-colored ribbons. Keep the braid extra loose and soft. For fall, think richer. Use a dark, velvet ribbon. Incorporate deeper, coppery hair accessories that match the autumn leaves.
Your braid can be a bit tighter and more defined in the cooler months. It’s a fun way to let your hair reflect the world outside your window. The style is endlessly adaptable.
Inspiring Celebrities & Style Icons
Look to stars like Florence Pugh and Lily Collins for modern, red-carpet takes on braided crowns. They often add a quiet luxury spin—perfectly done but never over-the-top. Their stylists are masters of this artful, undone look.
For a more bohemian muse, think of Stevie Nicks or any singer at a folk festival. They embody the free-spirited, earthy version of this style. It’s about finding the interpretation that fits your personal vibe.

Why This Trend Feels So “Now”
In a world of digital overload, we’re craving tactile, natural beauty. This trend answers that call. It’s hands-on, it’s authentic, and it celebrates uniqueness. It also fits right into the 2026 hairstyles forecast of personalized, meaningful style.
It moves away from fast-fashion hair and toward something with soul. It’s a craft. Whether you see it as old money hair or bohemian romance, it’s a timeless idea made fresh again. And honestly, it’s just fun to do.

Your Turn to Grow Your Own Vine
Don’t be intimidated. Your first try might not be perfect, and that’s the point! The beauty is in the attempt. Practice while watching TV. Follow the steps slowly. Take a picture of the back using your phone camera and a mirror.
Each time you try, it will get easier and faster. Before you know it, you’ll be able to create your own beautiful, organic crown without even thinking. It becomes your signature, your little piece of wearable nature.
So, there you have it—your complete guide to growing a garden in your hair. I hope this inspires you to play, to get a little creative, and to bring a piece of that wonderful, wild, natural beauty into your everyday style.
Remember, the best part about this trend is that it’s supposed to look lived-in and personal. There’s no wrong way to do it as long as it makes you feel connected, beautiful, and a little bit magical.
Save this post to Pinterest to keep these ideas growing! And I’d love to know—which variation are you most excited to try? Is it the romantic goth version or the simple, quiet luxury one? Tell me in the comments below!
Happy braiding,
Hailey & Team