Curl 13 Heatless Roller Sets Creating Beachy Texture Overnight Easily
Okay, let’s be real for a second. How many times have you seen a gorgeous, beachy wave tutorial, bought the curling iron, and then… never actually used it? I’ve been there. The heat, the time, the arm ache—it’s just not happening on a random Tuesday night.
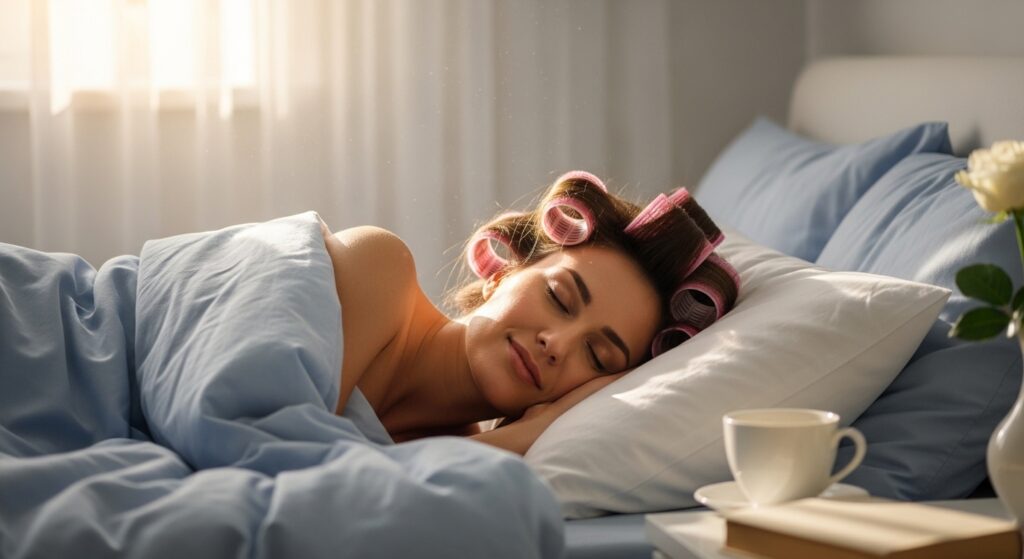
That’s why I’m completely obsessed with heatless roller sets. They do all the work while you sleep. You wake up with effortless, touchable texture that looks like you just left the shore. It’s the ultimate lazy-girl hack.
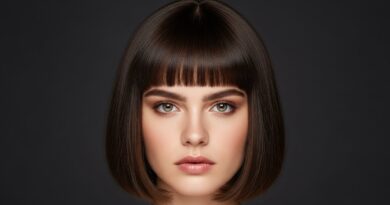
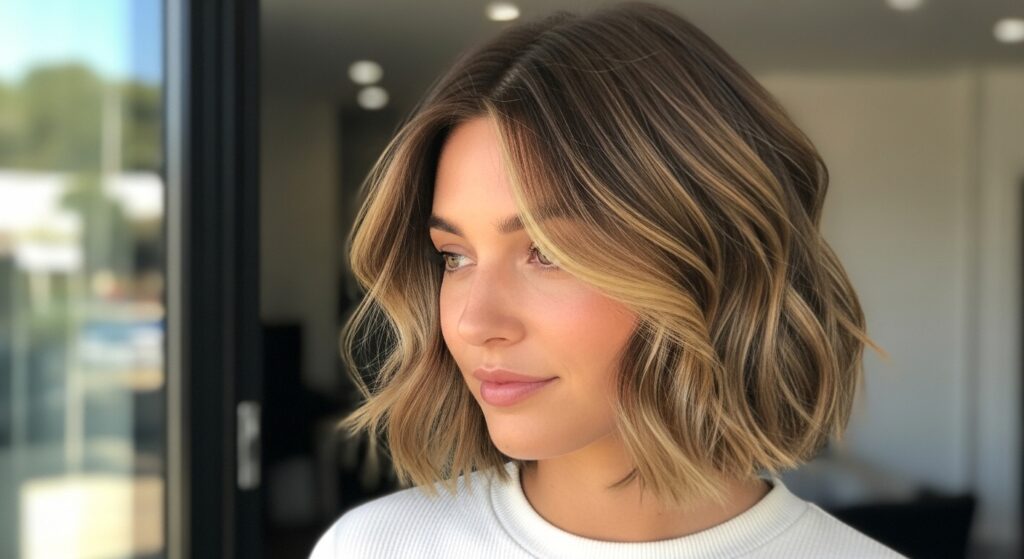
And the best part? This method works for almost every hair type and length. Whether you’re rocking a sleek quiet luxury bob or long layers, you can get this look. Let me walk you through my favorite set: the Curl 13.
Why Heatless Is The Ultimate Hair Hack
Using heat tools every day is a fast track to dry, damaged hair. Heatless styling protects your strands, saving their natural shine and health. It’s a game-changer for your hair’s long-term vibrancy.
Plus, it’s the easiest routine. You set it, forget it, and sleep. Your morning is freed up for coffee, not wrestling with a wand. The curls you get are also softer and more natural, perfect for that “I woke up like this” vibe that’s so big in 2026 hairstyles.
What You’ll Need For This Set
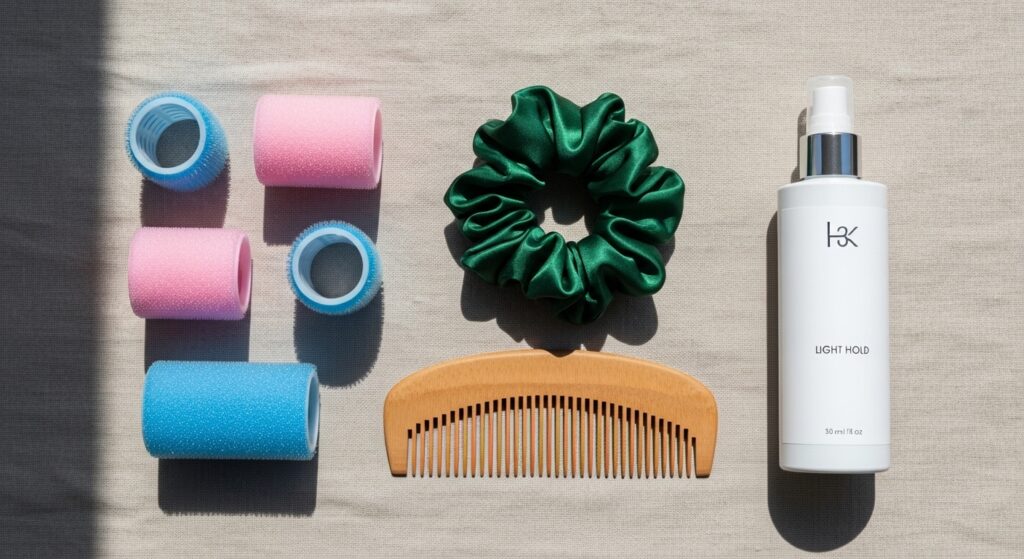
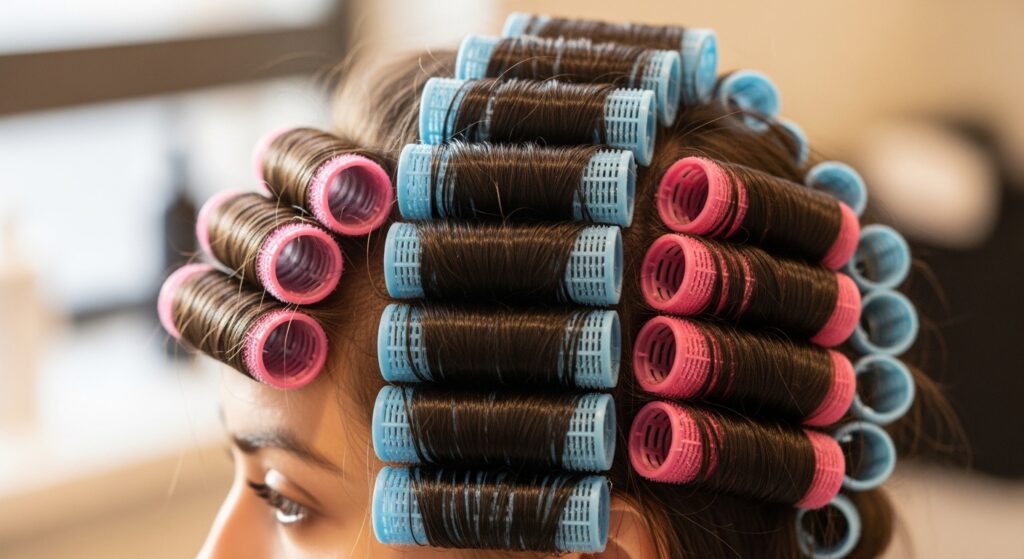
Gathering your tools is simple. You don’t need anything fancy. The star is a set of soft, foam rollers. I prefer the medium-sized ones for this wave pattern.
Here’s your complete list:
- Soft foam rollers (about 10-15)
- A silk or satin scrunchie
- A wide-tooth comb
- A light-hold texture spray or mousse
- Optional: A silk pillowcase for less friction
Prepping Your Hair Is Key
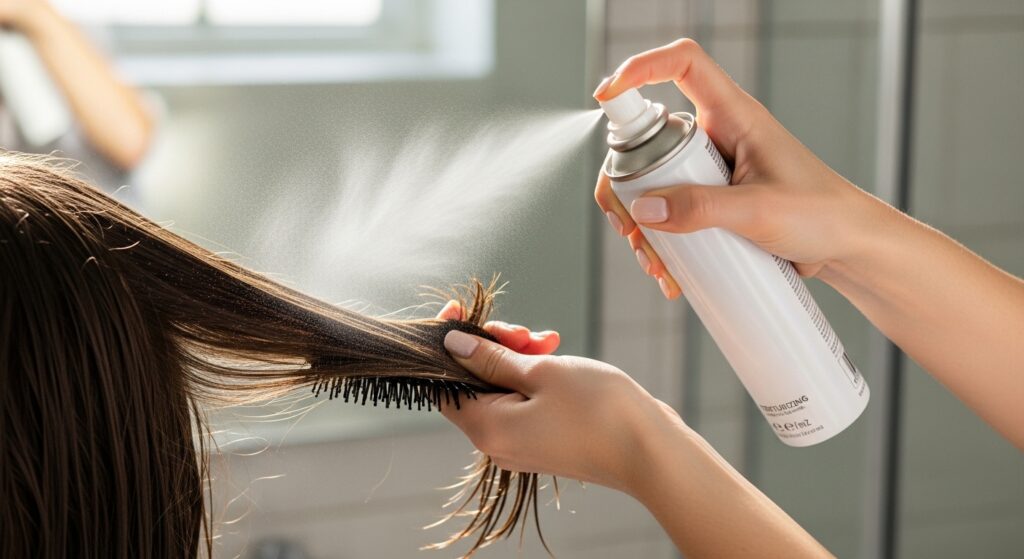
Always start with damp, not soaking wet, hair. Towel-dry your hair gently first. I like to spray in a light texturizing product from mid-lengths to ends. This gives the curls something to hold onto.
Comb it through to avoid any tangles. The goal is hair that’s about 70% dry. If your hair is very fine, a mousse can add great body. For thicker hair, a light spray is perfect to avoid crunch.
Sectioning For Perfect Results
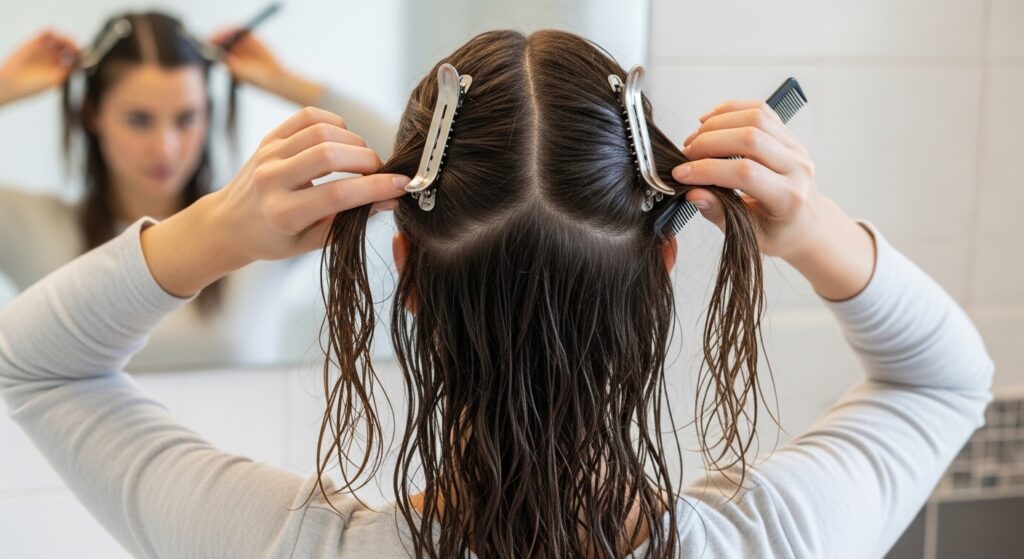
Don’t just start rolling randomly. Sectioning makes the process neat and ensures every piece gets curled. I divide my hair into three main sections.
First, clip the top half of your hair up and out of the way. Then, split the bottom section into a left and right side. Work from the bottom up. This keeps things organized and is especially helpful if you have an asymmetrical lob to style evenly.
The Rolling Technique: Bottom Layer
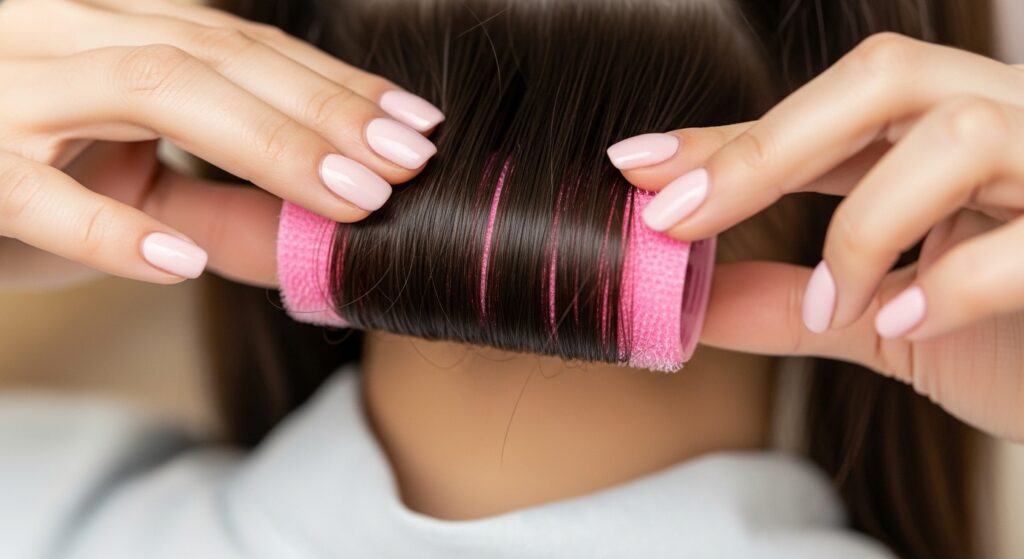
Start with the bottom left section. Take a horizontal piece of hair about two inches wide. The smaller the section, the tighter the curl, so don’t go too thick.
Place the end of your hair at the top of the roller and roll downwards towards your scalp. Roll it all the way up, then secure the ends by bending the roller into a circle. Repeat on the bottom right side. This base layer gives your style full body.
Moving To The Middle Layers
Once the bottom is done, let down some of the hair you clipped up. This is your middle layer. Use the same technique, rolling horizontal sections down towards your head.
Try to stagger the rollers so they aren’t all in a straight line. This creates a more natural, undone wave pattern. Consistency is your friend here—try to keep the section sizes similar for uniform waves.
Finishing With The Top Crown

The top layer is the most visible, so take your time. For your front pieces, you can roll them back away from your face or down towards it, depending on your preferred wave direction.
Make sure the rollers at your crown are secure, as they can loosen while you sleep. If you have bangs or a fringe, like with a hime cut, you can leave them out or roll them separately for a blended wave.
Securing Everything For The Night
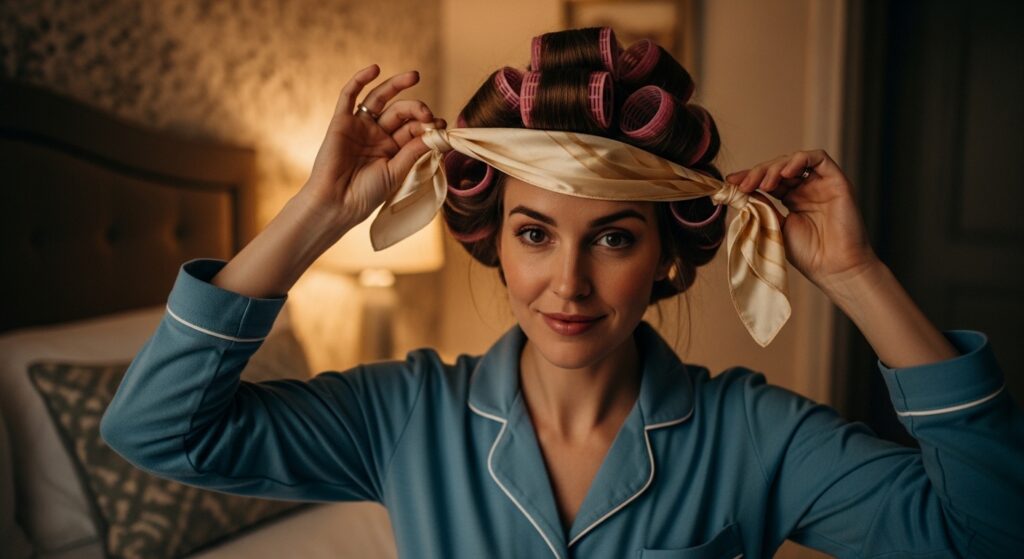
Once all rollers are in, I gently tie a silk scarf over my head or use a loose silk bonnet. This keeps everything in place and prevents the rollers from rubbing off on your pillow.
If you don’t have a scarf, that’s okay. Just try to sleep on your back if you can. A silk pillowcase is a great investment here—it reduces frizz and helps the rollers slide less.
Morning Reveal: Taking Them Out
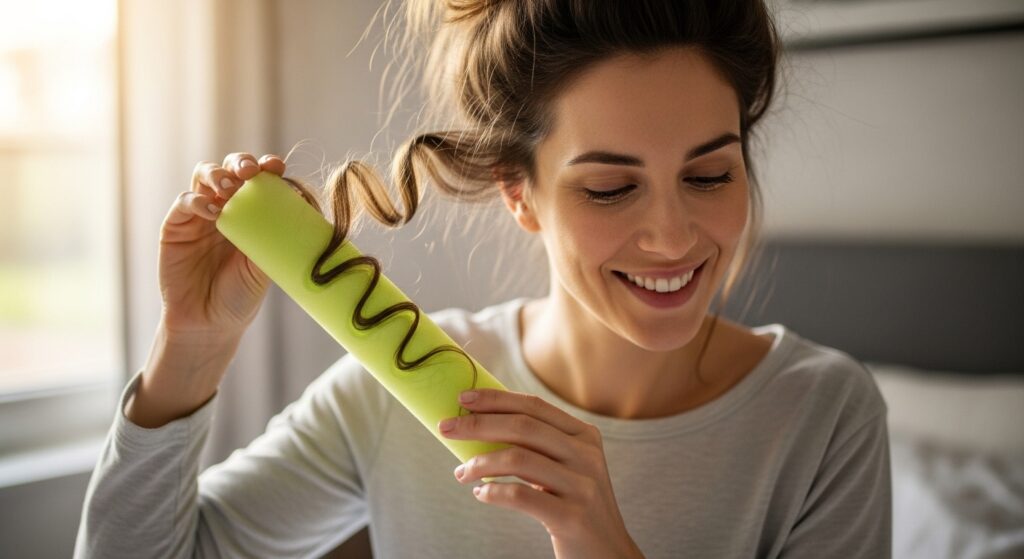
Good morning! The fun part starts now. Gently remove the scarf or bonnet. Start taking the rollers out from the bottom up, unrolling them downwards.
Don’t brush your hair yet! Just use your fingers to gently separate the waves you see. Let the curls settle and cool for a few minutes. You’ll see the texture start to relax into waves.
Shaking Out The Waves
Flip your head upside down and gently shake at the roots with your fingertips. This adds instant volume and breaks up the set just enough. Flip back up slowly.
Look in the mirror. You’ll likely see very defined curls. That’s perfect. Now, we’re going to soften them into that beachy texture we’re after. This is where the magic happens.
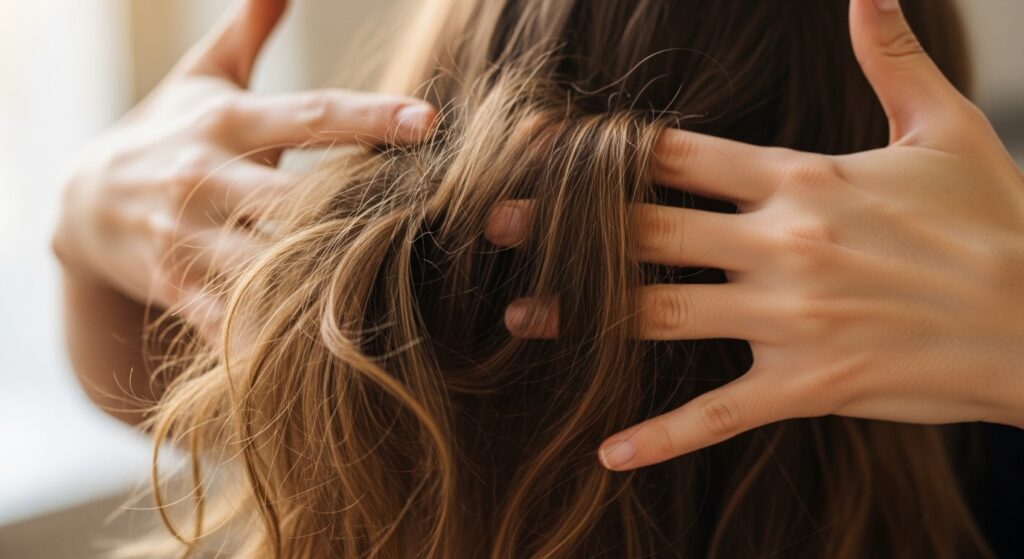
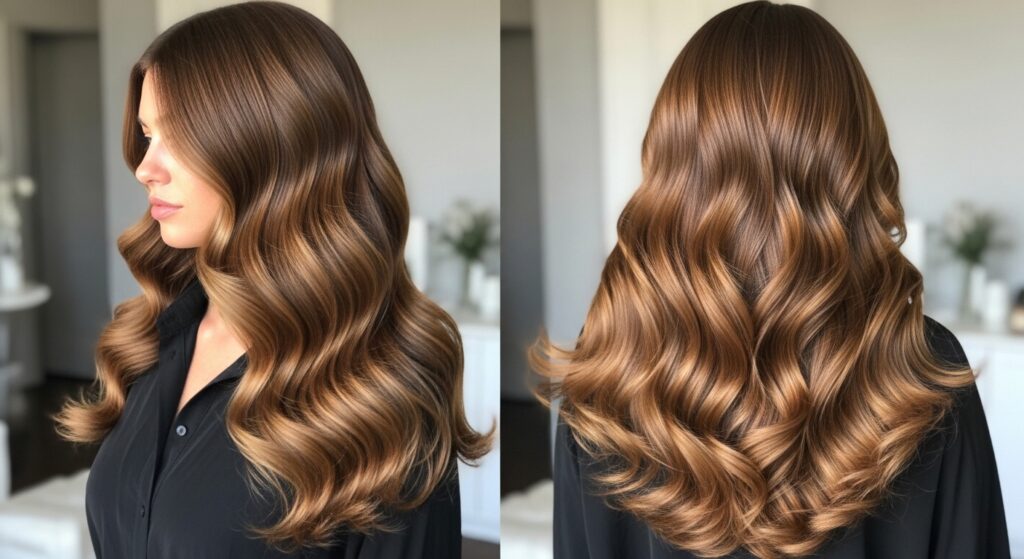
Creating That Beachy Texture

Use your hands, not a brush, for this step. Take a defined curl clump and gently pull it apart horizontally into two or three smaller sections.
Run your fingers down the length of each wave to smooth it slightly. The goal is soft, piecey movement, not perfect ringlets. This technique gives you that effortless, lived-in look that’s the opposite of high-maintenance.
Adding The Final Touch
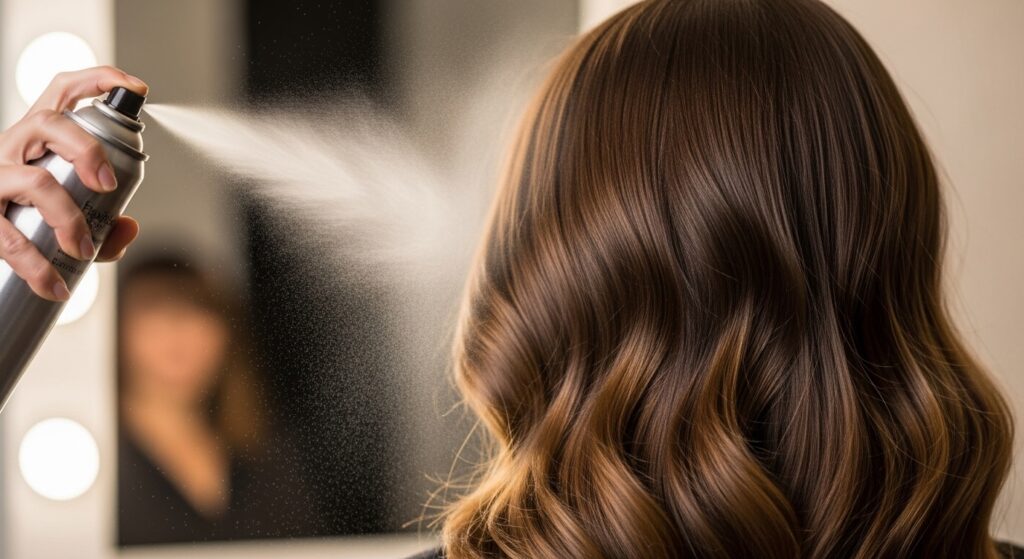
To lock in the texture without making it stiff, use a flexible-hold hairspray. Hold the can about ten inches away and give your hair a light, all-over mist.
You can also scrunch a tiny bit of texturizing cream or sea salt spray into the ends for extra separation and grip. This final touch ensures your waves last all day, from work to dinner.
Styling For A Quiet Luxury Vibe
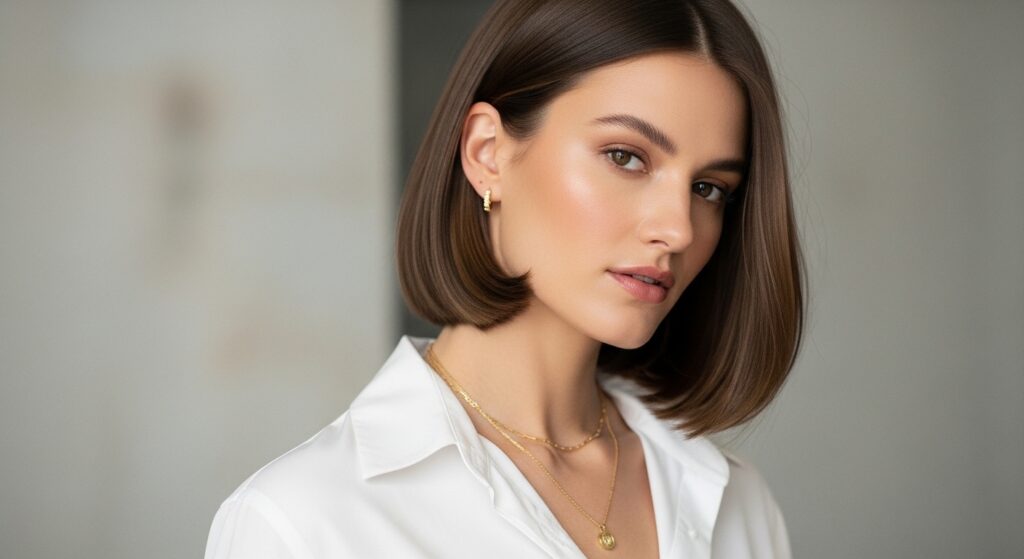
This wave is perfect for the old money hair aesthetic—polished but not overdone. For a quiet luxury bob, tuck one side behind your ear and let the waves fall simply.
Keep accessories minimal. The focus is on your hair’s healthy, shiny texture. It looks expensive because it’s so healthy and understated. It’s the ultimate “stealth wealth” hairstyle.
Adapting For Romantic Goth Styles

Beachy waves can easily lean romantic. For a romantic goth hairstyles twist, add a dark velvet ribbon or a delicate lace clip. Keep the wave soft but defined.
Pair it with deep hair color for a dramatic effect. This style works beautifully with the softness of the vampire haircut, adding movement to those dramatic face-framing layers.
Getting Glitchy Glam Texture
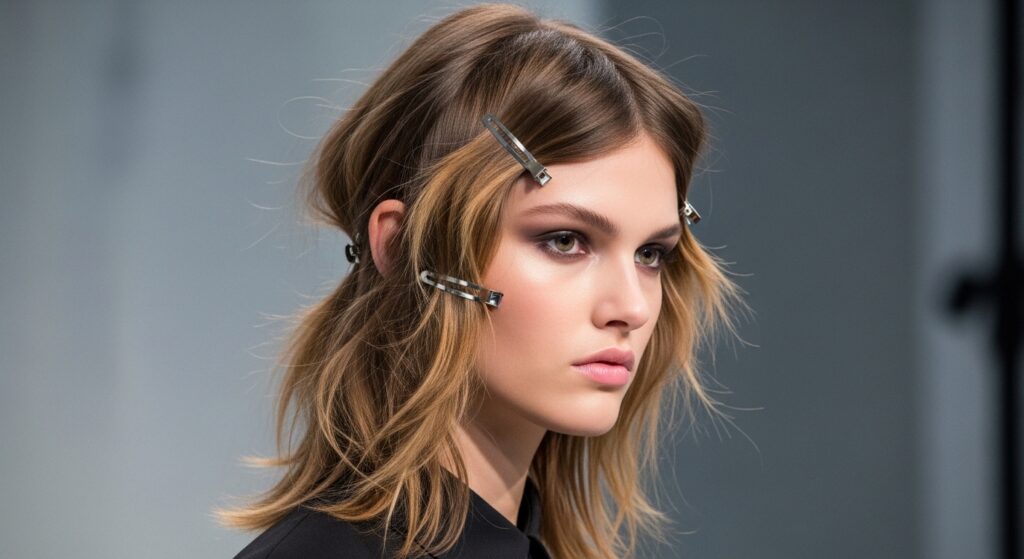
Want something edgier? This is your base for glitchy glam hair. After shaking out the waves, take random small sections and twist them slightly, pinning them back with cool, metallic mini clips.
The idea is to create an intentional, “disrupted” look. It’s imperfect, cool, and plays with texture in a really modern way. It’s one of the most fun 2026 hairstyles to play with.
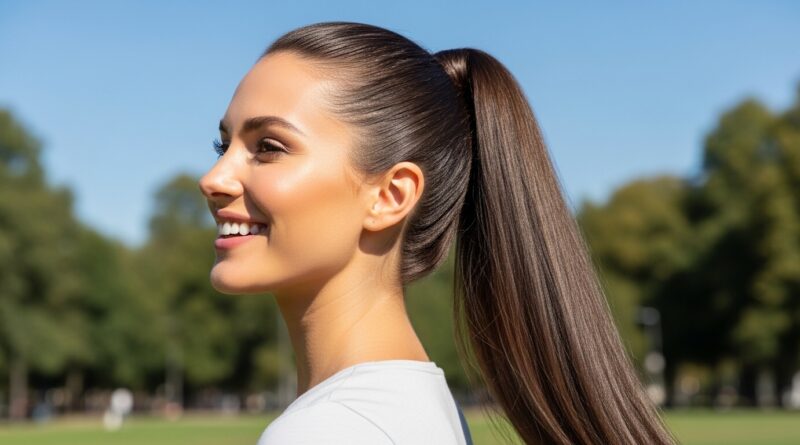
If Your Hair Is Very Long
For long hair, the process is the same, but you might need a few extra rollers. Focus the rolling from your mid-lengths to ends to avoid too much volume at the root, unless you want it.
The result will be gorgeous, cascading waves. It gives that classic, romantic length so much movement and life without the heat damage of a big barrel iron.
If Your Hair Is Short Or A Bob
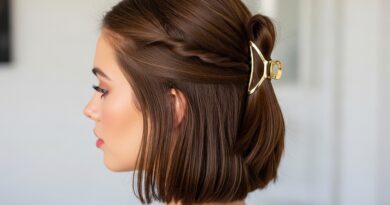
Short hair looks amazing with this method! For bobs or lobs, use smaller sections and roll the hair all the way to the roots. This gives you maximum lift and body.
When you take them out, you’ll have gorgeous bounce. It’s the perfect way to add oomph to a sleek asymmetrical lob or to give a blunt cut some much-needed texture.
Making The Curls Last All Day

To extend the life of your waves, that light-hold spray in the morning is key. If you feel them falling later, don’t brush them.
Instead, lightly mist your hands with water or a refresher spray and scrunch the mid-lengths again. This reactivates the product and brings the wave back to life without frizz.
Common Mistakes To Avoid
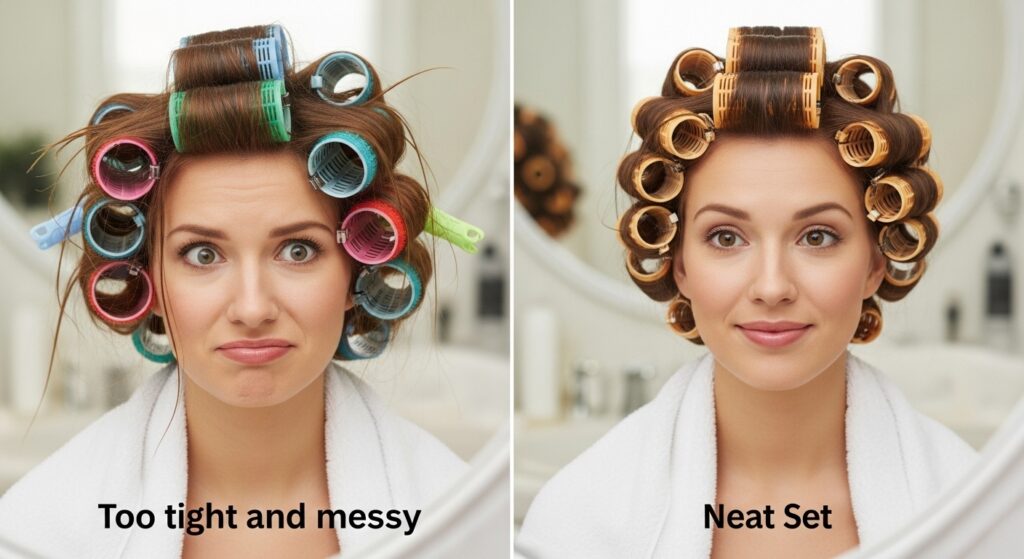
The biggest mistake is using soaking wet hair. This leads to damp curls in the morning and potential mildew on your rollers. Damp is the way.
Also, avoid rolling too tightly. It can cause dents and make the curls too springy. Gentle, secure rolls are perfect. Finally, don’t skip the product—it’s the glue that holds the style.
My Favorite Products For This Look
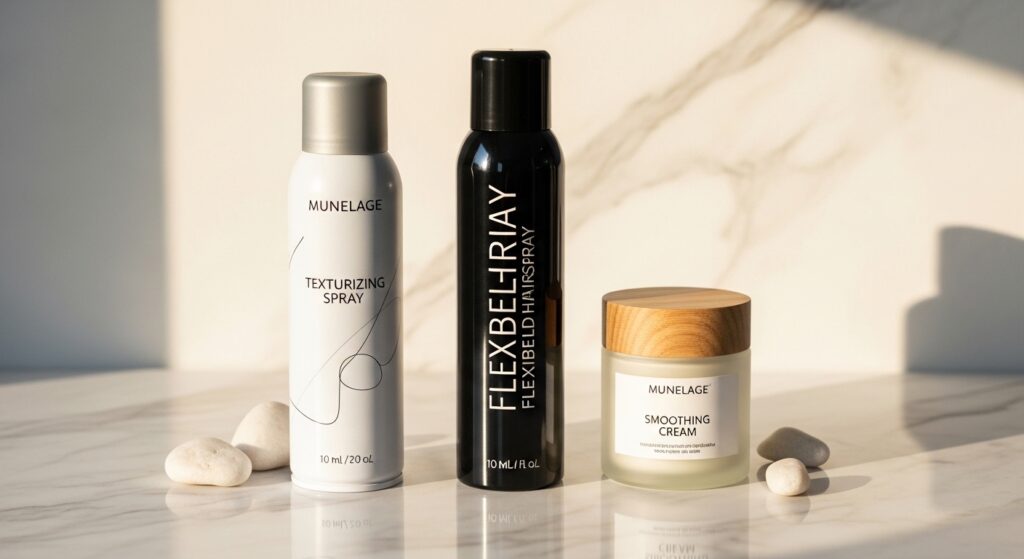
I keep my product lineup simple. For prep, I love a texturizing mousse for fine hair or a light cream for thicker hair. It adds grip without residue.
For hold, a truly flexible hairspray is non-negotiable. Look for words like “touchable” or “flexible hold” on the bottle. A good sea salt spray can also be a great refresher later in the day.
How Often Can You Do This?

You can do this as often as you like! It’s zero heat, so it’s not damaging. I often do it 2-3 times a week. It’s a fantastic way to give your hair a break from hot tools.
On the days you don’t set it, you’ll notice your hair has amazing second-day texture from the previous set. Just refresh it with a little water and scrunching.
Your Questions, Answered
Will it work on straight hair? Yes! The damp hair and product help set the wave pattern. It may not last as long as on naturally wavy hair, but you’ll still get beautiful texture.
What if I’m a restless sleeper? The silk scarf or bonnet is your best friend. It really helps keep them in place. Also, try the “pineapple” method with a loose scrunchie over the rollers for extra security.
So, there you have it—your ticket to perfect, no-heat waves every single morning. It might feel a little funny the first night you sleep in rollers, but trust me, it’s worth it. Waking up to ready-to-go hair is a feeling I’ll never get tired of.
This method has saved me so much time and my hair has never been healthier. It’s the foundation for so many looks, from that polished quiet luxury bob vibe to cool-girl glitchy glam hair. All while you’re catching your beauty sleep.
Save this post to Pinterest so you always have the steps handy! And I’d love to know—are you a heatless curl newbie or a seasoned pro? What’s your biggest hair hack? Tell me everything in the comments below!