Damage 12 Thermal Barrier Creams Insulating Before Hot Tools
Okay, let’s be real for a second. How many of us have grabbed a random bottle of heat protectant, sprayed it on, and cranked our flat iron to 450 degrees, hoping for the best? I’ve been there. You want that sleek, salon-perfect finish for your asymmetrical lob or that defined wave for a romantic goth look, but the damage is real.
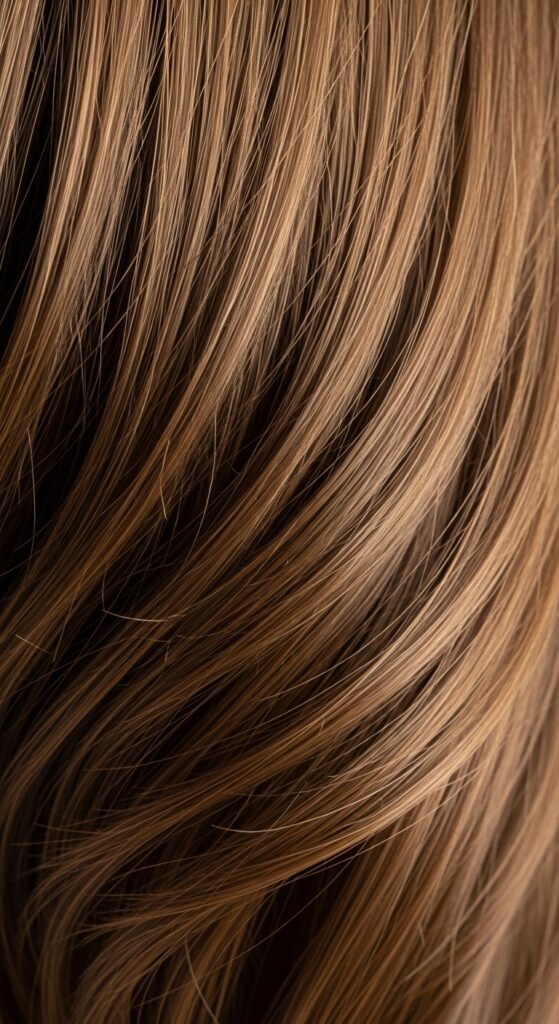
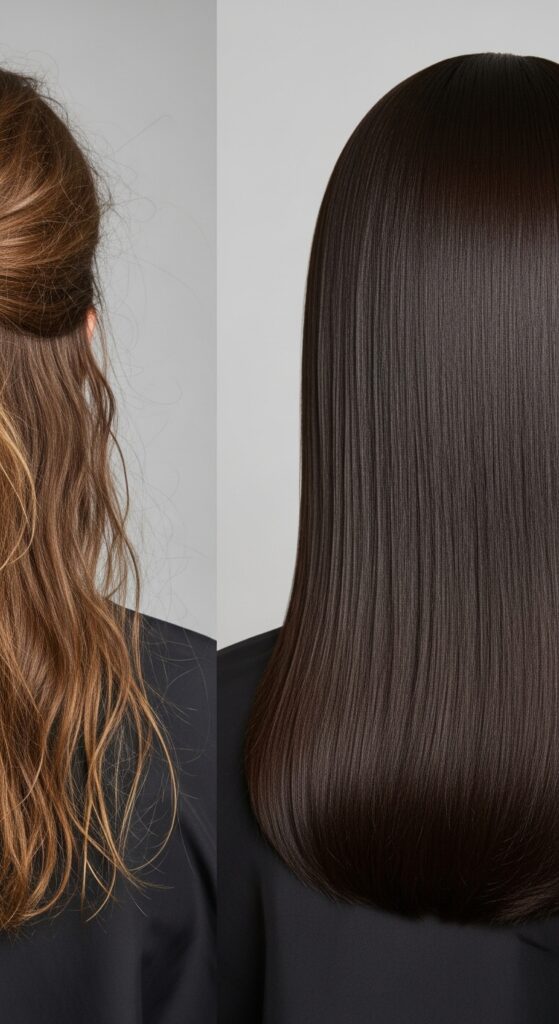
That frizz, the split ends, the lack of shine—it’s often from skipping the most crucial step. It’s not just about protection; it’s about creating a perfect base. That’s where thermal barrier creams come in.
Think of them as the secret, insulating layer your hair desperately needs. This isn’t another complicated step. It’s the one that makes all the others worth it. Let’s break down exactly what these creams do and how to use them to get the gorgeous, healthy hair you’re after, no matter your 2026 hairstyles goal.
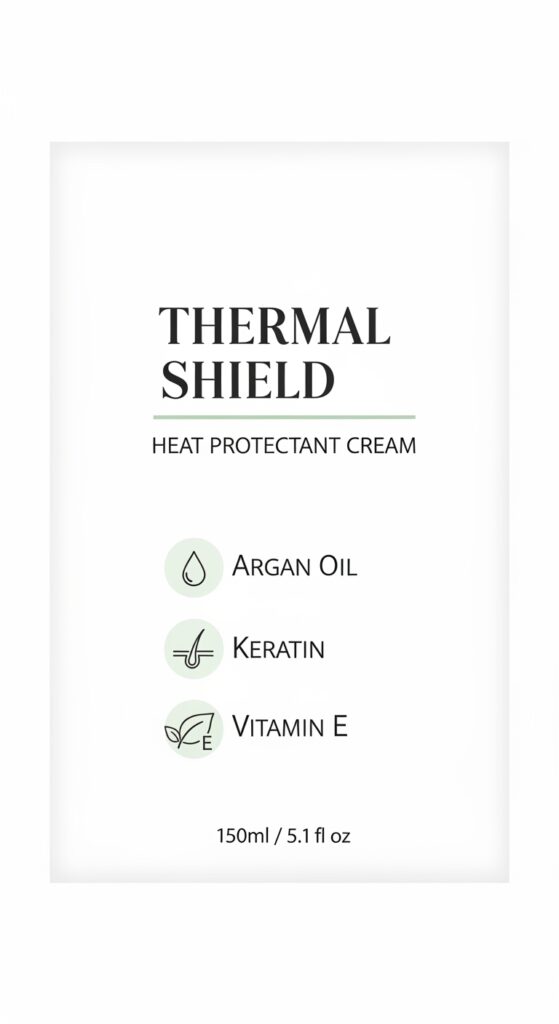
What Is a Thermal Barrier Cream, Really?
It’s more than just “heat protectant.” While sprays often coat the hair, a cream is designed to absorb and create a literal barrier. Imagine putting on a thin, breathable jacket before walking into a blizzard. That’s this cream.
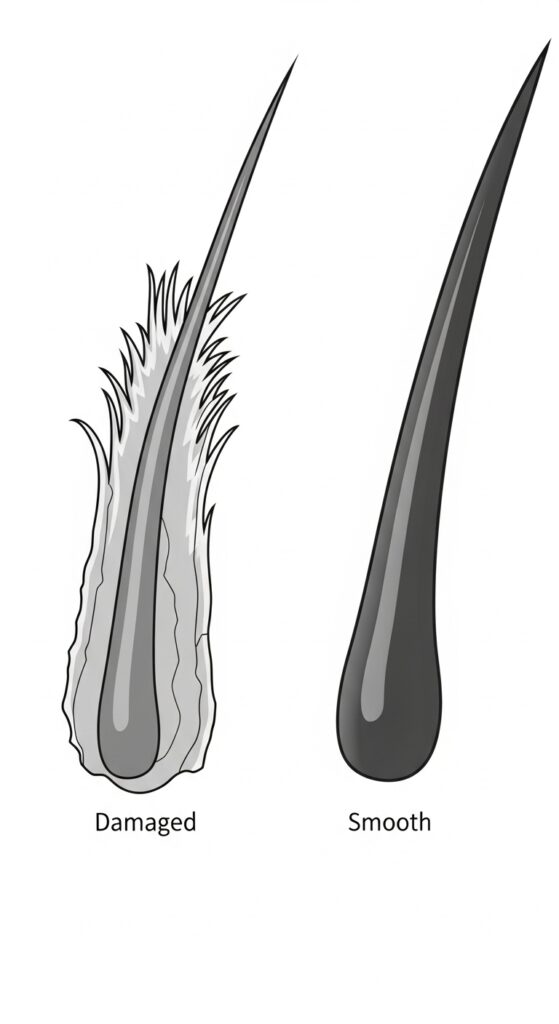
It uses ingredients like polymers and silicones (the good, lightweight kind) to insulate each strand. This doesn’t just deflect heat; it helps distribute it evenly. So your hot tool glides smoothly, sealing the hair cuticle instead of scorching it. The result? Less damage and way more shine.
The #1 Mistake Everyone Makes with Heat Protection
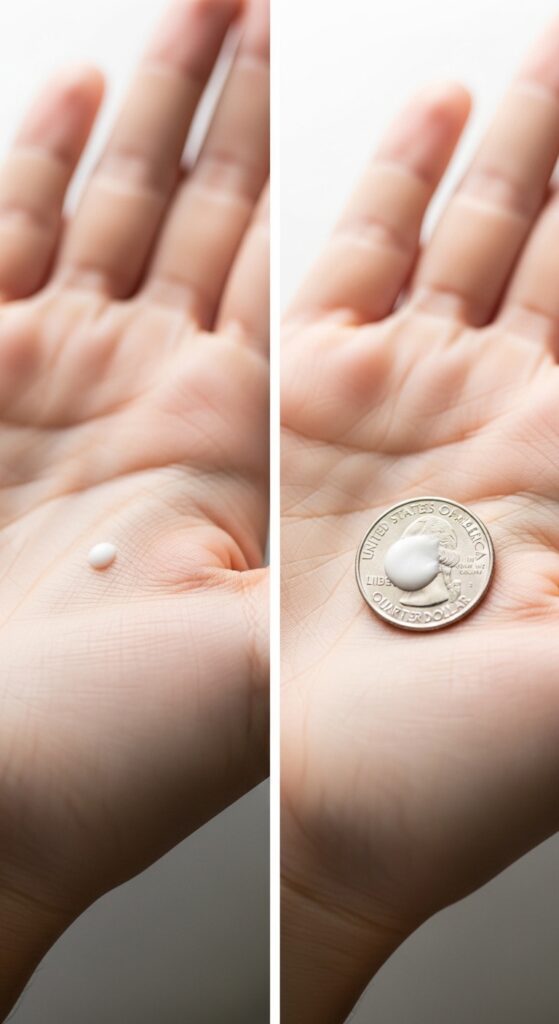
We don’t use enough. Seriously. A pea-sized amount for your whole head won’t cut it. You need a generous, even coating on every section you plan to heat style.
The second big mistake? Applying it to dirty or sopping wet hair. For a cream to work its magic, it needs a clean, towel-dried canvas. Apply it to damp hair before blow-drying, or to completely dry hair before using a flat iron or curling wand.
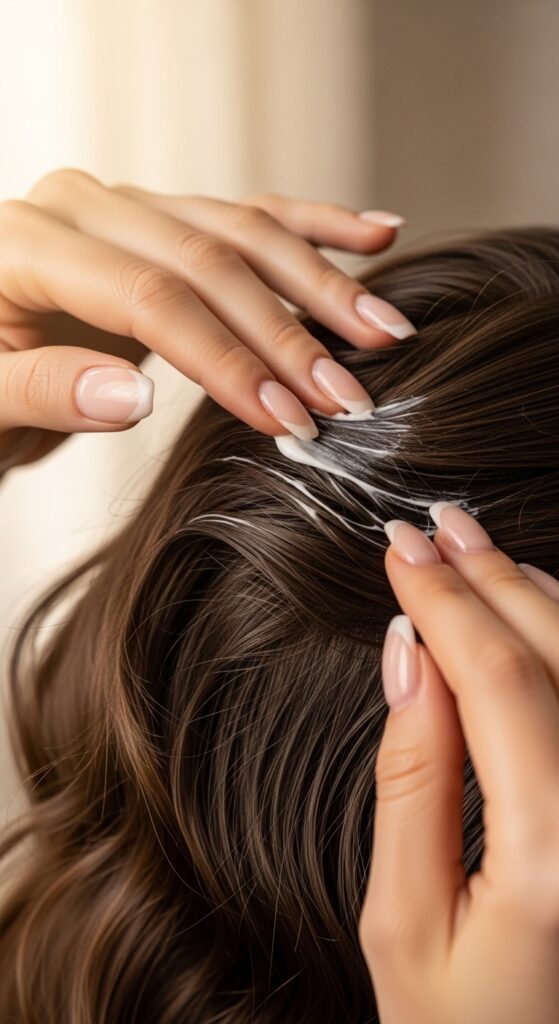
How to Apply It for Maximum Protection
- Start with clean, towel-dried hair. Comb it through to remove tangles.
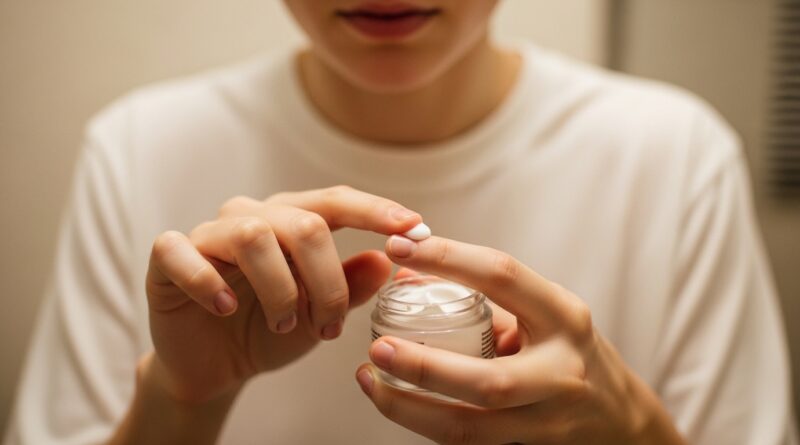
- Dispense a quarter-sized amount (for medium-length hair) into your palm.
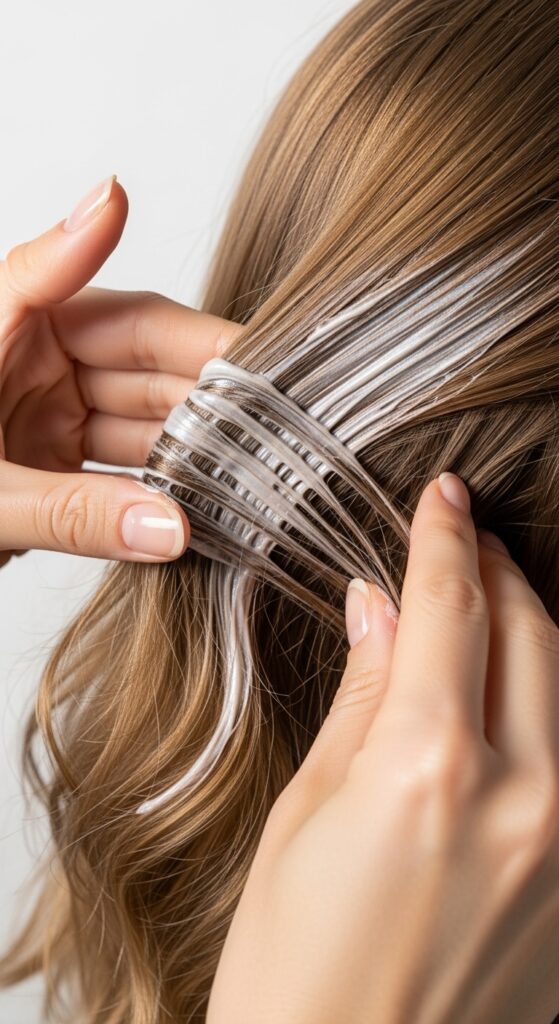
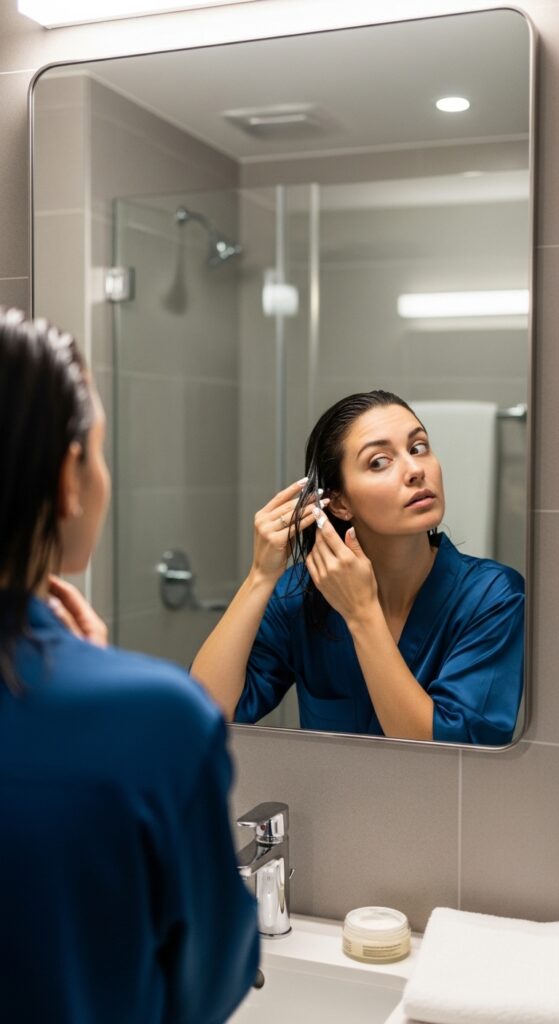
- Rub your hands together to emulsify, then apply evenly from mid-lengths to ends.
- Use a wide-tooth comb to distribute it perfectly before you start styling.
This method ensures no strand is left behind. It primes your hair, making it more manageable and ready for any hot tool, whether you’re going for an old money hair vibe or something more edgy.
Why Creams Beat Sprays for Most Hair Types
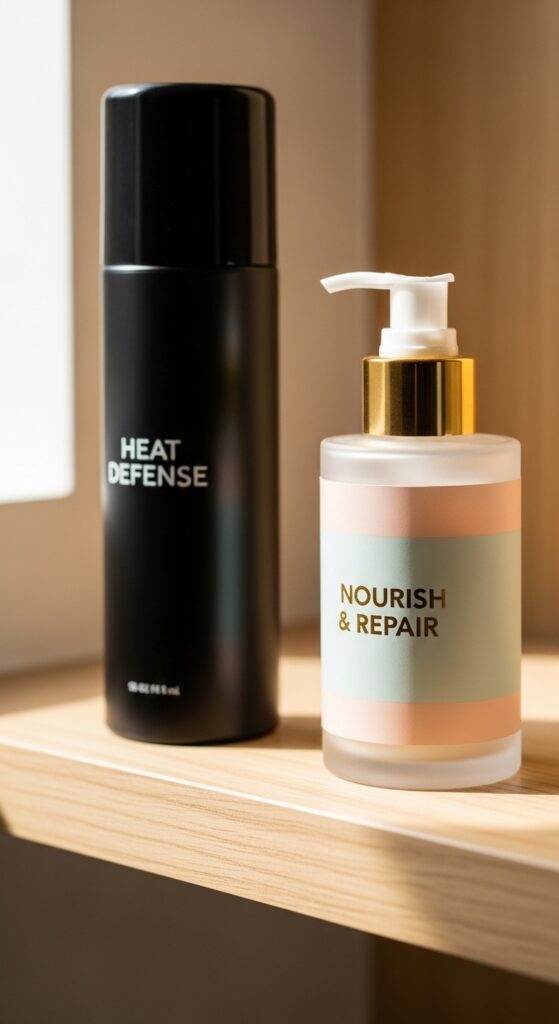
Sprays are great for fine hair or quick touch-ups. But creams offer a denser, more uniform shield. They also add a layer of hydration and often contain nourishing oils.
This dual action—insulating and moisturizing—is key for preventing that dry, fried look. If you have thick, curly, or previously damaged hair, a cream will give you a much better result. It tames frizz from the inside out.
Finding the Right Cream for Your Hair Texture
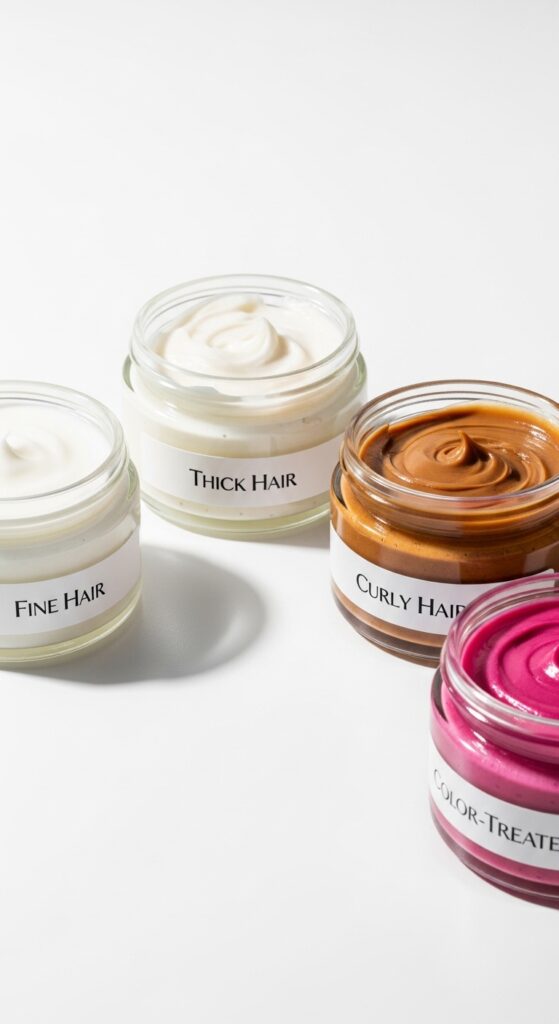
- Fine or Thin Hair: Look for “weightless” or “volumizing” on the label. Avoid heavy oils.
- Thick or Coarse Hair: You need a richer cream. Look for ingredients like shea butter or argan oil.
- Curly Hair: Choose a cream that doubles as a curl definer to fight frizz and add clumping.
- Color-Treated Hair: Opt for a formula specifically designed to protect color from fading under heat.
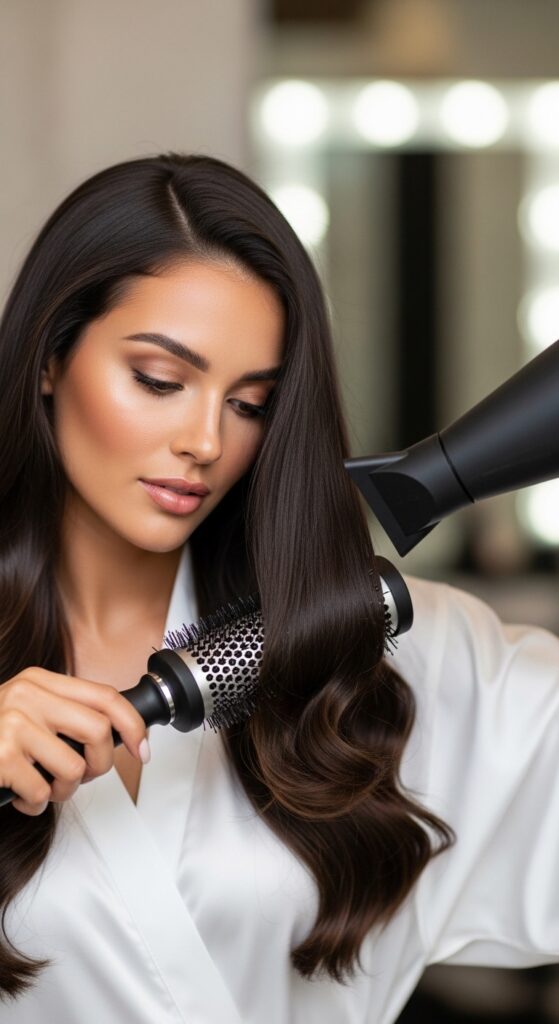
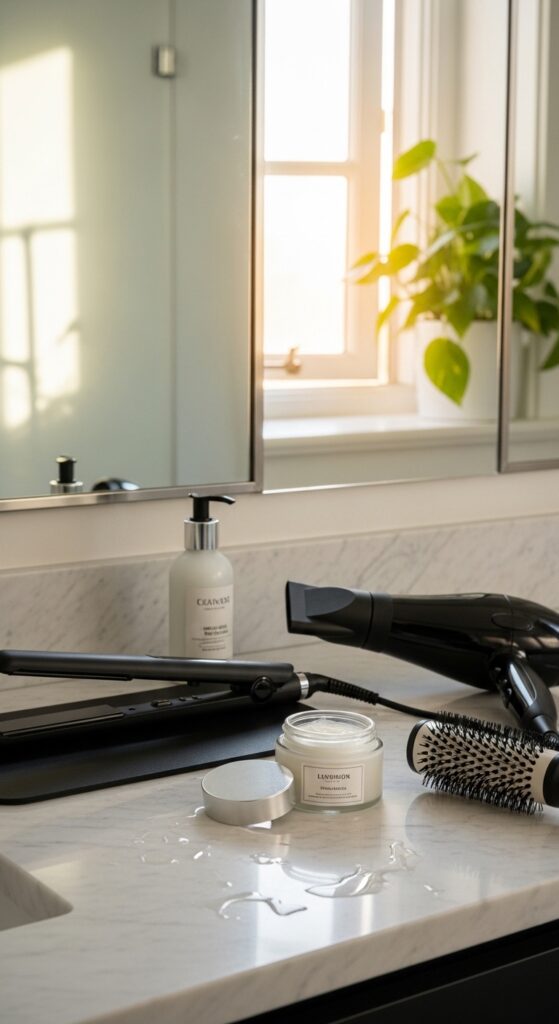
The Blow-Dry Barrier: Your First Defense
Your blow dryer is where the damage starts. Applying a thermal cream before you even pick up the dryer is a game-changer. It locks in moisture from your damp hair as you dry it.
This means you can use a lower heat setting and still get smooth results. It cuts down on drying time, too, because the cream helps the cuticle lay flat. It’s the essential first step for that bouncy, salon-quality blowout.
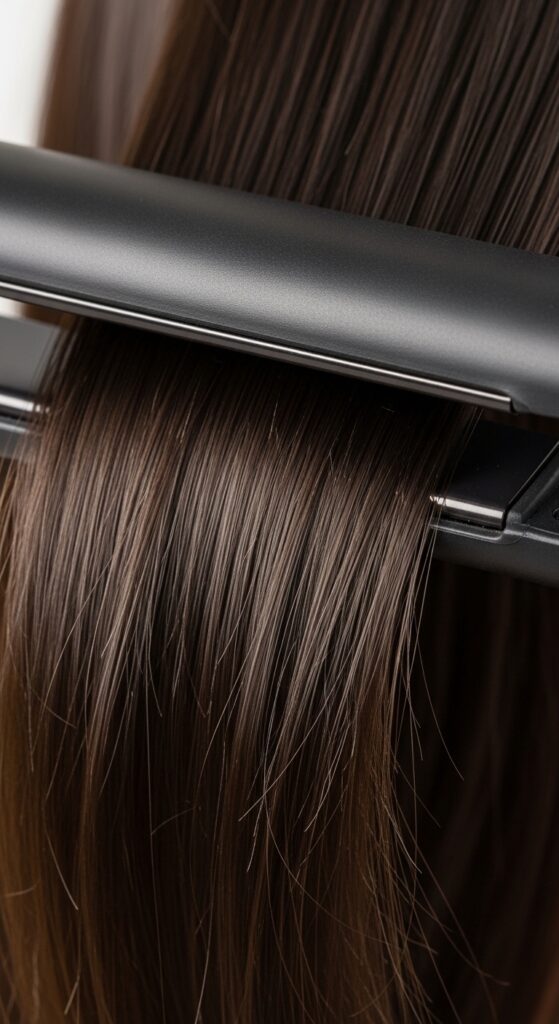
Prepping for the Flat Iron: The Smoothness Secret
For pin-straight styles or a sharp quiet luxury bob, the flat iron is your tool. But it’s also the most damaging. After blow-drying, apply a *tiny* bit more cream to any particularly dry sections.
This extra layer ensures the iron glides like butter. You’ll hear less sizzle, see less smoke, and get a mirror-like shine. It also helps the style last longer by sealing the cuticle completely shut.
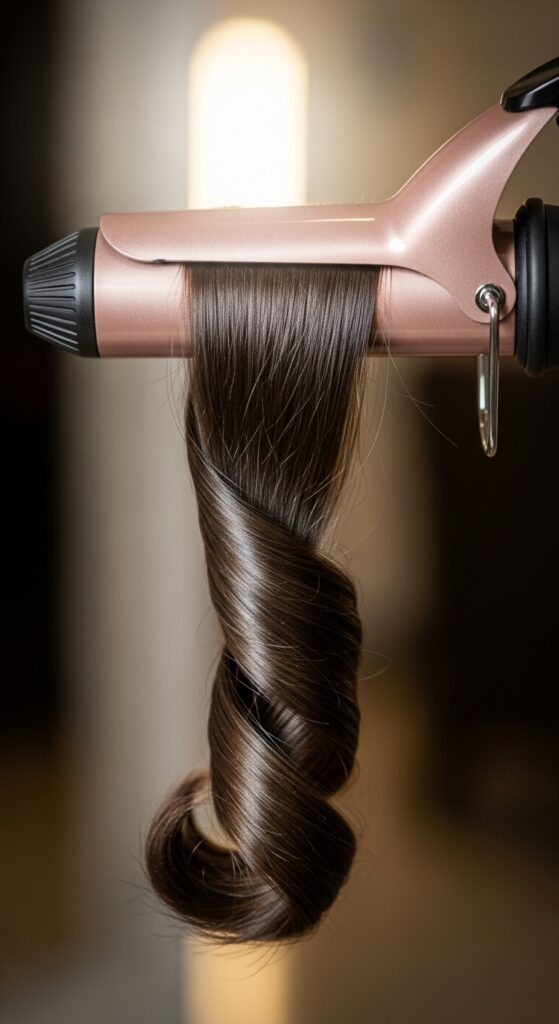
Curling Wand & Barrel Prep for Lasting Bounce
Want curls that drop into soft waves instead of frizzing out by noon? Barrier cream is your answer. Apply it to dry hair before curling. It gives the wand something to grip slightly, helping the curl form.
More importantly, it sets the shape. The heat sets the curl *around* the protected hair, so it’s more resilient to humidity and touch. This is a must for any 2026 hairstyles that involve beautiful, defined waves.
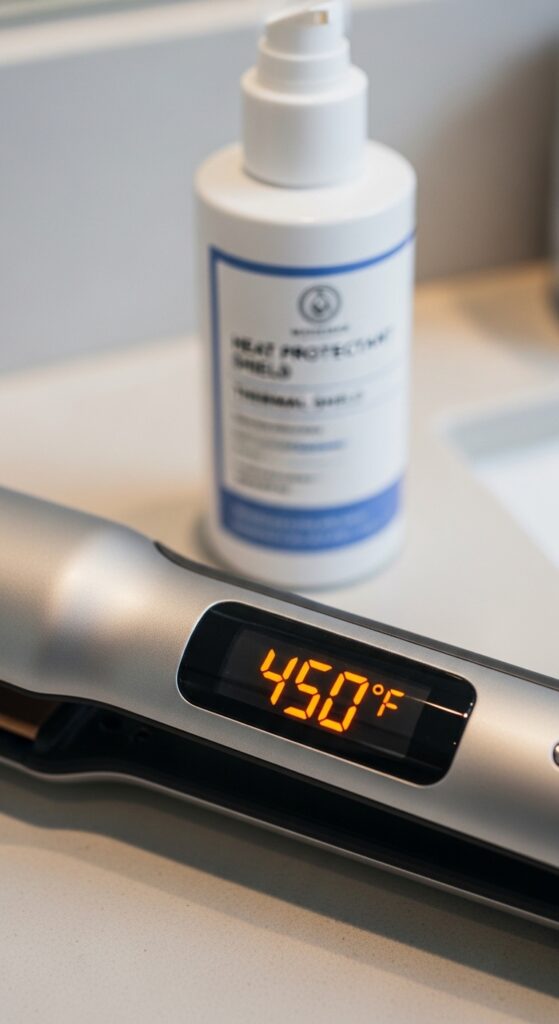
Does It Work for Ultra-High Heat Tools?
Yes, but you need to be smart. Check your cream’s label—many are rated for temperatures up to 450°F. If you use tools that go hotter, look for a professional-grade cream specifically designed for extreme heat.
Remember, no product can make your hair completely invincible. Always use the lowest effective temperature. A good cream buys you a safety margin, but it’s not a license to scorch your hair.
The Ingredient List You Should Look For
Scan the label for these heroes: Dimethicone or Cyclomethicone (silicones that provide slip and shield), Panthenol (pro-vitamin B5 for moisture), Keratin (strengthens), and natural oils like Argan or Marula.
Avoid creams with a high alcohol content (like denatured alcohol) at the top of the list, as they can be drying. You want insulation, not desiccation.
Common Myths About Heat Protection Creams
Myth 1: “They make my hair greasy.” Truth: You’re likely using too much or the wrong formula for your hair type.
Myth 2: “They prevent my style from holding.” Truth: They help it hold *better* by creating a smooth, sealed base for the style to set on.
Myth 3: “One product protects against all heat.” Truth: You often need to reapply between different heat tools (e.g., between blow-drying and flat ironing).

Can You Use It on Dry Hair?
Absolutely. This is my go-to method for touch-ups or when I’m using a hot tool on day-two or three hair. Take a very small amount, rub it between your palms, and lightly smooth it over the surface of your dry hair.
Focus on any areas that look frizzy or that you’ll be re-styling. It revives the barrier, adds shine, and tames flyaways without weighing hair down. It’s perfect for refreshing your vampire haircut or asymmetrical lob.
The Difference Between a Cream and a Serum
Serums are typically pure silicone and are meant to be applied *very* sparingly for extreme shine and frizz control. Creams are often water-based emulsions with a mix of silicones and conditioning agents.
For heat protection, a cream is generally more versatile and forgiving. A serum can easily be over-applied and lead to greasy, heavy hair. For most of us, a cream is the better, all-in-one choice.

How It Protects Your Color Investment
Heat rapidly fades hair color, especially vivid or fashion shades. A thermal barrier cream acts like a top coat for your color. By insulating the strand, it prevents the heat from opening the cuticle and letting color molecules wash out.
If you spend good money on a perfect shade—from platinum to romantic goth black—this cream is non-negotiable. It keeps your color vibrant and fresh for weeks longer.

For Short Hair & Bold Cuts: Don’t Skip It
Short hair like a pixie, a sharp bob, or a hime cut needs just as much protection, if not more! Each strand is more exposed and often gets hit with heat from multiple angles during styling.
Use a lighter cream and focus on the areas you style most—like the fringe or pieces around your face. It keeps your bold cut looking polished and healthy, not crispy.

Styling “Glitchy Glam Hair” with Protection
That glitchy glam hair trend—with its intentional pieces and textured finish—still needs a healthy base. Apply your barrier cream all over first. Then, when you go in with your wand or straightener to create those piece-y bits, your hair has a foundation.
The cream will help those individual sections hold their shape and look sleek, not damaged. It’s the difference between edgy and undone versus just plain dry.
Building a Routine: Morning vs. Night Styling
Morning Routine: Apply to damp hair before blow-drying. Add a tiny bit more to dry sections before hot tools.
Night Routine: If you heat-style at night, the same rules apply. For next-day touch-ups, use the dry hair method mentioned above. Consistency is what rebuilds hair health over time.
Signs You’re Not Using Enough Product
- You hear a sizzling or frying sound when your hot tool touches your hair.
- Your hair looks dull, not shiny, after styling.
- You see more frizz and flyaways immediately after styling.
- Your curls or waves fall out unusually fast.
If any of these sound familiar, try using 25% more cream on your next wash day. The difference will be immediate.
Can It Help Repair Existing Damage?
It can’t magically mend split ends—only a trim can do that. But what it can do is prevent *further* damage, which lets your healthy hair grow in stronger.
By insulating damaged strands, it smooths the frayed cuticle, making hair look and feel healthier instantly. It’s a crucial part of any damage-recovery plan, buying you time between trims.
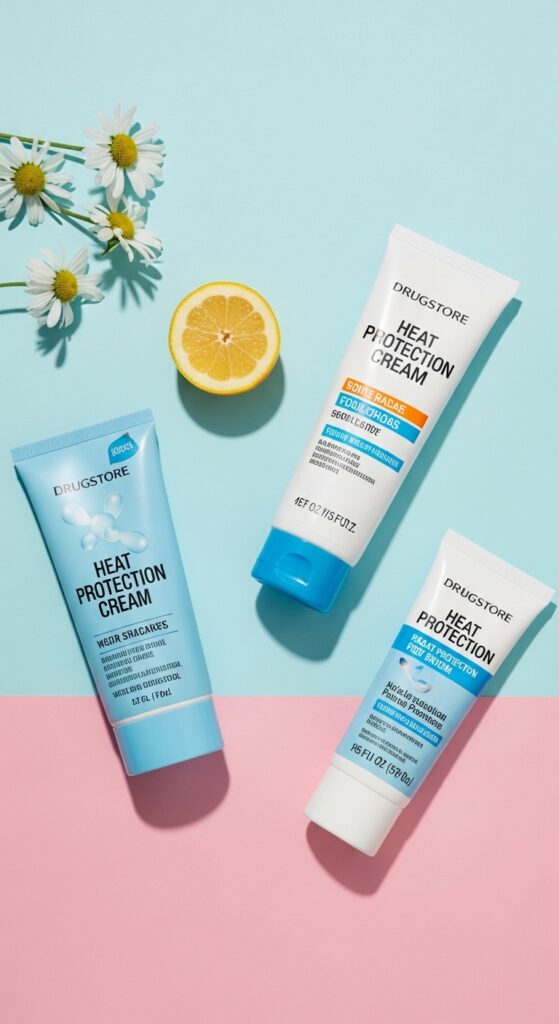
My Top 3 Drugstore Picks
1. L’Oréal Paris EverPure Sulfate-Free Weightless Blow Dry Primer: Amazing for fine hair, smells incredible.
2. OGX Renewing + Argan Oil of Morocco Weightless Healing Dry Oil: A cream-oil hybrid that’s great for thick, dry hair.
3. Not Your Mother’s Heat Protection & Taming Cream: A fantastic, affordable all-rounder that doesn’t weigh hair down.
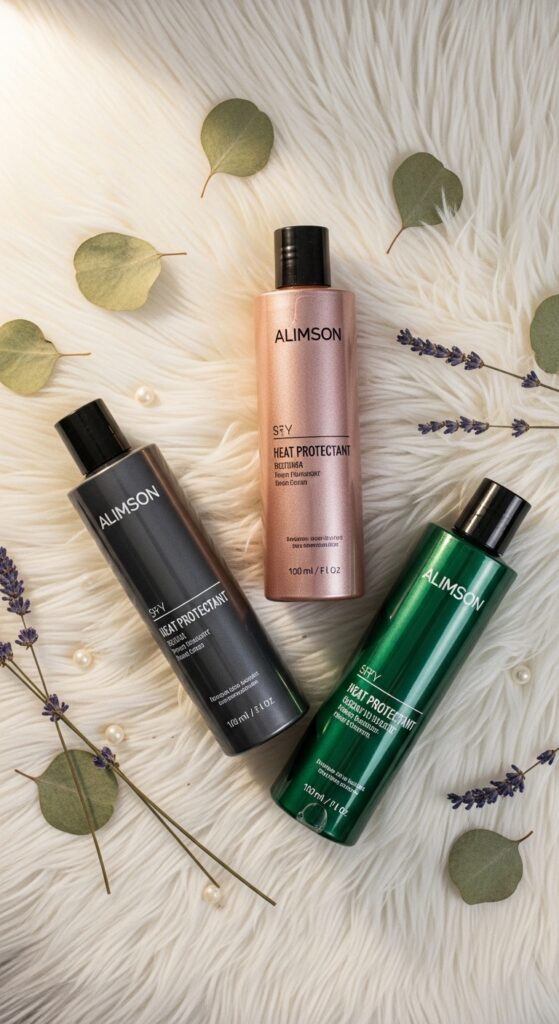
My Top 3 Splurge-Worthy Picks
1. Living Proof Perfect hair Day (PhD) Style Protector: A cult-favorite that genuinely works and doesn’t feel like anything is in your hair.
2. Olaplex No. 9 Bond Protector Nourishing Hair Serum: While a serum, it’s incredible for protection and repairing bonds.
3. Briogeo Farewell Frizz Blow Dry Perfection & Heat Protectant Crème: Clean ingredients, amazing for curly and thick hair types.
Your Final Checklist Before You Heat Style
- Hair is clean and mostly dry (damp for blow-dry, fully dry for irons).
- You’ve applied enough thermal barrier cream, combed through for even distribution.
- Your tool is clean (no old product buildup).
- You’ve set your tool to the right temperature for your hair type.
- You’re working in small, manageable sections.
Tick these boxes, and you’re guaranteed a better style with less regret.
So, there you have it. Think of that thermal barrier cream not as an extra step, but as the foundation of every great hair day. It’s what stands between you and the damage that makes styling feel like a chore. It’s the secret to hair that looks and feels as good as your style does.
When you invest in this one product and use it correctly, you’re investing in the health of every old money hair wave, every sharp asymmetrical lob line, and every edgy vampire haircut detail. Your future self, with longer, stronger hair, will thank you.
Save this post to Pinterest to keep this guide handy for your next wash day! And tell me in the comments—what’s the one heat styling tool you can’t live without? I’d love to know what you’re working with!