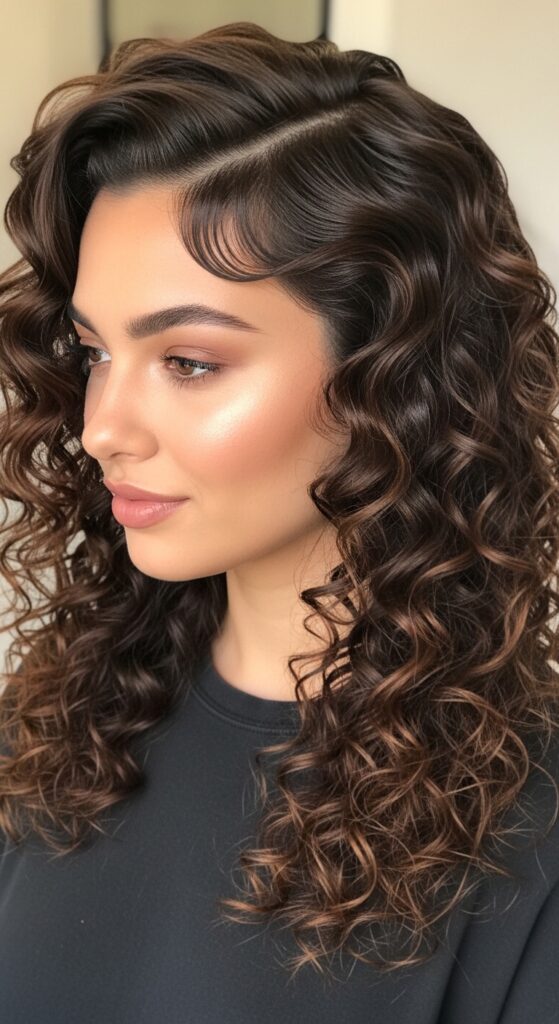
Easily 19 No Pin Victory Waves Curled Fingers Only
Okay, let’s be real. We’ve all seen those gorgeous, effortless-looking victory waves and thought, “I could never do that.” It looks like it needs a million pins, a professional stylist, and an hour we just don’t have. I felt the exact same way.
But what if I told you the secret tool is already at the end of your arms? That’s right. Your fingers. No pins, no complicated tools, just a simple technique that creates the softest, most romantic waves imaginable.
This method is my go-to for that “I woke up like this” texture that works for everything from a quiet luxury bob to more romantic goth hairstyles. It’s all in the twist and the hold. Let’s dive in and get you waving.
What Are Victory Waves, Anyway?
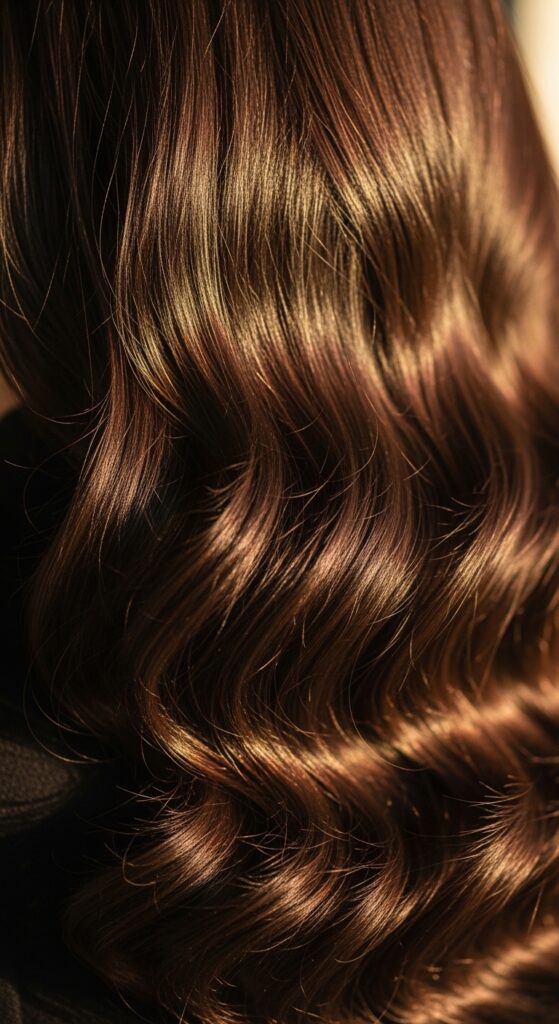
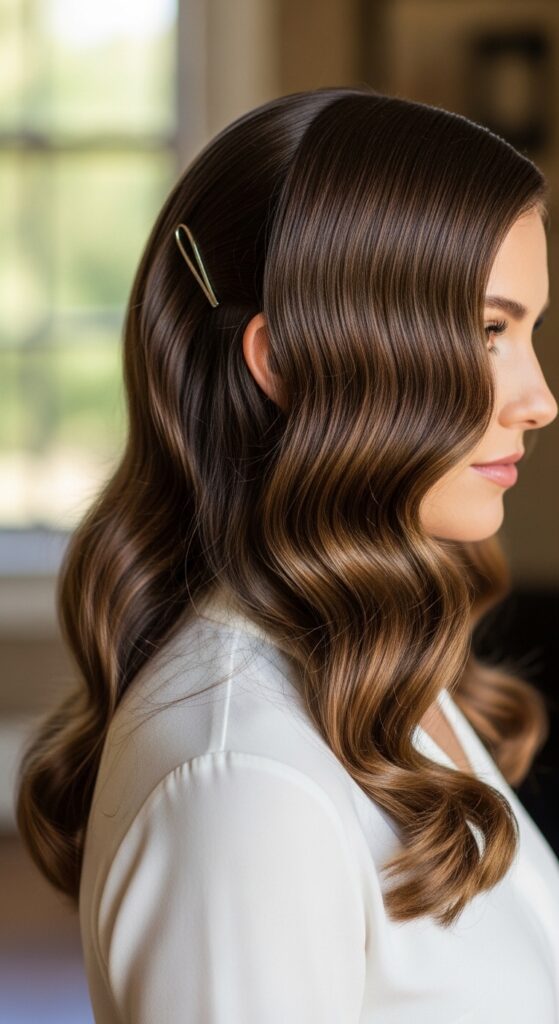
Victory waves are those soft, S-shaped waves that were super popular in the 1940s. They have a timeless, glamorous feel but when done loosely, they look incredibly modern. The classic version used a lot of pins and setting lotion.
Our version is the laid-back, cool-girl interpretation. We’re keeping the beautiful wave shape but losing all the fuss. It’s perfect for adding a touch of vintage-inspired texture to 2026 hairstyles without looking costumey.
Why The “No Pin, Fingers Only” Method Is a Game-Changer
This technique is a game-changer for three big reasons. First, it’s incredibly fast. Second, it requires zero tools, so you can do it anywhere—hotel room, friend’s house, you name it. Third, it gives a much softer, more natural result than curling irons or rigid pin curls.
By using just your fingers and your hair’s natural texture as it dries, you create waves that move and look lived-in. It’s the ultimate hack for that coveted old money hair aesthetic—seemingly simple but deeply chic.
What You’ll Need to Get Started
You truly don’t need much. That’s the beauty. Here’s the short list:
- Freshly washed, towel-dried hair (not soaking wet).
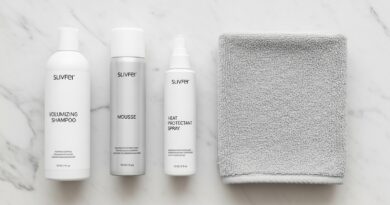
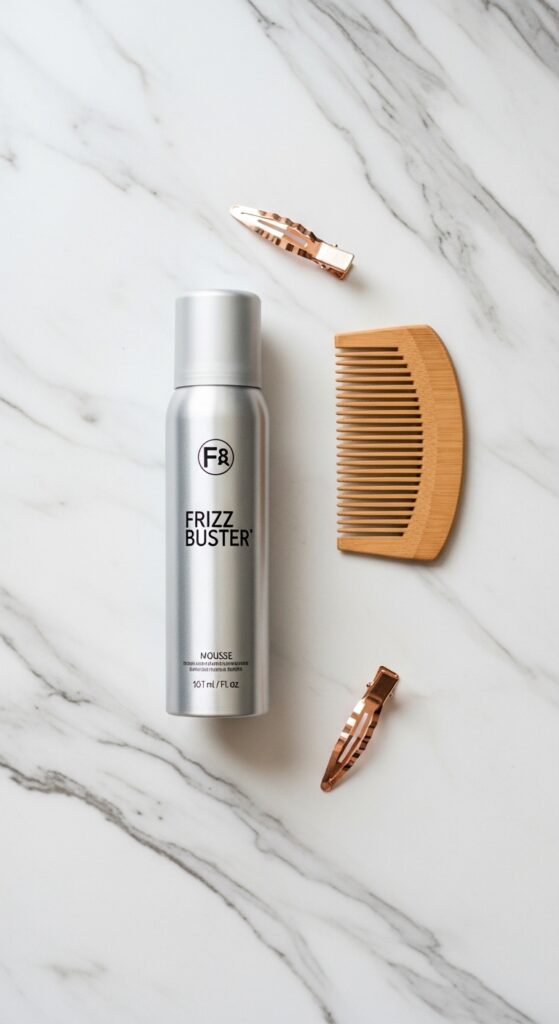
- A texturizing mousse or sea salt spray. I like a mousse for more hold.
- A few hair clips or scrunchies to section hair.
- That’s it. Seriously. No pins required.
The key is the product. A good mousse gives the hair memory and helps the waves set as they air dry or diffuse. It makes all the difference.
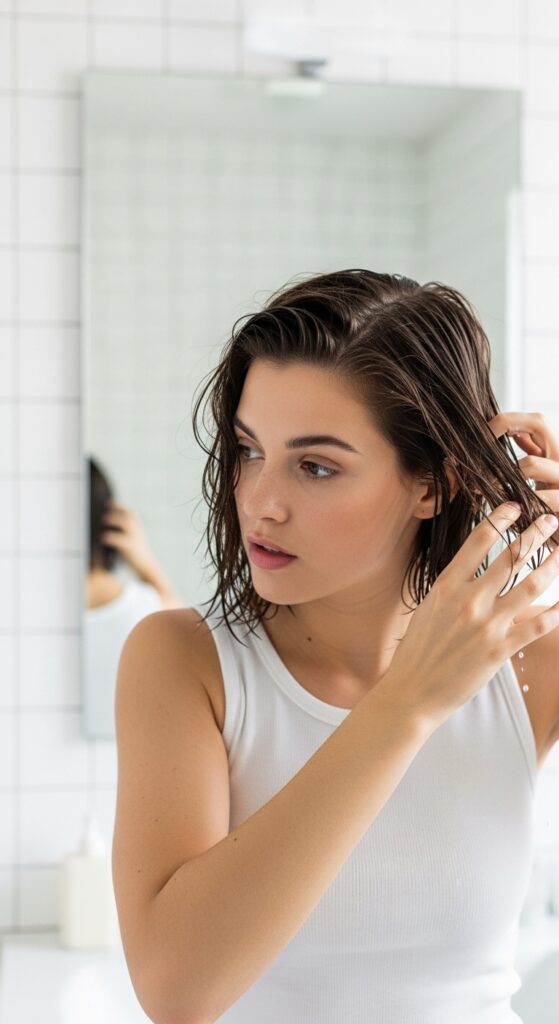
Step 1: Start With Damp, Product-Treated Hair
After you wash your hair, gently towel dry it until it’s just damp, not dripping. Then, work your texturizing product through from mid-lengths to ends. I flip my head over and scrunch it in for extra volume.
This prep step is non-negotiable. The product gives the hair something to “hold onto” as it dries in the wave shape. If you skip it, your waves might fall out faster. Think of it as the foundation.
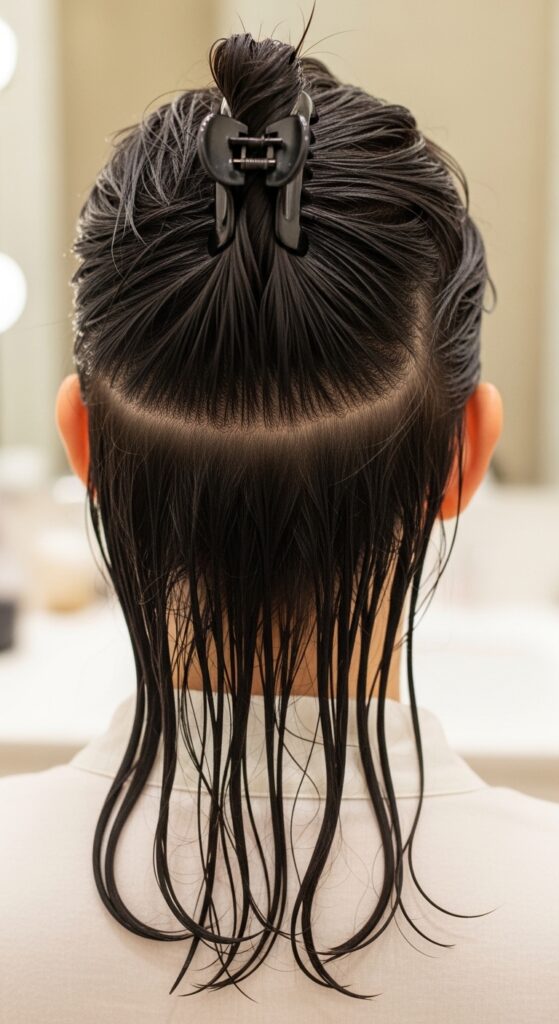
Step 2: Section Your Hair Simply
You don’t need to be a pro. Just split your hair into two main sections: top and bottom. Clip the top half of your hair up and out of the way. We’ll start with the bottom layer.
If you have very thick hair, you might make three sections. For a quiet luxury bob or an asymmetrical lob, two is usually plenty. The goal is just to manage your hair so you can focus on one piece at a time.
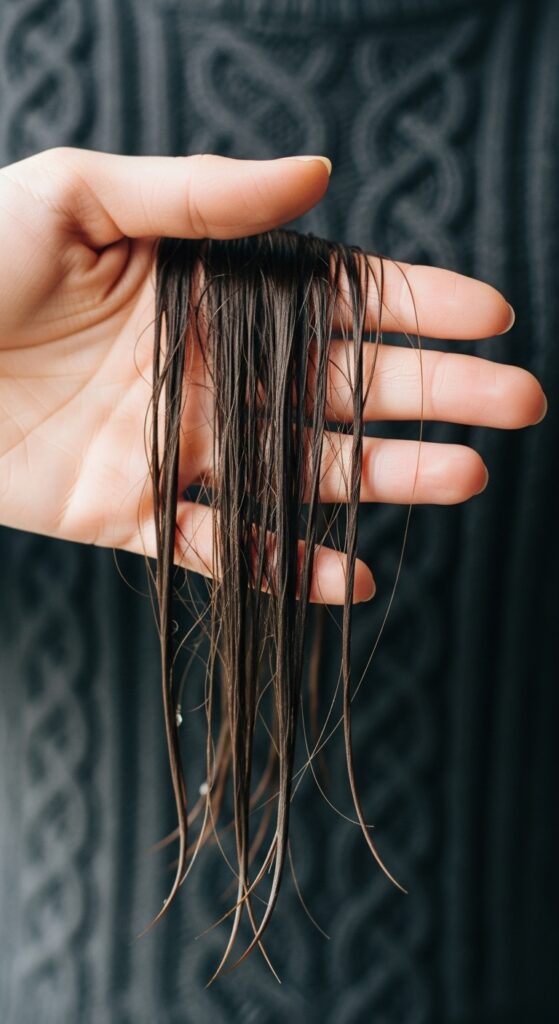
Step 3: Take Your First Section
From your bottom layer, take a section about 1-2 inches wide. This isn’t a precise science. Don’t make it too thick, or the wave won’t set properly. Think the width of two fingers.
This size is perfect for creating a defined but soft wave. It’s the ideal balance for that glitchy glam hair vibe—intentional but not perfect. Comb the section through gently with your fingers.
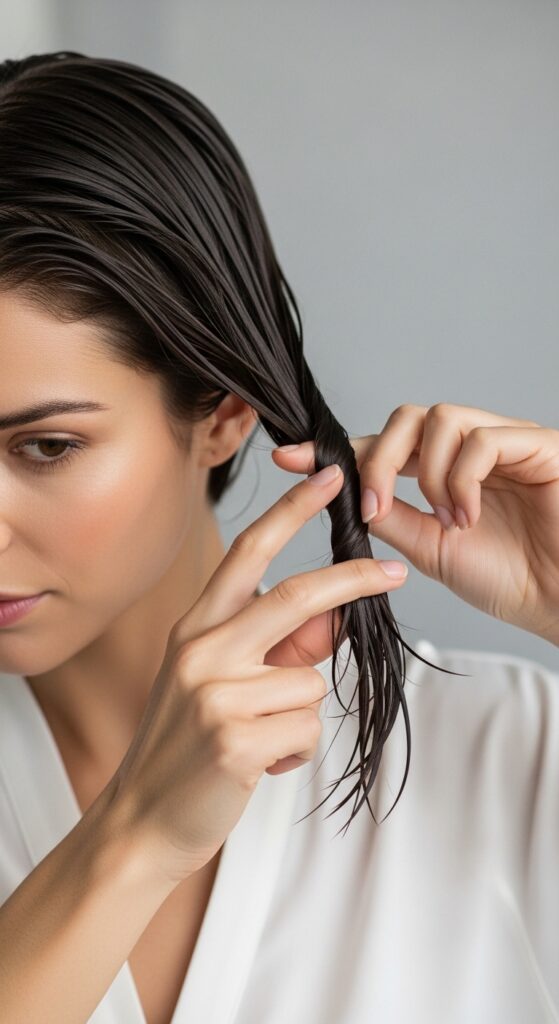
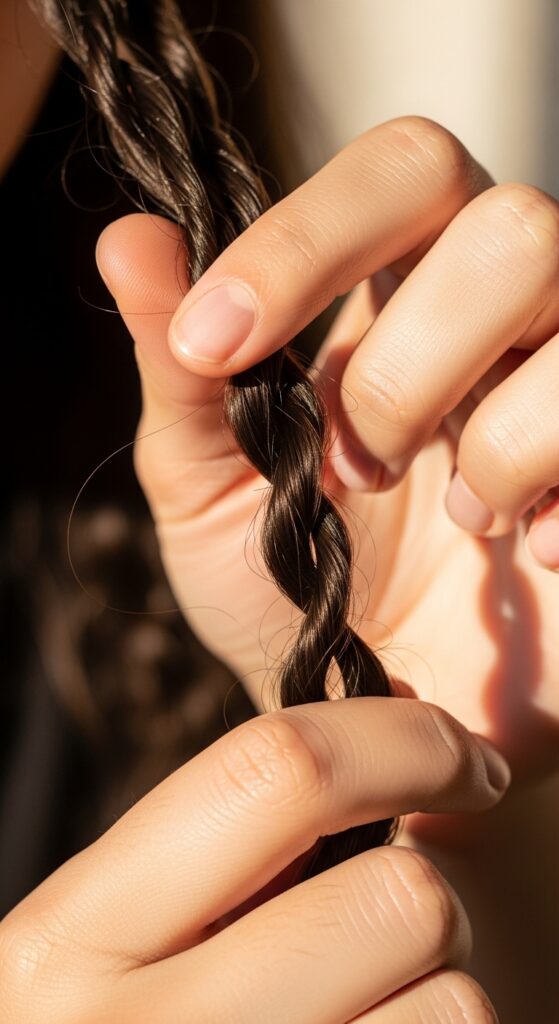
Step 4: The Finger Twist Technique
Here’s the magic. Hold the end of the section with one hand. With the other, take your index and middle finger, place them above the hair, and start twisting the section around them. It’s like you’re wrapping the hair around two invisible rollers.
Twist all the way from the ends up to the roots. Keep it snug but not tight. You should feel the hair wanting to coil. This twist creates the core structure of your victory wave.
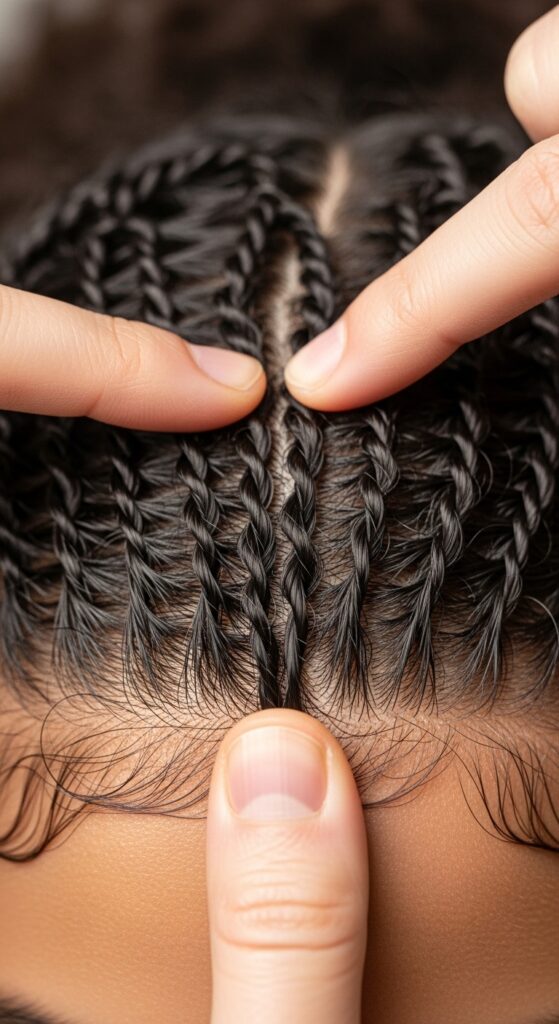
Step 5: Coil and Secure at the Root
Once you’ve twisted all the way to your scalp, the hair will naturally coil into a little flat bun or disk right at the root. Hold it there with the fingers you twisted with.
This is where a classic method would use a pin. We’re just going to hold it for a moment. The tension from the twist is what keeps it temporarily in place. Feel the shape forming.
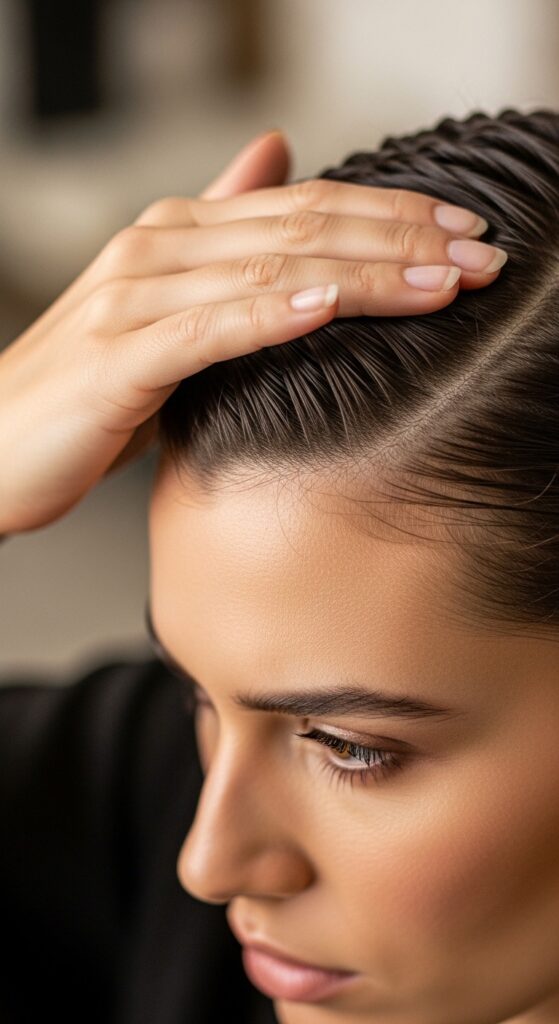
Step 6: The “Press and Hold” Move
With the coil held at your root, use your other hand (the one not holding the coil) to gently press the coil flat against your head. Apply a little pressure for 5-10 seconds.
This “press and hold” helps set the wave pattern starting right at the root, which gives you volume and lasting power. It’s the secret to getting that lift everyone wants.
Step 7: Gently Release the Coil
After holding, slowly and carefully release your fingers. The coil should mostly stay in place! If it starts to unravel a tiny bit, that’s totally fine. Don’t try to re-twist it.
The goal isn’t a perfect pin curl. It’s a relaxed wave set. A little looseness is good. It will continue to set as it dries. Move on to the next section with confidence.
Step 8: Repeat Throughout Your Head
Work your way around your entire head using the same process. Twist, coil at the root, press and hold, release. Do the bottom layer first, then unclip the top layer and work on that.
It goes faster than you think. Once you get the rhythm, it’s mindless. You can do this while watching TV or listening to a podcast. It’s your new multitasking beauty routine.
Step 9: Let It Air Dry (The Patient Method)
The healthiest and softest way to set these waves is to simply let them air dry. This takes time, so it’s perfect for a lazy Sunday or working from home. The slower the dry, the more set the wave.
As it dries, the coils will harden slightly from the product, locking in the shape. Don’t touch them! I know it’s tempting, but let them be. Trust the process.

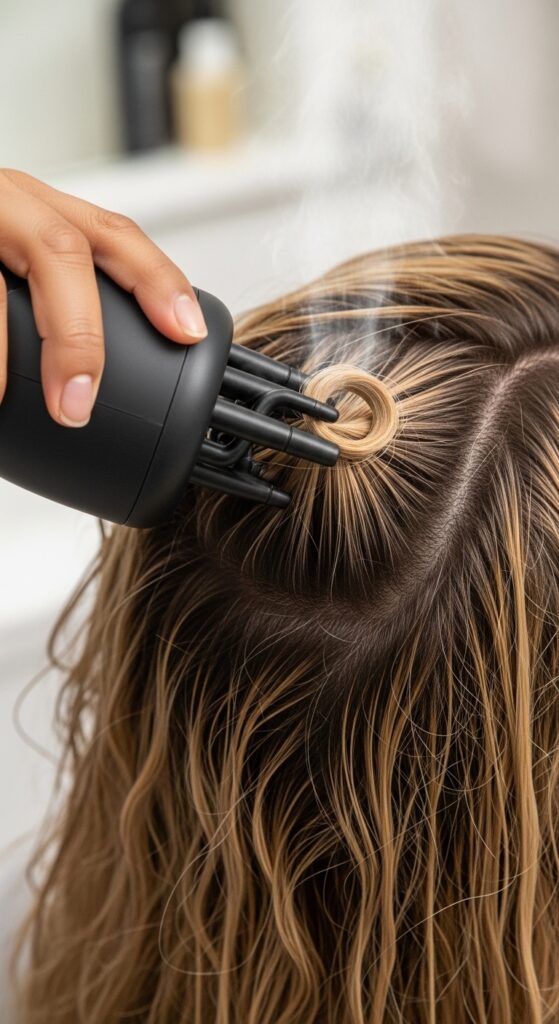
Step 10: Speed It Up With a Diffuser
Short on time? Use a hair dryer with a diffuser attachment. Set it on low heat and low speed. Gently cup the coils in the diffuser without disturbing them and dry each one for 30-60 seconds.
This gives you a faster set without creating frizz. The diffuser protects the shape while adding volume. It’s how I do this style 90% of the time.
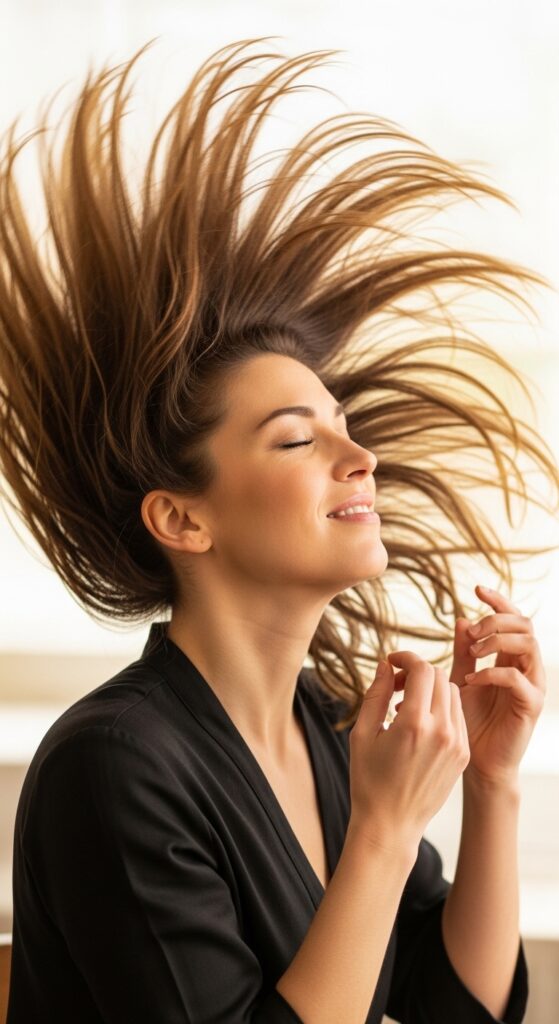
Step 11: The Big Reveal: Scrunch Out the Crunch
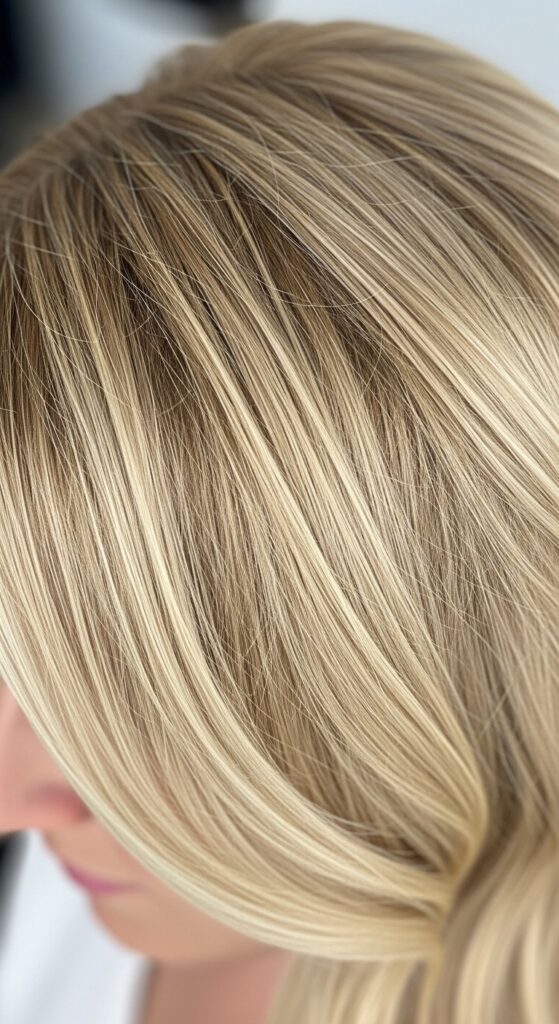
Once your hair is completely, 100% dry, it’s time. Your hair will feel a bit hard and crispy from the product. This is good! Starting at the ends, gently scrunch your hair upwards towards your scalp.
Break up all the cast from the mousse. You’ll feel the hardness disappear and be replaced by the softest waves you’ve ever felt. This part is so satisfying.
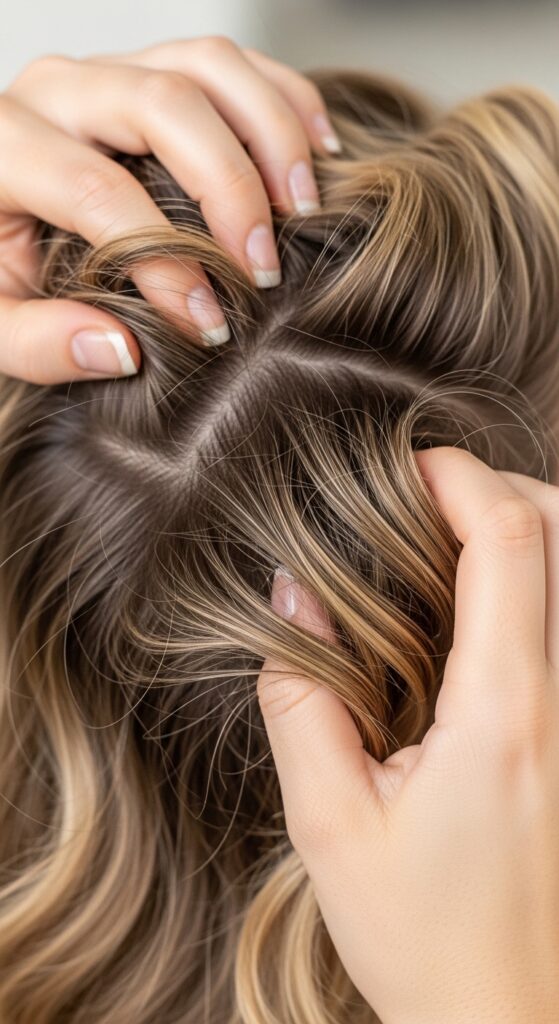
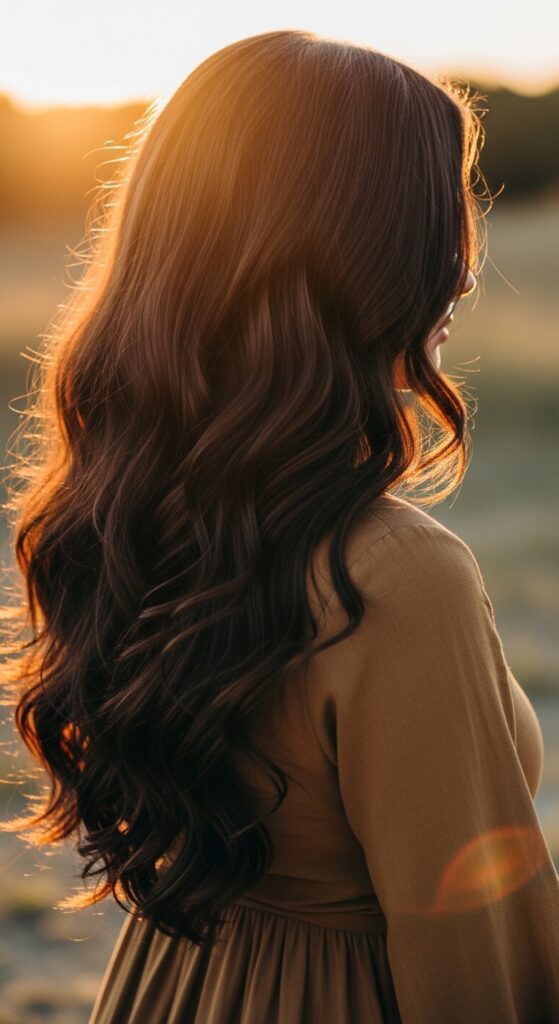
Step 12: Shake It Out and Separate
Flip your head over and give your roots a little shake for volume. Then, flip back and use your fingers to gently separate any waves that look too “clumped” together. Don’t use a brush or comb.
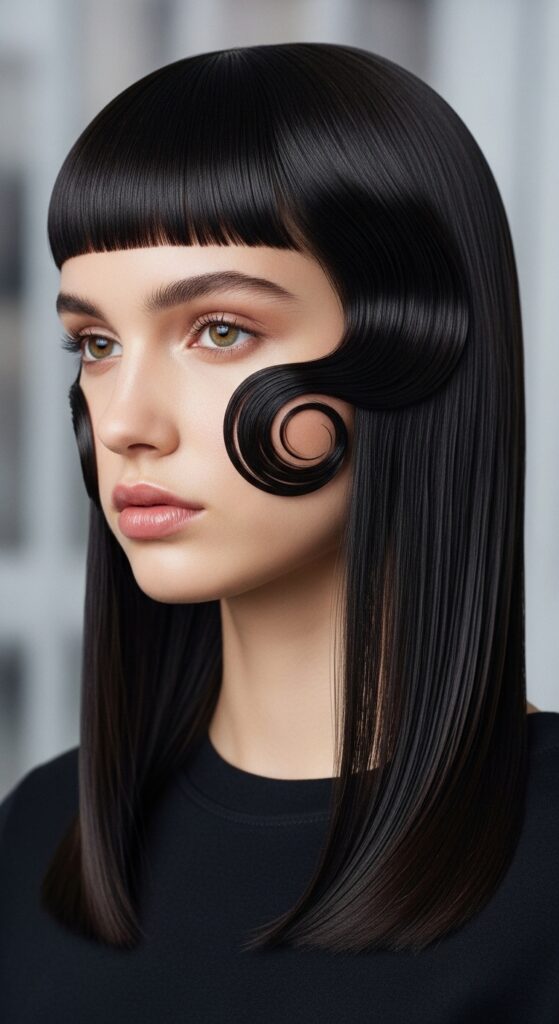
You want to maintain that imperfect, finger-formed texture. This separation is what gives you that effortless, just-off-the-beach wave, even if your hair is a dark vampire haircut shade.
How to Style Your New Victory Waves
Now you have this amazing texture! You can wear it down in full, glamorous waves. You can pull the front pieces back for a sophisticated look. Or, you can toss it into a low, textured pony or a half-up style.
The waves add body and interest to any simple style. They give a romantic goth hairstyles edge when paired with dark lipstick, or a classic feel with pearl earrings. It’s your versatile canvas.
Making It Last: Overnight & Refresh Tips
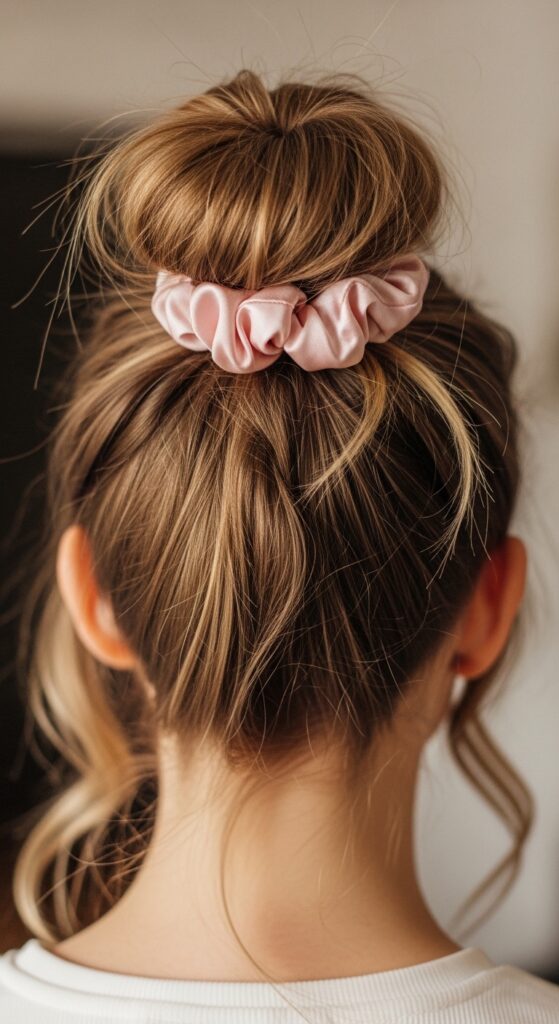
To make this style last into day two or three, sleep with your hair in a loose top knot or a satin scrunchie. When you take it down in the morning, just refresh with a light spray of texturizing spray and scrunch.
You can also re-twist a few random sections around your face while slightly damp from your refresh spray to redefine a wave or two. It takes two minutes max.
Best Haircuts for This Wave Technique
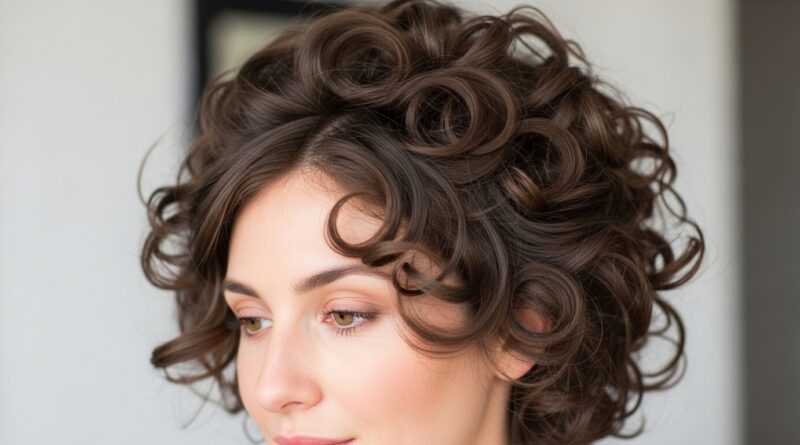
This method works on almost all lengths and cuts! It’s stunning on long hair, but it truly shines on shorter styles where volume is key. Think a blunt quiet luxury bob, an asymmetrical lob, or even a hime cut with its sharp lines.
The waves add the softness and movement that makes these cuts feel modern and lived-in. It prevents any cut from looking too severe or geometric.
Adapting the Technique for Fine Hair
If you have fine hair, use a volumizing mousse at the roots and focus the product there. Make your sections a tiny bit smaller for more defined waves that won’t fall flat.
When drying, use the diffuser method to really lock in the volume at the root. The “press and hold” step is your best friend—it creates that crucial lift.
Adapting the Technique for Thick or Curly Hair
If your hair is thick or already curly, use a stronger-hold mousse. You can make slightly larger sections. Your natural texture will create an even more gorgeous, hybrid wave pattern.
This is a fantastic way to enhance your natural curl with a vintage wave shape. It adds a touch of glitchy glam hair—a mix of patterns that’s incredibly cool.
Common Mistakes and How to Fix Them
- Waves falling out: Your hair was too wet or you didn’t use enough product. Try again on damp hair with a good mousse.
- No volume at roots: You didn’t “press and hold” at the root. Really focus on that step.
- Frizzy results: You touched the coils while drying or didn’t use a diffuser on a high setting. Be patient and use low heat.
It might take one try to get it perfect for your hair type. That’s normal! Adjust and try again.
Why This Fits the “2026 Hair” Mood
Looking ahead, 2026 hairstyles are all about texture, personal expression, and effortless technique. This method hits all those notes. It’s not about perfection; it’s about beautiful, wearable texture you create yourself.
It aligns with the old money hair and quiet luxury trend because it looks expensive and time-consuming, but it’s secretly simple and accessible. It’s timeless with a modern, cool twist.
So there you have it. Your new favorite hairstyle, no toolkit required. I love this method because it proves that the best beauty tools are often the simplest ones. It gives you that “did something special” feeling without any of the stress.
Remember, the first time might be a practice run. But by the second or third, you’ll be twisting these waves up in under ten minutes. It becomes second nature, your secret weapon for good hair days.
Save this post to Pinterest so you always have the steps handy! And tell me in the comments—what’s your go-to quick wave technique? I’d love to know.