Energize 18 Pinned-Back Layers Framing Faces Softly for Portraits
Okay, let’s be real. We’ve all scrolled through those perfect, glowing portrait photos and thought, “How does their hair look so effortlessly good?” It’s never just luck. It’s a specific, soft style that frames the face without trying too hard.
I’m talking about pinned-back layers. It’s the secret behind that “I woke up like this” portrait vibe, where the hair looks full, soft, and intentional all at once. It works for almost every hair type and face shape, which is why I’m obsessed.
This isn’t about a stiff, formal updo. It’s about creating movement and dimension that makes your features shine. Think of it as the ultimate hack for looking polished in seconds, whether you’re heading to a meeting or just want your next selfie to pop.
I’m breaking down everything—from the cut you need to the exact pinning technique. It’s easier than you think, and the payoff is huge. Let’s get into it.
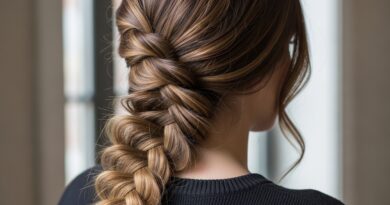
1. The Magic of the Base Cut: Soft, Face-Framing Layers
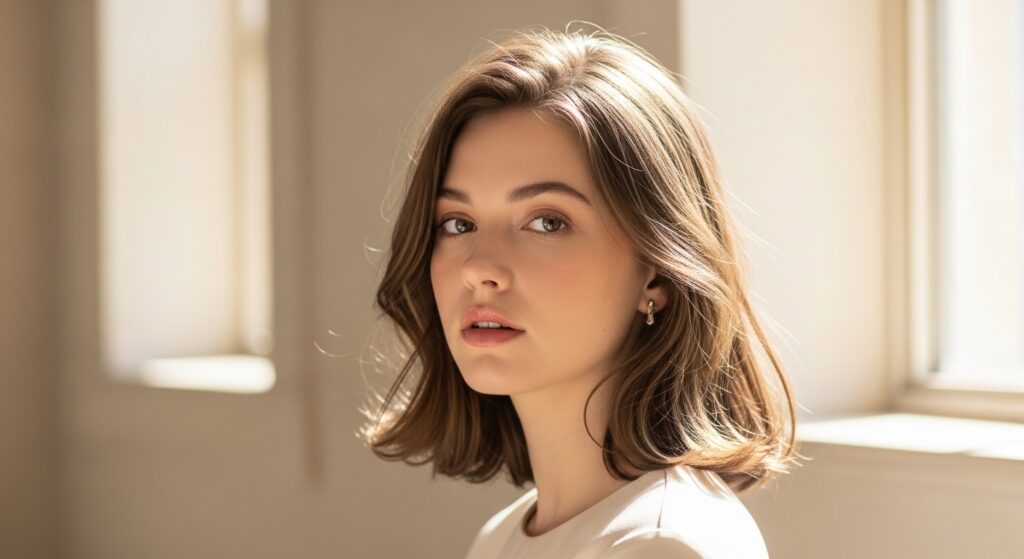
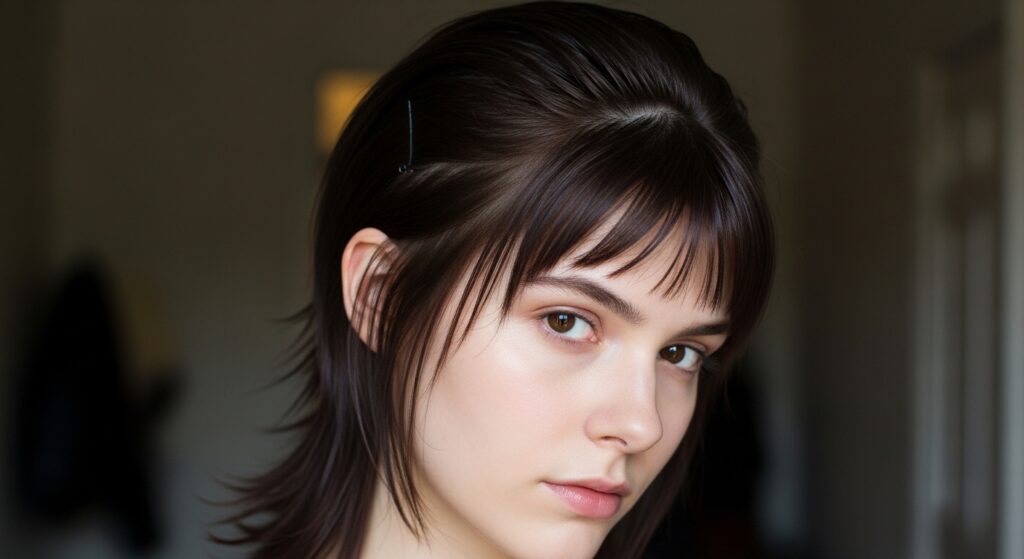
This whole look starts with the right haircut. You need layers, but not the chunky, dated kind. We’re talking soft, seamless layers that are longer around your face.
These layers are the foundation. When you gently pin them back, they create natural volume and a beautiful, cascading effect. It’s what gives the style its effortless, lived-in texture.
Ask your stylist for:
- Long, soft layers throughout
- Deliberate face-framing pieces (these are your hero sections)
- Blunt or soft ends, depending on your vibe
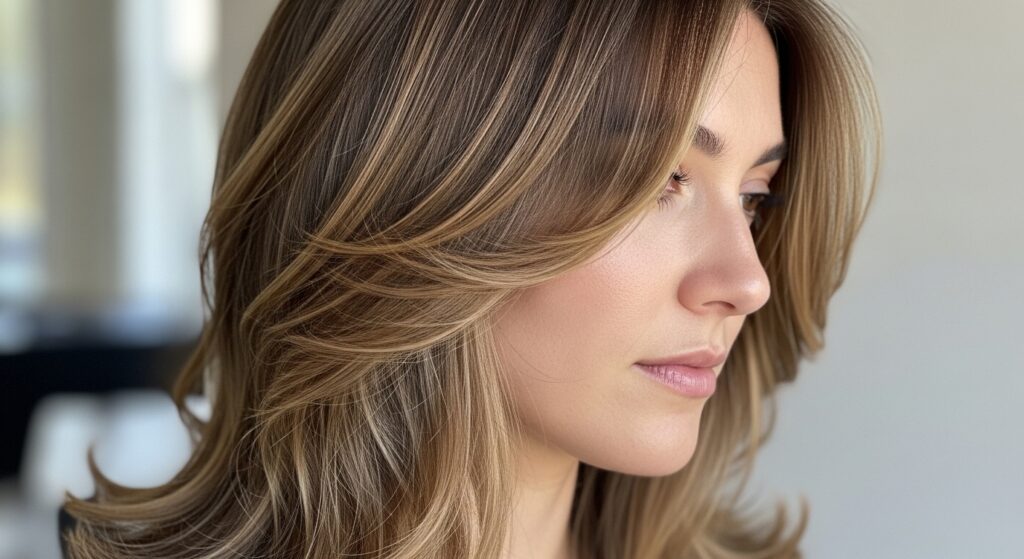
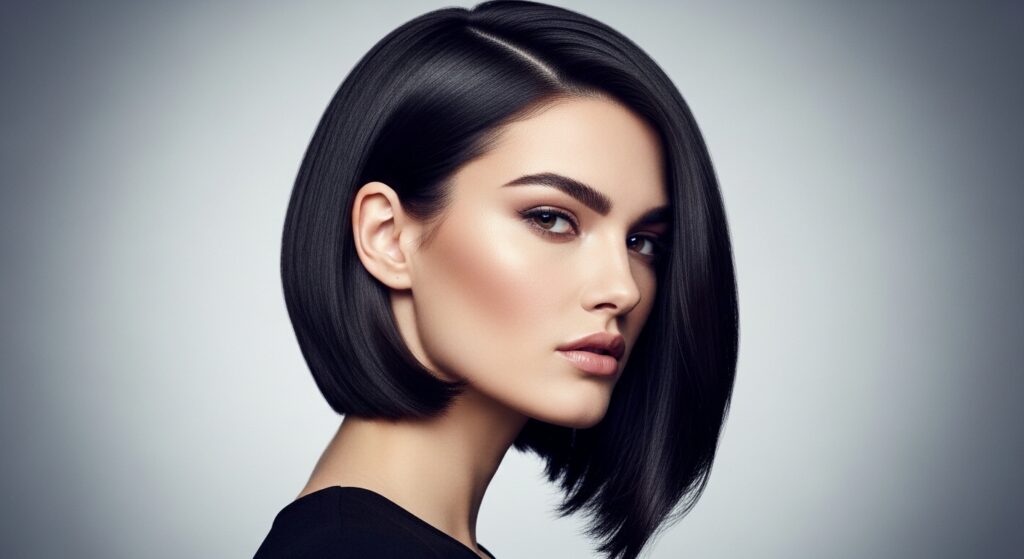
2. The “Quiet Luxury” Bob: A Perfect Foundation
If you’re considering a chop, the quiet luxury bob is your best friend for this style. It’s that perfectly blunt or slightly textured bob that screams understated wealth and ease.
This length is ideal because those face-framing layers have just enough weight to stay put when pinned but enough movement to look soft. It’s a timeless cut that works for every portrait setting.
Imagine this: a clean bob, with just the front sections pinned back. It’s elegant, modern, and incredibly photogenic. It’s one of those 2026 hairstyles that’s already trending for all the right reasons.
3. The Asymmetrical Lob: For Modern Edge
Want a bit more drama? Enter the asymmetrical lob. It’s a longer bob that’s cut shorter in the back and longer in the front, creating a dynamic line.
This cut gives you amazing face-framing layers by default. Pinning back the longer side creates a stunning, editorial look that’s full of movement. It feels modern and cool.
It’s a fantastic way to play with the pinned-back style if you love a look that’s a little different. The asymmetry naturally draws attention to your eyes and cheekbones.
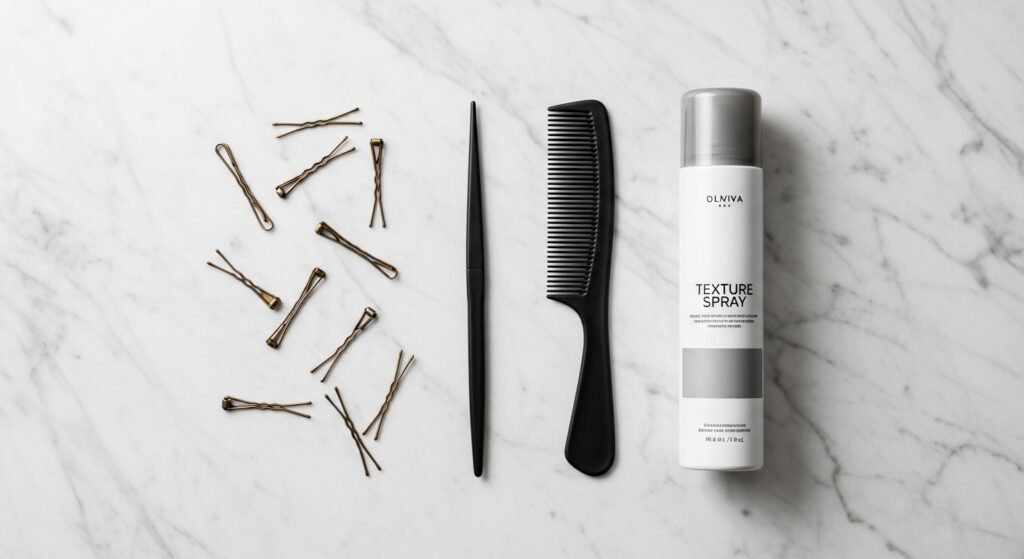
4. Tools You Actually Need (It’s a Short List)
Don’t worry, you don’t need a salon full of products. This style is about simplicity. The right few tools make all the difference between “messy” and “messy-chic.”
Here’s my absolute must-have list for creating this look:
- Fine-tooth comb for precise sectioning
- Bobby pins that match your hair color
- Light-hold texture spray or a soft mousse
- A single, small clear elastic (just in case)
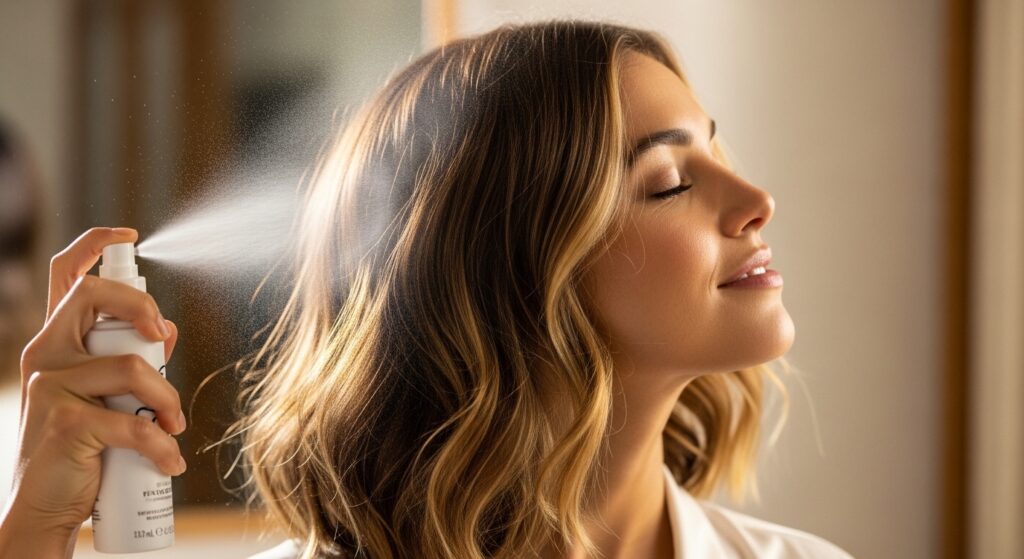
5. Prep Work: Creating the Perfect Texture
Starting with day-old hair is your best bet. If your hair is freshly washed, spritz some dry shampoo at the roots for grip. You want a little texture, not slickness.
I work a golf-ball-sized amount of mousse through damp hair before blowing it out, or I use a texture spray on dry hair. This gives the layers something to hold onto so the pins don’t slip.
The goal is soft, touchable hair with a bit of grit. This prep step is what makes the style last through a full photoshoot or a long day out.
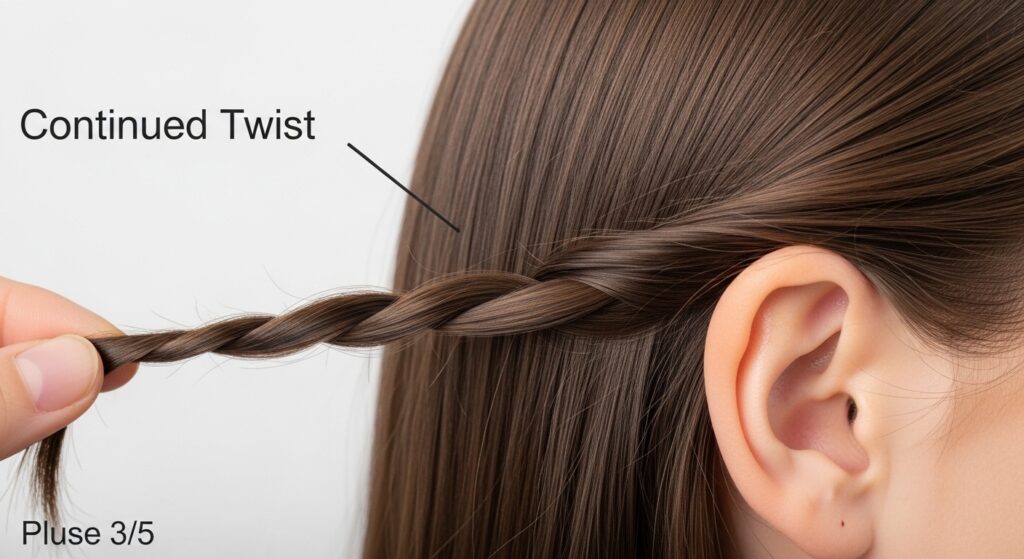
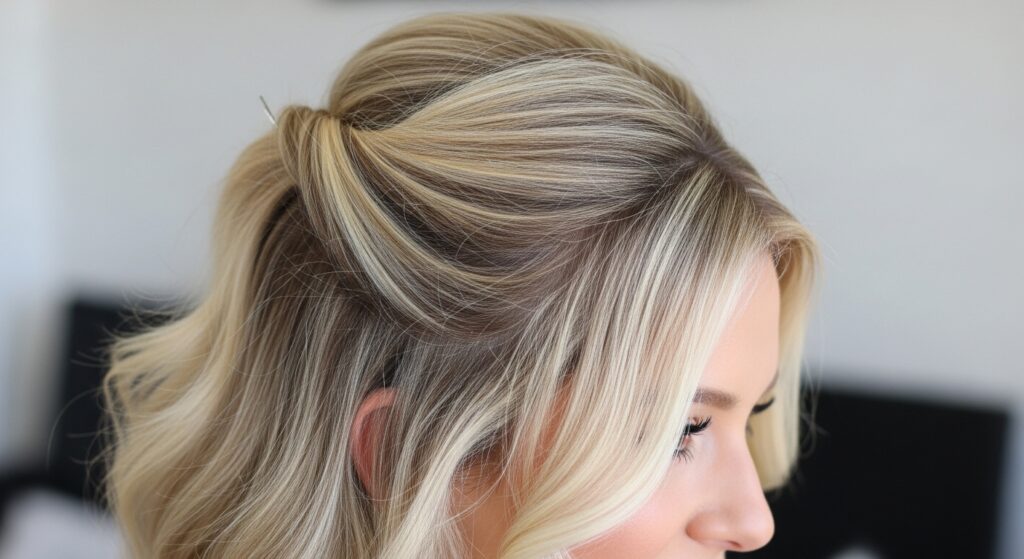
6. The Classic Portrait Pin: Step-by-Step
This is the standard, go-to method. It works for almost every hair type and creates that classic, soft frame. It takes less than a minute once you get the hang of it.
- Using the end of your comb, draw a soft, curved part from the top of one eyebrow back to your crown.
- Take the front section on the heavier side. Twist it loosely back towards your ear.
- Pin it in place just above your ear, letting the end of the twist fall out softly. Repeat on the other side with less hair.
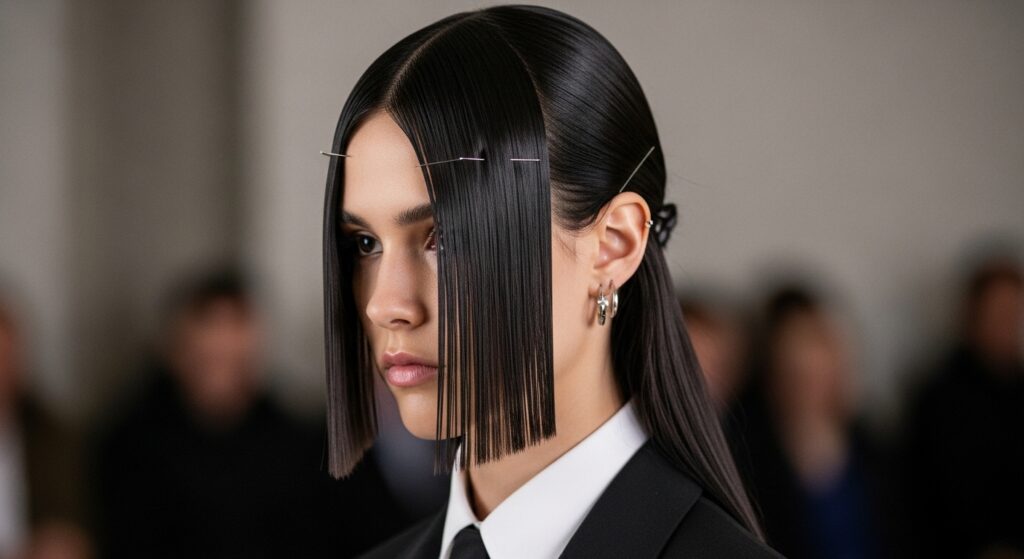
7. The “Hime Cut” Inspiration
For a truly dramatic frame, look to the hime cut. This Japanese-inspired style features very distinct, long front strands cut with blunt ends.
While a full hime is a commitment, you can borrow the idea. Ask your stylist to cut two stronger, blunt face-framing pieces. When you pin these back, they make a bold, beautiful statement.
It’s a fantastic way to play with the romantic goth hairstyles trend—elegant, striking, and perfect for a portrait with moody lighting.
8. Incorporating “Glitchy Glam” Texture
Glitchy glam hair is all about imperfect, piece-y texture—like a digital glitch made beautiful. You can add this vibe to your pinned-back style easily.
After pinning, gently pull out a few tiny, wispy strands around your hairline and temples. Use a tiny bit of wax or pomade to separate and define these pieces.
This breaks up the perfection and adds an artistic, modern edge. It keeps the look from feeling too polished or old-fashioned.
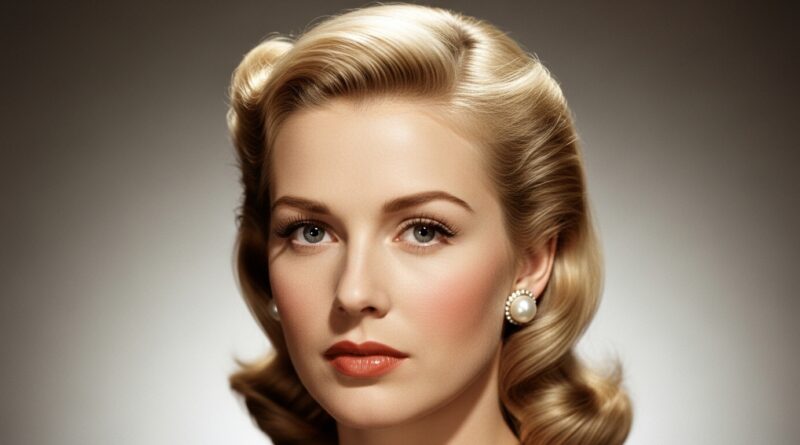
9. The “Old Money Hair” Vibe
Old money hair is polished, healthy, and looks inherited—not bought. This pinned-back style is a cornerstone of that aesthetic. It’s neat but not stiff, elegant but not fussy.
The key is super healthy, shiny hair and perfectly placed pins (hidden, of course). The goal is to look like you’ve always known how to do this, like it’s second nature.
Pair it with pearl earrings and a crisp white shirt for that timeless, aristocratic portrait feel. It’s quiet luxury in action.

10. For Romantic Goth Portraits
Romantic goth hairstyles are dark, soft, and poetic. To adapt our pinned-back layers for this, think less “polished twist” and more “undone elegance.”
Start with deep, dark hair color and lots of texture. Pull the front sections back very loosely, allowing plenty of tendrils to escape. Use decorative pins—like a vintage cameo or black pearl clip—to secure it.
It creates a beautifully melancholic, portrait-ready frame that’s straight out of a classic painting.
11. The Vampire Haircut Influence
The vampire haircut—with its sharp, dramatic layers and full fringe—is a masterclass in framing. While the full look is bold, we can take notes.
Notice how the shorter layers around the face create instant focus. When pinning back longer layers, leave out a few of these shorter, wispy pieces to mimic that intentional, edgy frame.
It adds a cool, contemporary twist to the softer pinned-back look, perfect for a portrait with attitude.
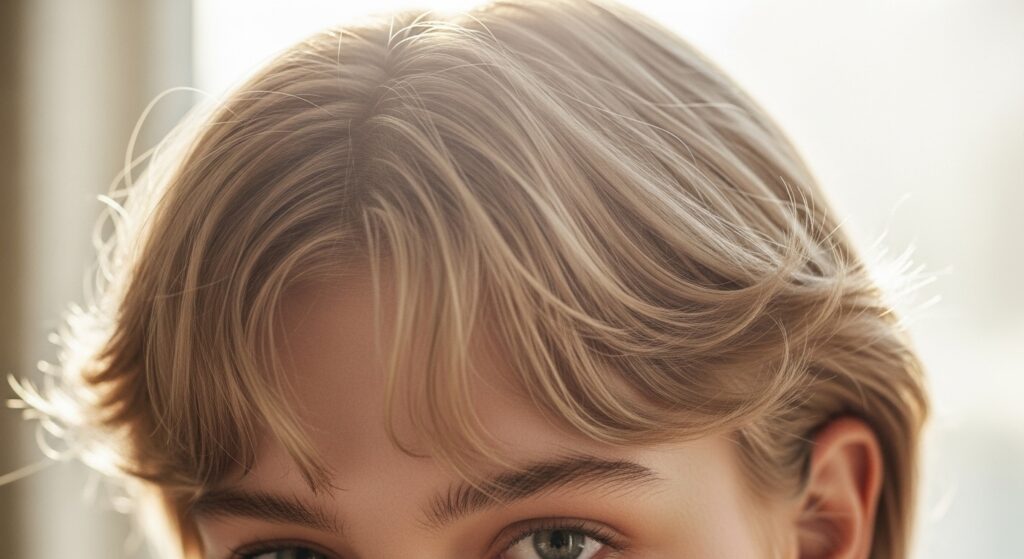
12. Creating Volume at the Crown
Flat hair won’t give you the same effect. We need a little lift at the crown to make the pinned-back sections look like they’re cascading from a place of fullness.
Before you pin, tease the hair gently at the crown with a comb or use a volumizing spray at the roots. Just a little height makes a huge difference.
You can also gently pull on the pinned section after it’s secured to create a little more volume at the base. This small step adds major sophistication.

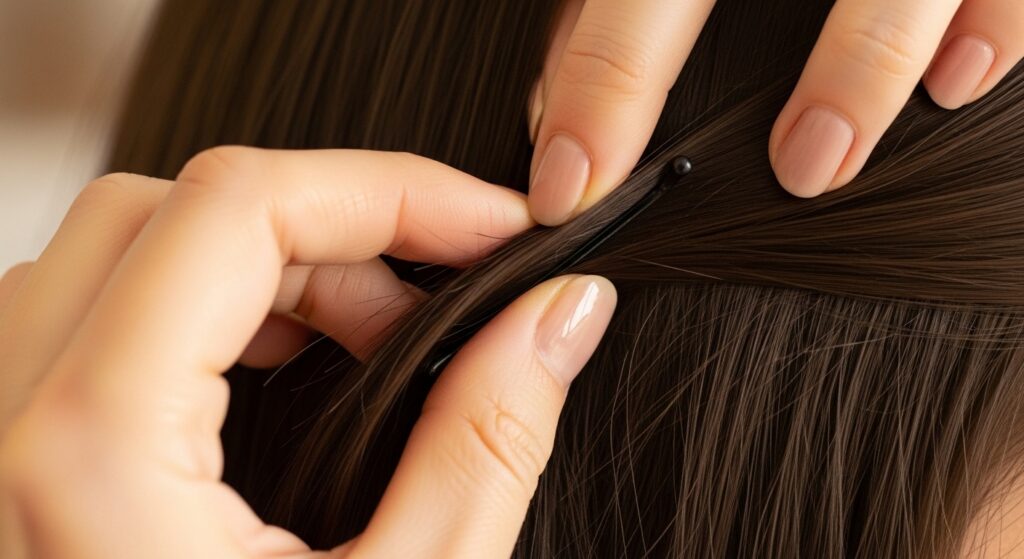
13. Hiding Your Bobby Pins Like a Pro
Visible bobby pins are the enemy of this effortless look. The trick is to insert the pin, then slide it back under the top layer of hair to hide it.
Always criss-cross your pins for security. Open the pin slightly, push it through the anchored hair, then weave the tip back into the hair covering your scalp. It should disappear.
Using pins that match your hair color is non-negotiable. For a truly invisible hold, spray them lightly with hairspray first for extra grip.
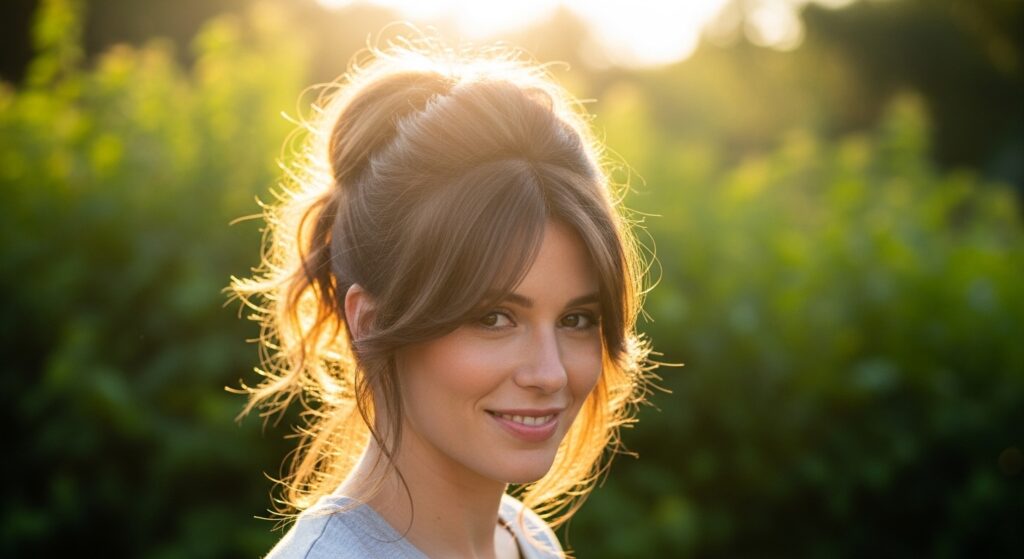
14. The Half-Up, Half-Down Masterpiece
This is a close cousin to our pinned-back look. Instead of just the front sections, you gather a larger portion from your temples back, leaving the rest down.
Secure it with a small elastic or a claw clip at the back of your crown, then pancake (gently pull) the section to add volume. This is a gorgeous, youthful take that still beautifully frames your face.
It’s my go-to for outdoor portraits or when I want a bit more of a playful, romantic feel.
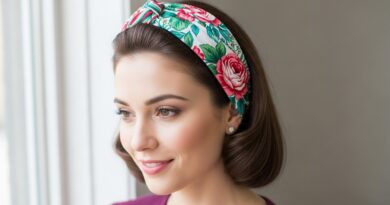
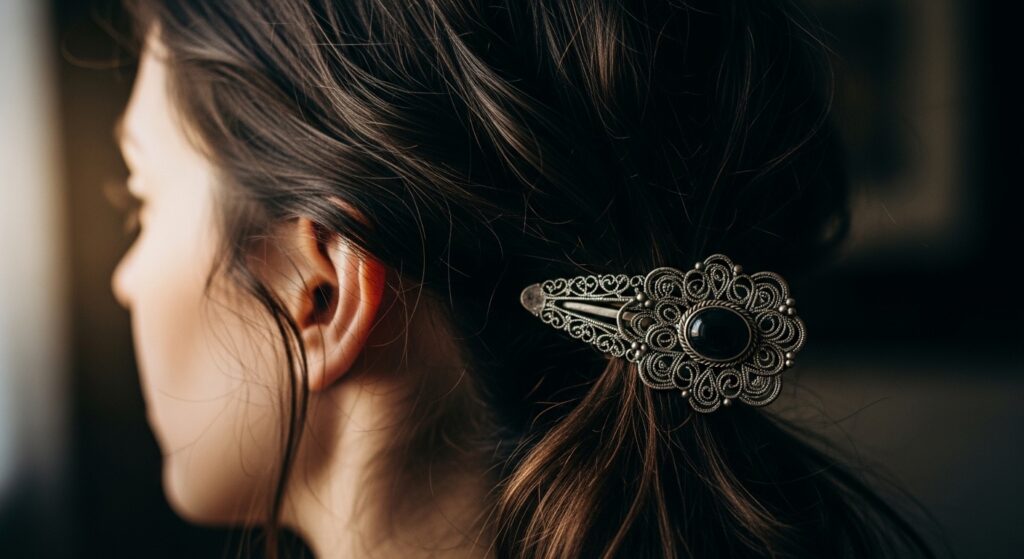
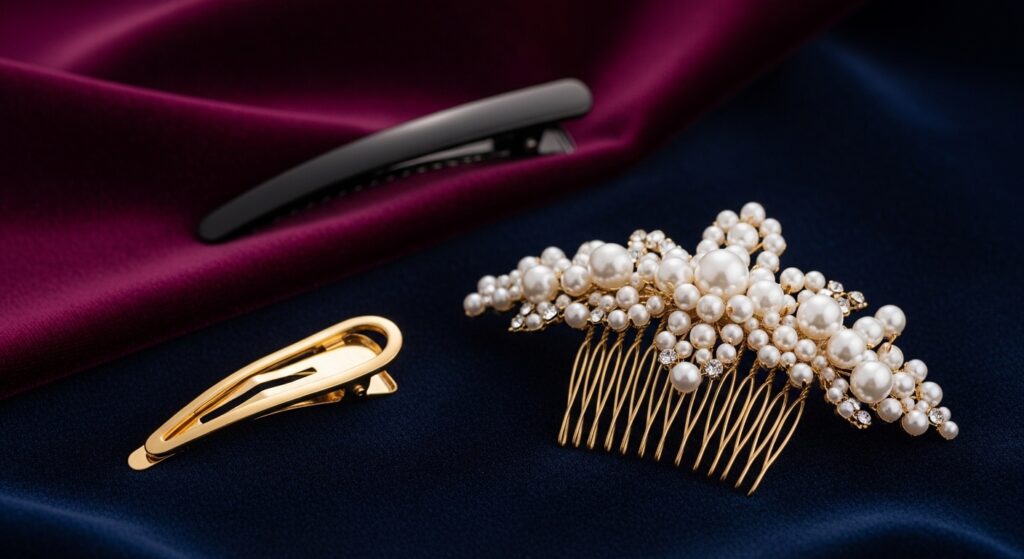
15. Using Accessories: Clips & Combs
Sometimes, pins aren’t the only answer. A beautiful, small clip or decorative comb can do the job and add a major style moment.
After twisting or loosely gathering the section, simply secure it with an accessory. Look for pieces that have a bit of grip. This works especially well for finer hair that might not hold pins as well.
It’s an instant upgrade and can define your whole portrait style—from dainty gold for a luxury feel to jet black for a gothic romance.
16. Adapting for Fine Hair
If you have fine hair, don’t skip this! Texture is your best friend. Use a volumizing mousse and a root-lifting spray before drying.
When pinning, take smaller sections. Too much hair in one pin will weigh it down and slip. Use multiple, criss-crossed pins for the same section for a stronger hold.
A light mist of dry shampoo on the roots before styling adds crucial grit. This gives the pins something substantial to hold onto.
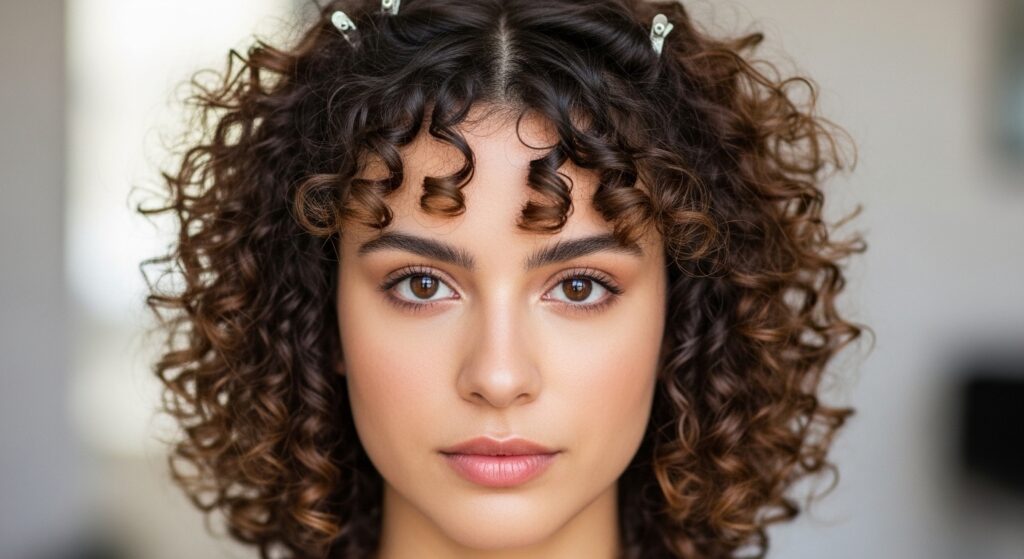
17. Adapting for Thick or Curly Hair
For thick or curly hair, this style is a dream for showcasing your texture. The key is to work with your natural pattern, not against it.
Define your curls with a curl cream or gel. Once dry, take the front curl clusters and gently pin them back. Let them keep their shape—don’t flatten them.
The result is a gorgeous, voluminous frame that highlights your natural hair. It’s dynamic, full of life, and incredibly photogenic.
18. The Low-Maintenance, All-Day Hold
To make this style last from morning coffee to evening portraits, you need a good setting spray. I prefer a flexible-hold hairspray.
After you’ve placed all your pins, hold the can about 10 inches away and give a light, overall mist. Then, gently cup the pinned sections in your hands and spray lightly again from underneath.
This locks in the style without making it crunchy or stiff. You’ll get that “just done” look all day long.

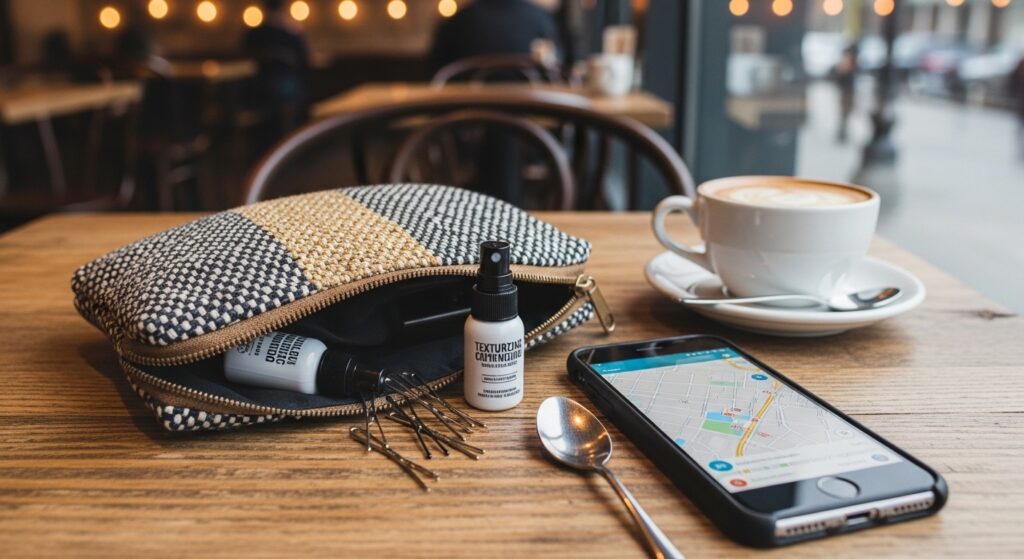
19. Quick Fixes for Mid-Day Sagging
If a section starts to sag, don’t just add more pins on top. First, gently remove the loose pin. Spritz the base of the hair section with a tiny bit of water or texture spray.
Re-twist the section, maybe a bit tighter this time, and re-pin it, criss-crossing a fresh pin with the old pin’s spot for better grip.
This refreshes the style without starting over. Keep a few extra pins and a travel texture spray in your bag for emergencies.
20. Your Portrait-Ready Checklist
Before you step in front of the camera, do a final mirror check. This ensures your hard work translates perfectly on film.
- Are the pins hidden? Tuck any visible ends.
- Is the shape soft? Gently tug a few pieces loose if it’s too tight.
- Is there enough volume at the crown? Lift gently with the tail of a comb.
- Are any wispies out of place? Use a tiny bit of hairspray on a finger to tame them.
And there you have it—the complete guide to getting that soft, portrait-perfect hair we all love. It’s more than just a hairstyle; it’s a tool that makes you feel confident and camera-ready in minutes.
The best part? It works with so many of the trends we love, from the quiet luxury bob to romantic goth vibes. You can make it your own. It’s about enhancing what you’ve got, not hiding it.
I hope this gives you the confidence to play with your layers and pins. Try it before your next video call or a night out. You might just find it becomes your new signature look.
Save this post to Pinterest so you always have the steps handy! And I’d love to know—which variation are you most excited to try? Drop a comment below and tell me!