
Fast 14 Quick-Dry Foams Amplifying Texture Without Blow-Drying
Okay, let’s be real. How many of us have the time or energy to blow-dry our hair every single morning? I know I don’t. My morning routine is a sacred, fast-moving thing, and standing there with a hot tool just doesn’t always fit. But I still want amazing hair.
That’s where quick-dry foams come in. They’re the secret weapon I’ve been relying on for years, and the new formulas are absolute game-changers. We’re talking about lightweight, air-dry products that give you serious texture, volume, and style without any heat.
This isn’t about sacrificing your look for convenience. It’s about working smarter. Whether you’re chasing that effortless old money hair vibe or a more dramatic vampire haircut texture, the right foam can get you there. Let’s dive into everything you need to know.
I’m breaking down exactly how to use them, which styles they work best for, and my top tips for perfect results every single time. Get ready to shave serious minutes off your routine.
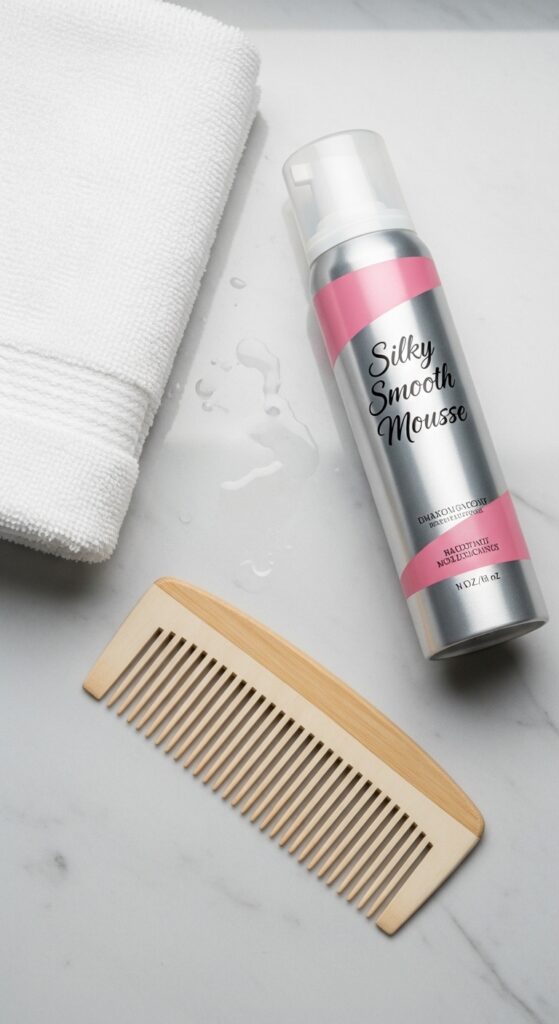
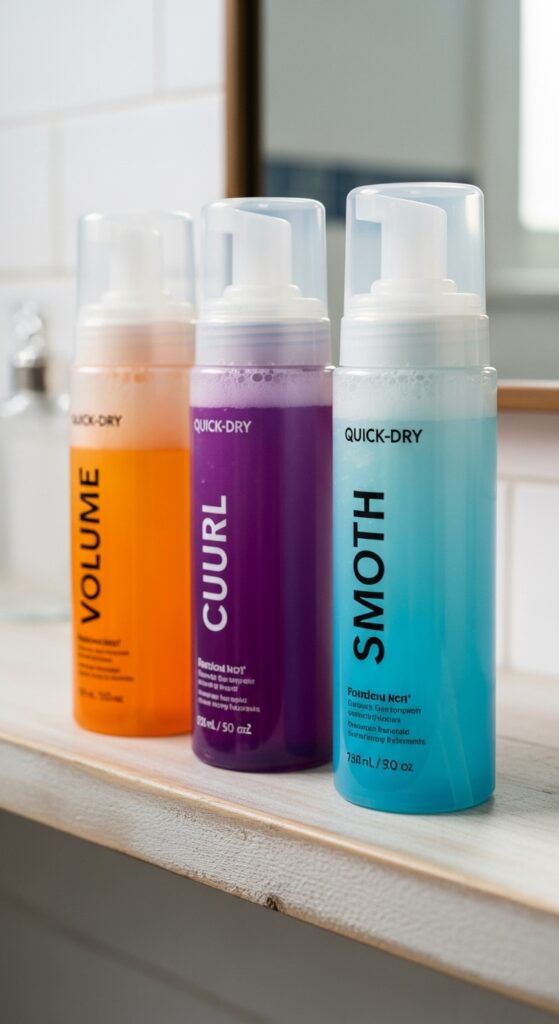
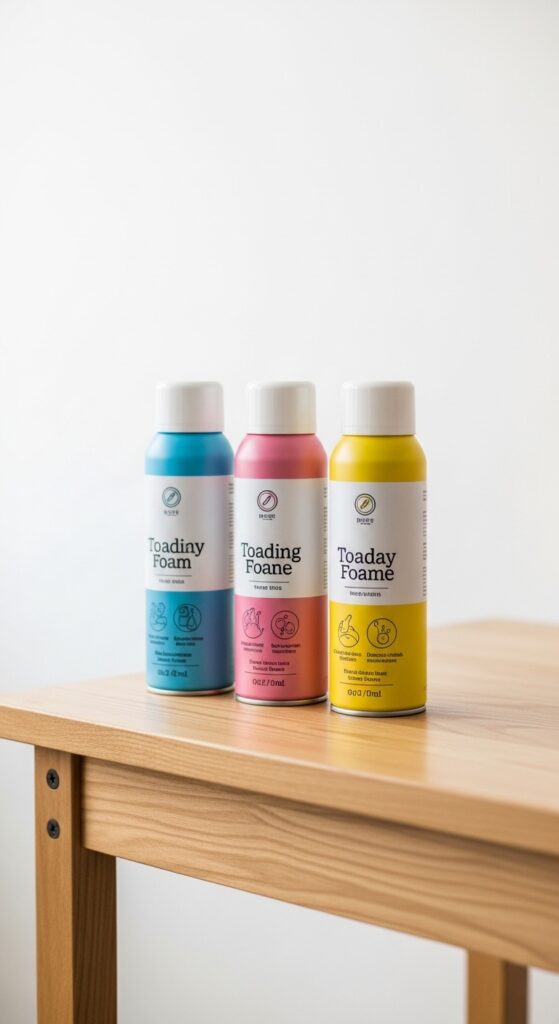
What Exactly Is a Quick-Dry Foam?
Think of it as a hybrid between a mousse and a leave-in conditioner. It’s a lightweight, airy foam that you work through damp hair. The magic is in its ability to speed up drying time while depositing texture and hold.
Unlike old-school mousses that can be crunchy or heavy, these modern foams are often infused with nourishing ingredients. They define, add body, and fight frizz, all while letting your hair’s natural movement shine through. It’s the ultimate set-it-and-forget-it product.
The Biggest Benefit: No Heat Damage
This is the number one reason I’m obsessed. Repeated blow-drying and hot tool use can leave hair dry, brittle, and prone to breakage over time. By embracing air-drying with a supportive foam, you give your hair a major break.
You’ll notice your hair feels healthier, retains moisture better, and has more natural shine. It’s a simple switch with long-term rewards for your hair’s strength and integrity. Your future self will thank you.
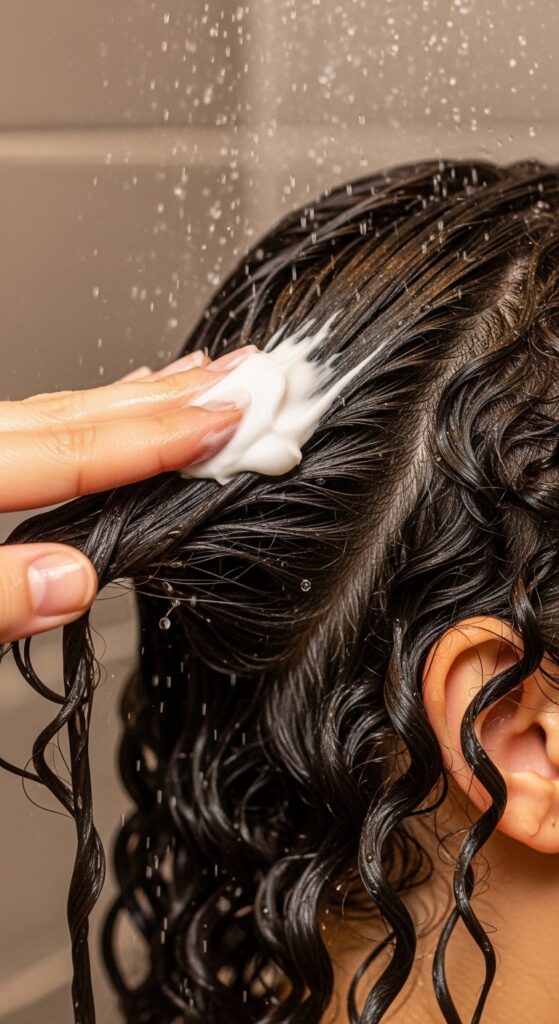
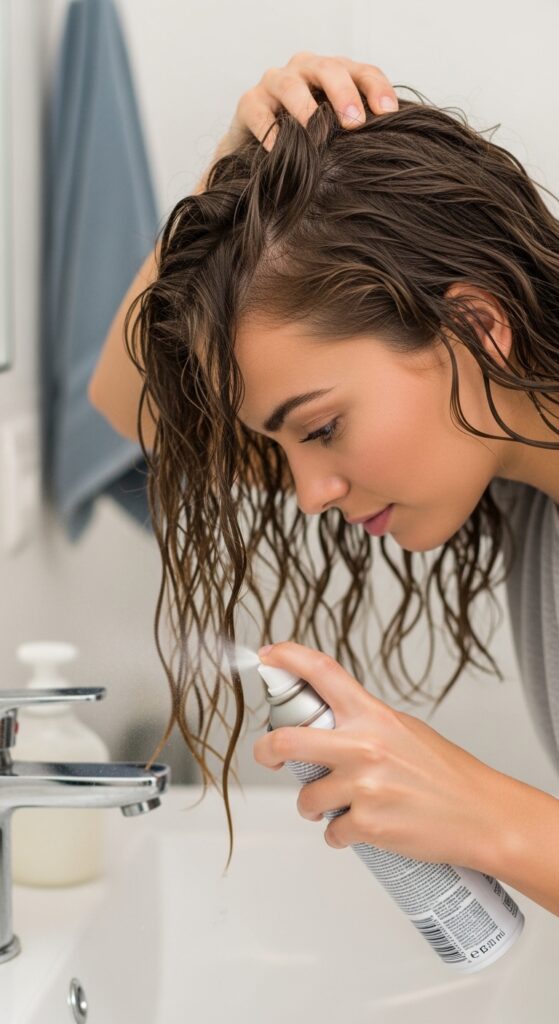
How to Apply It: The Right Way
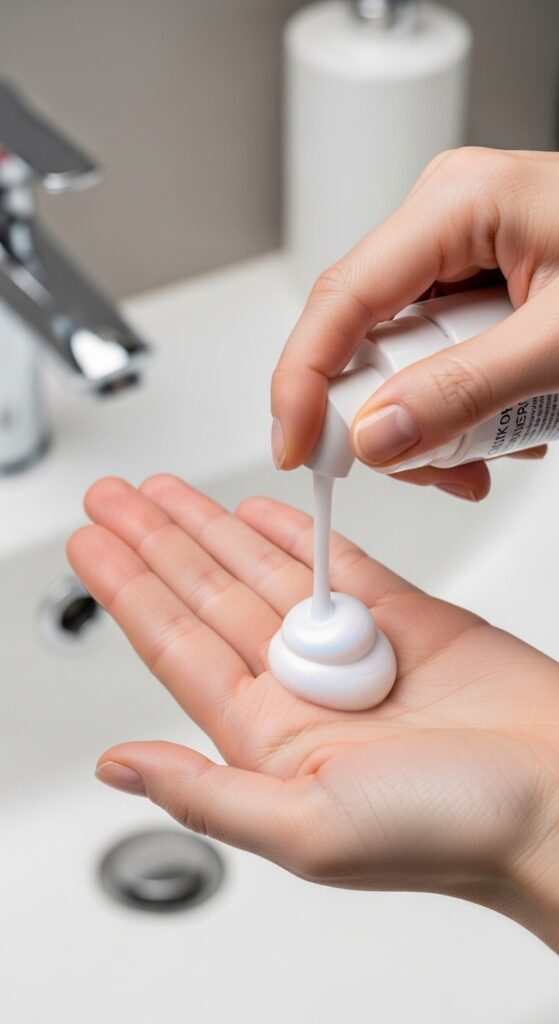
Technique matters! Start with towel-dried hair. It should be damp, not dripping wet. Shake the can well and dispense a golf-ball sized amount (more for thicker, longer hair).
Work the foam through your mids to ends first, where texture is needed most. Then, use whatever’s left on your hands to lightly run over your roots for lift. Avoid scrunching aggressively if you want to avoid crunch.
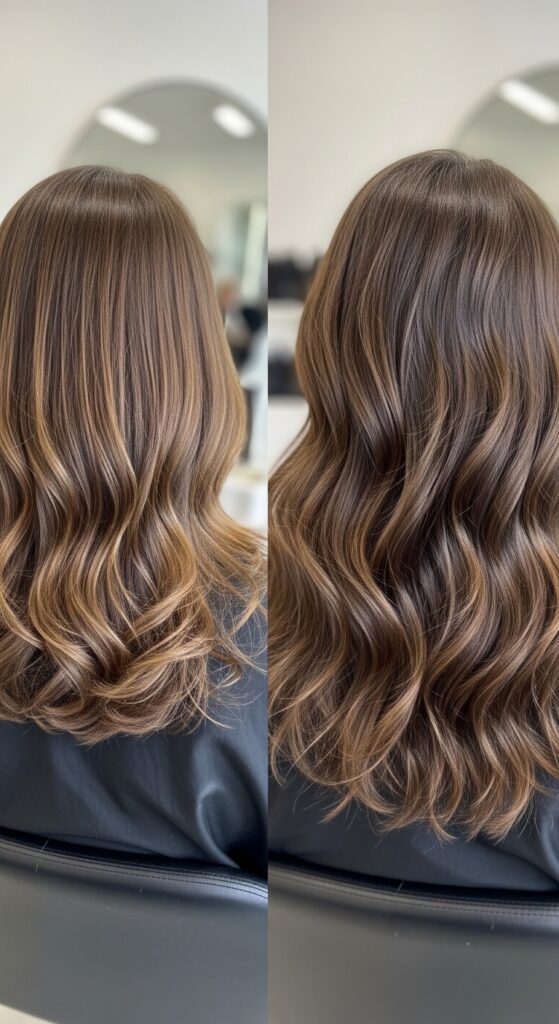
Creating Effortless “Old Money Hair” Texture
This look is all about polished, natural volume and soft bends—never crispy or overdone. A quick-dry foam is perfect for it. Apply as directed, then loosely twist small sections of hair and pin them up while they air dry completely.
When you unpin, you’ll have that soft, lived-in wave synonymous with quiet luxury bob styles and classic 2026 hairstyles forecasts. It looks expensive and requires zero effort.

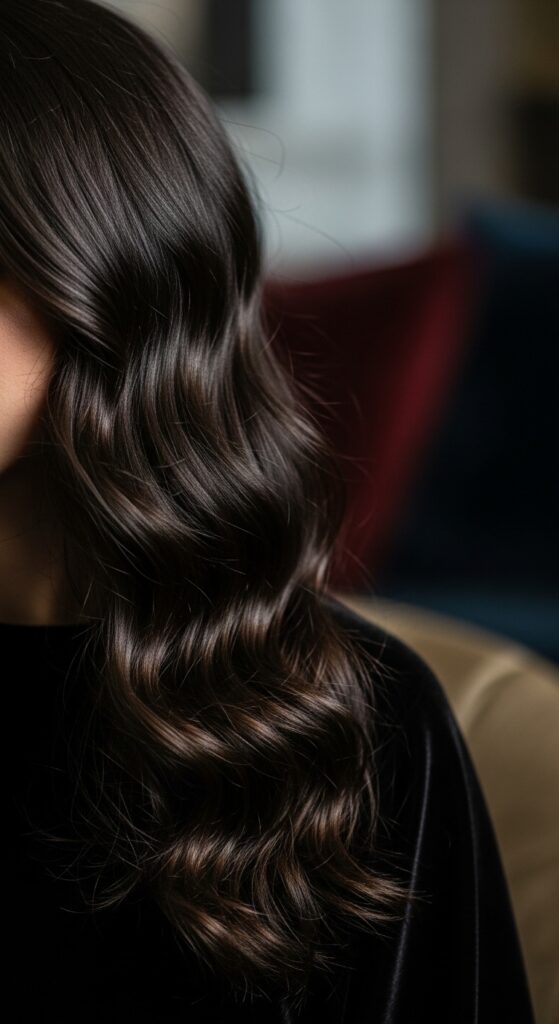
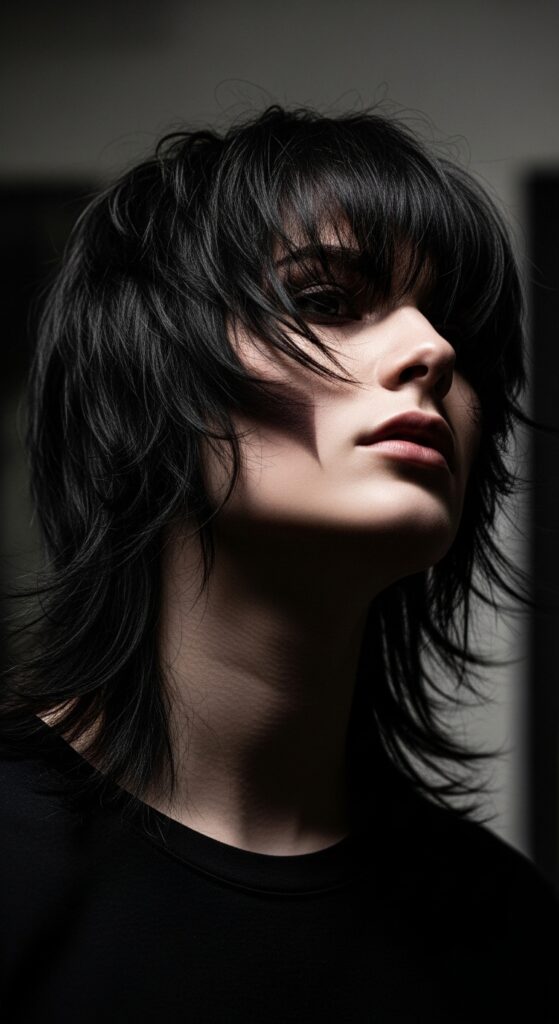
Amplifying a Romantic Goth Vibe
For romantic goth hairstyles, you want texture with a touch of drama—think soft waves with defined, piece-y ends. Apply foam evenly, then focus on scrunching the ends gently as your hair dries.
Once dry, you can separate a few face-framing pieces for that intentional, artfully disheveled look. The foam provides the hold to keep the shape without flattening the romantic volume.
Getting the “Glitchy Glam” Piece-Y Look
Glitchy glam hair is chaotic, textured, and full of attitude. To achieve this with foam, apply it and then use your fingers to rake and separate your hair into distinct sections while it’s still damp.
Let it air dry completely without touching it too much. The foam will hold those separated, “glitchy” pieces in place, creating intentional, edgy texture perfect for an asymmetrical lob.
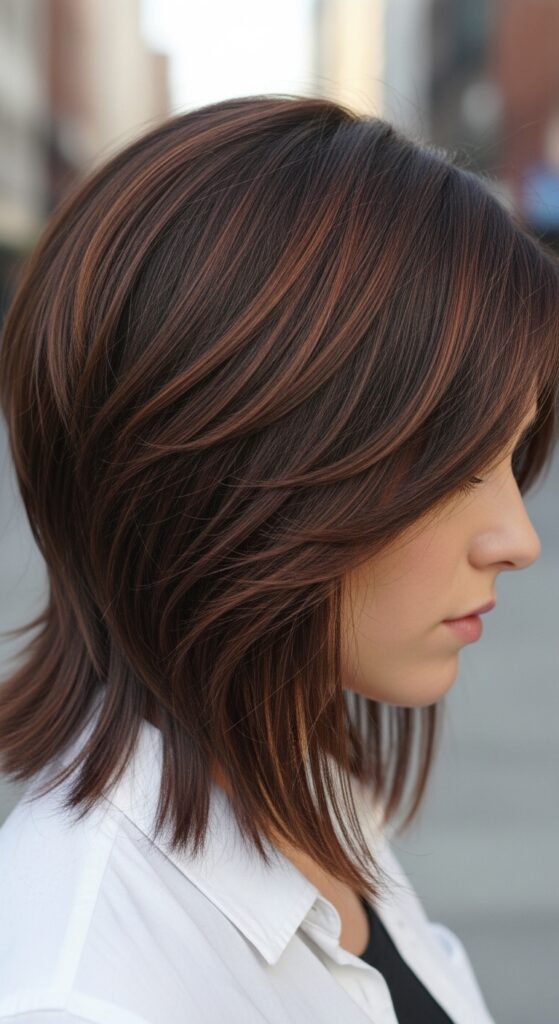
Perfecting the Asymmetrical Lob
The asymmetrical lob relies on sharp shape and movement. Quick-dry foam helps maintain that shape as your hair dries, adding body so the shorter side has lift and the longer side has swing.
Apply foam, then use a wide-tooth comb to guide your hair into its natural fall. The foam will provide memory, so the cut’s architecture stays visible and chic all day.
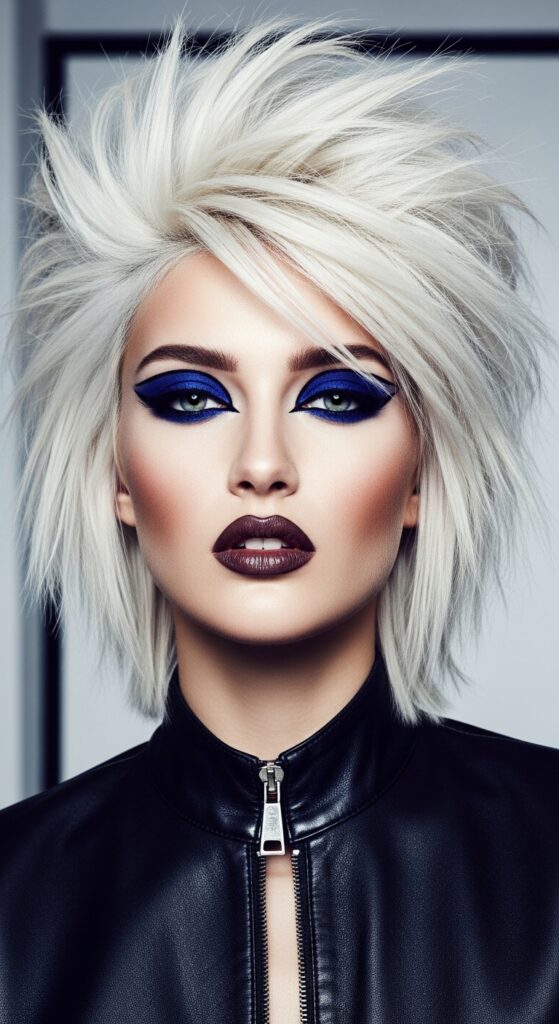
Adding Volume to a Vampire Haircut
The modern vampire haircut is all about heavy, textured bangs and lots of shaggy layers. Foam is essential to give those layers definition and root lift without weighing them down.
Flip your head upside down, apply foam to roots, and massage it in. Right side up, work more through the lengths. This builds the volume and separated texture this dramatic cut needs.
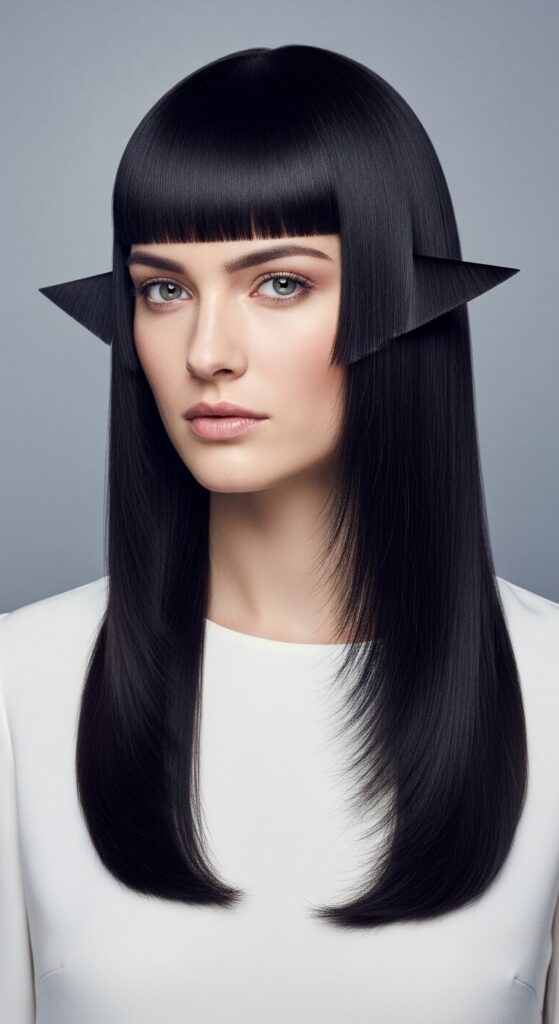
Styling a Statement Hime Cut
The hime cut features straight, blunt lines and a very graphic shape. Foam helps by ensuring the hair dries perfectly smooth and frizz-free, emphasizing those clean lines.
Apply foam evenly from roots to ends on damp hair. Use a fine-tooth comb to slick hair into place and let it air dry straight. The foam fights humidity to keep the look sharp and precise.
For Curly Hair: Defining Without Frizz
If you have curls or waves, a quick-dry foam can be a fantastic styler. It provides a light hold that reduces drying time and minimizes frizz by encouraging the hair to dry in its natural clumps.
Apply to soaking wet hair by smoothing it over sections. Then, do not touch! Let it air dry completely. You’ll get defined, bouncy curls with a soft feel, not a hard cast.
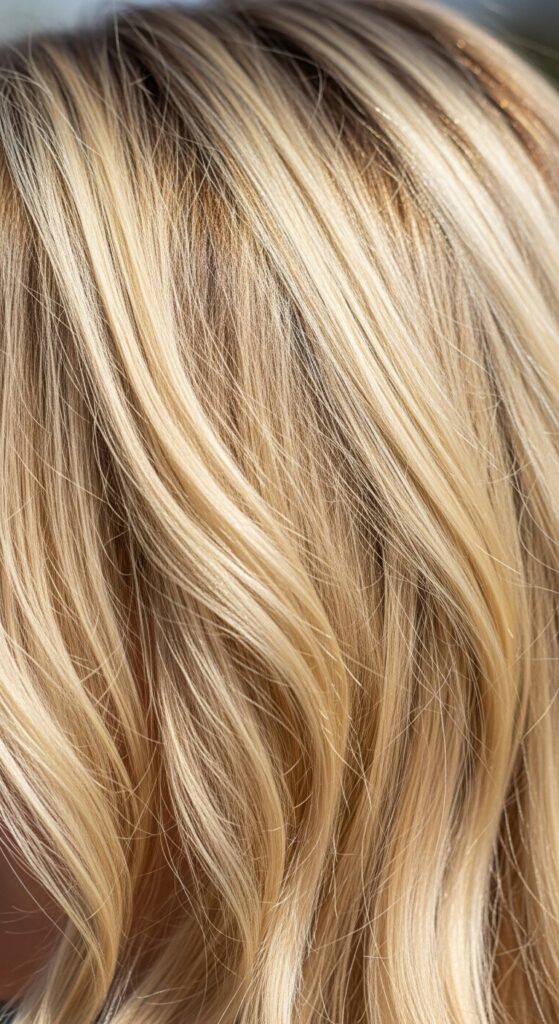
For Fine Hair: Volume Without Weight
This is where quick-dry foams truly shine. They provide lift and body without the sticky residue that can flatten fine hair by midday. The key is applying to roots on damp hair.
Lift sections and mist the foam directly at your roots, then massage. This gives instant lift that lasts. Avoid applying too much to the ends to prevent weighing hair down.
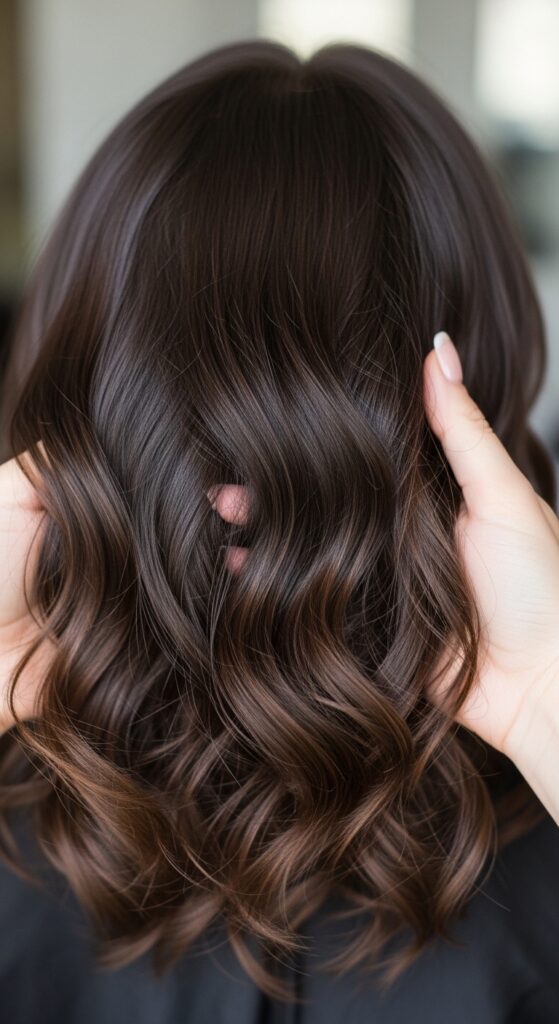
For Thick Hair: Taming and Shaping
Thick hair can take longer to dry and can become unruly. A quick-dry foam helps speed the process and provides control. Use a generous amount, working it through every layer.
It helps to define your hair’s natural pattern while reducing bulk and frizz. You’ll find your hair dries more smoothly and is easier to manage, whether you wear it wavy or straight.
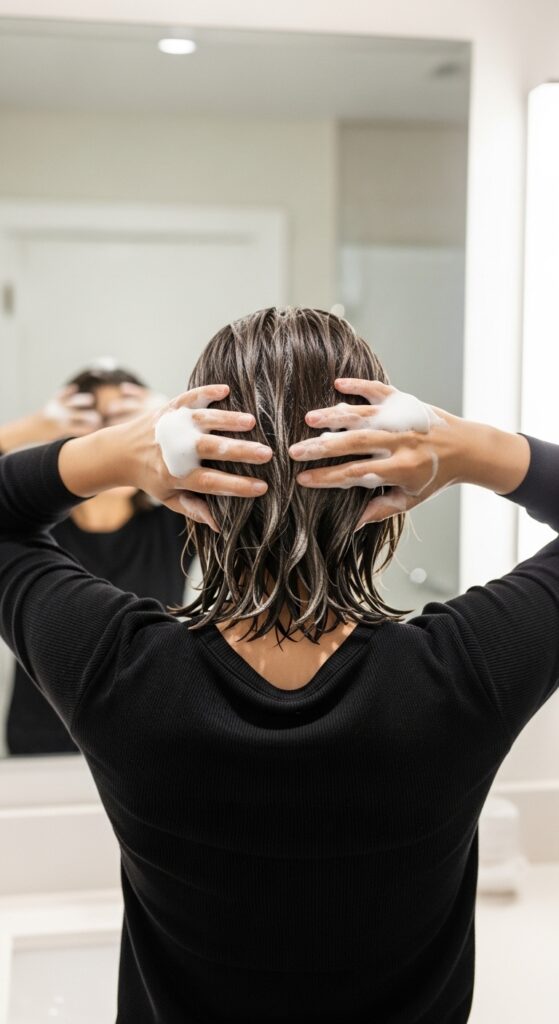
The Air-Dry Routine: Step-by-Step
- Gently towel dry your hair to remove excess water.
- Shake the foam can vigorously and dispense into your palm.
- Rub hands together and evenly distribute through mids to ends.
- Use residual product on roots for lift.
- Style with fingers or a wide-tooth comb into desired shape.
- Do not touch until 100% dry! Then fluff gently at the roots.
Common Mistakes to Avoid
- Using on soaking wet hair: It dilutes the product. Towel dry first.
- Scrunching too hard: This can cause frizz. Be gentle.
- Using too much product: Start with less; you can always add more.
- Touching while drying: This disrupts the style and creates frizz. Walk away!

How to Choose the Right Formula
Read the label! Look for words that match your goal: “volumizing,” “curl defining,” “frizz control,” or “smoothing.” If you have color-treated hair, seek a color-safe formula.
For the softest feel, avoid products with high alcohol content. Sample sizes are great for testing before you commit to a full bottle.
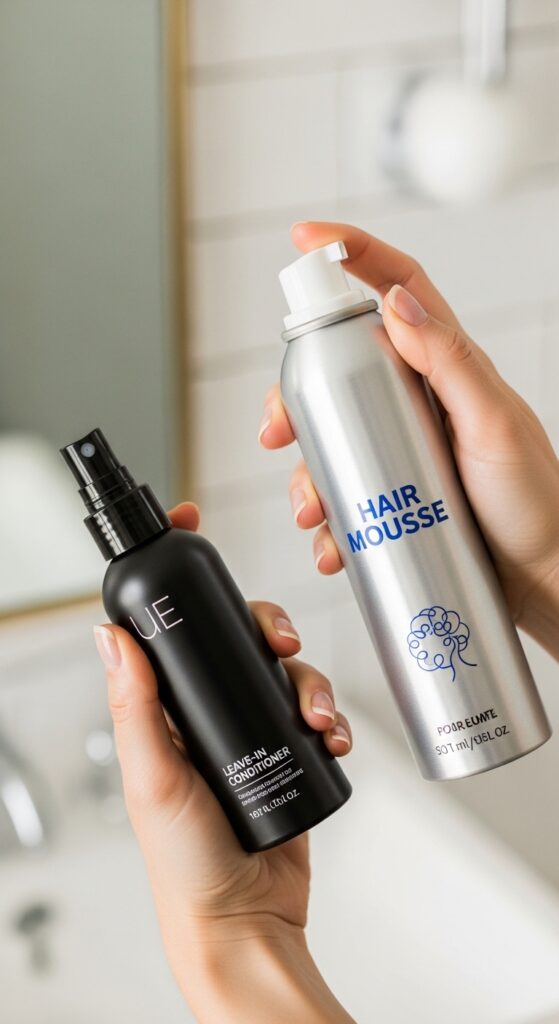
Can You Use It with Other Products?
Yes, but layer wisely. Apply a leave-in conditioner or heat protectant to wet hair first, as these are typically more liquid. Then, follow with your foam as the styling layer.
Avoid layering multiple creamy or thick products underneath, as this can prevent the foam from working properly and weigh hair down.
Does It Work on Second-Day Hair?
Absolutely! Spritz second-day hair with a little water or a refresher spray until damp. Then, work a small amount of foam through your hair, focusing on areas that need reshaped.
This is a fantastic way to revive your style and add back texture and volume without starting from scratch. It breathes new life into day-old hair.
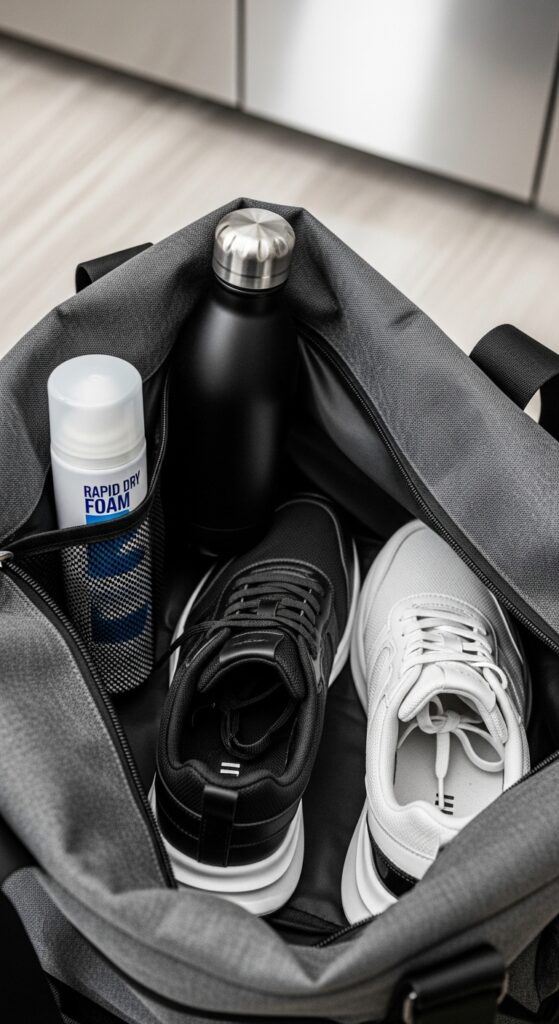
Travel & Gym Bag Essential
This is my number one travel hair product. The bottle is usually lightweight, it’s not a liquid, and it solves most styling dilemmas. After a hotel shower or a post-gym rinse, it’s your one-step style solution.
You can achieve a put-together look without packing a blow dryer or any hot tools. It saves space, time, and your hair from travel heat damage.
My Top 3 Drugstore Picks
- L’Oreal Air Dry It Wave Foam: Incredible for beachy waves.
- Not Your Mother’s Curl Talk Defining Foam: Great hold for curlies.
- Dove Amplified Textures Foam: Amazing for volume on fine hair.
All are affordable, easy to find, and deliver serious results. You don’t need to spend a fortune to get great air-dry hair.
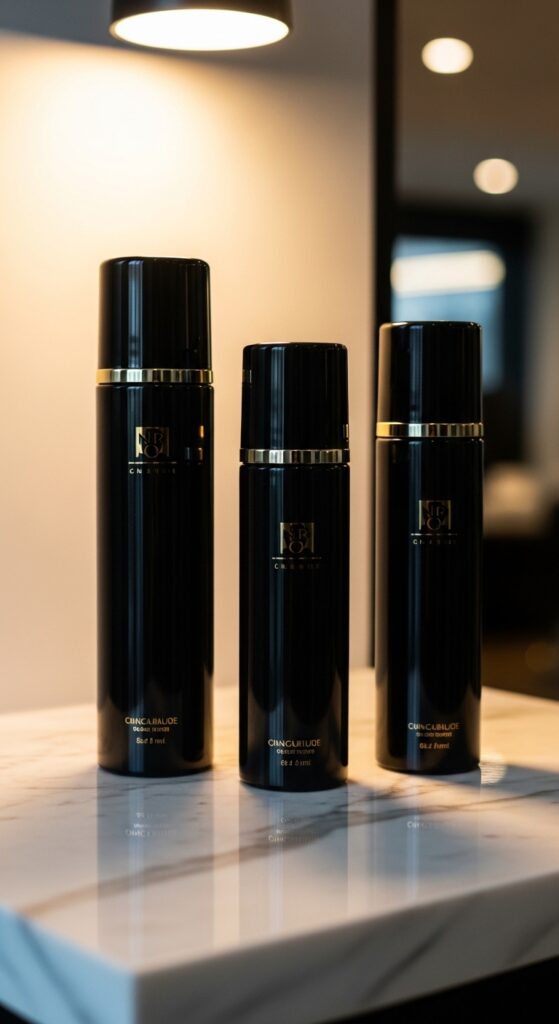
My Top 3 Splurge-Worthy Picks
- Living Proof Perfect hair Day (PhD) Style-Protector Foam: The ultimate in heat-free style memory.
- Oribe Run-Through Detangling & Styling Primer: Feels luxurious and smells divine.
- Briogeo Curl Charisma Rice Amino + Avocado Defining Foam: A treat for defined, nourished curls.
Your Questions, Answered
Will it make my hair crunchy? Not if you use a modern formula and don’t over-apply. If it does feel stiff, scrunch your hair once dry to break the cast.
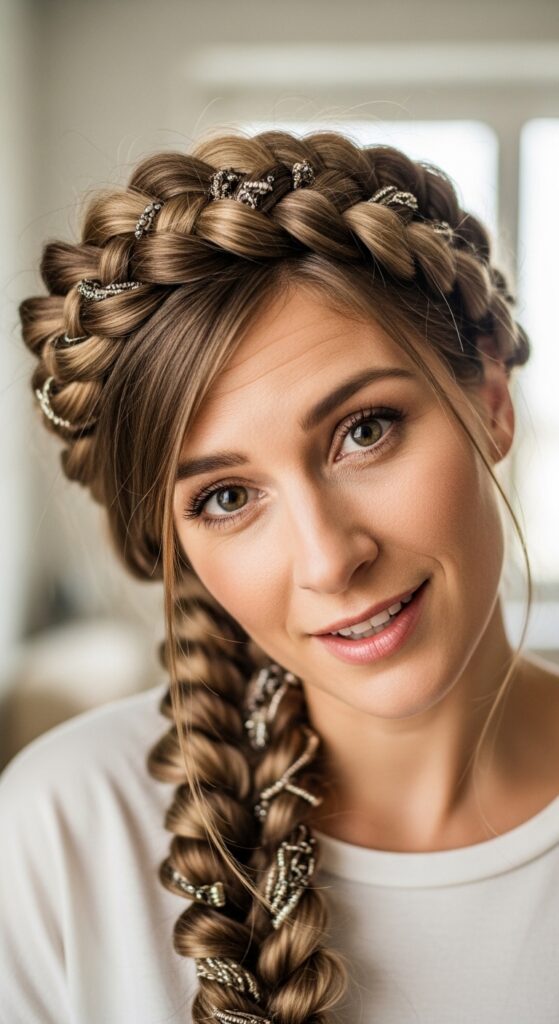
Can I use it before braiding? Yes! It’s perfect for adding texture and grip to hair before braiding, resulting in longer-lasting, fuller-looking braids.
Final Thoughts & Next Steps
Switching to a quick-dry foam might just change your entire relationship with your hair routine. It’s that powerful. It gives you back time, protects your hair’s health, and still lets you rock all the latest trends, from the quiet luxury bob to romantic goth hairstyles.
The best part? It’s so simple. It removes the barrier of “I don’t have time for good hair.” Now you absolutely do.
I’d love to hear from you. Have you tried a quick-dry foam before? What’s your go-to heat-free style? Tell me in the comments below! And if you found this guide helpful, save this post to Pinterest so you can always come back to it, and share it with a friend who needs a break from their blow-dryer.


