Finger 11 Coil Separator Tools Defining Clumps Precisely Evenly
Okay, let’s be real. We’ve all been there. You’re deep into your wash day, the curl cream is applied, and you’re ready to define. You start raking or brushing… and suddenly your beautiful, potential-filled head of hair is turning into a weird mix of giant clumps and tiny, stringy ones. It’s frustrating!
That dream of perfectly even, defined curls or coils can feel just out of reach. Your tools might be letting you down. But what if I told you there’s a simple, game-changing tool that fixes this exact problem?
I’m talking about the Finger 11 Coil Separator. It sounds fancy, but it’s honestly one of the most practical little things in my routine. It’s the secret to that salon-perfect, precise definition we see all over social media.
And the best part? Once you get your clumps right, every single hairstyle—from 2026 hairstyles trends to an old money hair look—becomes so much easier to pull off. Let’s dive into why this tool is a must-have.
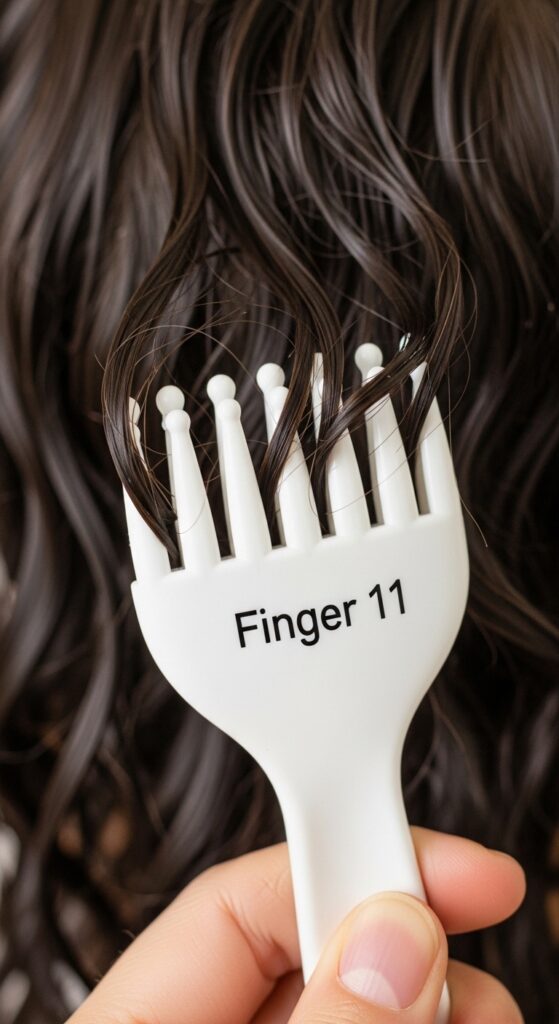
What Is a Finger 11 Coil Separator?
Don’t let the name intimidate you. A Finger 11 Coil Separator is a simple, handheld tool, usually made of plastic or metal. It looks like a comb, but instead of teeth, it has 11 rigid, blunt-tipped “fingers” spaced apart.
Its sole job is to separate sections of wet, product-laden hair into uniform clumps. You don’t use it to detangle. You use it after detangling, when your hair is slick and defined, to create perfect, even sections for twisting, curling, or drying.
Think of it as your personal hair editor. It finds the clumps that are too big and splits them neatly. It finds the wispy, too-small clumps and merges them with their neighbors. The result? A head full of consistent, gorgeous curl families.
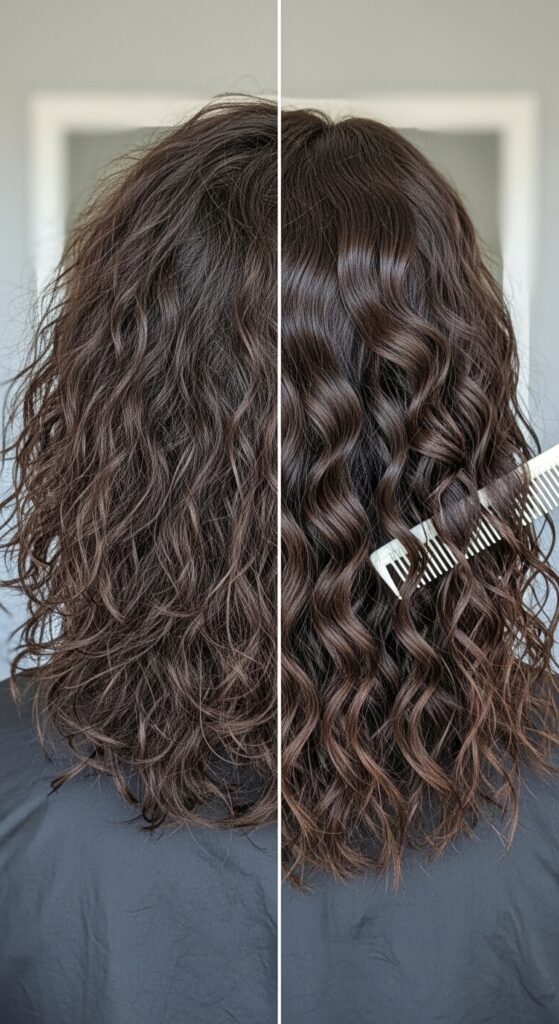
The #1 Problem It Solves: Inconsistent Clumps
Inconsistent clumping is the root of so many styling woes. When your clumps are all different sizes, they dry at different rates. The big ones stay wet forever, and the small ones get frizzy fast.
This inconsistency also means your curls don’t lay together nicely. You get volume in weird places and flat spots in others. It makes achieving sleek styles, like a quiet luxury bob, much harder on textured hair.
The Finger 11 tool fixes this by enforcing order. It gives you control, allowing you to decide exactly how thick or thin you want each defined section to be, leading to a predictable and beautiful result every single time.
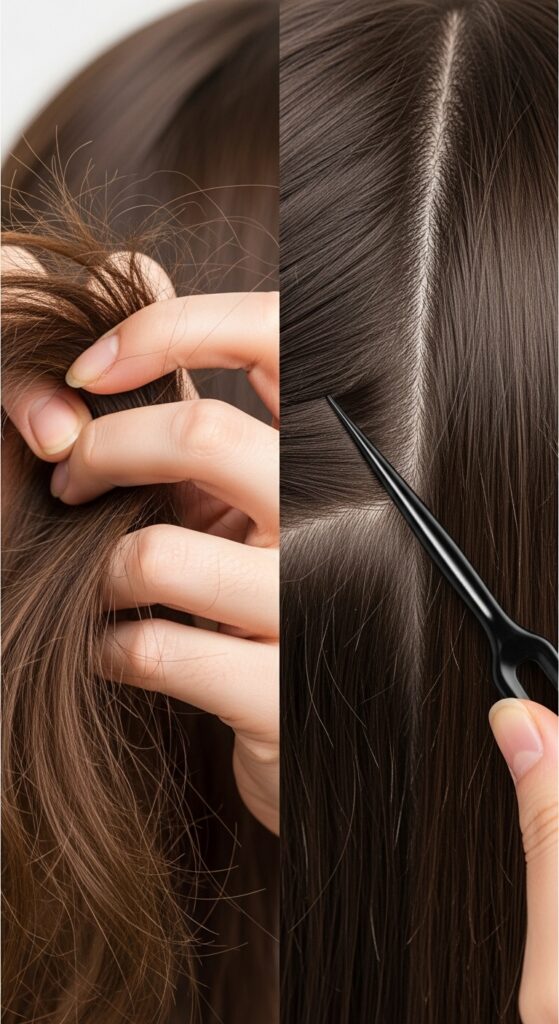
Why Your Fingers or a Comb Aren’t the Same
Your fingers are great, but they’re not precise. When you try to separate clumps with them, you often rip or break the delicate curl pattern. You’re also guessing at the size, which leads back to inconsistency.
A regular comb or denman brush pulls through the hair, which can over-stretch the clump and disrupt the natural formation. It’s designed to smooth, not to strategically section.
The Finger 11 tool is a placement tool. You gently press it into your hair where you want a separation, and the 11 fingers create a clean, straight part without disturbing the curl definition on either side. It’s a different action entirely.
How to Use It: The Basic Method
Start with hair that is freshly washed, conditioned, and thoroughly detangled. Apply your favorite leave-in and curl defining cream or gel while your hair is sopping wet in the shower.
Use your preferred method (raking, brushing, praying hands) to create your initial curl clumps. Do this section by section. Then, take your Finger 11 tool.
- Hold a defined section of hair.
- Look for areas where clumps are stuck together or are obviously too large.
- Gently press the tool’s fingers straight down into the hair at the point where you want to separate.
- Lift the tool away, and you’ll see two clean, even clumps.
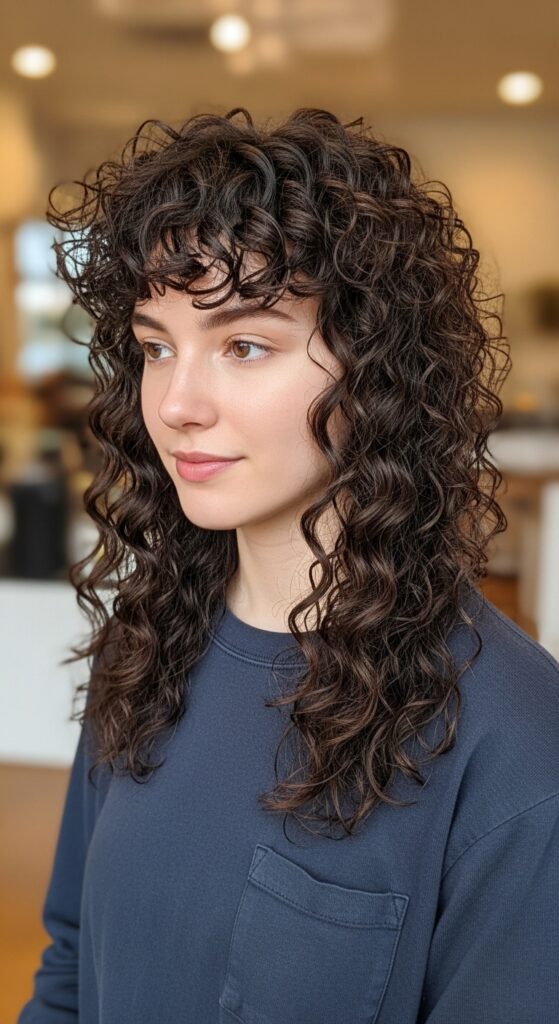
Creating Perfectly Even Twists and Braids
If you’re a twist-out or braid-out girl, this tool is your new best friend. The key to a flawless, full twist-out is having all your twists be the same size. This ensures even drying and uniform curl pattern.
After applying your product, use the Finger 11 to section your hair. Run the tool along your scalp to create clean, straight parts for your twists. Then, use it to separate the hair for each twist into a perfectly even rectangle of hair.
No more guessing. Every twist will be a twin, which means when you take them down, you get a head of consistent, bouncy curls that look professionally done. It’s a game-changer for protective styling prep.

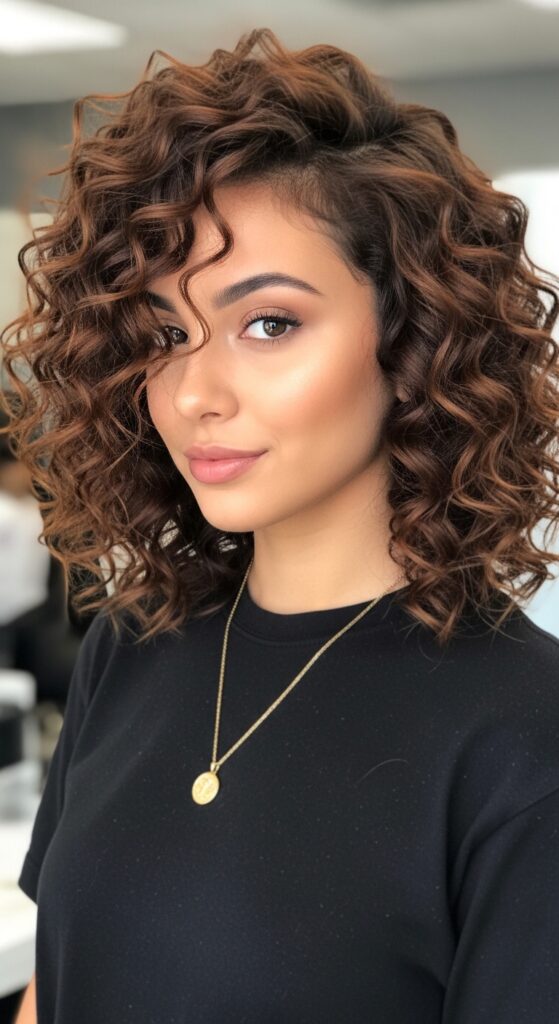
Leveling Up Your Wash-and-Go
A wash-and-go is all about the “go,” but if your clumps are a mess, you might not want to go anywhere. For a truly polished wash-and-go, definition is everything.
After applying gel with a brush, you’ll likely have some sections that merged. Before you diffuse or air dry, do a quick audit with your Finger 11. Gently separate any overly large clumps and combine any straggly pieces.
This extra 5-minute step makes all the difference. It eliminates the random, isolated frizzy pieces and creates a cohesive, juicy curl pattern that looks intentional and lasts for days.
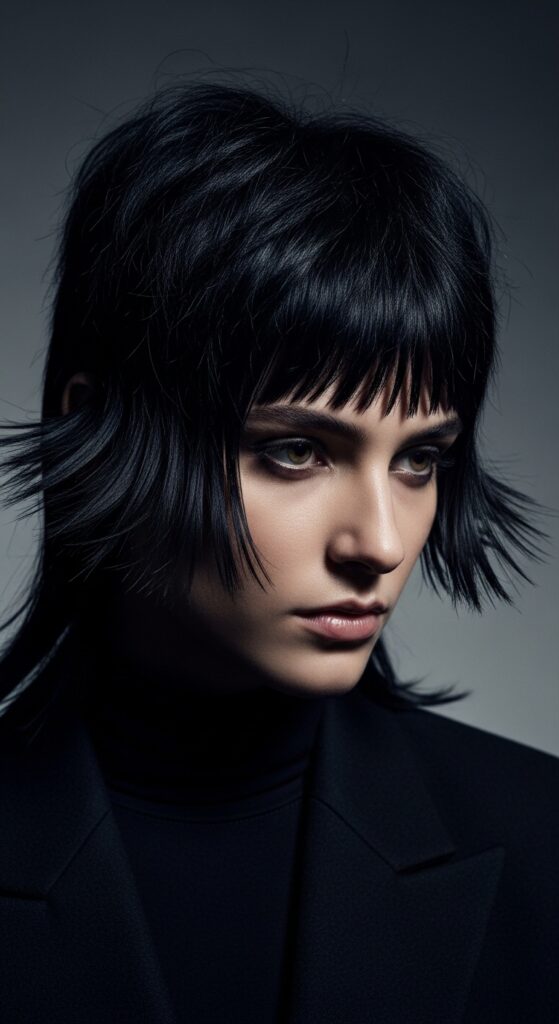
Mastering the “Old Money Hair” Aesthetic
Old money hair is all about pristine, healthy, perfectly groomed texture. It’s not overly done, but it’s impeccably neat. This look requires control and precision, which is exactly what the Finger 11 tool provides.
Use the tool to create super clean, deep side parts or middle parts. Define your curls so they fall in uniform, soft waves rather than chaotic frizz. The goal is polished simplicity.
By ensuring each curl clump is even and well-defined, you create that “effortlessly perfect” look. It’s the foundation for styles like a low, sleek bun or a simple, brushed-out curl that still holds its shape—pure quiet luxury.
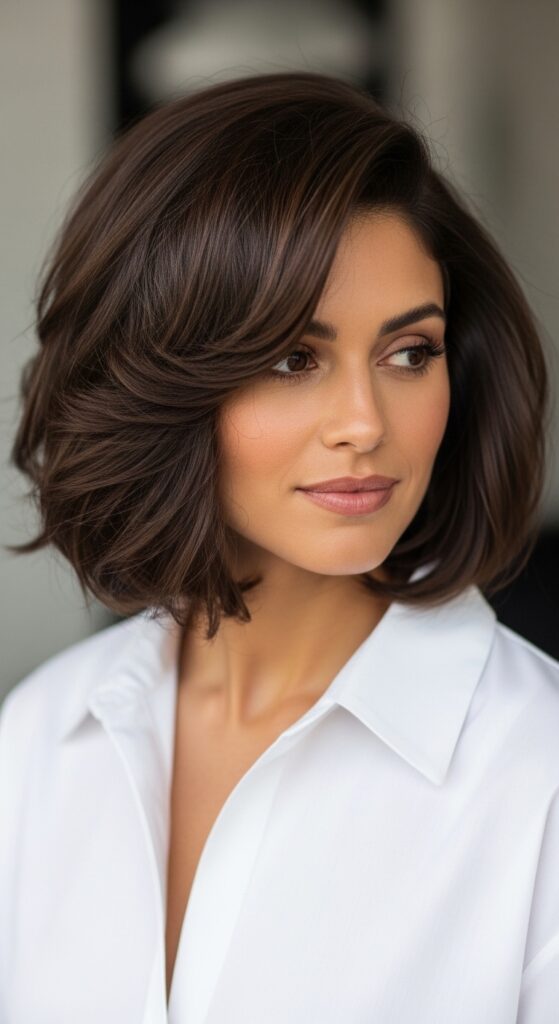
Defining Your “Quiet Luxury Bob”
A textured quiet luxury bob is a major trend. It’s a blunt-cut bob on wavy or curly hair that looks expensive and minimalist. The secret? The shape has to be perfect, and that starts with how the curls are defined.
When cutting a curly bob, stylists often cut on dried, defined curls. You can replicate this at home. Use the Finger 11 tool after styling to make sure every curl around the perimeter is a strong, defined clump.
This creates a sharp, intentional outline. No wispy ends, just solid, beautiful curls that create a clean line. It turns a cute curly bob into a sharp, statement haircut that screams sophistication.

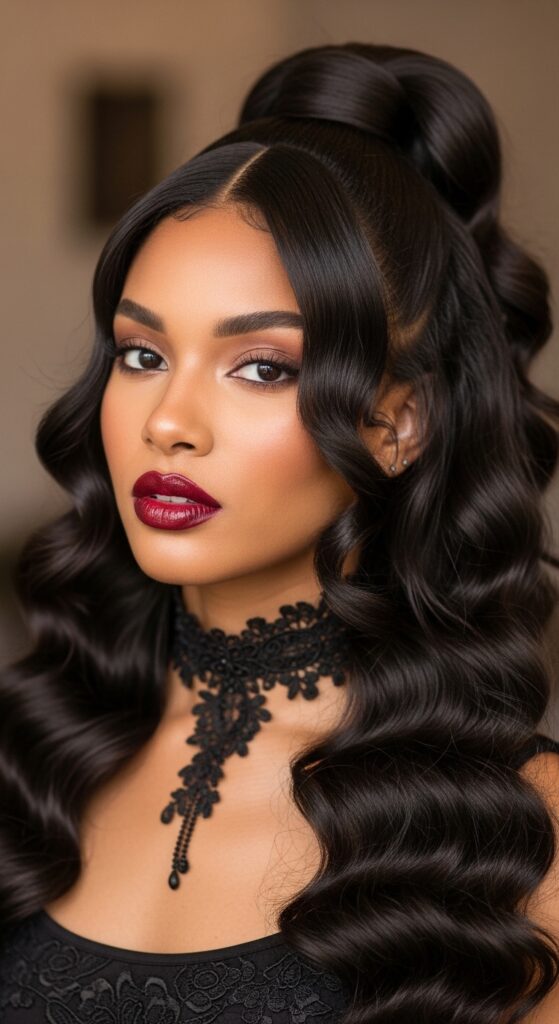
Adding Precision to Romantic Goth Hairstyles
Romantic goth hairstyles mix dark romance with intricate detail. Think dramatic curls, victory rolls, and half-up styles with lots of volume. Precision is key to keeping it romantic and not messy.
Use the Finger 11 to create the perfectly sized curl clumps for pinning. When you’re creating a dramatic, curly updo, you need each curl to be a similar volume so the style is balanced.
It also helps section hair for intricate braids or twists that are woven into the style. That clean, defined curl is the perfect contrast against dark makeup and lace, creating that poetic, intentional vibe.
Building the Foundation for Glitchy Glam Hair
Glitchy glam hair is all about intentional imperfection—but it has to be done precisely. It might involve contrasting textures, like a sleek section next to a wildly defined curl. The Finger 11 tool is your editor here.
Use it to meticulously select which clumps you want to hyper-define with gel for a “wet look” effect. Use it to cleanly separate those sections from the parts you’ll smooth down with a brush for a sleek contrast.
This style is a controlled experiment. The tool lets you place your “glitches” of texture exactly where you want them, making the look fashion-forward and not just a styling accident.
Perfecting Your Asymmetrical Lob
An asymmetrical lob (long bob) on curly hair is stunning. The longer side often has beautiful, cascading curls. To make this look its best, the curls need to be uniform so the shape is clear.
Use the Finger 11 tool to define the curls on the longer side, making sure the clumps are even from root to end. This creates a clean, waterfall effect. On the shorter side, use it to create neat, springy clumps that add volume.
The tool helps maintain the stark difference in length by ensuring both sides are perfectly groomed. It’s the detail work that makes an asymmetrical cut look like a salon masterpiece.
Crafting the Ultimate Vampire Haircut
The vampire haircut—think sharp, dramatic layers and heavy bangs—relies on strong shape. On textured hair, those layers need to be defined as individual, statement clumps to stand out.
After styling, use the Finger 11 to gently separate the front bang sections and the face-framing layers. Make sure each layer is a distinct, defined curl or wave.
This enhances the dramatic, undone-yet-intentional look. It gives that “just awoke in a centuries-old castle” texture, but in a stylish, modern way. The precision of the tool keeps it from looking just messy.
Defining the Layers in a Hime Cut
The hime cut features straight-across bangs and long, straight side locks. On wavy or curly hair, this adaptation is gorgeous. The straight-across bangs become a curly fringe, and the side locks are defined curls.
The Finger 11 tool is essential for isolating the bang section cleanly from the rest of the hair. Then, use it to define the two long “side lock” sections into perfect, uniform curls or waves.
This keeps the geometric, structured feel of the hime cut while celebrating your texture. It’s a beautiful fusion of precise shape and natural curl, perfect for making a statement.
Why It’s Better Than Just “Shingling”
Shingling with your fingers is the traditional method of defining curls one by one. It works, but it’s incredibly time-consuming and can lead to product buildup on your hands, which you then transfer back to your hair.
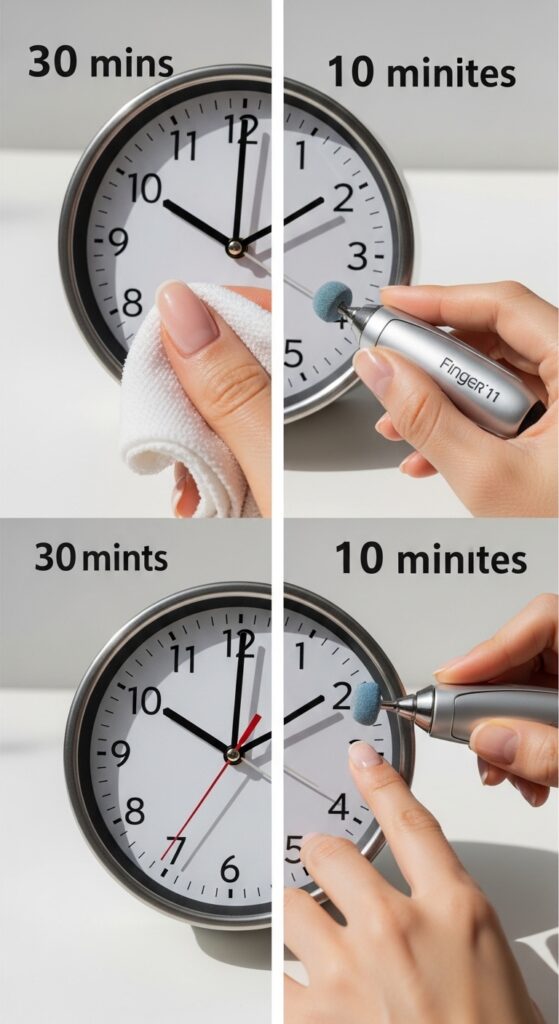
The Finger 11 tool speeds this process up dramatically. Instead of painstakingly separating each hair, you’re guiding large groups into perfect clumps with one press. It’s more efficient and less messy.
You also use less product because you’re not constantly dipping your product-covered hands back in. It’s a cleaner, faster route to the same (if not better) defined result.
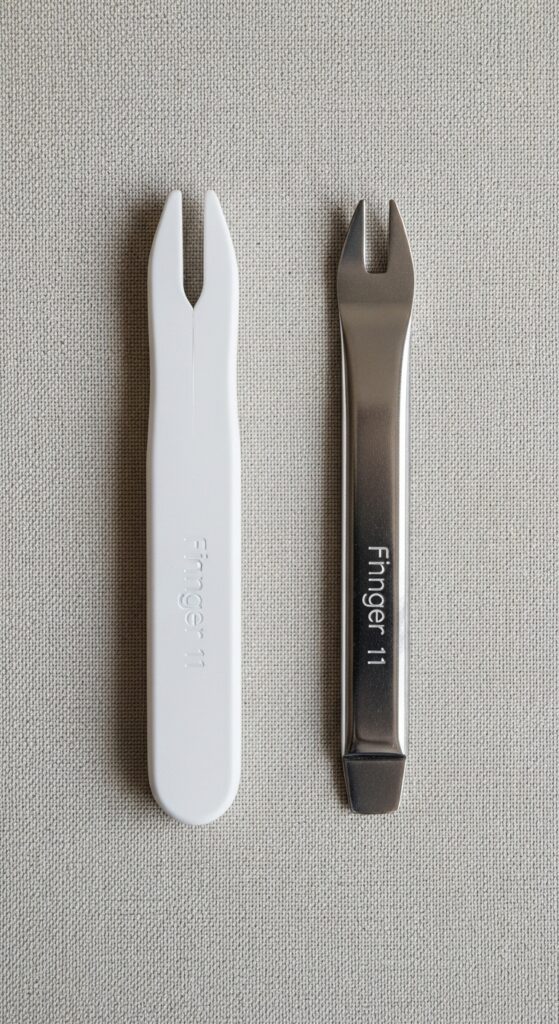
Choosing the Right One: Plastic vs. Metal
You’ll find Finger 11 tools in both plastic and metal. The plastic ones are lightweight, affordable, and have a little more flex, which can be gentler on your scalp and hair.
Metal tools are more durable and have zero flex, giving you the ultimate precision. They also glide through thicker, denser hair a bit easier. The choice is personal.
I recommend starting with a plastic one to see if you like the technique. If you use it constantly and want something sturdier, then invest in a metal version. Both will do the core job perfectly.
Cleaning and Caring for Your Tool
This is simple but important. Product will build up on the fingers of the tool, which can then gunk up your hair during your next use. Get into the habit of cleaning it after every use.
Just rinse it under warm water while the product is still wet. Use a soft toothbrush or a washcloth to gently scrub between the fingers. That’s usually all it takes.
For a deeper clean, soak it in a bowl of warm water with a drop of clarifying shampoo once a month. Dry it thoroughly before storing. Proper care makes it last for years.
Common Mistakes to Avoid
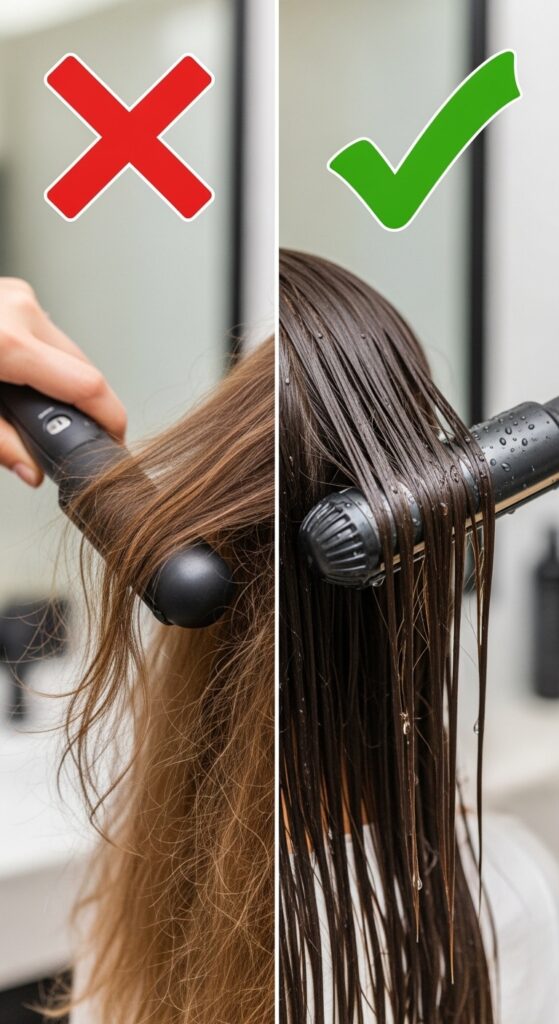
The biggest mistake is using it on dry or damp hair, not wet hair. You need the slip from your products and water to allow the tool to glide and separate without causing breakage or frizz.
Another error is using it to detangle. That’s not its purpose. Always detangle thoroughly with a conditioner and a wide-tooth comb or detangling brush first.
Finally, don’t be too aggressive. You’re pressing and lifting, not sawing or pulling. Gentle pressure is all you need. Let the tool do the work.
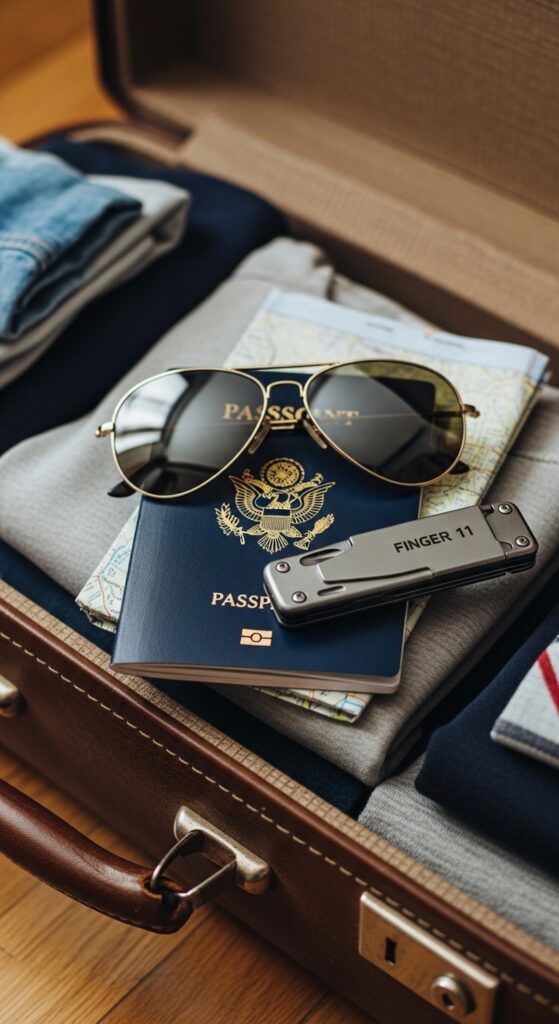
Travel-Friendly Styling Secret
This tool is a travel hero. It’s small, lightweight, and isn’t a liquid, so it’s fine for carry-on luggage. It can help you recreate your perfect definition anywhere, even with different water pressure and humidity.
Pack it with your mini styling products. Even if you’re just doing a quick refresh with a spray bottle, you can use it to tidy up clumps that have merged overnight or from wearing a hat.
It ensures you always have a “good hair day” tool on hand, making vacation styling less stressful and more predictable. No more packing your entire denman brush!
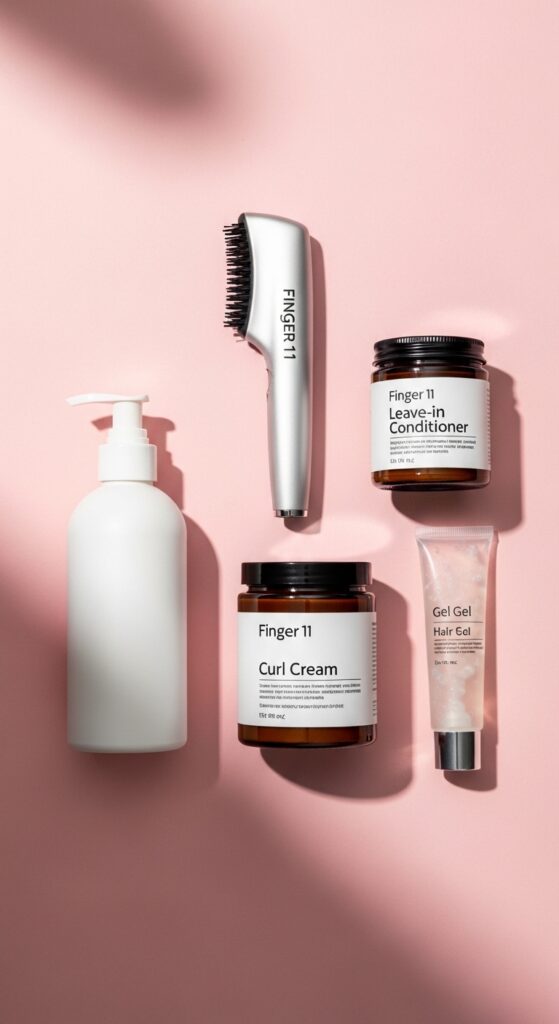
Pairing It With the Right Products
For the best results, pair your Finger 11 tool with products that have good slip and strong hold. A leave-in conditioner or cream provides the slip needed for the tool to move smoothly.
Then, a defining gel or mousse will lock those perfect clumps in place. My current favorite combo is a light cream followed by a hard-hold gel. I separate my clumps with the tool while the gel is still wet.
Experiment with your favorites! The tool works with any product routine; it just enhances the final look by organizing what you’ve already created.
My Final Verdict: Is It Worth It?
Absolutely, 100%. For a tool that usually costs less than a fancy coffee, the value is insane. It solves a very specific, very common problem that other tools don’t address.
It has permanently upgraded my wash days. My styles are more polished, last longer, and are more predictable. Whether I’m going for a sleek look or a full curl explosion, it starts with even clumps.
If you’ve ever been frustrated with stringy, inconsistent definition or struggled to make your twists uniform, this little tool is the missing piece in your routine. It’s a no-brainer purchase.