Flat Iron Curls: Yes, You Can Curl with a Straightener
If you’ve ever stared longingly at a head full of bouncy, romantic curls while clutching your trusty flat iron, we have fantastic news for you. That very same tool you use to sleek and smooth is secretly a curling wizard in disguise. It’s time to shatter the beauty myth once and for all: yes, you can absolutely curl your hair with a straightener.
This technique isn’t just a hack for travelers trying to pack light or a last-minute solution for a forgotten curling wand. For many, it’s the preferred method for creating soft, modern waves and defined curls that have a unique, lived-in texture. The flat iron’s rectangular plates offer a different kind of control, allowing for everything from tight ringlets to loose, beachy waves. If you’re ready to unlock the full potential of your styling tool and add a versatile new skill to your beauty arsenal, you’re in the right place. Let’s dive into the art of the flat iron curl.
Why Curl with a Flat Iron? The Surprising Benefits
Before we get into the “how,” let’s talk about the “why.” You might be wondering why you’d bother learning a new technique when a curling iron exists. The reasons are more compelling than you might think.
First, there’s the undeniable versatility. One tool, two completely different functions. This is a game-changer for streamlining your morning routine and for travel. Imagine the space you’ll save in your suitcase and bathroom drawer!
Second, flat iron curls often produce a softer, more modern wave. Unlike the uniform, cylindrical curls from a traditional iron, the flat iron creates a wave pattern that has a flatter, more ribbon-like appearance. This results in a less “done” look that feels effortlessly chic and contemporary. The shape is often more of a soft “S” wave than a tight spiral, which blends beautifully and looks naturally gorgeous.
Finally, many users find they have superior control with a flat iron. The longer plates allow you to grip more hair at once and provide a larger surface area to guide the hair into the desired shape. This can lead to more consistent results and a quicker styling process once you get the hang of it.
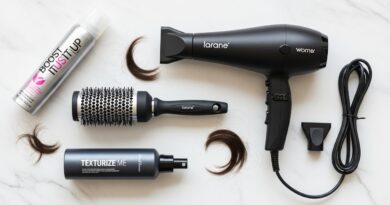
Gearing Up: The Right Tools for the Job
While you can attempt this technique with any flat iron, your success and the health of your hair will be dramatically improved with the right equipment. Not all straighteners are created equal when it comes to curling.
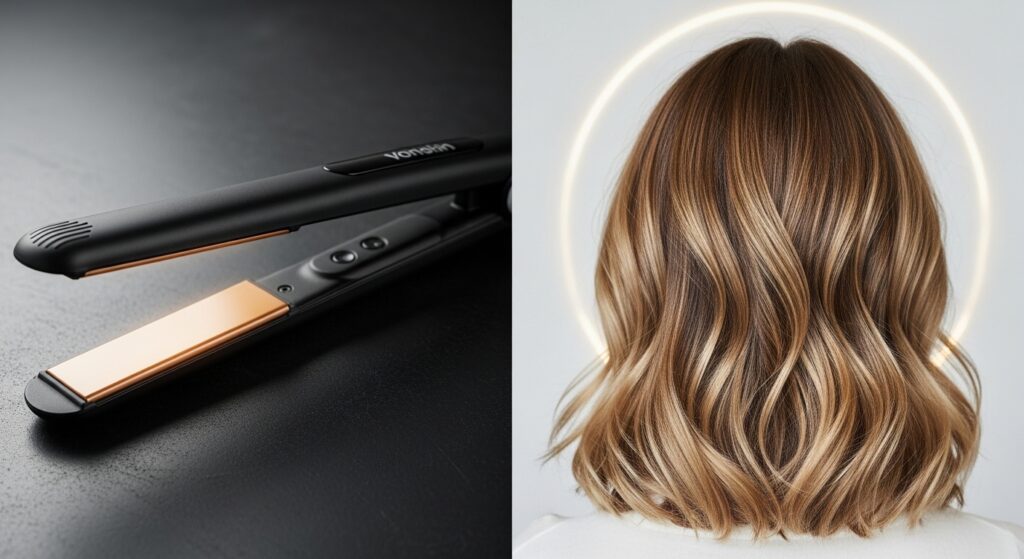
The most critical feature is the plate material and quality. Ceramic and tourmaline plates are excellent choices as they distribute heat evenly, reducing the risk of hot spots that can fry your hair. Titanium plates heat up quickly and are incredibly durable, but they can be very aggressive; if you have fine or damaged hair, use a lower temperature setting.
Next, consider the plate shape and size. A flat iron with rounded, beveled edges is the holy grail for curling. These edges allow the plates to glide smoothly over the hair as you twist, preventing harsh kinks or crimps. As for size, a 1-inch iron is the most versatile, suitable for both mid-length and long hair. If you have very short hair, a ½-inch iron might be better, while those with exceptionally long, thick hair could opt for 1.5 inches.
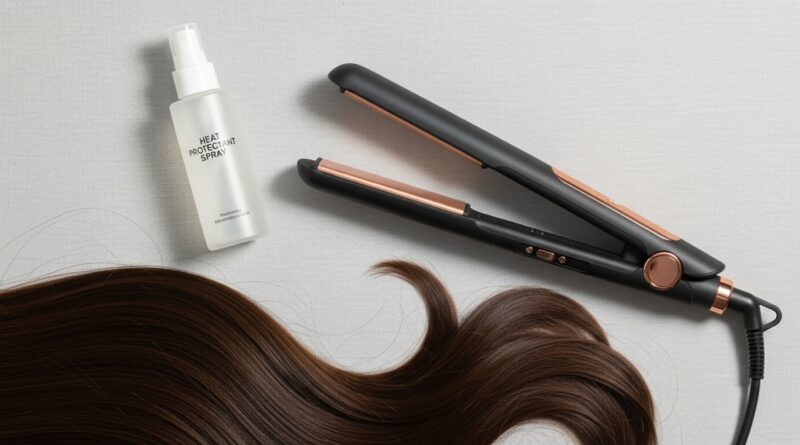
And let’s not forget the unsung hero of any heat styling: heat protectant spray. This is non-negotiable. Curling with a flat iron involves passing over sections of hair multiple times, which increases exposure to heat. A good thermal protectant creates a barrier, sealing in moisture and preventing damage, split ends, and breakage. Your future self will thank you.

Mastering the Technique: A Step-by-Step Guide to Perfect Curls
Ready to create some magic? Follow these steps closely. It might feel a little awkward at first, but with a little practice, it will become second nature.
Step 1: Prep and Protect. Start with hair that is completely dry. Apply your heat protectant spray from roots to ends. For best results, you can prep your hair with a light-hold mousse or texturizing spray to add grip and longevity to your curls.
Step 2: Section Your Hair. This is the secret to success. Do not try to curl large, unruly sections. Part your hair as you normally would, then clip the top half of your hair out of the way. From the bottom section, take a horizontal subsection about 1-2 inches wide. The thinner the section, the tighter the curl; thicker sections will result in looser waves.
Step 3: The Clamp and Twist. This is the core of the technique. Place the flat iron near the roots of your subsection, about an inch from your scalp. Clamp down firmly. Now, here’s the move: in one smooth, continuous motion, twist the iron 180 degrees so the plates are now facing away from your head (the top plate should be on the bottom, and the bottom plate on top).
Step 4: The Glide. With the iron still clamped and twisted, slowly and steadily glide it down the length of your hair section. Your speed will determine the outcome—a slower glide creates a more defined curl, while a faster one gives a subtler wave. Don’t stop and start; aim for one fluid motion.
Step 5: The Release. Once you reach the ends of your hair, release the clamp gently. Do not pull the iron away; just open it and let the curl fall. You will see a beautiful, soft wave forming. Do not touch the curl until it has cooled completely! This sets the shape.
Repeat this process, working your way around your head from the bottom sections to the top, from the back to the front. Remember to always curl sections away from your face for a flattering, face-framing effect.

Troubleshooting Common Flat Iron Curling Mistakes
If your first attempts don’t look like a salon masterpiece, don’t despair! Here are solutions to the most common problems.
Problem: Kinks or “Zig-Zags” in the Hair.
This happens when the iron isn’t twisted smoothly or you pause during the glide. Solution: Practice the twist-and-glide motion on a single section until it becomes one fluid movement. Ensure your iron is fully heated and your hair is well-protected to allow for a smooth glide.
Problem: The Ends Won’t Curl.
This is a classic issue. Solution: Make sure you are clamping the iron all the way to the very ends of your hair before you release. As you glide down, you can even give a very slight, gentle flick of the wrist inward or outward at the very end to help the ends wrap around the iron.
Problem: Curls Are Too Tight or Frizzy.
Your temperature is likely too high, or you’re using too small of a section. Solution: Lower the heat setting on your iron. Fine hair typically needs 300-350°F, while thick, coarse hair can handle 350-400°F. Also, try taking slightly wider sections of hair for a looser wave.
Problem: Curls Fall Out Quickly.
This could be due to hair that is too clean and slippery, or a lack of setting. Solution: Style day-old hair for more grip. Use a texturizing spray at the roots before you start. And most importantly, let each curl cool completely before you brush, touch, or style it. You can even pin each curl up to cool for an even longer-lasting set.

Beyond the Basic Curl: Styling Variations to Try
Once you’ve mastered the basic technique, a world of styling possibilities opens up. Your flat iron is no longer just a straightener; it’s a texturizing wand, a wave maker, and a volumizing tool.
For Beachy, Textured Waves: Instead of curling every section uniformly, alternate the direction of your twists. Curl some sections away from your face and some toward it. Once all your hair is curled, run your fingers gently through your waves to break them up—do not use a brush. Finish with a spritz of sea salt spray for that perfect, just-left-the-ocean texture.
For a Voluminous Blowout Look: Focus on curling the mid-lengths to ends, leaving the roots straight. After curling, take a round brush and gently brush your hair from underneath at the roots while aiming your blow-dryer (on a cool setting) at the roots for a few seconds. This lifts the roots and creates incredible volume without backcombing.
For Tight, Defined Ringlets: Take much smaller, thinner sections of hair. Use a slightly higher heat setting and perform the twist-and-glide motion much more slowly. For even more definition, you can wrap the very ends of the hair around the barrel of the flat iron after you’ve glided down the length.
Conclusion: Unleash Your Styling Potential
Learning to curl your hair with a flat iron is more than just a neat party trick; it’s a fundamental skill that empowers you to be the master of your own hair destiny. It breaks down the arbitrary boundaries between “straightening” and “curling” tools, reminding us that with a little knowledge and creativity, we can achieve virtually any look we desire.
So, the next time you pick up your flat iron, see it for what it truly is: a powerful, multi-talented styling instrument. Embrace the learning curve, be patient with your first attempts, and celebrate the freedom that comes with this new technique. Your tool kit just got a lot smaller, and your hairstyle repertoire just got infinitely bigger.