Foam Hacks for Big Hair Volume Without Heat
Hey friend. Let’s talk about that universal hair dream: big, beautiful volume. The kind that makes you feel like you can conquer the day. But between the flat iron, the curling wand, and the blow dryer, it feels like we’re constantly choosing between our hair’s health and that perfect lift.
What if I told you the secret weapon is already in your shower caddy? I’m talking about mousse. That old-school foam is having a major moment, and it’s the absolute key to heat-free volume that lasts all day.
This isn’t about sticky, crunchy hair. It’s about lightweight, root-lifting magic. I’ve spent months testing every trick in the book with my team, and we’ve cracked the code. Get ready to put that heat tool down for good.
Your biggest, bounciest, healthiest hair day is just a few simple hacks away. Let’s dive in.
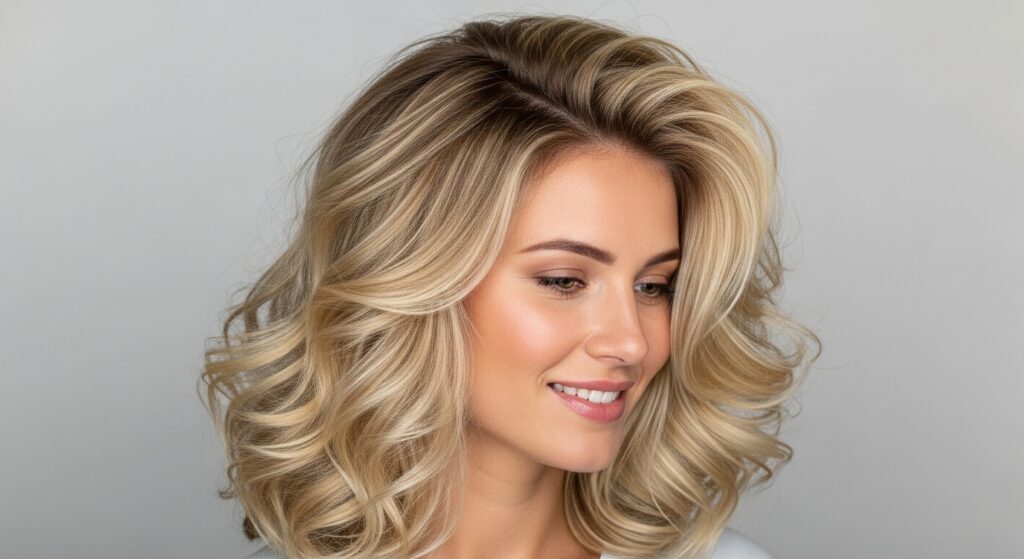
Why Foam is Your New Volume BFF
Mousse gets a bad rap. People think of 80s helmet hair. But modern formulas are totally different. They’re lightweight, hydrating, and packed with flexible hold.
Think of foam as architecture for your hair. It builds a gentle, supportive structure at the root without weighing strands down. Unlike sprays that can be spotty, mousse distributes evenly, coating each hair for consistent lift and body from root to tip.
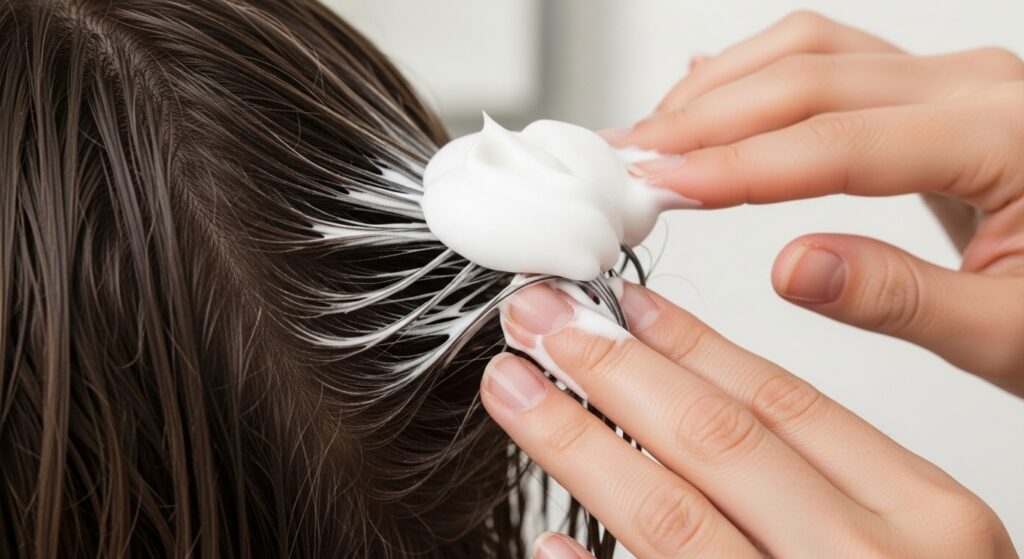
The Golden Rule: Apply to Soaking Wet Hair
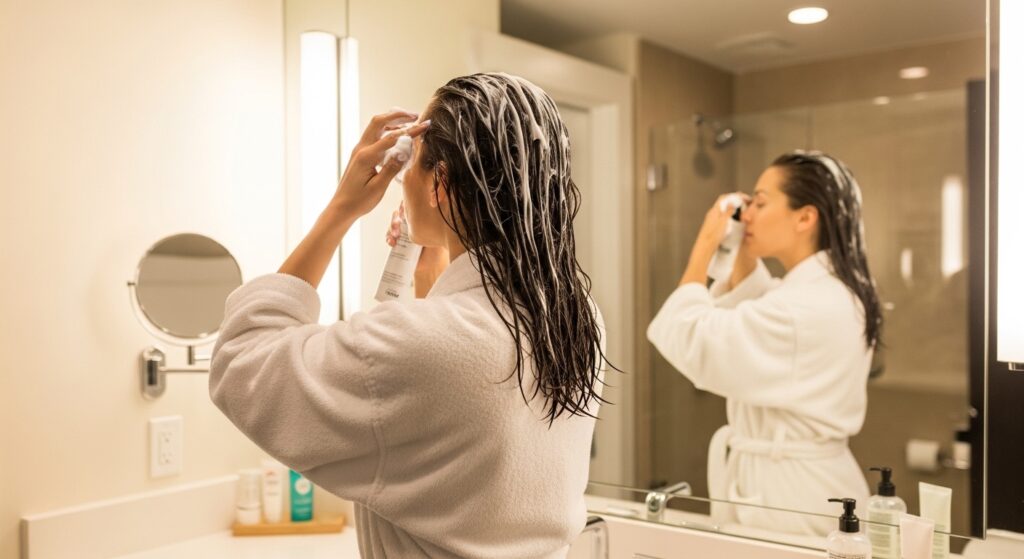
This is the most important step. Your hair should be dripping. This allows the product to spread evenly before your hair starts to form its natural drying pattern.
If you apply to towel-dried hair, the product will sit on the surface and can cause stickiness. Soaking wet hair dilutes the mousse just enough for perfect, seamless distribution. It’s the foundation for every hack that follows.
Pump & Pray: Getting the Amount Right

More is not always better. For thick, long hair, start with a golf ball size. For fine or short hair, a lime-sized amount is perfect. You can always add a little more later if needed.
Pump the mousse into your palm. Rub your hands together briefly to warm and activate it. Then, you’re ready for application. This ensures you don’t glop it all in one spot.
The Root Rake Technique for Instant Lift
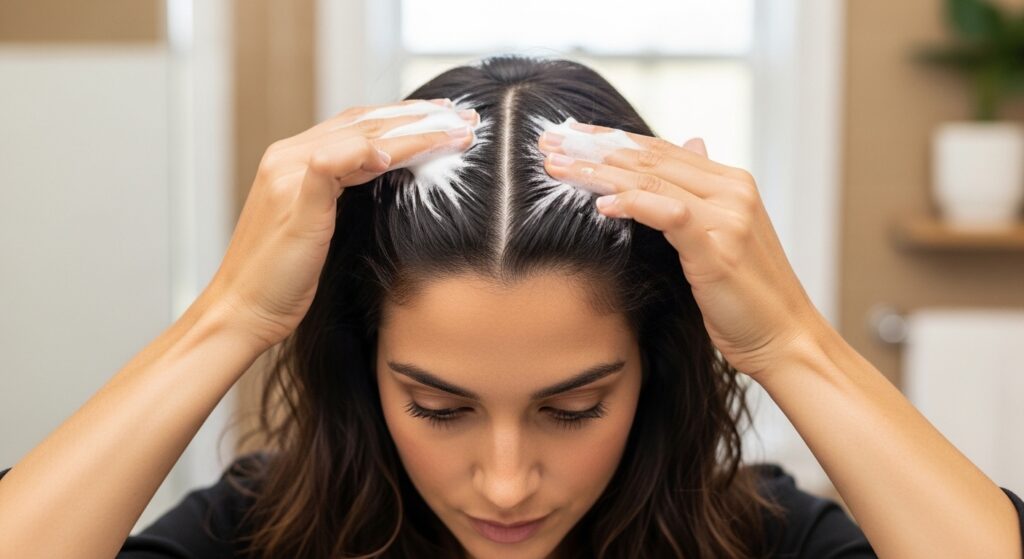
After applying generally, go back for strategic volume. Flip your head over. Take a second, smaller amount of mousse and focus it directly on your roots at the crown.
Use your fingertips to really rake and massage the product into the root area. This creates a concentrated layer of support right where you need the most lift. It’s a game-changer for fine hair.
Precision Parting for That “Old Money Hair” Look
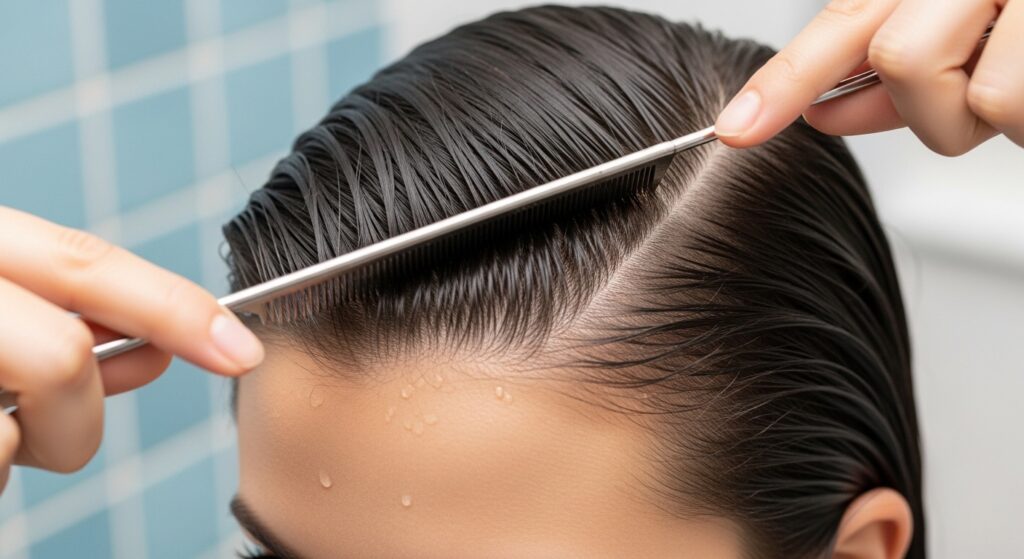
That sleek, polished volume seen in old money hair aesthetics starts with a perfect part. Before you dry or style, use a comb to set your part with the mousse already in.
This trains your hair to dry in the direction you want, with volume built right into the foundation. It makes styling a quiet luxury bob or any polished look infinitely easier later.
Micro-Towel Dry, Don’t Roughhouse

Resist the urge to scrub your hair with a towel! That creates frizz and breaks the supportive foam structure you just built. Instead, use a soft microfiber towel or an old cotton t-shirt.
Gently squeeze sections of your hair from the ends upward, soaking up excess water without disturbing the roots. Your goal is just to get it from dripping to very damp.
The Upside-Down Initial Dry
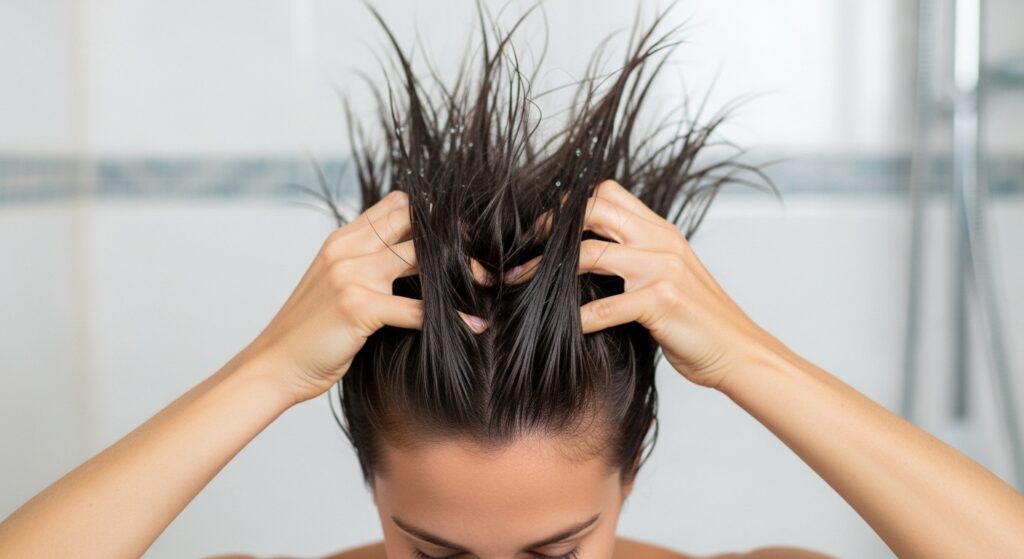
For the first few minutes of air drying or before you blow-dry, keep your head flipped upside down. Gently shake your roots with your fingers.
This lets air circulate at the scalp and encourages the hair to dry away from your head, locking in that root lift. It’s the simplest trick for automatic volume.
Clip It Up at the Roots
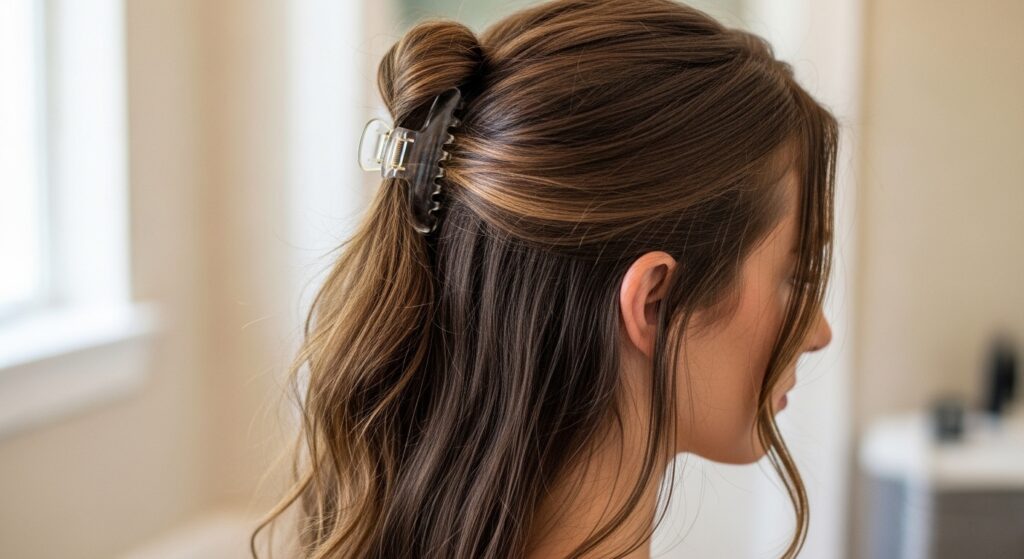
Once your hair is about 70% dry, take a section at the crown. Gently backcomb it at the root with your fingers just once for texture. Then, clip it up and out of the way with a jaw clip.
Let the rest of your hair finish drying. This gives you that coveted rounded, voluminous shape at the crown, perfect for 2026 hairstyles that focus on height and movement.
Air-Dry Magic for Natural Texture

If you’re air-drying, don’t touch it! Let the mousse do its work. As your hair dries, the foam will define your natural wave or curl pattern while keeping volume intact.
You’ll get effortless, touchable body that feels completely natural. This is a great base for more lived-in styles like the asymmetrical lob or soft romantic goth hairstyles.
Cool Shot for Blow-Dry Perfection
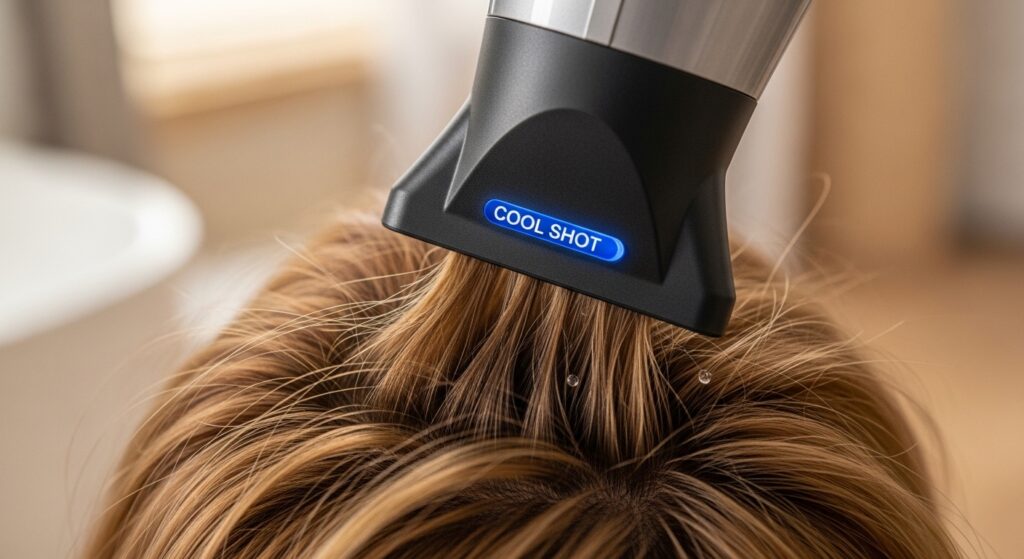
If you do blow-dry, always end with the cool shot. After drying a section with heat, hit the cool air button and blast the roots for 10-15 seconds.
This cools and sets the hair cuticle, locking the volume in place. It makes your style last hours longer and adds incredible shine.
Create a “Vampire Haircut” Texture

The iconic vampire haircut is all about textured, piecey volume. Once your hair is 100% dry from mousse, take a tiny drop of pomade or wax on your fingers.
Rub your hands together and then gently pinch and separate random strands, focusing on the ends and mid-lengths. This breaks up the mousse’s uniform hold for an edgy, lived-in feel.
Boost a “Hime Cut” or Blunt Bangs
Structured cuts like the hime cut rely on strong shape. Apply mousse as usual, but pay extra attention to the roots around your bangs and the crown.
When drying, direct the hair away from the face to build height. This maintains the graphic, dramatic silhouette of the cut without any heat-induced flattening.
Refresh Day-Two Hair in Seconds
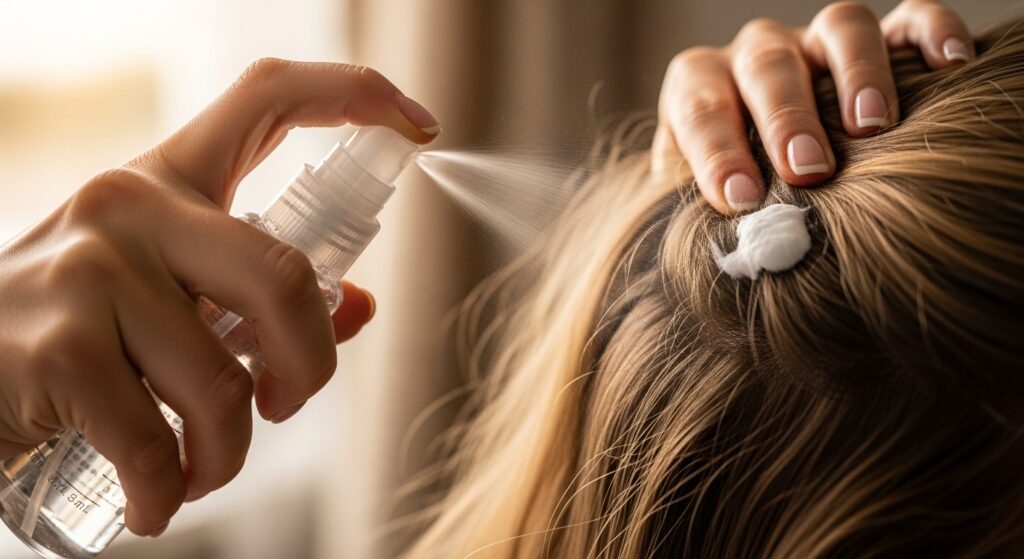
Don’t wash it! Mix a quarter-sized amount of mousse with water in a spray bottle. Shake well. The next morning, flip your hair over and lightly mist the roots.
Scrunch gently and let it air dry or blow-dry on cool for a minute. It reactivates the product for a full day of fresh volume, no shampoo needed.
Sleep Protection to Keep Volume Overnight
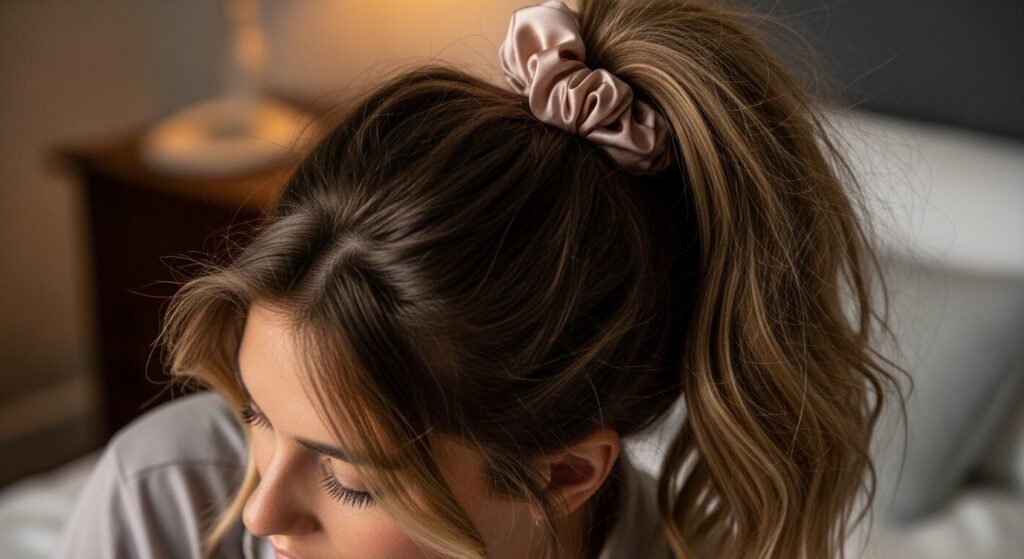
Preserve your hard work. Before bed, gather your hair into a very loose, high ponytail on top of your head using a silk scrunchie—a “pineapple.”
Alternatively, try a loose braid. This prevents you from crushing the volume at the roots while you sleep. Silk pillowcases also help reduce friction.
Add “Glitchy Glam Hair” Pieceyness
For that intentionally mismatched, glitchy glam hair vibe, use mousse to create a smooth, voluminous base. Once dry, take a fine-tooth comb and gently tease just the very ends of small, random sections.
This creates a disheveled, piecey effect that contrasts beautifully with the polished volume at your roots. It’s controlled chaos.
Volumize Fine, Thin Hair Without Flattening
Fine hair needs a careful touch. Choose a mousse labeled “volumizing” but also “lightweight” or “fine hair.” Avoid heavy moisturizing formulas. The root-raking technique is your best friend.
Consider applying just to the roots, skipping the ends if they weigh down easily. The goal is lift at the scalp, which makes all your hair look thicker overall.
Define Curls & Waves, Not Frizz

For wavy or curly hair, scrunch the mousse into soaking wet hair from ends to roots. Don’t rake through. Then, don’t touch it until it’s completely dry.
This allows the foam to form a light, flexible cast around your curl clumps, defining them and enhancing their natural volume while blocking humidity and frizz.
The Perfect Base for Updos & Braids
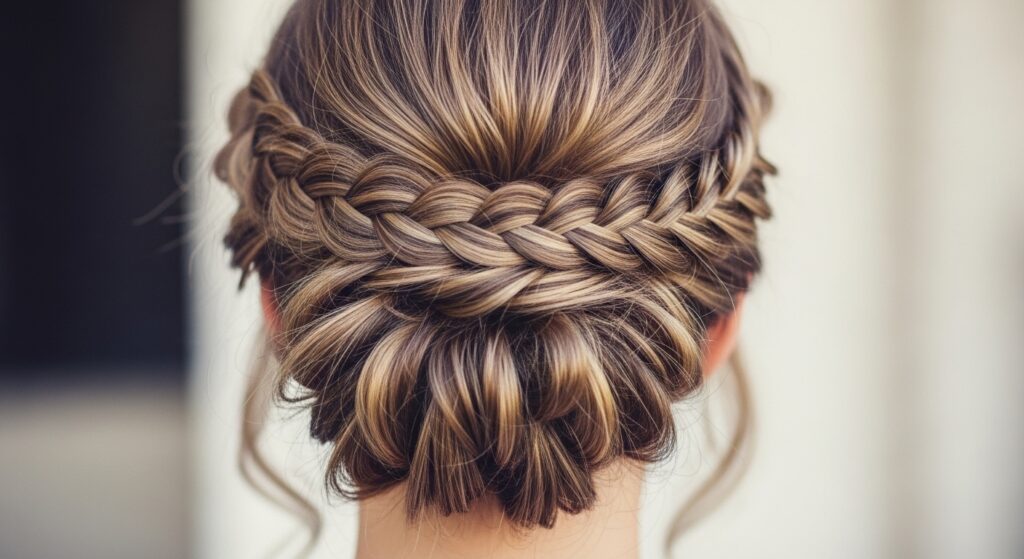
Mousse is the secret to soft, full updos. It gives your hair gentle grit and hold, so braids look thicker and buns don’t slip. Styles last longer but are still easy to take down without major tangles.
Apply to damp hair, dry as usual, and then style. You’ll have way more texture to work with, making even simple styles look more professional and polished.
Mix With a Light Oil for Shinier Volume
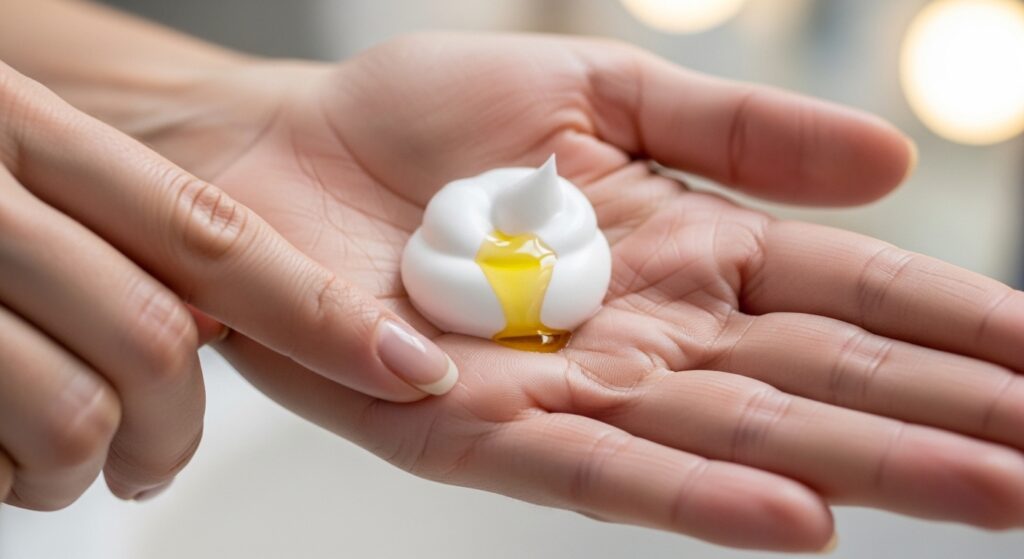
If you fear dryness, mix your palm-sized amount of mousse with ONE single drop of lightweight hair oil (like argan or marula). Rub your hands together to combine.
Then apply as normal. This tiny bit of oil adds shine and softness without compromising the volumizing power of the foam. It’s perfect for drier hair types.
Travel Hack: The Mini Can is Mighty
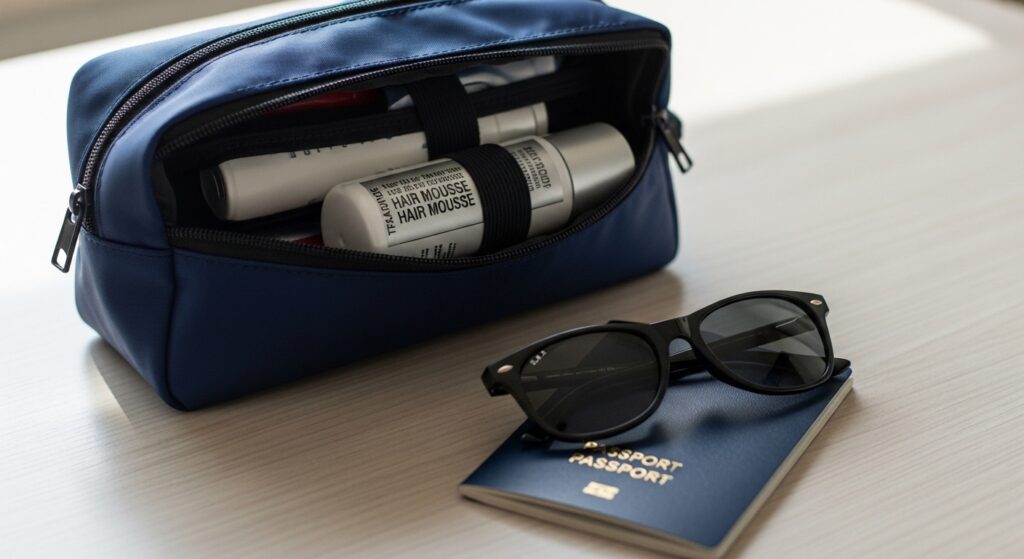
Never skip volume on vacation. A travel-sized mousse can is your best packing buddy. It works as styler, refresher, and texture spray all in one.
You can use it on damp hair for full style, or on dry hair to revive second-day waves and lift. It saves so much space compared to packing multiple heat tools.
Your Quick-Start Routine Recap
- Start with hair dripping wet.
- Pump a golf ball (for thick hair) or lime (for fine hair) amount of mousse into hands.
- Apply evenly through hair, then flip head and rake extra into roots.
- Comb to set your part.
- Gently micro-towel dry.
- Dry upside down, then clip roots for final dry.
- Once dry, break the cast with a light tousle.
And just like that, you’ve got a whole new set of tools in your back pocket. Big, beautiful, healthy volume isn’t about having the right genes—it’s about having the right technique. And honestly, nailing a great hair day with something as simple as mousse just feels like a personal win.
I want you to try just one of these hacks tomorrow. See how it feels to get that lift without the sizzle. Your hair will thank you with more bounce, more shine, and way less breakage over time. That’s the real goal, right? Looking amazing while treating your hair with kindness.
Save this post to Pinterest so you always have these tricks handy! Did you try a hack? Tell me in the comments which one gave you the best lift—I read every single one.