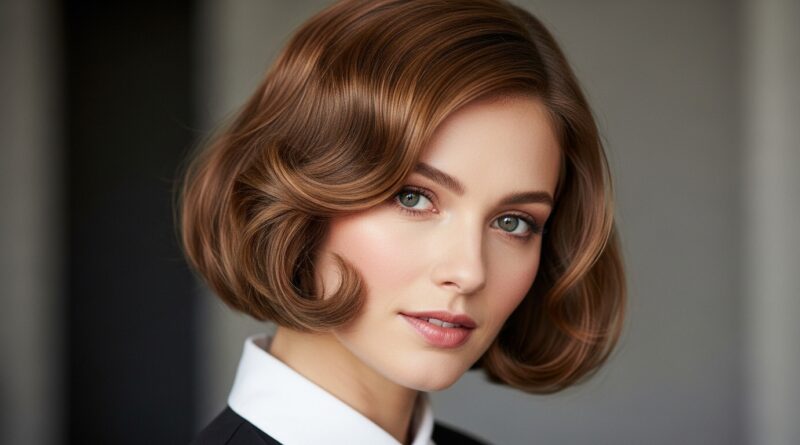
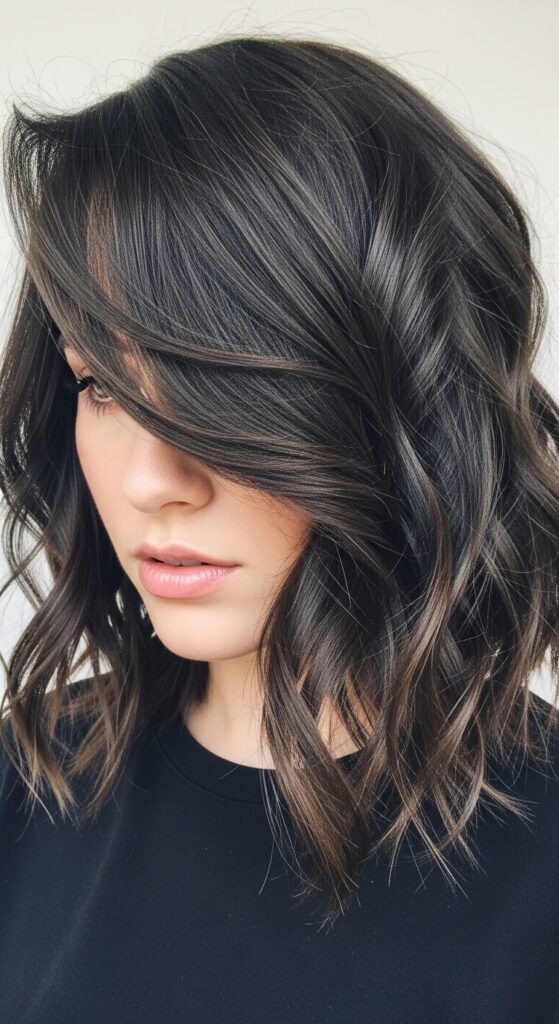
French 12 Tuck and Pin Waves Loose for Parisian Ease
Okay, let’s be real. We’ve all seen those impossibly chic Parisian women, right? Their hair looks like they just rolled out of bed, threw it up with a pencil, and somehow achieved a level of elegance we spend hours chasing. It’s that perfect “I woke up like this” wave, but with intention.
I used to think it was magic. Or just really, really good genes. But after my last trip to Paris (and some serious, slightly creepy people-watching at cafes), I realized it’s a specific technique. It’s called the French Tuck and Pin, and it’s the secret to that undone, romantic wave.
And the best part? It’s loose, easy, and works on almost any hair length. It’s the ultimate in “quiet luxury” hair—effortless but polished. Forget the overdone styles; this is for real life. Let me break down exactly how to get those perfectly imperfect Parisian waves, the 12-pin method that changes everything.
What Is The French Tuck and Pin Method?
At its heart, this isn’t a tight, formal updo. It’s the opposite. The French Tuck and Pin is a styling technique where you loosely gather sections of hair, twist or tuck them, and secure them with bobby pins—not to hold tightly, but to create a beautiful, lasting wave pattern as the hair sets.
You do this in multiple sections (we’ll use 12 pins as our guide) all over your head. Once you take the pins out, you’re left with soft, lived-in waves that have incredible volume and movement. It’s the foundation of that “old money hair” vibe—understated and incredibly chic.
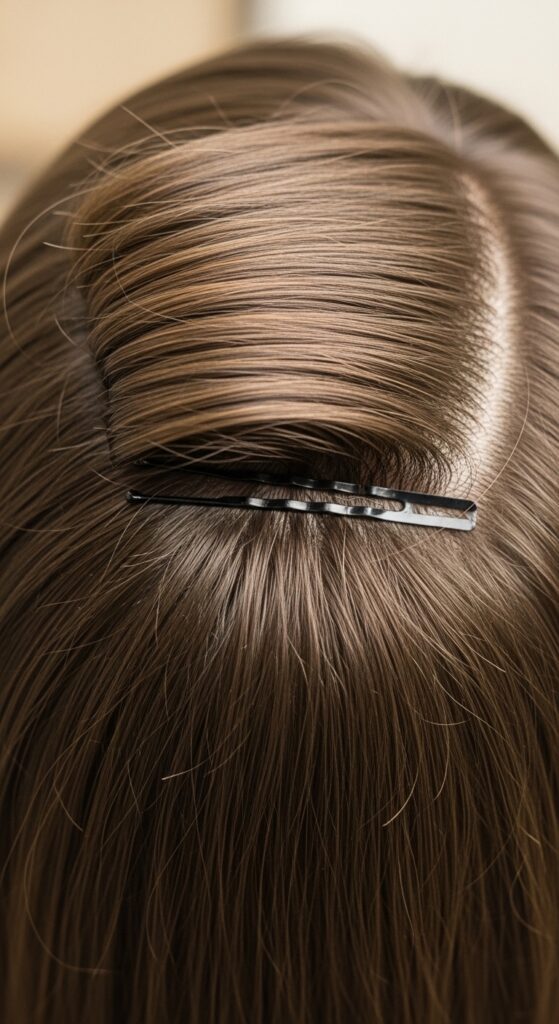
Why 12 Pins? The Magic Number for Volume
You might wonder why not just 6 or 8 pins. Using 12 pins allows you to create a more uniform wave pattern throughout your entire head, from the crown to the nape of your neck. It gives you control over the wave size and ensures every section gets the love it needs.
More pins mean smaller, more manageable sections. This translates to better hold, more root lift, and waves that last all day and into the night. It’s the difference between a few random bends and a full head of romantic, Parisian texture.
Tools You’ll Need (It’s Surprisingly Simple)
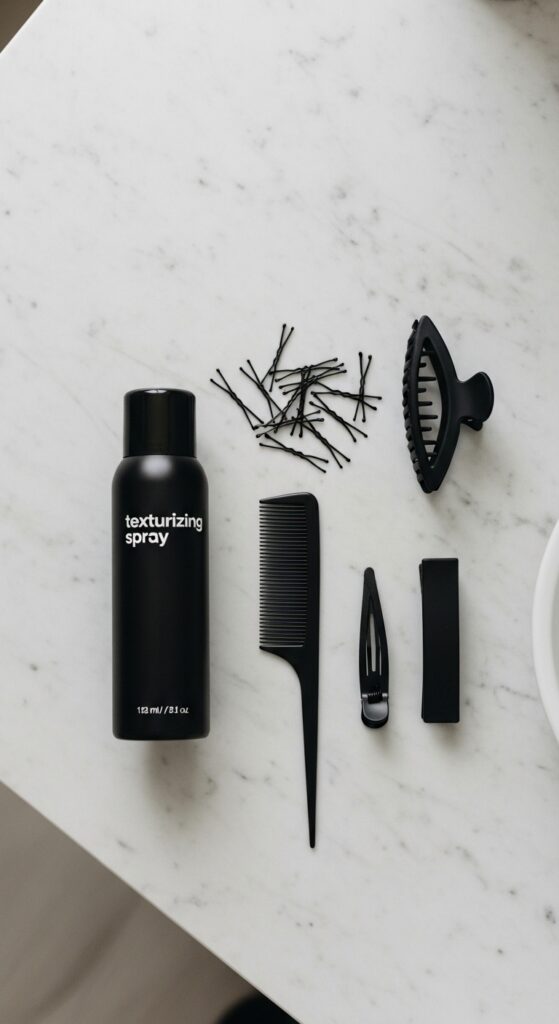
You don’t need a salon full of products. The simplicity is key. Here’s your toolkit:
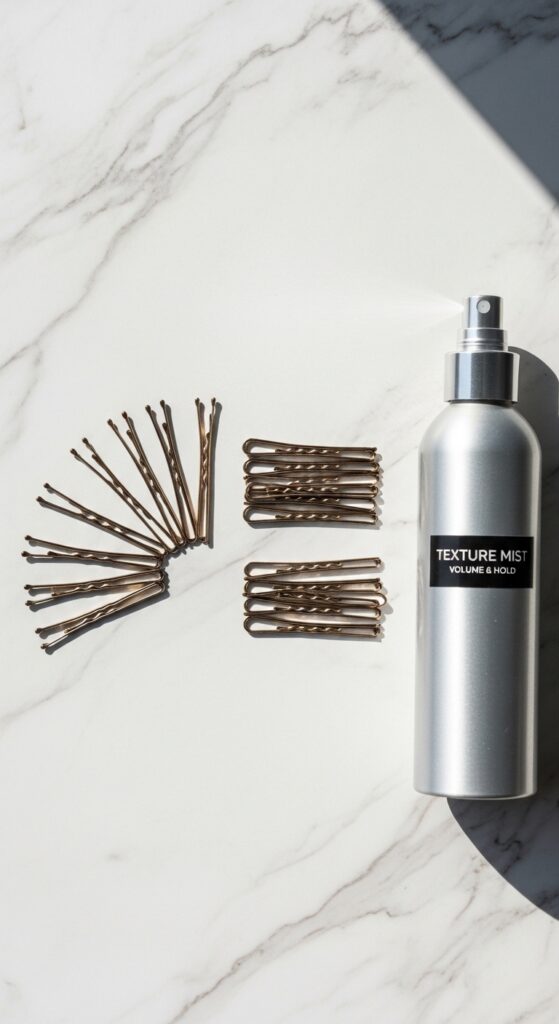
- 20-24 Bobby Pins: Always have extras. The matte, textured ones grip better.
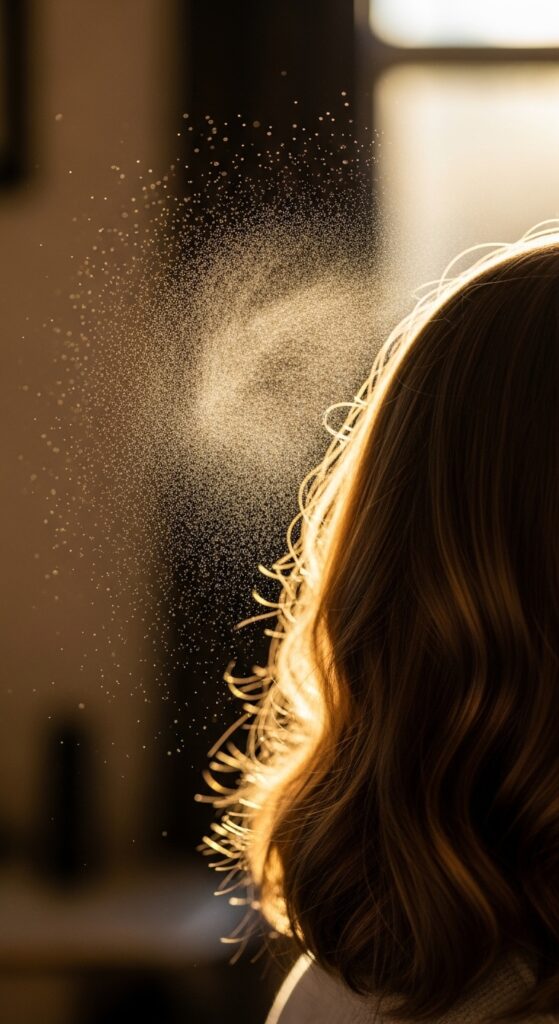
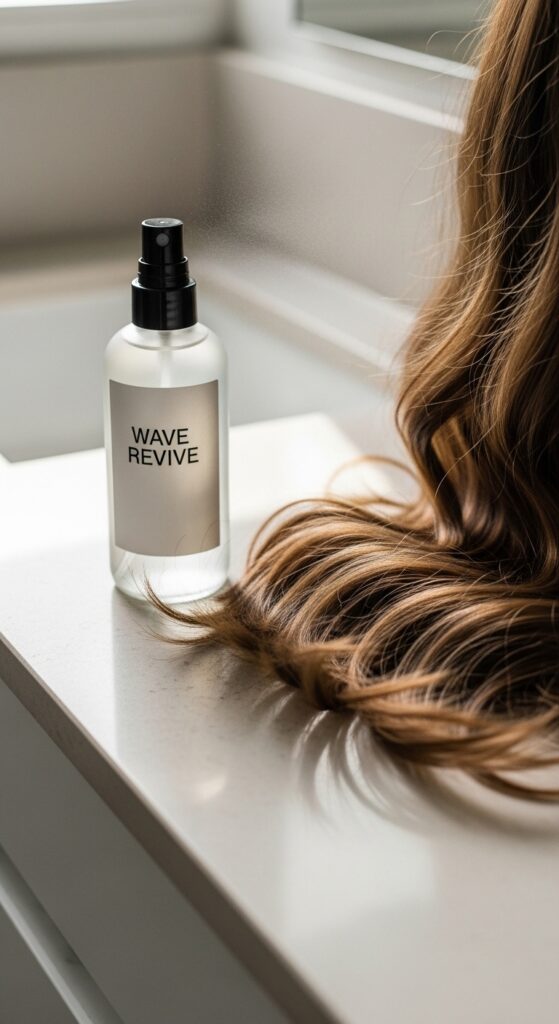
- Texturizing Spray or Mousse: This is non-negotiable for grip and wave memory.
- Fine-Tooth Comb or Tail Comb: For clean, precise sections.
- Light-Hold Hairspray: For setting without crunch.
- Hair Clips: To section hair while you work.
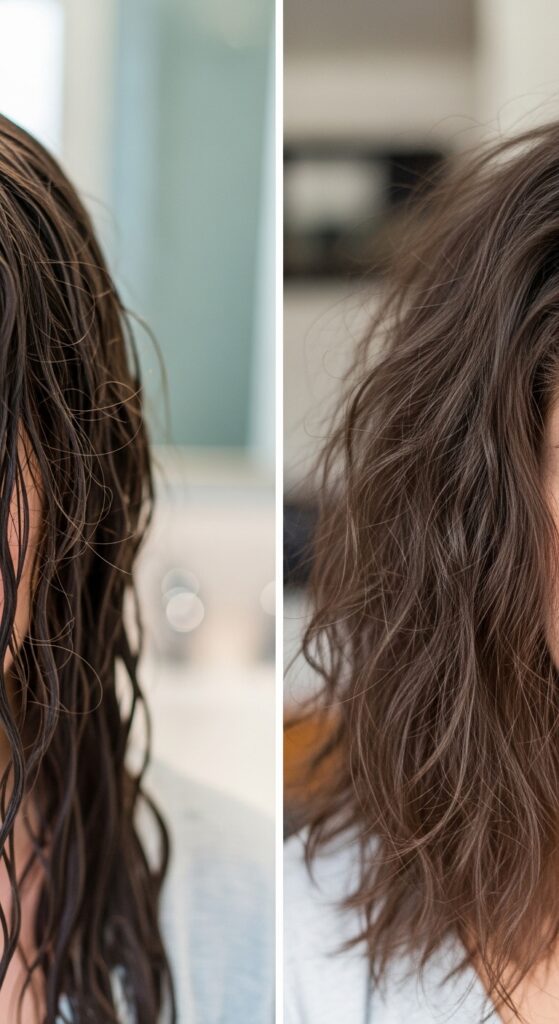
The Perfect Hair Prep: Clean vs. Day-Old Hair
This style works on both freshly washed and day-two hair, but they give different results. On clean, towel-dried hair, you’ll get more defined, uniform waves. Apply your mousse or spray from roots to ends before you start pinning.
On day-old hair, you’re building on existing texture for a more undone, piecey look. Simply spritz sections with a texturizing spray as you go to add grip and refresh the shape. This is my go-to for that “lived-in” feel that’s so Parisian.
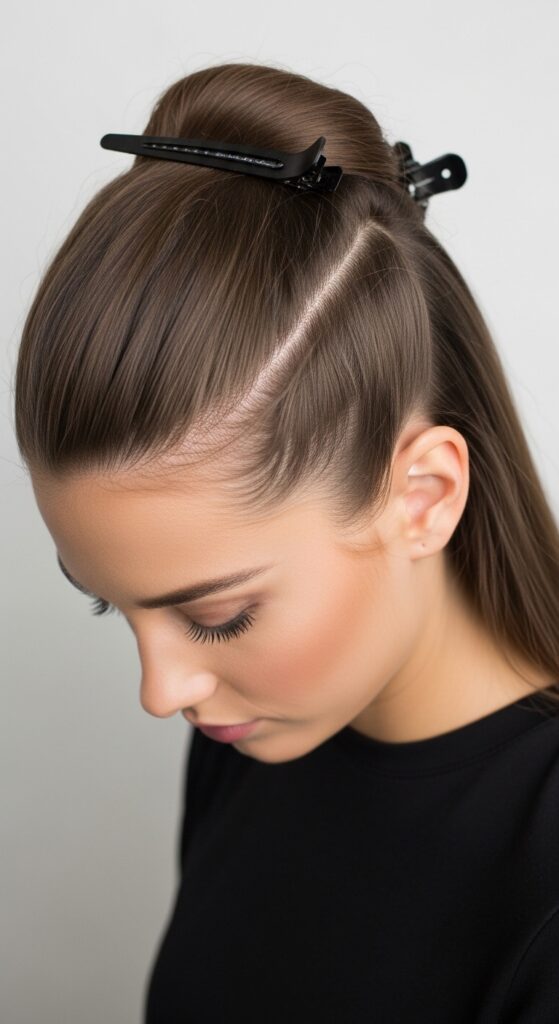
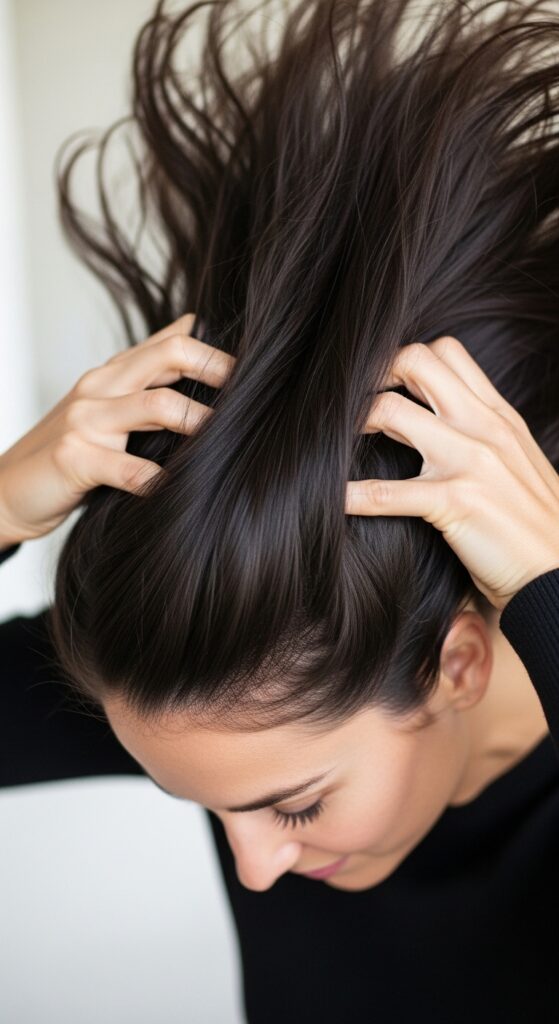
Sectioning Your Hair: The First Crucial Step
Don’t just start pinning randomly. Sectioning is what makes this method foolproof. Start by parting your hair as you normally wear it. Then, using your comb, create a part from ear to ear across the crown. Clip the top section up.
You now have two main sections: the top and the bottom. We’ll work from the bottom up. This keeps everything organized and ensures you don’t miss a spot. Trust me, this simple step saves so much frustration.
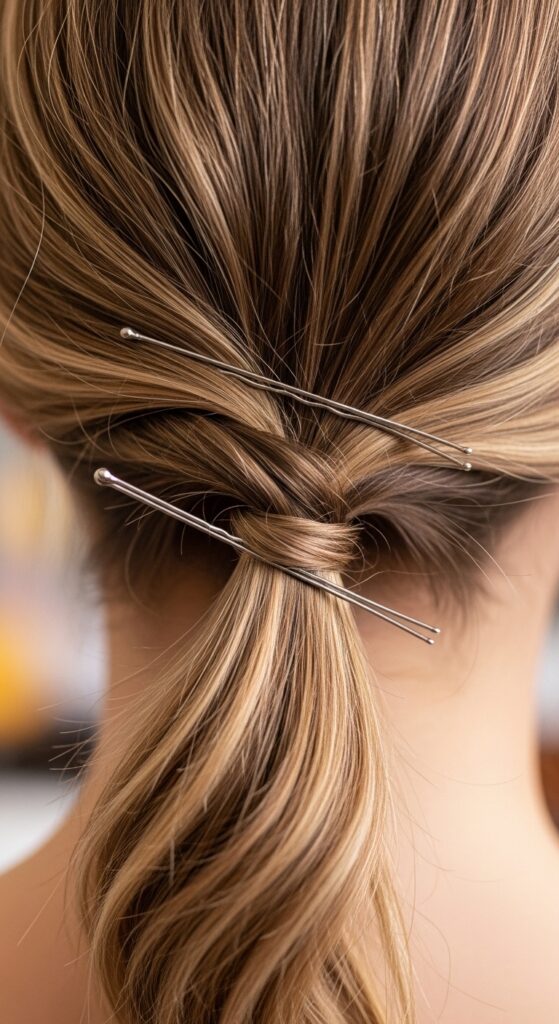
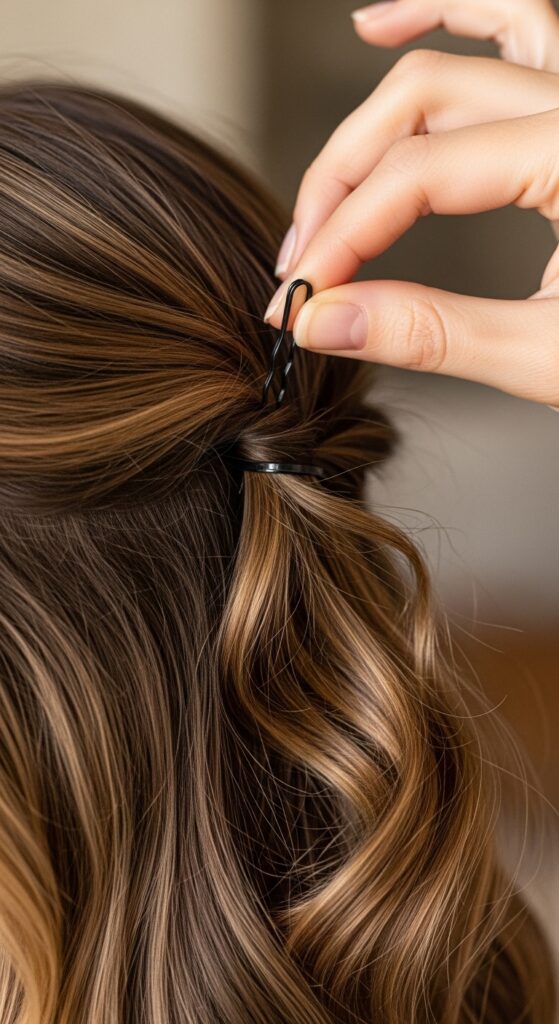
Starting at the Nape: Pin 1 & 2
Unclip a small, horizontal section at the very bottom of your hair, near your neck. This is your first pinning zone. Take a 1-2 inch wide section. Spritz with texturizing spray.
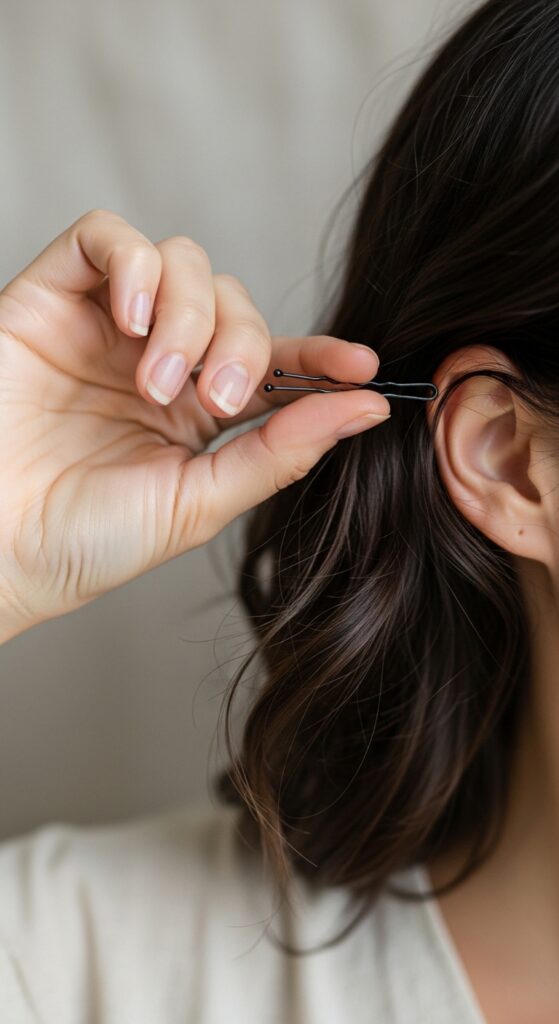
Gently twist the section away from your face just once or twice—no tight curls! Loosely tuck the twist upward against your head and secure it with a bobby pin, pushing the pin in the opposite direction of the twist for hold. Repeat right next to it for Pin 2.
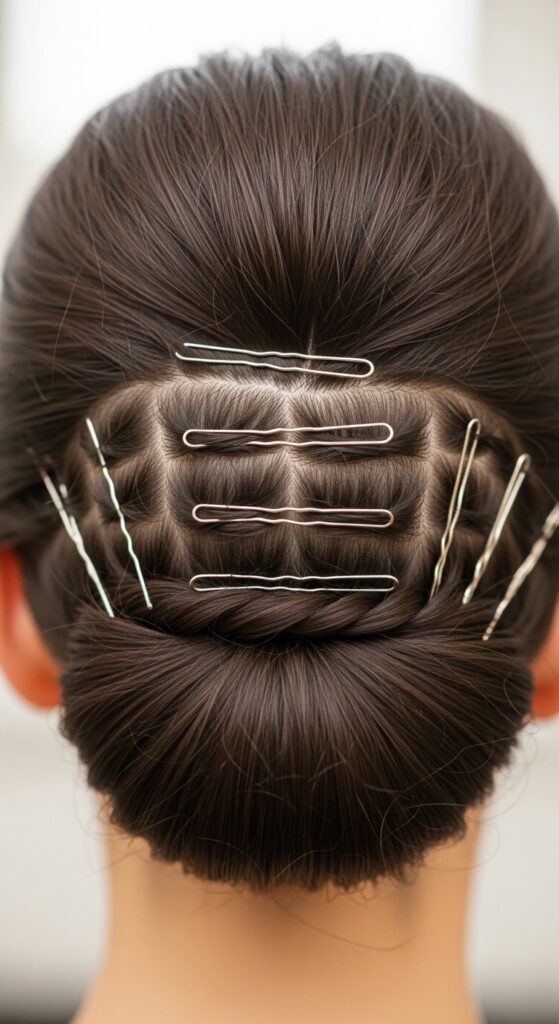
Building the Base Layer: Pins 3, 4, 5 & 6
Move up to the next horizontal section in your lower half. Working side-to-side, take similar small sections. The goal is to create a staggered, brickwork pattern with your pins for natural-looking waves.
For each pin, remember: twist loosely, tuck upward, and pin securely. This base layer is the foundation for your volume. Don’t rush it. Once this lower half is done with 6 total pins, you’ll already feel the lift.
Releasing the Top Section: Pins 7 & 8
Unclip the top section of your hair. We’ll start at the back of this top portion, right above your ears. Follow the same process. These pins help blend the wave pattern from the bottom layer to the top for seamless volume.
This is where the magic of the 12-pin method really shows. By pinning the underlayers first, you create a “shelf” of support for the hair on top, giving you that coveted, non-teased volume that feels very “quiet luxury bob,” even if you have long hair.

Crowning Glory: Pins 9 & 10 for Lift
Now, move to the crown area. This is critical for avoiding flatness. Take a section at the very top of your head. Spritz, twist loosely away from your face, and when you tuck and pin, direct it slightly backward for lift at the crown.
The pin here should feel secure but not tight against your scalp. You want height, not a headache. This lift is what gives the entire style its effortless, “just ran my fingers through it” shape.
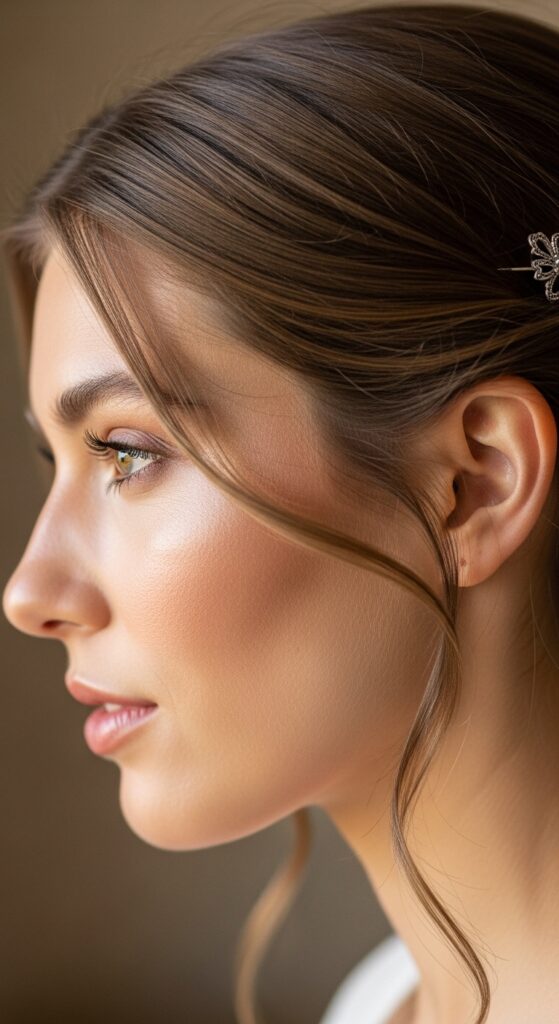
Framing Your Face: The Final Pins 11 & 12
Finally, address the front. Take a face-framing section on each side. For a soft look, twist these sections back and away from your face, pinning them just behind your ears.
This gently pulls the hair back for that elegant, off-the-face look while leaving some soft pieces free. It’s the perfect finish that makes the style feel intentional, not messy. It works beautifully with trends like the asymmetrical lob or even a hime cut.
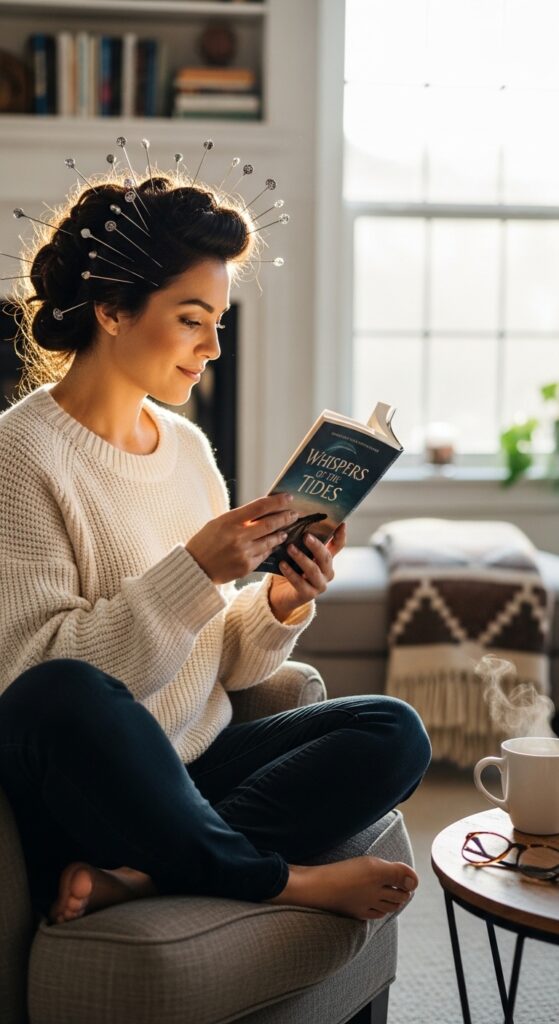
How Long to Leave the Pins In
Timing depends on your hair. If your hair is damp when pinned, you need to let it dry completely. Use a blow dryer on a cool, low setting to speed this up while protecting your wave.
If you’re working with dry hair, 20-30 minutes is often enough for the wave to set, especially if you used a texturizing product. For the most set, you can even sleep in them (use silk pillowcases!).
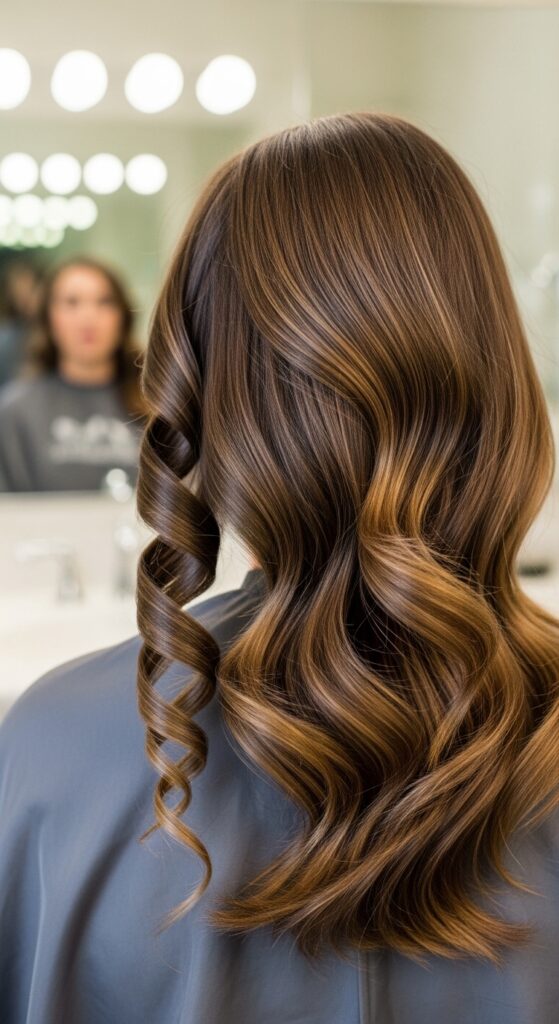
The Big Reveal: Taking Pins Out Correctly
This part is exciting! Don’t just yank. Gently remove each pin, starting from the bottom layers and working up to the top. As you remove each pin, let the hair fall naturally—don’t shake it out yet.
Once all pins are out, you might look a bit wild. That’s totally normal and expected. You’ll have distinct, zig-zaggy waves. The next step is to soften them into that perfect Parisian ease.
Shaking It Out: Creating the “Loose” Vibe
Now, flip your head over. Gently shake your roots with your fingertips to break up any too-perfect sections and add volume. Flip back up.
Use your fingers, not a brush, to gently separate and tousle the waves. Run your fingers through the lengths, softening the twists. The goal is to destroy the uniform pattern just enough to look natural.
Finishing Touches: The Secret to Lasting Hold
Once you’ve achieved your ideal loose wave, lock it in. Hold a light-hold hairspray about 10 inches away from your head and give it one quick, all-over mist. This sets without making hair crispy.
For extra piecey texture, put a tiny drop of hair oil or pomade on your fingertips and lightly smooth over the very ends of your waves. This adds a touch of separation and a healthy shine.
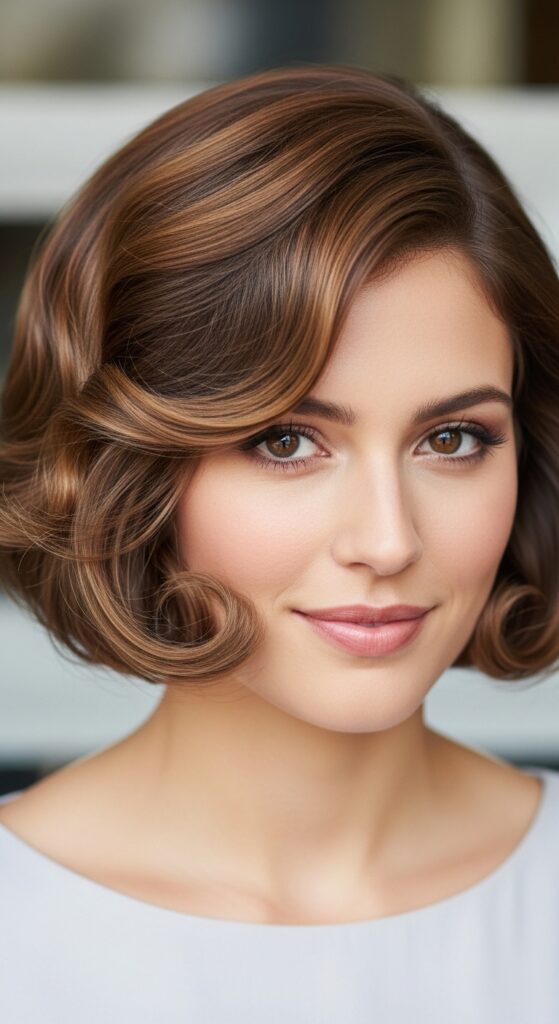
Adapting for Short Hair: Bobs and Lobs
Have a quiet luxury bob or an asymmetrical lob? This method still works! Use smaller sections and shorter twists. Pin the ends upward to create wave and volume throughout the length, not just at the ends.
The result is a beautifully textured, piecey bob with incredible body. It keeps short hair from looking flat or helmet-like, giving it that modern, artistic edge that feels fresh for 2026 hairstyles.
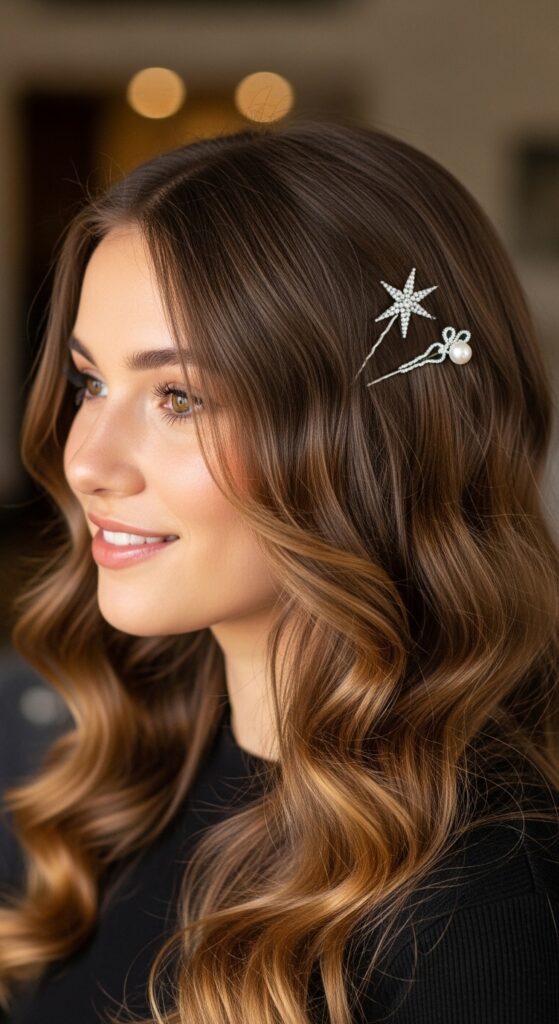
Night-Out Upgrade: From Day to Glitchy Glam
This base is perfect for an evening look. For a touch of glitchy glam hair, take a few face-framing pieces and define them with a small-barrel curling iron, twisting in alternating directions.
Or, add a few sparkly pins or a sleek clip beside your original pin points. The contrast of the undone waves with a single, intentional accessory is stunning. It’s an easy twist on the old money hair aesthetic.
The Romantic Goth & Vampire Haircut Twist
If your vibe leans toward romantic goth hairstyles or you rock a vampire haircut with sharp layers, this technique is your best friend. It adds the perfect amount of romantic, soft texture to contrast with edgy cuts.
After shaking out your waves, use a strong-hold spray to define and slightly dampen the ends for a more dramatic, piecey look. Pair with deep side parts for extra drama.
Making It Last: Next-Day Refresh Tips
The beauty of this wave is its longevity. On day two, simply spritz a mix of water and a bit of conditioner in a spray bottle onto your waves. Scrunch gently.
If sections have fallen, you can re-pin a few key areas (like the crown) for 10 minutes while you get ready. It’s the ultimate low-maintenance, high-style technique.
Common Mistakes (And How to Fix Them)
- Too-Tight Twists: Creates corkscrews, not waves. Fix: Twist just once.
- Pins Falling Out: You’re pinning smooth hair. Fix: Always use texturizing spray first.
- Flat Crown: You skipped the crown pins. Fix: Always place 2 pins at the top for lift.
- Waves Too Uniform: You didn’t shake and separate enough. Fix: Use your fingers aggressively!
Why This Beats a Curling Iron Every Time
Heat styling gives a more uniform, polished curl that can sometimes feel dated. This pinning method creates a wave from within your hair’s natural pattern, resulting in volume at the root and a softer, more modern finish.
It’s also healthier. You’re giving your hair a break from heat, reducing damage over time. The waves have a movement and individuality that a tool can’t easily replicate. It looks and feels more authentic.

Your New Go-To, For Real
I promise, once you get the hang of this 12-pin method, it will become your secret weapon. It’s faster than it sounds, especially once you’ve done it two or three times. It works for the grocery store, the office, or a fancy dinner.
It’s that versatile, reliable style that makes you feel put-together without looking like you tried too hard. And isn’t that the goal? To look chic, not stressed.
This method has seriously changed my hair game, especially on those days when I want to feel polished but can’t face hot tools. It gives you that artistic, “I-have-better-things-to-do” texture that feels right now, whether you’re inspired by old money hair or just want a break from your flat iron.
Save this post to Pinterest so you always have the steps handy! And I’d love to know—are you a pinning pro, or is this your first try? Tell me in the comments below if you’re giving this a go this week!
XOXO, Hailey & Team