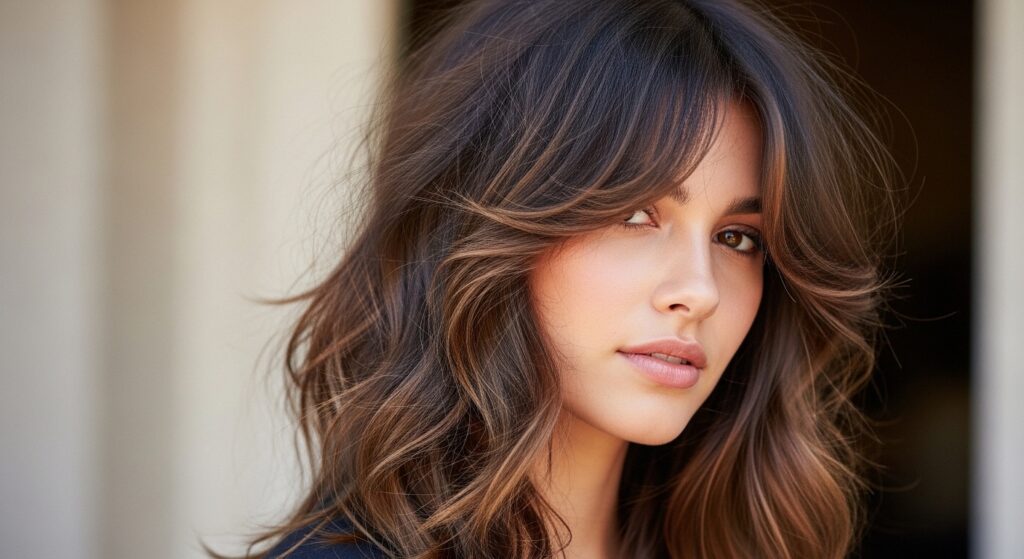
French 20 Girl-Inspired Loose Waves Effortless for Urban Chic
Okay, let’s be real. We’ve all spent hours scrolling through that specific “French girl” aesthetic, right? It looks so effortless, so chic, like they just woke up with perfect, undone waves. But when we try it, it’s either a frizzy mess or falls flat in an hour.
I was there too. I wanted that urban, polished-yet-relaxed vibe without the two-hour routine. After a lot of trial and error (and chatting with my amazing stylist), I finally cracked the code.
This isn’t about strict rules. It’s about a mindset and a few simple techniques that work. Think of it as the “quiet luxury” version of wavy hair—perfect for running errands or a dinner date.
Let me walk you through exactly how I get those French 20-inspired loose waves. It’s easier than you think, and I promise it will become your go-to look.
1. The French 20 Mindset: Effortless is Key

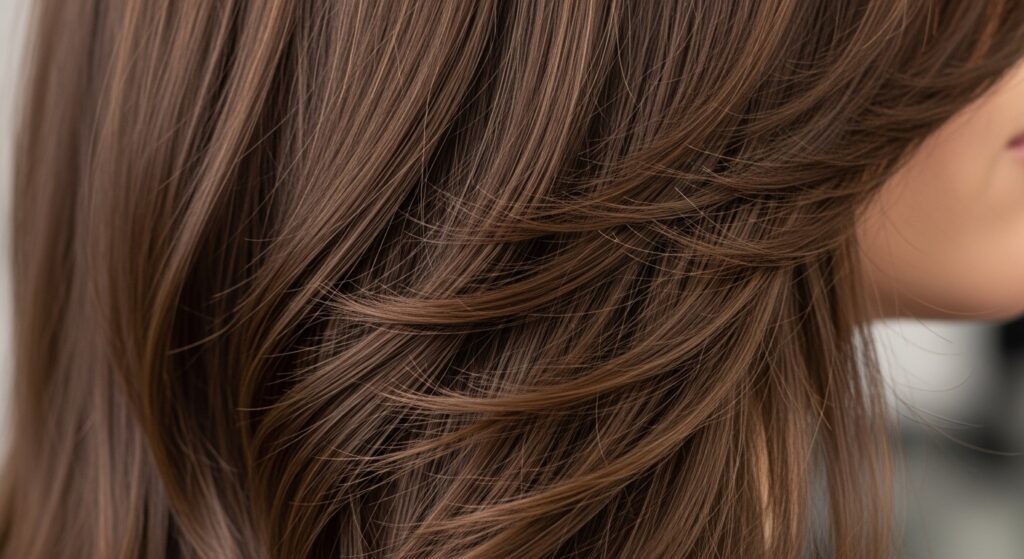
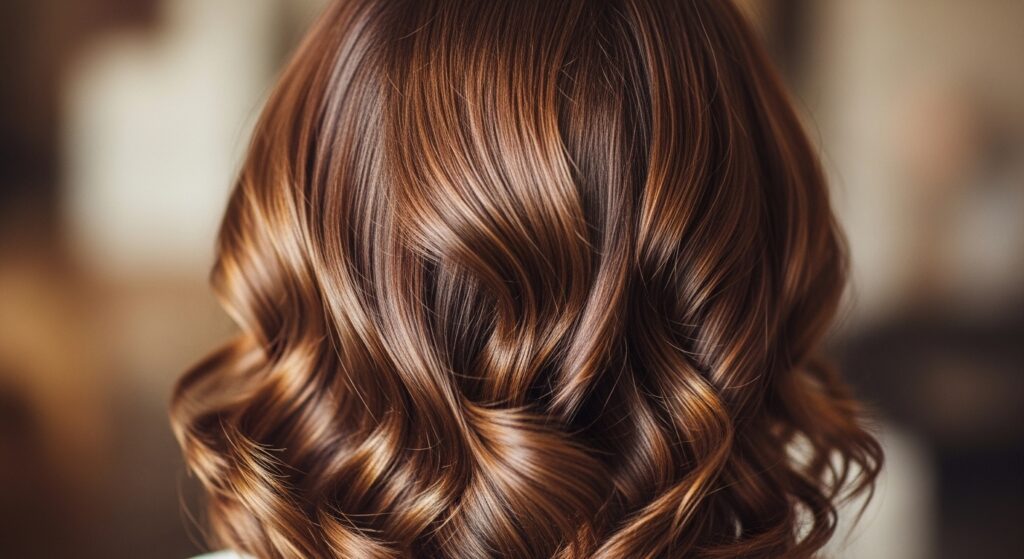
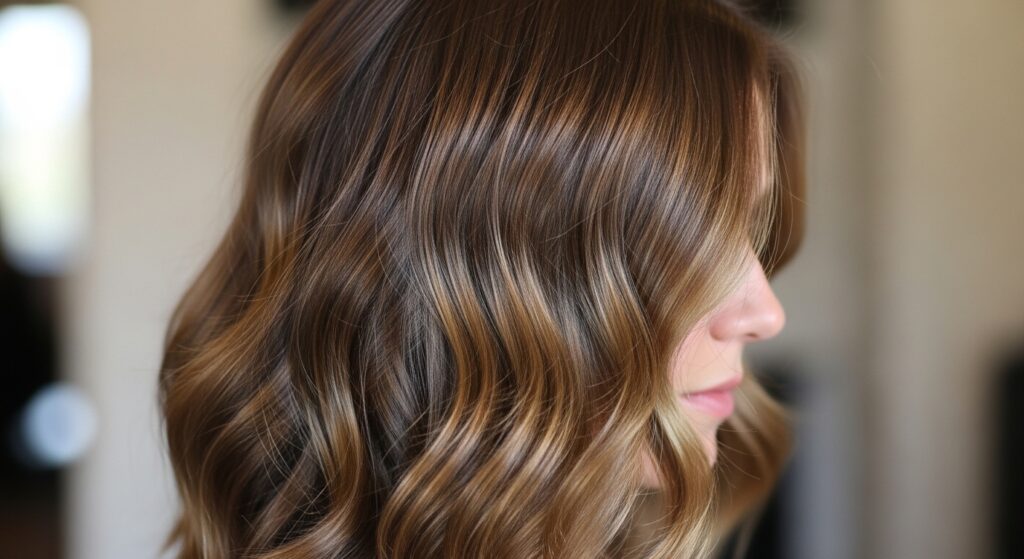
First, let’s ditch the perfectionism. The core of this look is that it looks lived-in and soft. The waves should be romantic and piece-y, not uniform or crispy.
This style is less about a specific curl pattern and more about overall texture and movement. It’s the hair version of a great pair of jeans—reliable, cool, and goes with everything. It fits right in with that “old money hair” vibe of being timeless and low-maintenance.
2. Start With the Right Cut & Texture
Great waves start with a great cut. You need some movement built in! Ask your stylist for long, blended layers. This removes weight and helps the hair bend naturally.
Face-framing pieces are non-negotiable. They soften your features and create that effortless frame. If your hair is very fine or very thick, a light texturizing treatment can work wonders. This is the foundation for all the best 2026 hairstyles—it’s all about customizable texture.
3. The Wash Day Secret: Product Order Matters
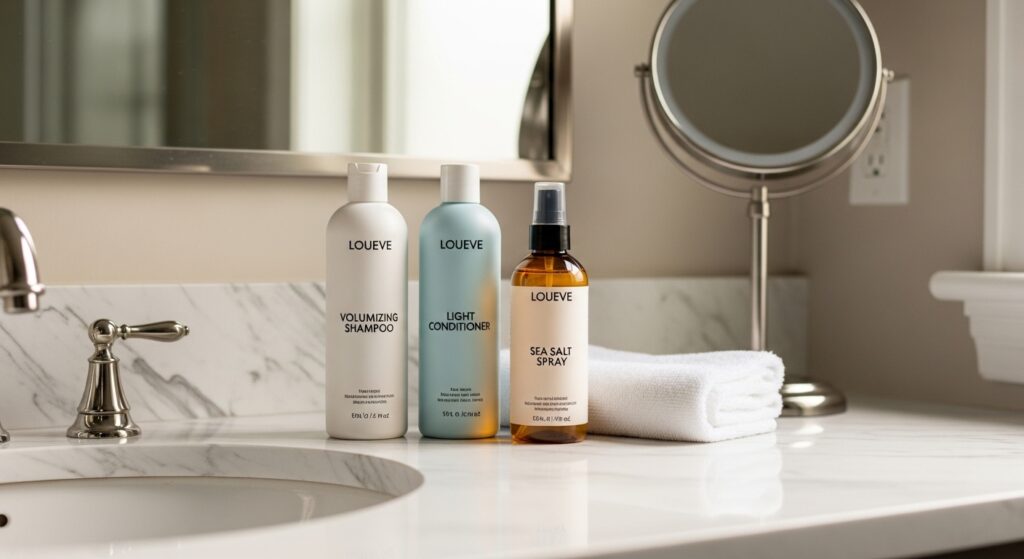
Don’t overcomplicate this. Use a volumizing shampoo and a lightweight conditioner. The goal is body, not weight. After the shower, gently squeeze out water with a microfiber towel.
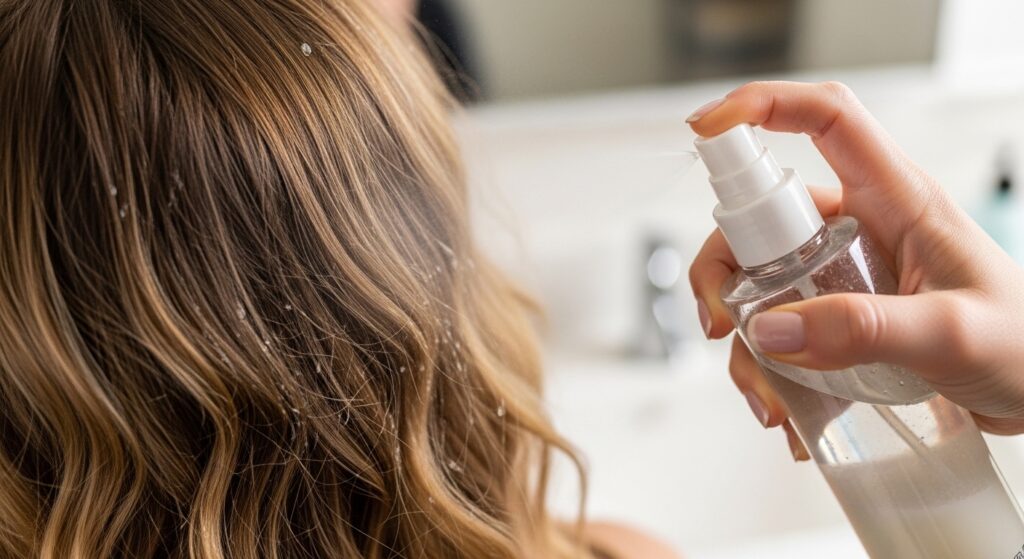
Here’s the game-changer: apply products in this order. First, a heat protectant. Then, a volumizing mousse or root lifter at your crown. Finally, a texturizing spray or cream through the mid-lengths and ends. This layering gives hold without crunch.
4. How to Dry for Maximum Body
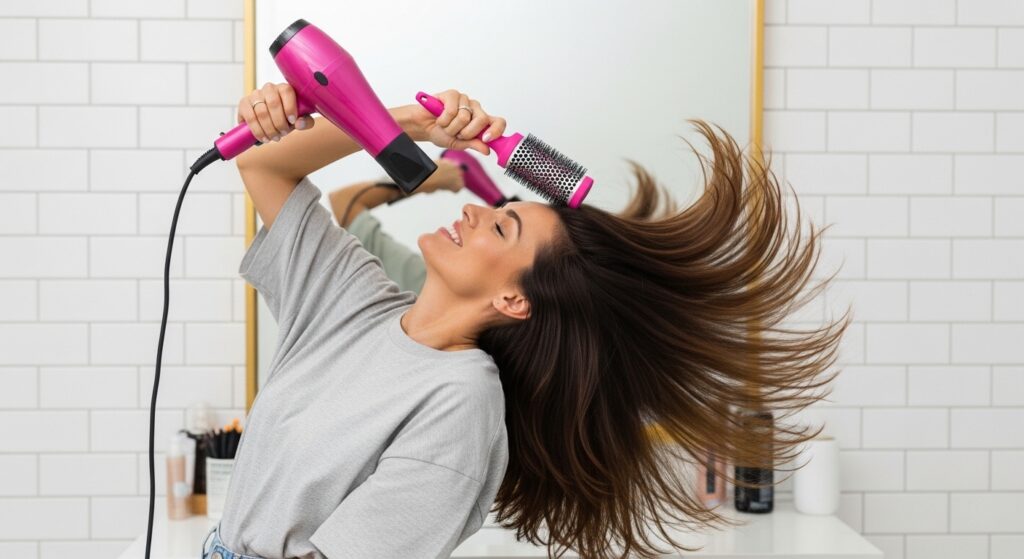
Always, always rough dry your hair about 80-90% dry before using any hot tools. Flip your head upside down and dry the roots first for instant volume. Use your fingers to tousle as you go.
If you have a diffuser, use it on low heat and low speed to gently encourage your natural wave pattern. The key is to stop before it’s bone dry. You want it just slightly damp for the waving step.
5. The Tool You Actually Need: A Large Barrel Iron
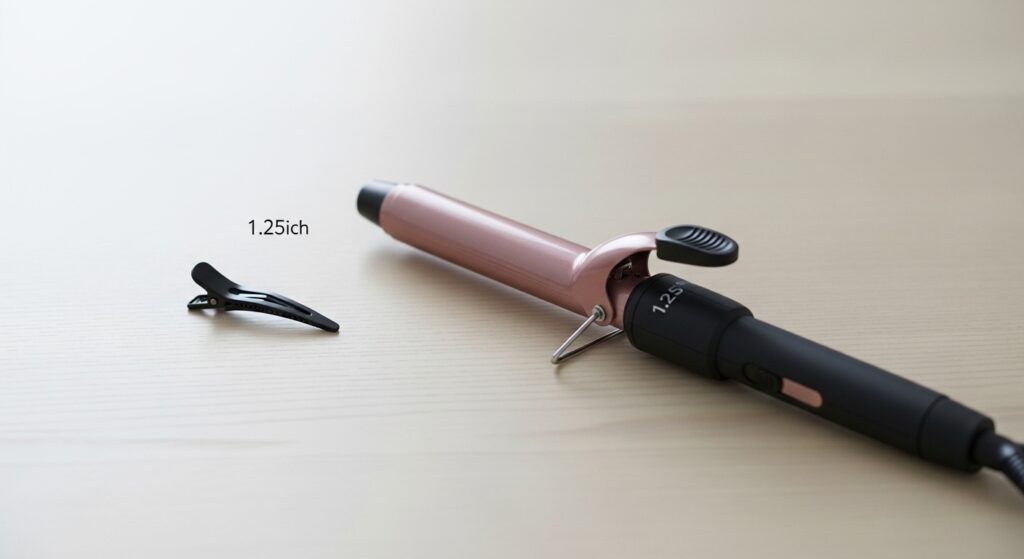
Put the tiny curling wands away. For true loose waves, you need a large barrel—I swear by a 1.25-inch iron. The bigger the barrel, the looser and more blended the wave.
A clamp iron is easier for beginners, but a wand gives a more relaxed end. Choose what feels comfortable. And please, ensure it has a heat control setting. We’re not frying our hair for this look!
6. The Sectioning Strategy for Non-Chunky Waves
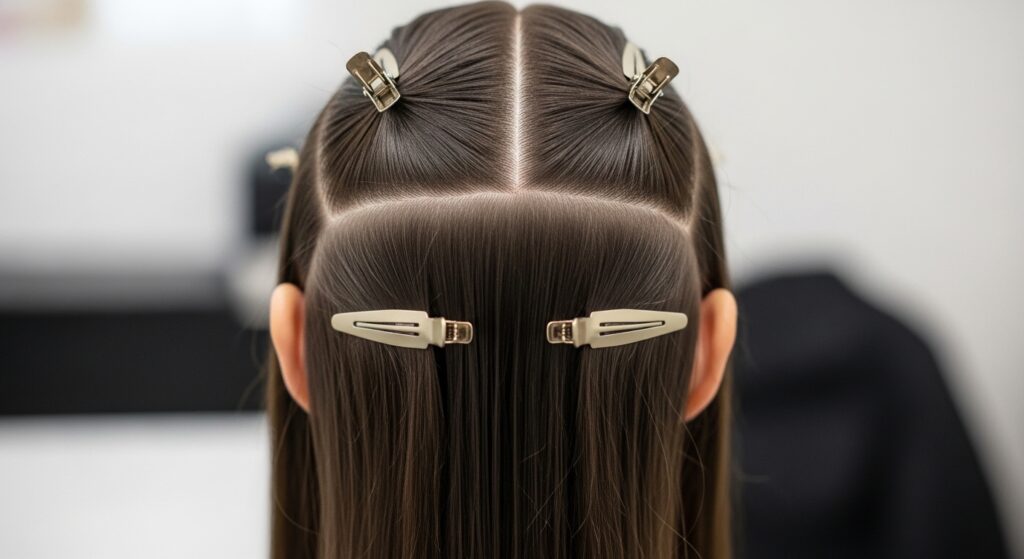
You don’t need a million sections. Over-sectioning leads to uniform, fake-looking curls. I keep it simple: part hair down the middle. Clip up the top half of your hair.
Then, work with the bottom back section first. Take horizontal subsections about two inches wide. This method creates waves that blend seamlessly, unlike some more structured looks like the hime cut.
7. The Actual Waving Technique: It’s a Wrap
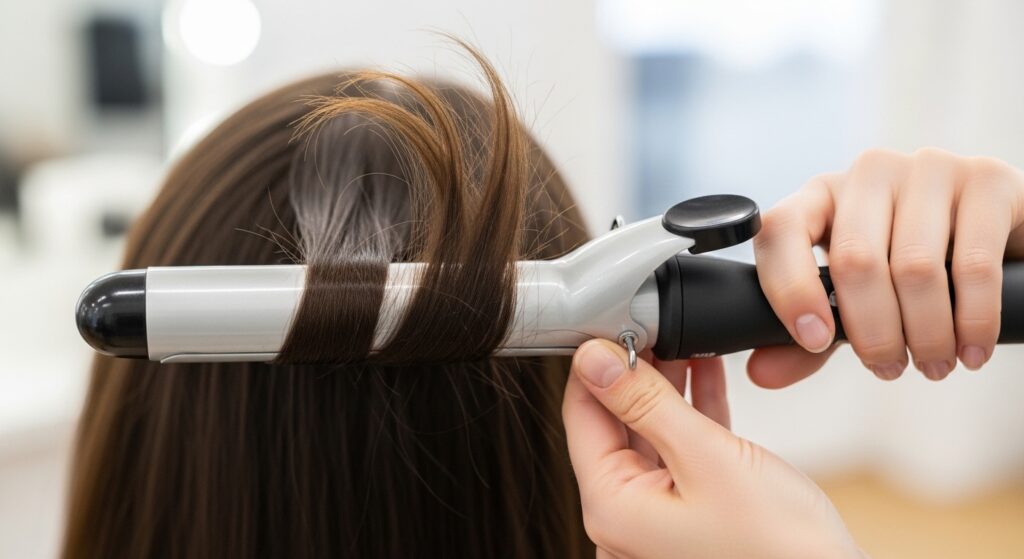
This is where the magic happens. Take your two-inch section. Instead of clamping the end and rolling up, wrap the hair *around* the barrel. Start a few inches down from your roots—no wave should start at your scalp.
Hold it for only 5-8 seconds. Seriously, no longer! You just want to set a bend, not a tight curl. Release gently and let the curl fall into your hand—don’t pull it out.
8. Direction is Everything: Alternate Your Curls
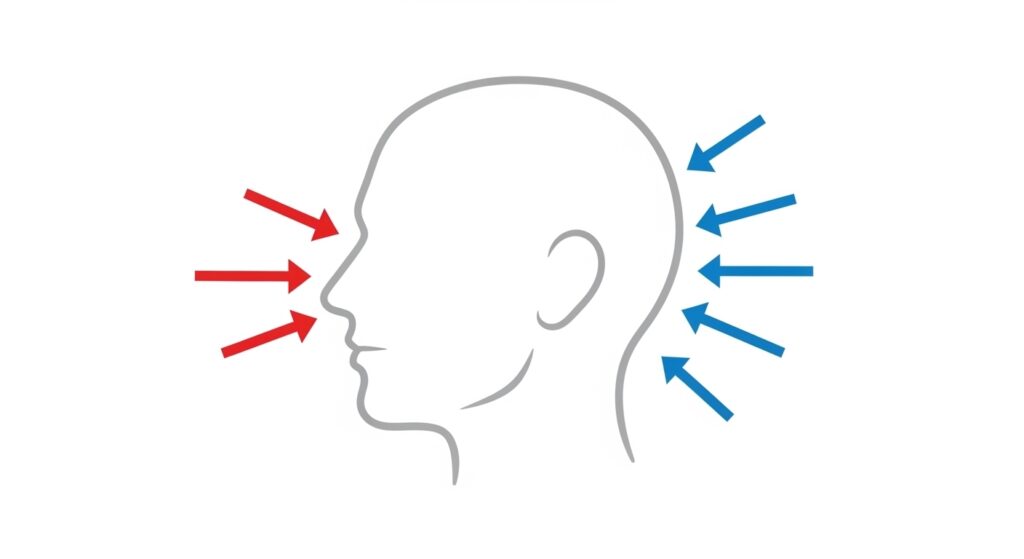
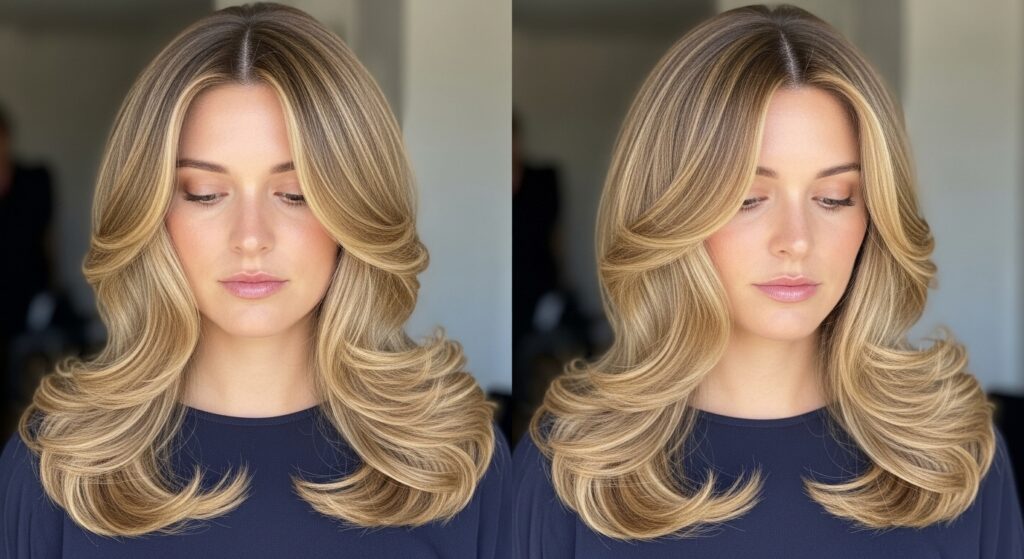
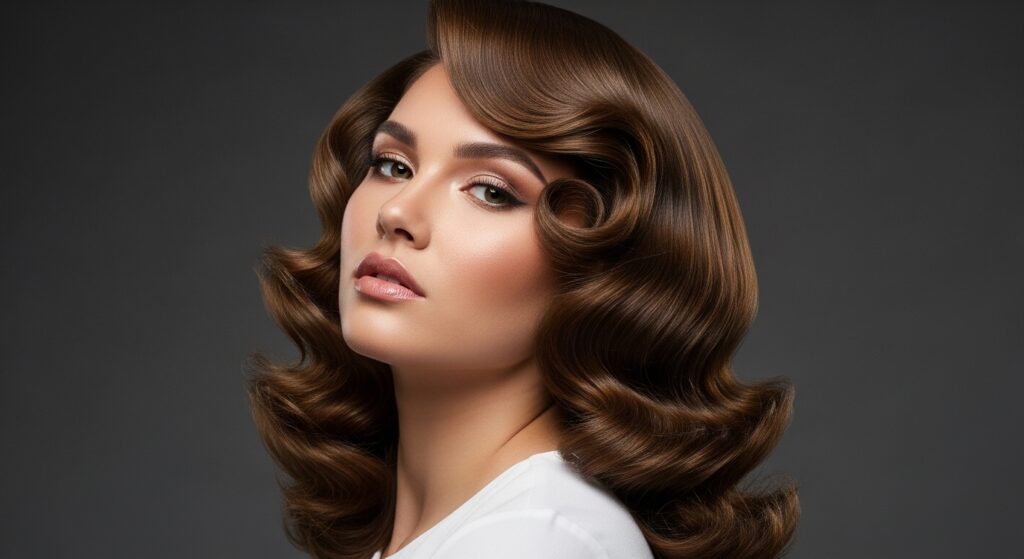
To avoid the “Christmas tree” shape, you must alternate the direction of your curls. For the sections around your face, curl them away from your face. It’s more flattering and opens up your features.
For the back sections, alternate wrapping some sections forward and some backward. This creates natural-looking volume and prevents all the waves from stacking in the same direction.
9. The Cool-Down Rule: Don’t Touch!
The biggest mistake is messing with the curl right after you make it. As each wave cools, it’s setting into place. If you brush it or play with it while it’s hot, you’ll break the pattern and get frizz.
Let all your hair cool completely before you even think about the next step. I usually do my makeup while I wait. Patience here makes the style last twice as long.
10. Breaking & Shaking: Creating the “Undone”
Once your hair is totally cool, it’s time to destroy your perfect curls—just a little! Flip your head over. Gently run your fingers through your hair from the nape of your neck upward to break up the sections.
Then, flip back and give your head a gentle shake from side to side. You’re not brushing, just separating. This transforms defined curls into soft, lived-in waves.
11. The Finishing Touch: A Texturizing Spray
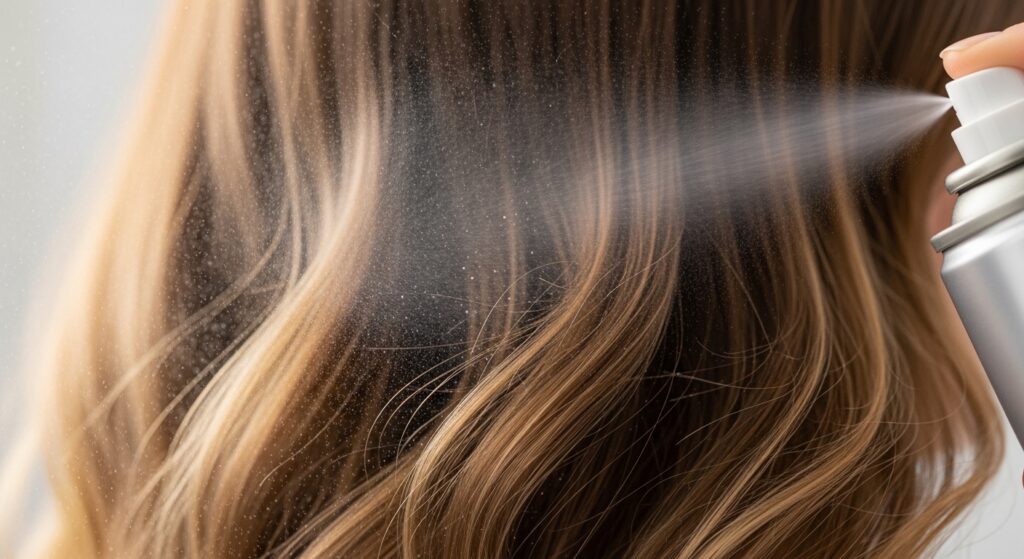
Don’t skip this. A good texturizing spray is the final secret. Hold it a foot away and mist lightly over your mid-lengths and ends. This adds grit, hold, and that piece-y texture.
It also helps fight humidity and keeps the waves from going limp. Look for formulas with sea salt or oat protein. They give hold without stiffness, perfect for that “I just came from the beach” feel in the city.
12. How to Style Your Fringe & Face-Framers
Those pieces around your face need special attention. Use the same large barrel, but take smaller, thinner sections. Curl them deliberately away from your face for a flattering frame.
If you have bangs or a fringe, you might just need to blow-dry them with a round brush for direction. The goal is for them to blend into the waves, not stick out on their own.
13. Second & Third-Day Hair Revival
This look gets better on day two and three! Start by revitalizing your roots with dry shampoo. It soaks up oil and adds volume. Then, mix a little texturizing spray with water in a mister bottle.
Lightly spray over your waves, then scrunch them gently with your hands. The water reactivates the product, and your hands reshape the waves. Sometimes, I just twist a few random pieces around my finger for a minute to redefine them.
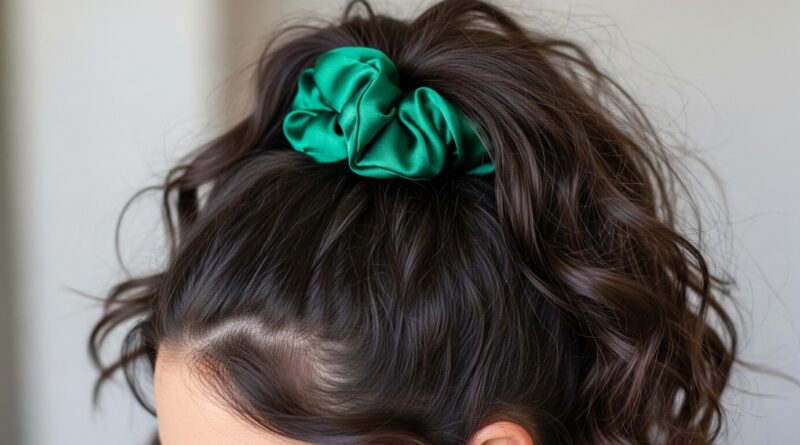
14. Nighttime Routine to Preserve the Waves
Protect your hard work! Sleeping on cotton pillows creates friction and frizz. Switch to a silk or satin pillowcase, or use a silk scarf.
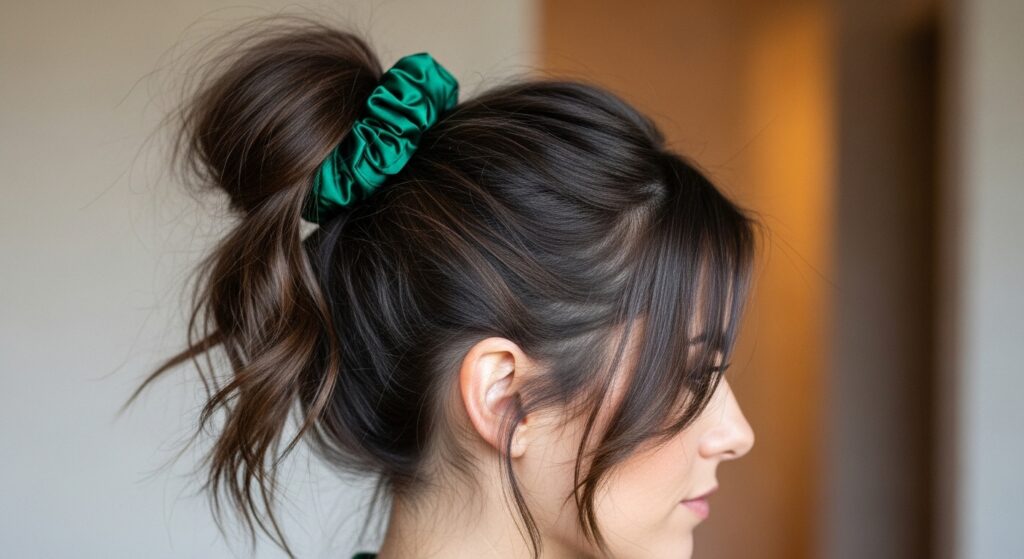
My favorite trick is a “pineapple.” Loosely gather all your hair at the very top of your head and secure it with a silk scrunchie. This keeps the waves piled on top of your head so they don’t get smashed flat as you sleep.
15. Adapting for Fine Hair: The Grip Factor
If your hair is fine, products are your best friend. You need grip. Use a root-lifting spray on damp roots and a mousse throughout. When curling, make sure your sections are completely dry.
Use a light-hold, non-aerosol hairspray *before* you curl each section. This gives the hair something to hold onto. And go easy on the texturizing spray—too much can weigh fine hair down.
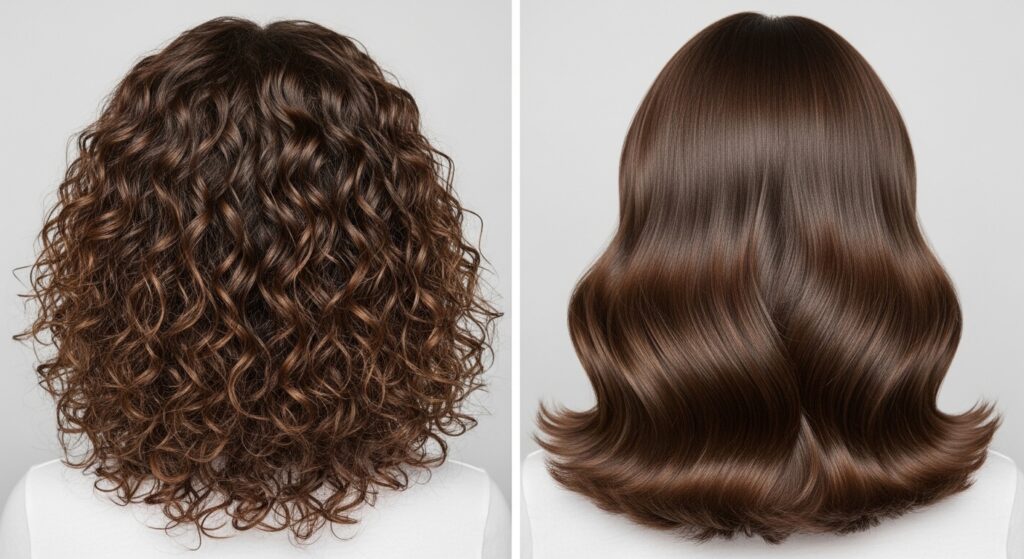
16. Adapting for Thick or Curly Hair: Taming the Volume
For thick or curly hair, the goal is to smooth and unify your pattern. Use a hydrating cream before drying to control frizz. You might need to dry your hair completely straight or blow it out smooth before waving.
When curling, take smaller sections to ensure the heat penetrates. You might not need to alternate directions as much. Finish with a light hair oil on the ends to add shine and reduce bulk.
17. The Urban Chic Edge: Slight Disconnection
To make this French look feel more downtown than downtown Paris, add a slight edge. Ask your stylist for a few “disconnected” or piece-y layers, especially around the face.
Think of it as a softer cousin to the asymmetrical lob or even the vampire haircut. It’s that hint of something sharper that keeps the waves from feeling too sweet. It’s a nod to romantic goth hairstyles but in the daylight.
18. Accessorizing Your Waves: Less is More
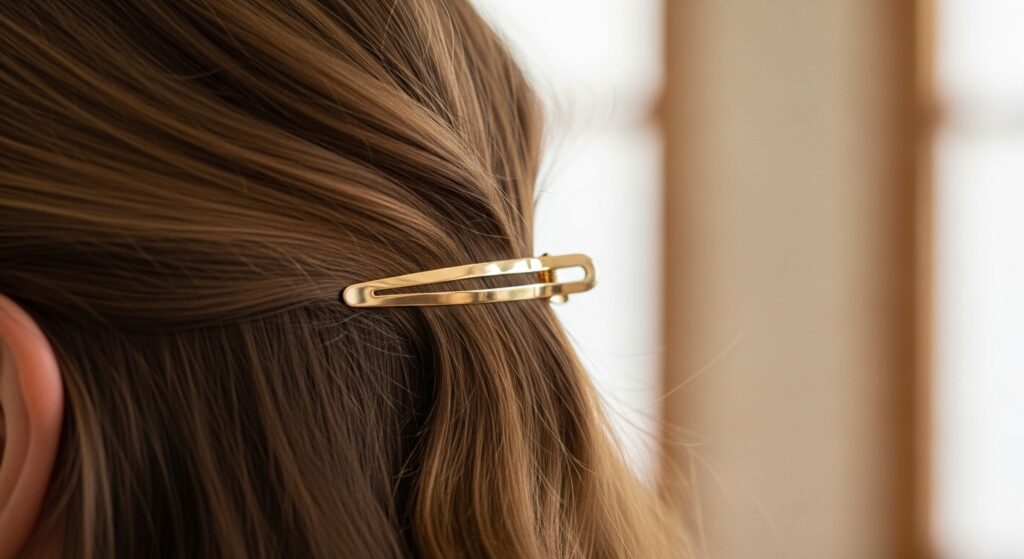
Accessories should complement, not compete. A simple, thin gold or silver clip to hold back one side is perfect. So are minimalist silk scarfs tied around a low ponytail.
Avoid heavy, bulky headbands or too many clips. The focus is the hair’s texture. A single, elegant barrette placed at the back can look incredibly chic and polished.
19. Common Mistakes & How to Fix Them Fast
Mistake 1: Crispy curls. Fix: Next time, lower the heat and hold for less time. Now, rub a tiny bit of hair oil between your palms and smooth it over the crunchy pieces.
Mistake 2: Flat roots. Fix: Spray dry shampoo at the part and tease gently with a comb. Mist 3: Waves fell out. Fix: Re-curl only the top layer sections, and use a stronger-hold texturizing spray.
20. How This Fits Into 2026 Hair Trends
This effortless wave is the foundation for so many trending looks. It’s the texture behind the quiet luxury bob. Add some face-framing layers and you’re in vampire haircut territory.
It’s the “glam” part of glitchy glam hair—polished but with a cool, undone twist. It proves that the future of hair is personalized texture, not rigid styles. It’s a classic that constantly reinvents itself.
And there you have it—my full, no-secrets guide to getting those perfect French-inspired waves. It looks complicated, but once you get the rhythm down, it becomes a 15-minute routine. The real beauty is in the imperfection, so don’t stress about every curl being identical.
This style has become my absolute favorite for looking put-together without trying too hard. It works for the office, a weekend outing, or a last-minute dinner plan. It’s the ultimate versatile look in my hair toolkit.
Did you try this method? I’d love to know which tip made the biggest difference for you! Drop a comment below and tell me about your hair wins (or disasters—we’ve all been there!). And if you found this helpful, save this post to Pinterest so you can easily find it for your next wash day!