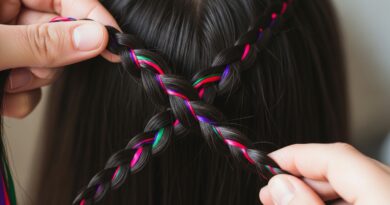
Frizz-Free Braids Genius Hacks for All Textures
Okay, let’s be real. You’ve spent an hour on a beautiful braid, only for it to turn into a fuzzy mess by lunch. I feel you. Frizz is the universal hair enemy, and it doesn’t care if your hair is pin-straight, coily, or somewhere wonderfully in between.
But what if I told you frizz-free braids aren’t a myth? They’re totally achievable, and you don’t need a million fancy products. It’s all about the prep and a few genius tricks.
This guide is for every texture. We’re ditching the frustration and getting straight to the practical, easy hacks that actually work. Let’s make your next braided style—whether it’s part of the 2026 hairstyles wave or a classic look—sleek, polished, and lasting.
1. The Golden Rule: Start on Damp, Not Soaking, Hair

This is the biggest game-changer. Braiding soaking wet hair can lead to mildew and weird smells as it dries. Braiding bone-dry hair invites every flyaway.
The sweet spot is damp, towel-dried hair. It should feel cool to the touch but not dripping. This allows your products to distribute evenly and gives your hair a smooth, pliable base to work with.
- Fine/Straight Hair: Let hair air-dry 70% before starting.
- Thick/Curly Hair: Work in sections on damp hair for maximum control.
2. The Pre-Braid Detangle Ritual
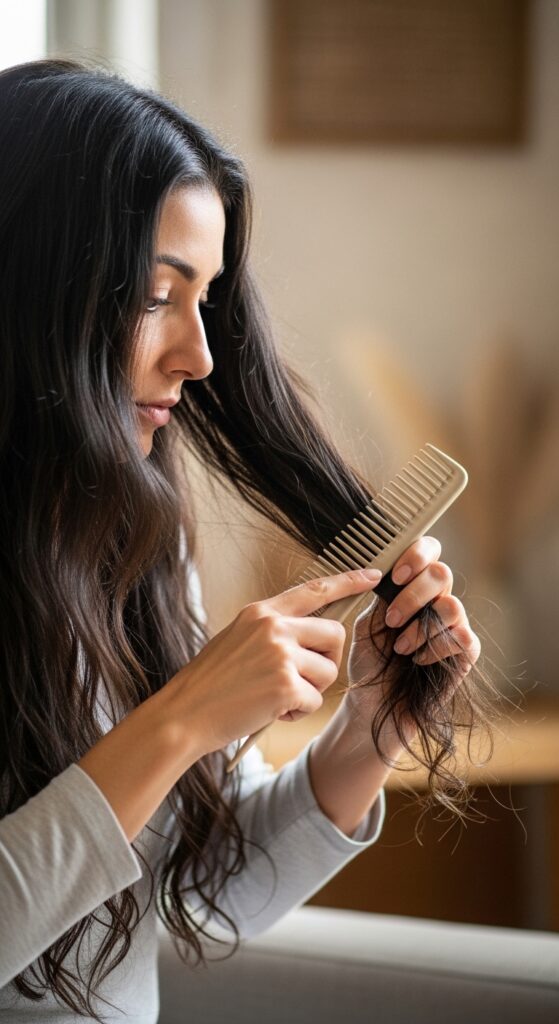
Never, ever braid over knots. It creates instant frizz and uneven tension. Your detangling session is non-negotiable for a smooth foundation.
Always start from the very ends of your hair and work your way up to the roots. Use a wide-tooth comb or your fingers, and have a detangling spray or conditioner on hand to help.
This might feel like an extra step, but it makes the actual braiding process ten times faster and your final look a hundred times cleaner.
3. Product Power: Choose Your Fighter

The right product is your secret weapon. But “right” depends entirely on your hair’s texture and the braid style you want.
- For Hold & Definition: A light-hold gel or mousse.
- For Smoothing & Shine: A smoothing serum or cream.
- For Curl Clumping: A curl-defining cream.
Apply your chosen product evenly through damp hair before you section. Less is more—you can always add a tiny bit more if needed.
4. The Sectioning Secret for Ultimate Smoothness

Clean sections are the backbone of a frizz-free braid. Messy, uneven sections guarantee little hairs will pop out.
Use a tail comb to create sharp, clean parts. Clip away the hair you’re not working with. This keeps everything organized and ensures each strand in your braid is under equal tension, which prevents frizz.
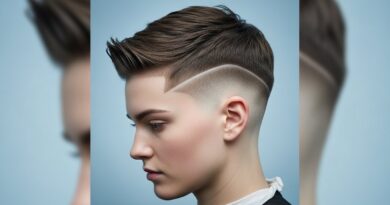
For a super sleek look like an asymmetrical lob turned into a side braid, precise sectioning is what gives that expensive, salon-quality finish.
5. Tension is Everything: Not Too Tight, Not Too Loose

Pulling too tight stresses your hair and scalp, and can actually cause breakage and frizz. Braiding too loose gives hair room to escape and puff up.
Aim for consistent, medium tension. You want the braid to feel secure and hold its shape, but your scalp shouldn’t feel sore or tender. Practice makes perfect here.
This balance is key for any style, from a simple three-strand to more intricate looks inspired by romantic goth hairstyles.
6. The Hidden Tool: A Boar Bristle Brush
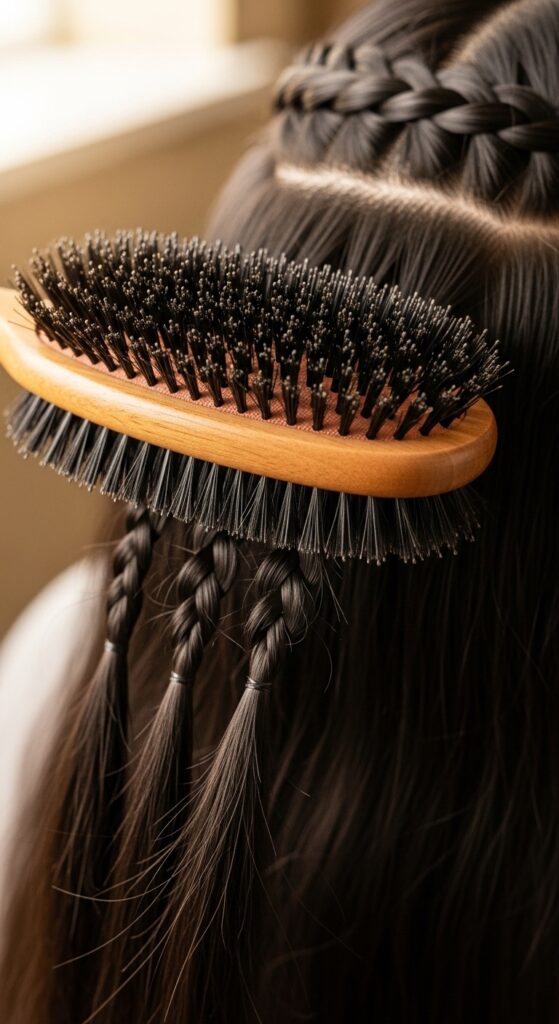
For straight to wavy hair, this is a magic trick. Before you braid each section, give it a few strokes with a boar bristle brush (natural or blended).
This brush gently closes the hair cuticle, lays down flyaways, and distributes your natural oils from root to tip. It creates an incredibly smooth surface to braid, giving you that old money hair polish.
It’s that extra step that makes your braid look professionally done, not DIY.
7. Conquer the Crown: Sleek Front Sections

The front of your hair, especially around your face and part, is where frizz loves to announce itself first. Pay extra attention here.
Use a tiny, tiny amount of edge control, gel, or even a clear mascara on a spoolie brush to slick down baby hairs and flyaways after braiding. Don’t forget your hairline and the hair around your ears.
This final polish is what transforms a messy braid into a sleek one, perfect for nailing that quiet luxury bob vibe when it’s styled half-up.
8. The Overnight Hack for Next-Day Perfection

Want your braids to look even better on day two? Sleep on a silk or satin pillowcase, or tie your hair up in a silk scarf.
Cotton pillowcases create friction, which roughens the hair cuticle and causes frizz overnight. Silk and satin allow your hair to glide, preserving your smooth style.
Simply wrap your braids in a loose pineapple or scarf before bed. You’ll wake up with braids that look freshly done.
9. Refresh, Don’t Re-Do: The Spray Bottle Trick

If your braid gets a little fuzzy throughout the day, don’t panic and take it out. Grab a spray bottle with water and a drop of leave-in conditioner.
Lightly mist the surface of the braid—just enough to dampen the flyaways. Then, use your clean palms to gently glide over the braid, smoothing everything back down.
This reactivates your products and tames frizz in seconds, saving your style.
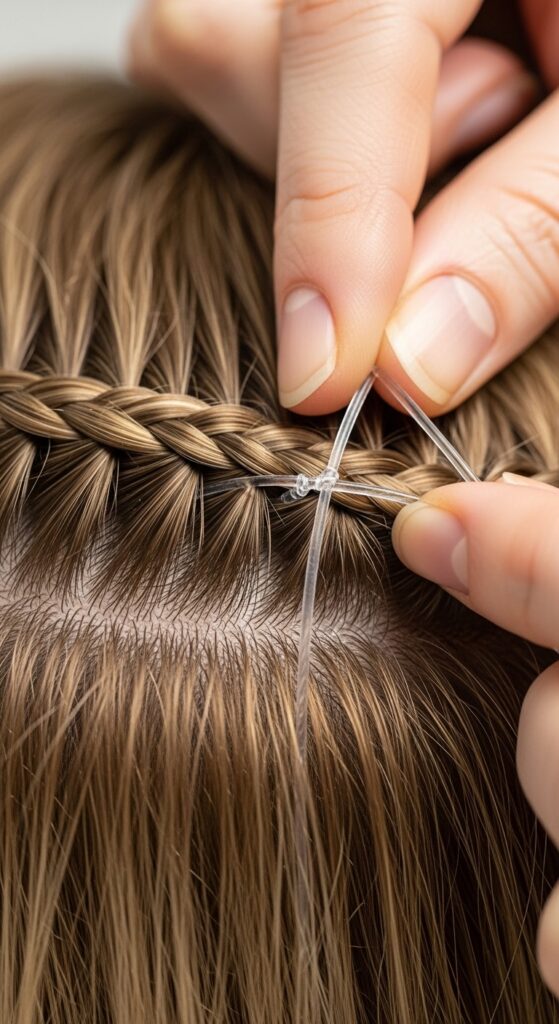
10. Braid Over a String or Thread for Invisible Hold

This is a pro hack for heavy or slippery hair. Take a clear piece of fishing line or a matching thread and lay it along the base of your braiding section.
Braid the hair over the string. It gets woven in, providing invisible internal support and grip. This prevents the braid from sagging or loosening, which is a major cause of mid-day frizz.
It’s especially great for creating bold styles like a vampire haircut with intricate braided elements.
11. The Cold Shot Seal at the End

After you’ve finished your braid, hit it with a blast of cool air from your hair dryer for 30 seconds. This might sound simple, but it’s powerful.
The cold air helps to “set” the style by closing the hair cuticles you smoothed open with dampness and product. This locks in the shape and seals the surface, minimizing frizz for a longer-lasting hold.
Think of it as the final, protective coat for your masterpiece.
12. Oil Your Hands, Not Your Hair (Seriously!)
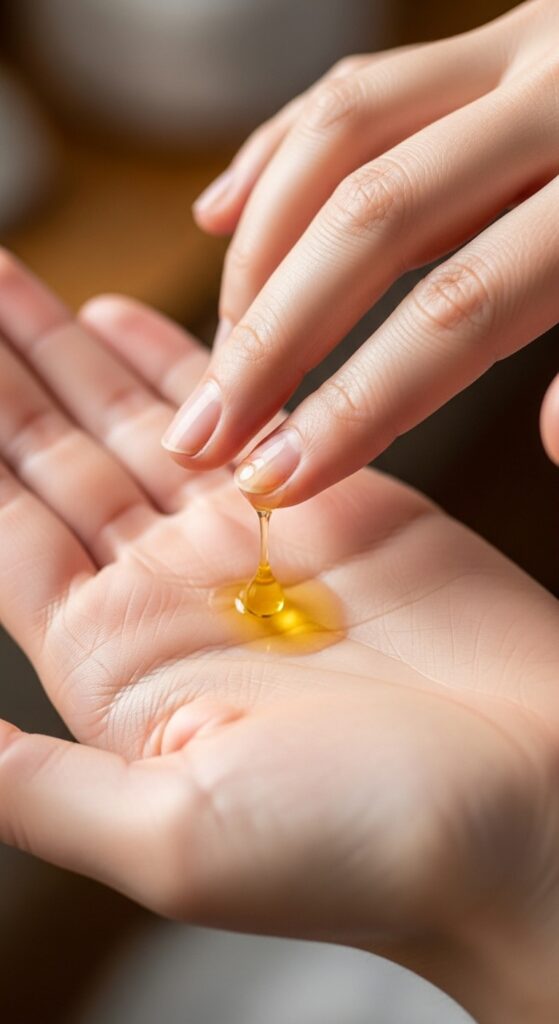
Applying oil directly to your braid can sometimes weigh it down or make it look greasy. Instead, try this: put a single drop of lightweight oil (like argan or jojoba) on your palms and rub them together.
Then, gently run your hands over the surface of your finished braid. This catches any last flyaways and adds a beautiful, healthy shine without the greasy feel.
It gives that perfect, lived-in glossy finish seen in glitchy glam hair trends.
13. Protect Your Ends: They Frizz First

The oldest, most fragile part of your hair is at the ends. This is where dryness and split ends lead to immediate frizz in a braid.
When you finish braiding, put a tiny dab of gel or styling cream on your fingertips and twirl the end of the braid between them. This seals the ends together into a neat point.
For a softer finish, you can also wrap the end with a small, clear elastic and then hide it with a tiny piece of hair.
14. Switch Up Your Part for a Fresh Look

If you’re braiding your hair down (like a single French braid), try changing your part. A deep side part or a zig-zag part can make a world of difference.
Why? It redistributes the hair, often giving you tighter, smoother sections at the front because you’re working with hair from a different angle. It also instantly makes your style look new and thoughtful.
This is a great trick for styles like a hime cut with face-framing braids.
15. The “Pancaking” Method for Volume Without Frizz
Love the look of a full, voluminous braid but hate the frizz that comes with teasing? Use the pancake method. Once your braid is complete and secured, gently pull on the outer loops of the braid with your fingers.
Pull horizontally, away from the braid, to widen it. Do this slowly and evenly all the way down. This increases volume visually without roughing up the hair cuticle, keeping the surface smooth.
It’s the perfect way to add drama to a simple braid.
16. Braid Before Bed for Wavy, Frizz-Free Texture

This is a two-for-one hack. If you want beautiful, frizz-free waves tomorrow, braid your damp, product-treated hair into two or three loose braids before bed.
Use the silk pillowcase trick we talked about. In the morning, unravel the braids and shake out your hair. You’ll be left with soft, defined, frizz-free waves with zero heat damage.
It’s the ultimate lazy-girl hack for great hair, giving you that effortless texture that works with so many trends.
17. Use the Right Elastics: No Creasing!

A bad hair tie can ruin a good braid. Avoid thick, rubber-band elastics that crease and break your hair.
Opt for spiral/coil hair ties, coil-less elastics, or soft silk scrunchies. These secure your braid without causing dents or snagging, which leads to frizz and breakage when you take them out.
It’s a small switch that makes a huge difference in maintaining your hair’s health and smoothness.
18. Finger-Coil Your Flyaways

For those one or two persistent curly or wavy flyaways that won’t lay down with gel, use the finger-coil method.
Take the flyaway and a tiny neighboring strand of hair from the braid. Twist them together tightly, then wrap the twist around the main braid and secure with a tiny bobby pin hidden underneath.
This tames the hair by integrating it into the style, rather than just slicking it down flat.
19. Know Your Water: Hard Water Solutions

If you have hard water, mineral buildup can make your hair feel rough and prone to frizz no matter what you do. This starts in the shower.
Consider a showerhead filter. Once a week, use a clarifying shampoo to remove buildup. Follow with a deep conditioner. Starting with truly clean, soft hair is the best foundation for any frizz-free style.
It’s a game-changer for achieving any sleek look, from braids to a pin-straight quiet luxury bob.
20. Embrace a Little “Perfect Imperfection”
Finally, give yourself grace. A completely slicked-down, rigid braid can sometimes look severe. A tiny wisp or two can look soft, romantic, and effortless.
The goal is to manage major frizz, not to eliminate every single microscopic hair. Your hair is alive and has texture! That’s beautiful.
Focus on the overall smooth, polished look, and don’t stress over absolute perfection. That confidence is the best accessory.
And there you have it! Twenty real, workable ways to fight the frizz and finally get the smooth, lasting braids you deserve. It’s not about having “perfect” hair—it’s about knowing the right tricks for your unique texture.
Remember, the best hack is the one you’ll actually use. Start with one or two of these tips next time you braid. You might just find your new holy-grail routine.
Save this post to Pinterest to keep all these genius hacks handy! Which tip are you most excited to try first? Tell me in the comments below—I love hearing what works for you!