Fun 13 Hologram Vinyl Wraps Edgy for Avant-Garde Events
Okay, let’s be real. We’ve all scrolled past those jaw-dropping, avant-garde event photos and thought, “How do I get a look that bold without a full-on commitment?” I get it. You want to make a statement, not a permanent life choice.
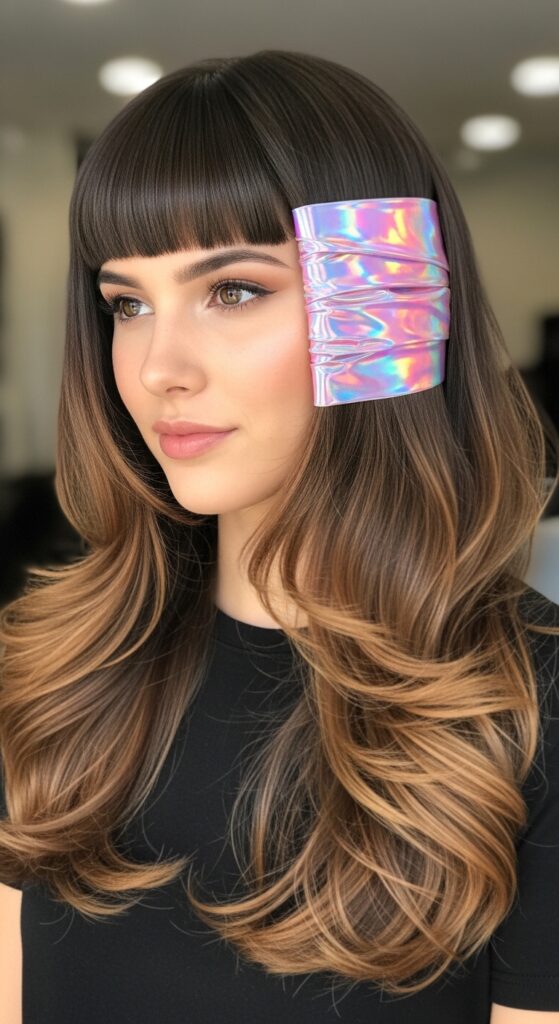
That’s exactly why I’m obsessed with hologram vinyl wraps. They’re the secret weapon for edgy, transformative hair that washes out. Think of them as temporary tattoos for your hair—pure, glitchy glam magic.
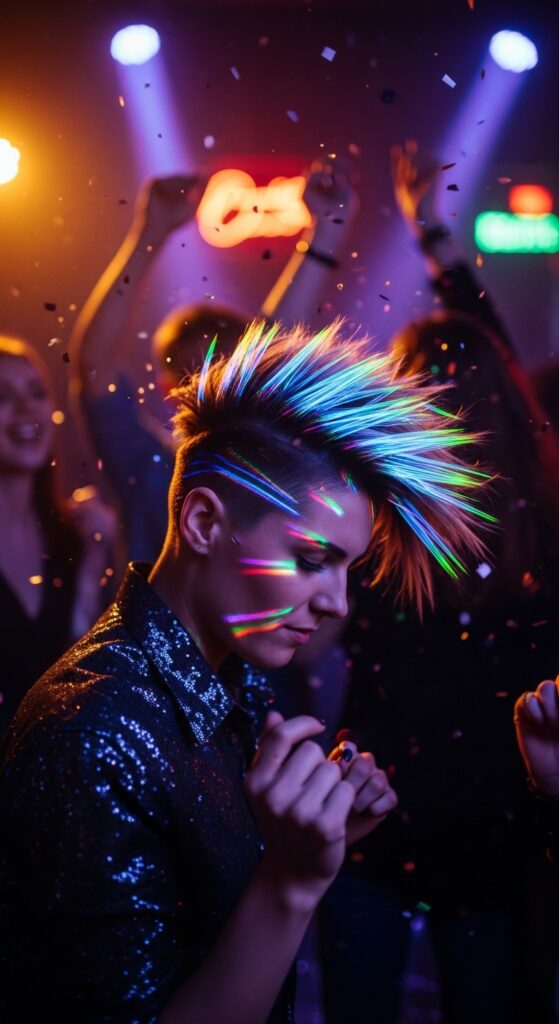
This isn’t about subtle highlights. This is for the nights you want to channel romantic goth hairstyles or futuristic 2026 hairstyles vibes. It’s playful, it’s daring, and it’s surprisingly doable.
So, if you’ve got a concert, a themed party, or just a serious need to shake up your look, I’m breaking down everything. From choosing your base cut to making it last all night. Let’s dive into the fun.
What Are Hologram Vinyl Wraps, Really?
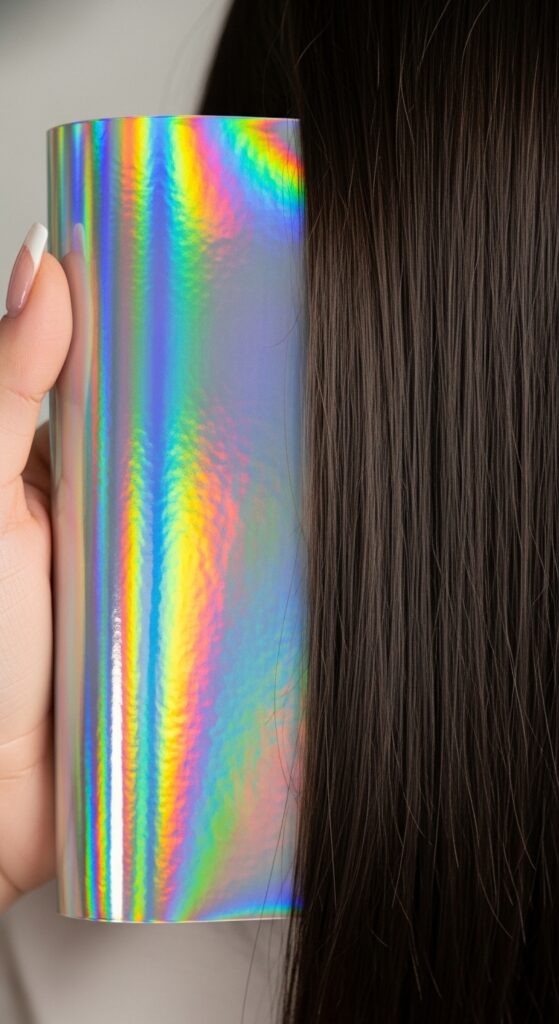
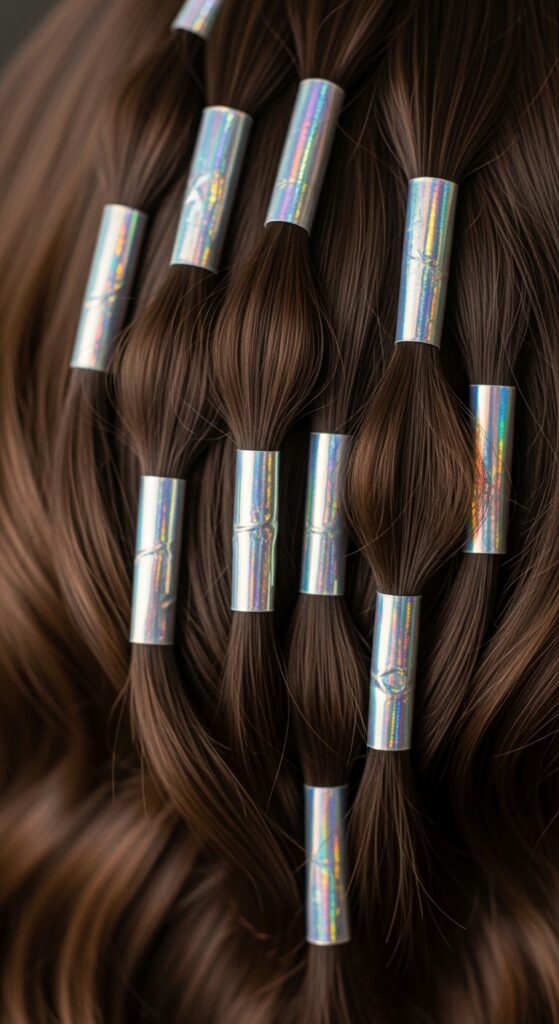
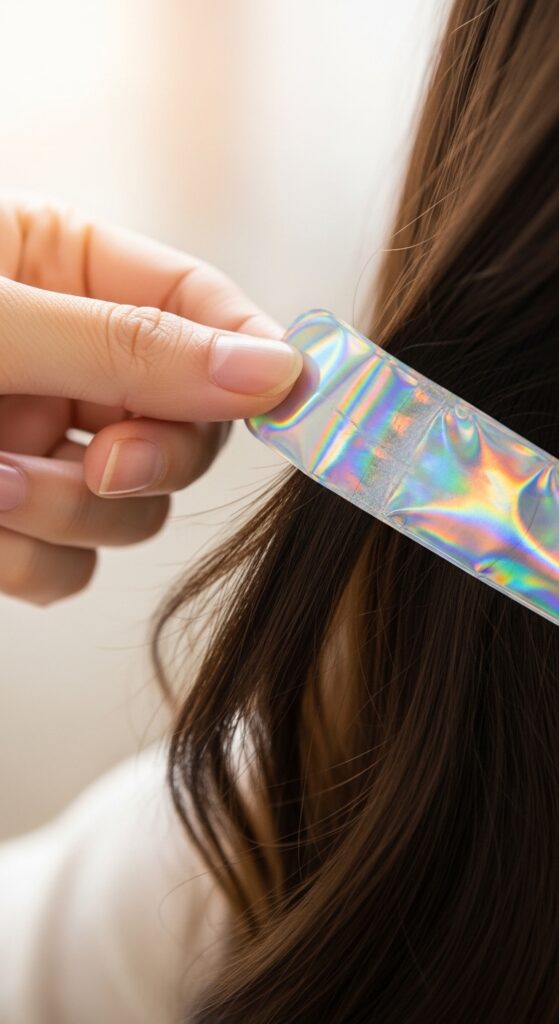
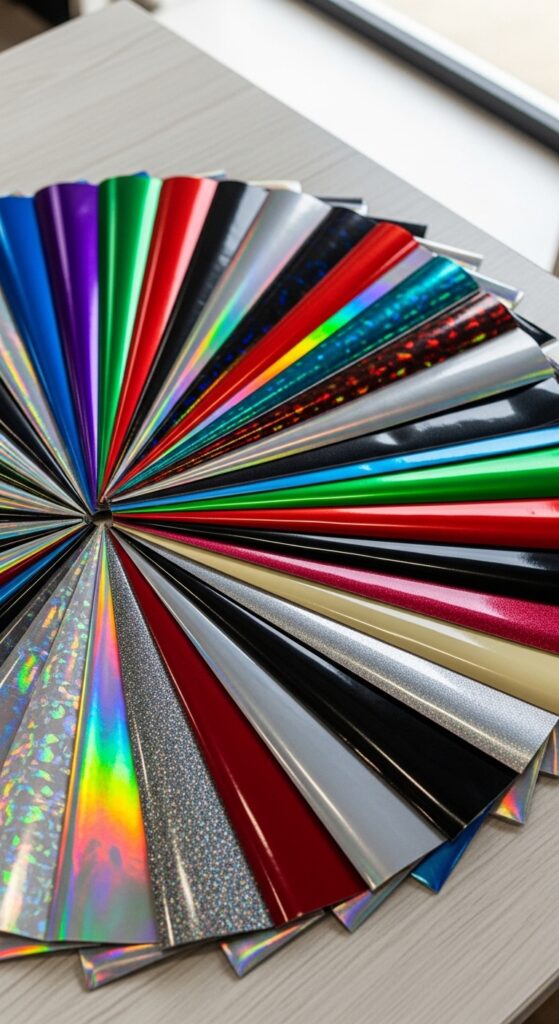
Forget everything you know about regular hair dye. These are thin, flexible sheets with a pressure-sensitive adhesive backing. They come in insane holographic, metallic, and patterned finishes.
You cut them to size, peel off the backing, and smooth them onto sections of your hair. They stick without heat or glue, and they wash out with shampoo. It’s instant, commitment-free color and texture.
Why They’re Perfect for Avant-Garde Events
Avant-garde is all about artistic expression and pushing boundaries. A hologram wrap lets you do that without a single snip or chemical process. You can be a neon goddess at 8 PM and back to your classic self for your 9 AM meeting.
They add a dimension regular dye can’t—a shifting, reflective surface that catches every light. It’s the ultimate accessory for creating glitchy glam hair that gets you noticed in the best way.
The Best Base Haircuts to Work With
These wraps work on almost any length, but some cuts give you a killer canvas. An asymmetrical lob or a sharp vampire haircut provides clean lines for bold geometric placements.
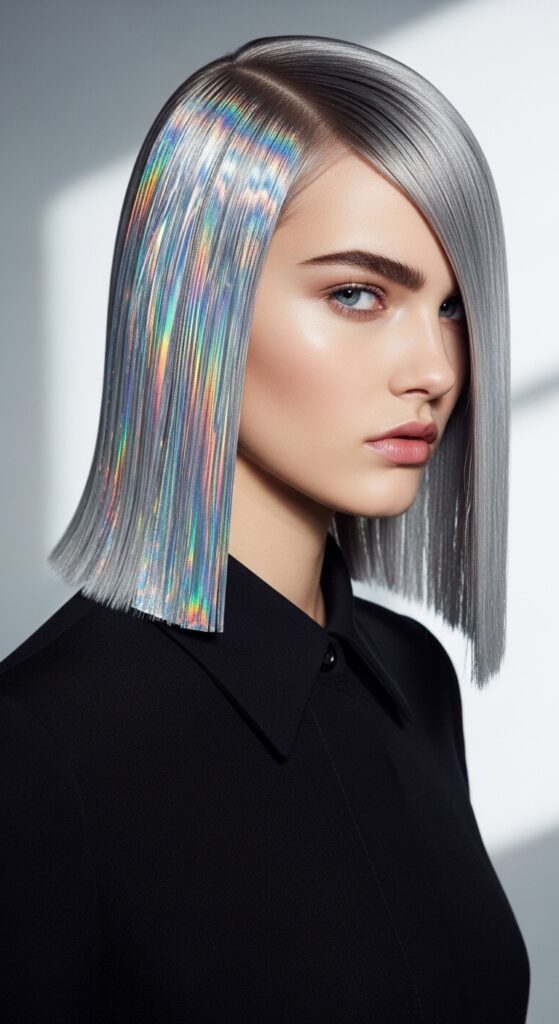
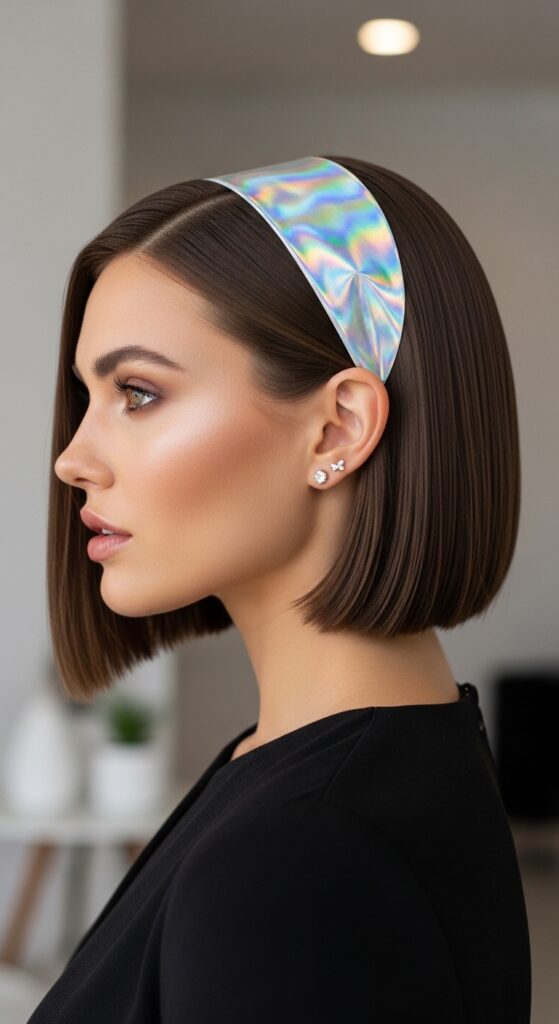
Even a sleek quiet luxury bob can be subverted with a single, shocking stripe. The contrast between a polished cut and a wild wrap is everything. Longer hair offers more space for intricate patterns.
Matching the Wrap to Your Vibe
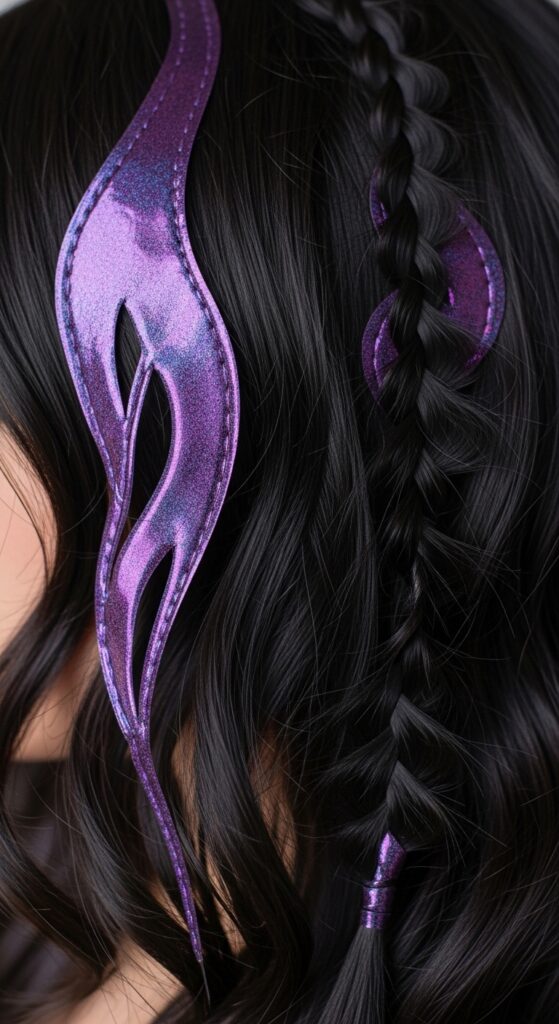
Your hair should tell your story. Going for a romantic goth look? Deep purple or blood-red holographic sheets over dark hair are stunning. Want futuristic 2026 hairstyles energy? Try a chrome or electric blue wrap.
For a twist on old money hair elegance, a single, thin strand of pearl or gold wrap behind your ear is subtly rebellious. Match the wrap’s mood to your outfit and the event’s theme.
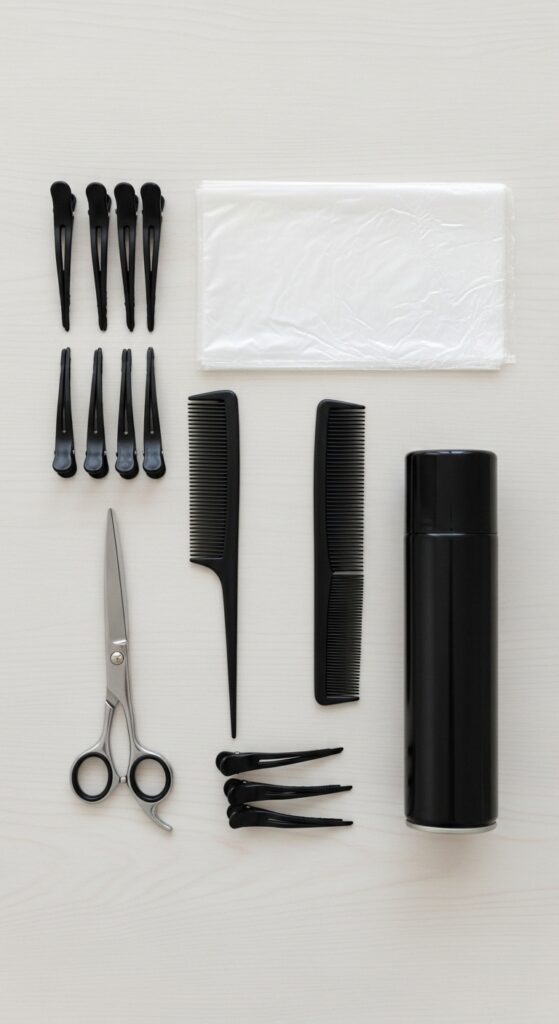
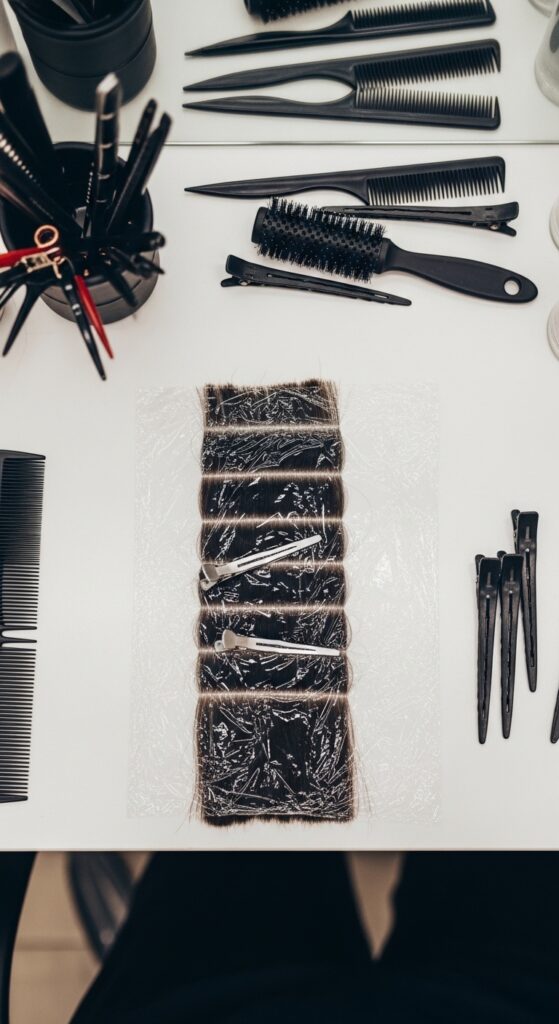
Tools You Absolutely Need
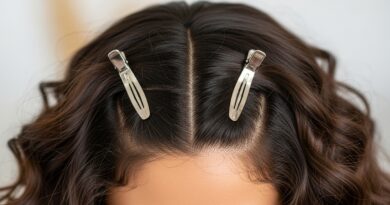
You don’t need a salon, but you do need the right stuff. Gather sharp fabric scissors, a fine-tooth comb, hair clips for sectioning, and a hair dryer on a cool setting.
- Hologram Vinyl Wrap Sheets
- Sharp Fabric Scissors
- Fine-Tooth Comb & Hair Clips
- Cool Setting Hair Dryer
- Light-Hold Hairspray
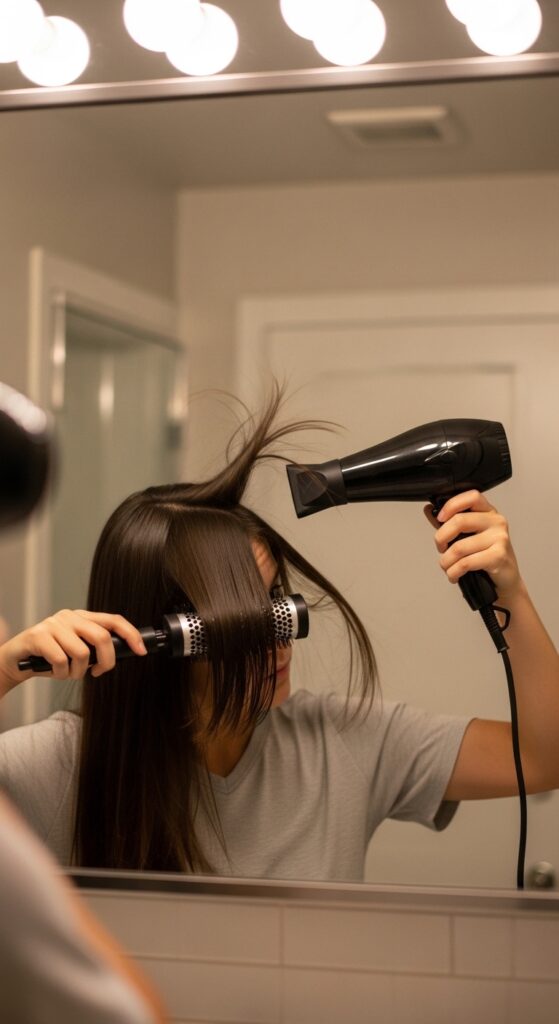
Step 1: Start with Clean, Dry Hair
This is non-negotiable. Hair must be completely clean, dry, and free of any oils or styling products. Any residue will prevent the adhesive from sticking properly.
Blow-dry your hair straight or as smooth as possible. The flatter the surface, the better the wrap will adhere and the longer it will last through the night.
Step 2: Section & Plan Your Design
Don’t just start cutting! Use your comb and clips to section off the hair you want to wrap. Plan it out. A single chunky streak? Multiple thin ribbons? A peek-a-boo section underneath?
For an asymmetrical lob, following the angular line of your cut looks amazing. Sketch it in your mind first. This prevents waste and ensures a polished look.
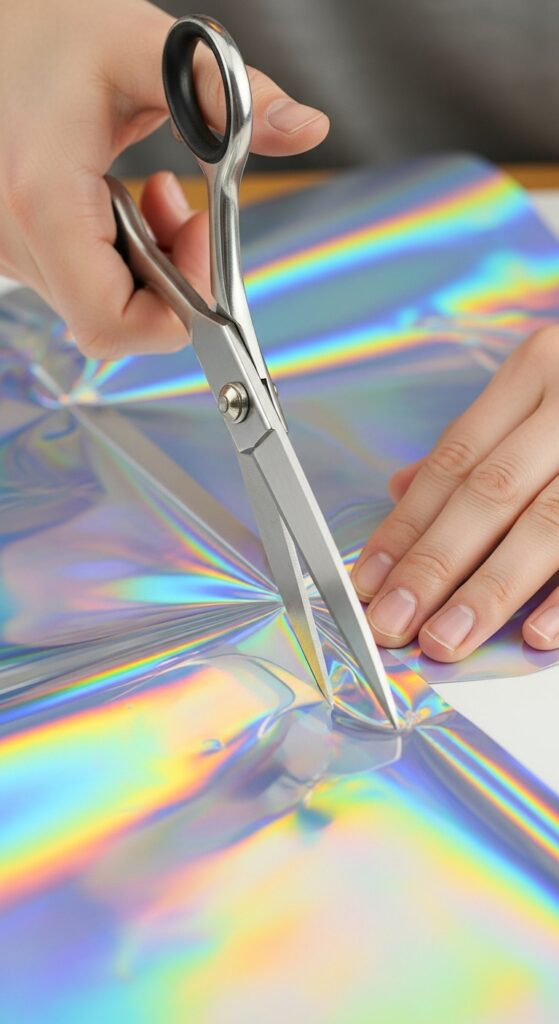
Step 3: Cutting the Wrap Precisely
Measure the wrap against your hair section, leaving a little extra length. Always cut it slightly wider than the hair section to ensure full coverage. Sharp scissors are key for clean edges.
You can cut straight lines, zigzags, or even geometric shapes. For a hime cut inspiration, you could add blunt, wrapped pieces around the face.
Step 4: The Peeling & Sticking Technique
Peel the backing off slowly. Align the top of the wrap sheet with the root of your hair section. Using your fingers, gently but firmly smooth it down along the length of the hair.
Apply pressure from the center outward to push out any air bubbles. The goal is perfect contact between the wrap and every strand in that section.

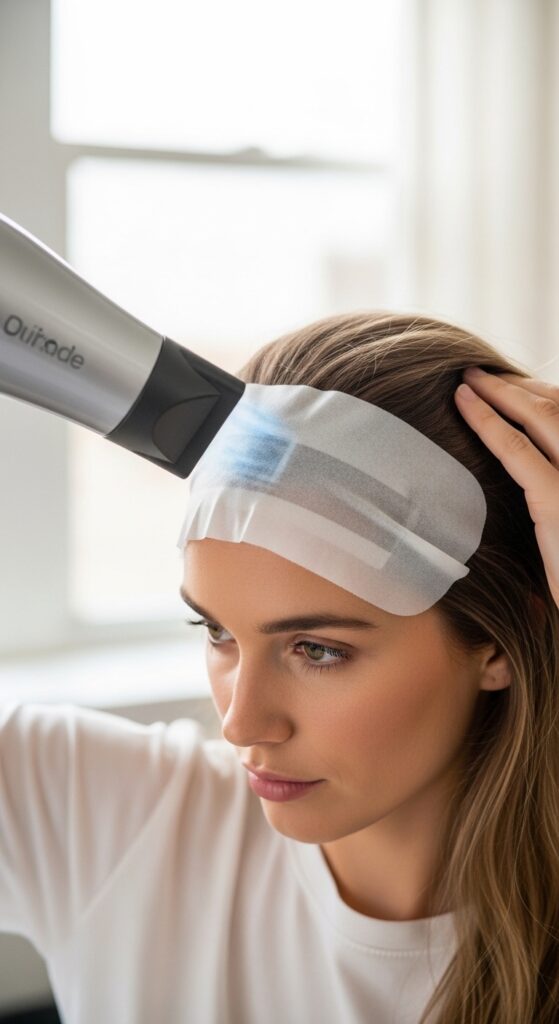
Step 5: Sealing & Setting for Longevity
Once it’s smoothly applied, use the cool setting on your hair dryer to go over the wrap. The mild heat helps activate the adhesive slightly. Then, finish with a very light mist of hairspray over the area.
This “seals” it and helps prevent lifting at the edges, especially if you’ll be dancing or moving a lot. Don’t soak it—just a quick spritz.
Creating a Glitchy Glam Effect
Glitchy glam hair is all about intentional imperfection. Use multiple colors in mismatched, staggered placements. Think a strip of green, then a strip of pink, with gaps of your natural hair showing.
You can even cut the wraps into tiny squares or triangles and apply them randomly. It creates a broken, digital-art effect that’s pure avant-garde magic.
Elevating a Quiet Luxury Bob
The beauty of a quiet luxury bob is its pristine simplicity. To edge it up, add a single, thin wrap in a refined metallic like brushed gold or platinum on the underside.
It stays hidden until you move or tuck your hair, offering a shocking, luxurious surprise. It’s the ultimate “I’m cool but I don’t need to shout it” detail.
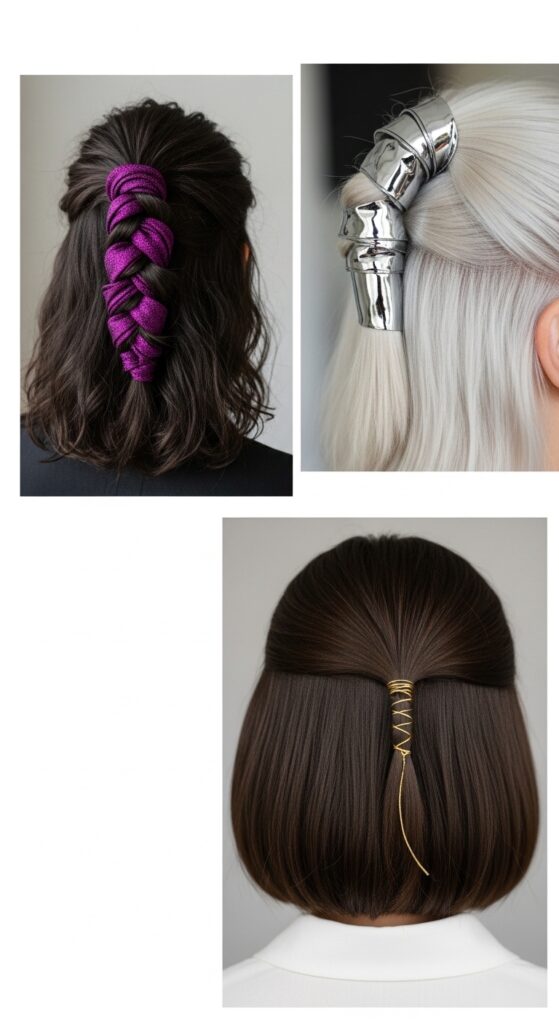
Channeling Romantic Goth Hairstyles
This aesthetic loves drama and romance. Apply deep, jewel-toned wraps—emerald, amethyst, or black-red—to face-framing pieces or to small sections of a loose, messy braid.
Pair it with waves for a soft, ethereal feel. The holographic sheen adds a mystical, otherworldly layer that’s perfect for a vampire haircut base.
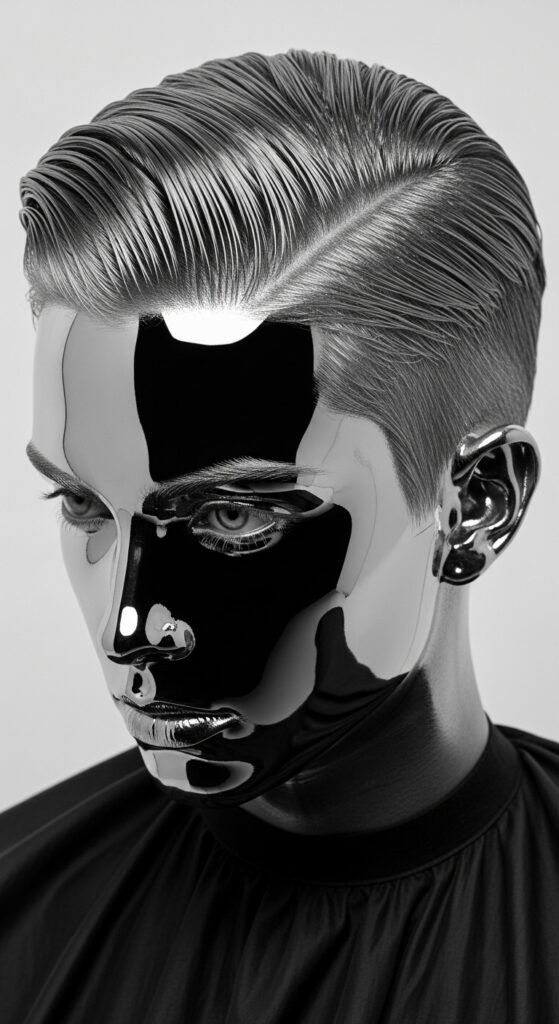
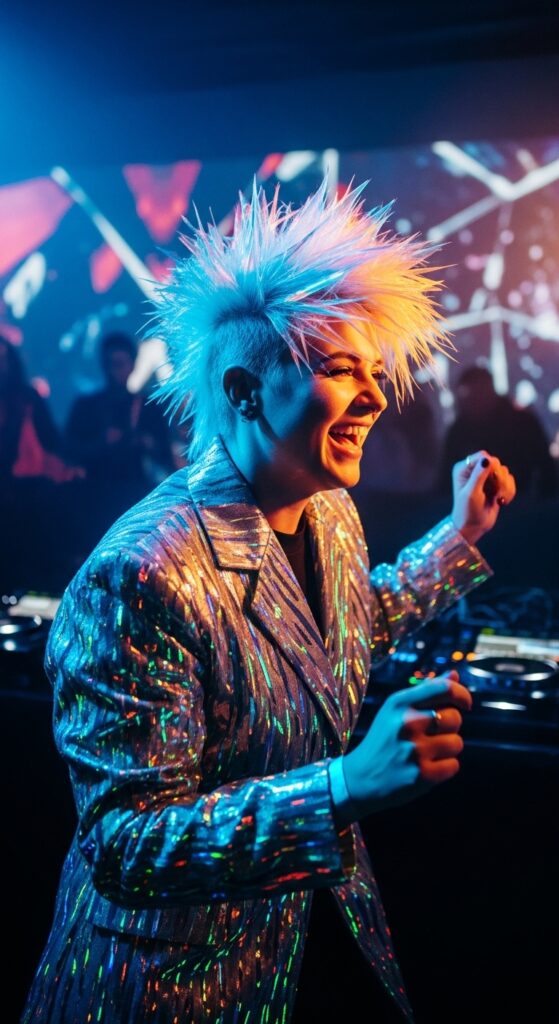
Going Full Futuristic with 2026 Hairstyles
Think sharp, graphic, and ultra-modern. Use solid blocks of chrome or mirror-finish wraps on a severely parted style. Combine it with wet-look gel on the rest of your hair.
Or, create a “circuit board” effect with thin lines of neon wraps. This look is less about romance and more about clean, high-impact technology.
Quick Fixes for Common Problems
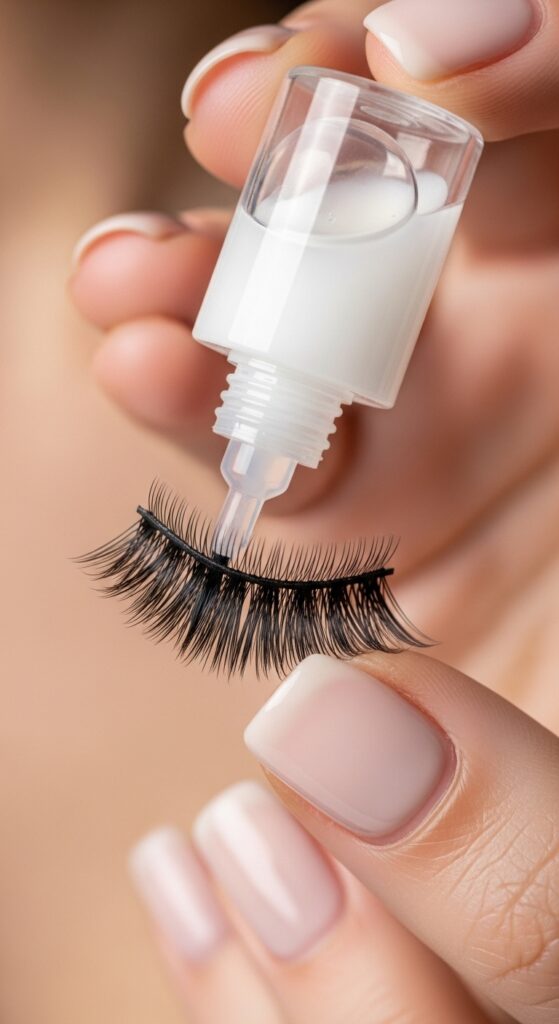
Edge lifting? A tiny dot of clear eyelash glue can secure it. Air bubbles? Prick gently with a pin and smooth down. Wrap feeling stiff? Use your cool dryer again while flexing the hair gently.
- Lifting Edges: A dot of lash glue.
- Air Bubbles: Prick and re-smooth.
- Too Stiff: Warm gently with dryer and flex.
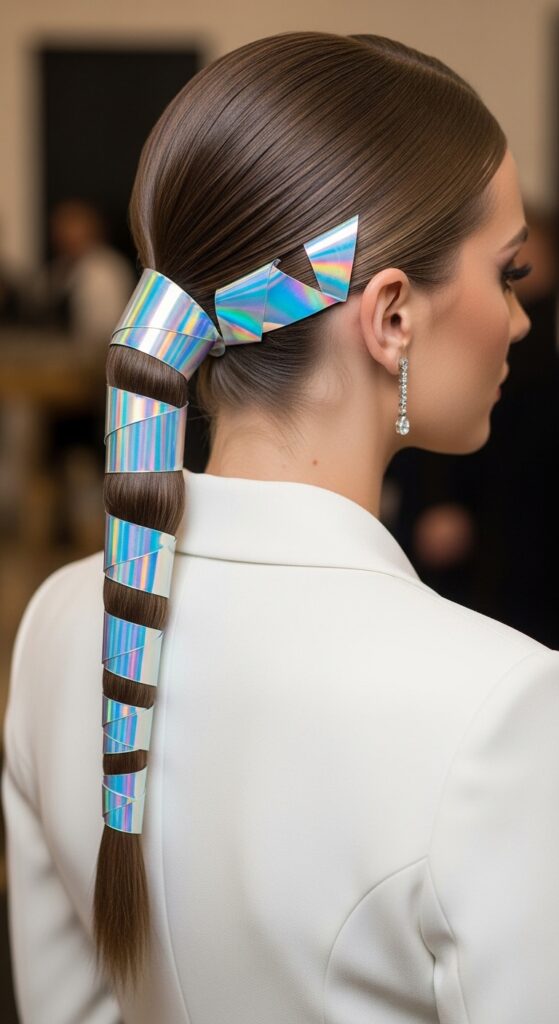
Styling Your Hair Around the Wraps
You can style the rest of your hair as normal, but be gentle near the wraps. Avoid teasing or backcombing those sections. Sleek ponytails, half-up styles, or loose waves work beautifully.
For an updo, incorporate the wrapped pieces as intentional, decorative elements. Let them be the star of the style.
Making Them Last All Night Long
Aside from the initial seal, avoid touching the wraps too much. Bring a travel-size hairspray for a mid-event touch-up if needed. If it’s humid, keep your style smoother rather than voluminous to reduce friction.
Most importantly, own it with confidence! The less you fuss, the better they’ll hold up through dancing and conversations.
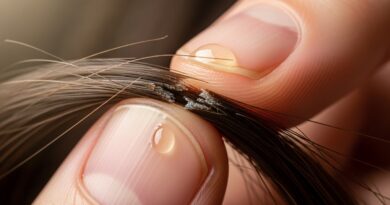
The Gentle Removal Process
When the night is over, removal is simple. Start at the bottom and gently peel the wrap downward, in the direction of hair growth. Go slow to avoid tugging.
If there’s any slight residue, a regular shampoo will take care of it. Follow with conditioner. Your hair will be back to its normal state, no damage done.
Mixing Wraps with Other Trends
Don’t be afraid to hybridize your look. Add wraps to the front pieces of a hime cut. Combine them with temporary color sprays for more depth. Use them to accent money-piece highlights.
They’re the perfect tool to experiment with trends without overlap. It’s your personal style playground.
Where to Find the Best Wraps
I find the best variety and quality online from specialty beauty retailers or even some craft stores. Look for brands that specify they’re for hair use. Read reviews about stickiness and sheen.
You can often buy multi-packs with different colors, which is perfect for trying out the glitchy glam effect without buying a ton of single sheets.
Your Confidence is the Key
Honestly, the most important part of rocking this look is your attitude. Walk in like you own the room. This is a fun, bold choice, and confidence makes it look expensive and intentional.
Smile, stand tall, and let your hair be the conversation starter. You put in the work, now enjoy the compliments!
And just like that, you’ve got the full guide to turning heads at your next big event. It’s all about having fun and expressing a side of yourself that might not fit a regular Tuesday. That’s the beauty of temporary style—it gives you the freedom to play.
I hope this gives you the courage to try something wildly different. Remember, it washes out. So why not go for it? The worst that can happen is you get an amazing photo and a great story.
Did you try this? I’d love to see your creations! Tag me in your photos. And if you’re planning your look, save this post to Pinterest so you have all the steps handy. What’s the first color you’re going to try? Tell me in the comments!