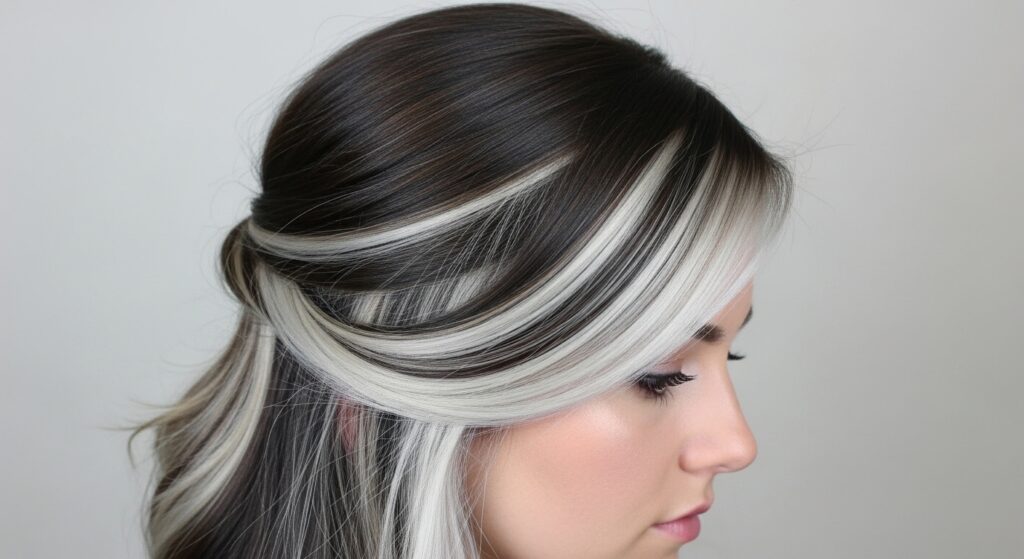
Get 24 Subtle Highlighted Waves Boosting Shine Without Salon Visits
Okay, let’s be real for a second. We all love that sun-kissed, dimensional hair that looks like you just spent a week on a yacht. But who has the time or budget for constant salon trips? And those at-home kits can be so… harsh.
I was right there with you, until I figured out a few secrets. This is all about subtle, shiny highlights you can do yourself, focusing on technique over drastic color change.
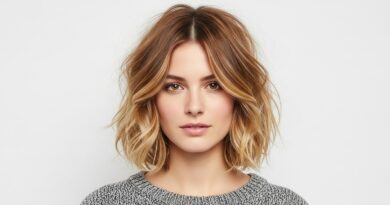
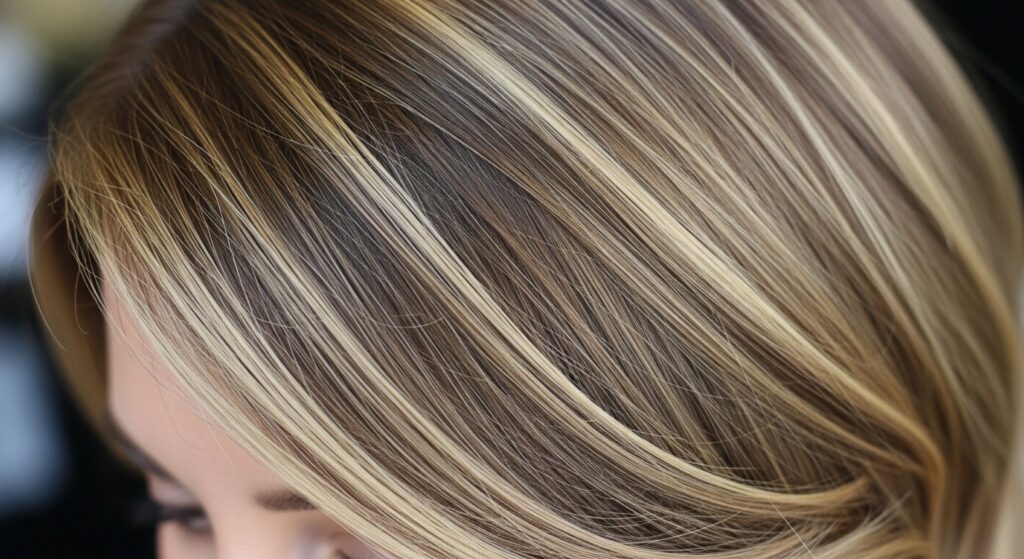
We’re boosting your natural beauty, not covering it up. The goal is hair that catches the light and has that effortless, lived-in wave. Think of it as the “old money hair” vibe—expensive-looking, not high-maintenance.
Stick with me, and I’ll walk you through every single step, from choosing your shade to the perfect no-heat waves. You can totally do this.
Why Subtle Highlights Are Your Secret Weapon
Bold streaks are fun, but subtle highlights are magic. They add depth and movement without a harsh line of regrowth. This means you can go longer between touch-ups, saving you so much time and money.
They work with your natural color to enhance it, making your hair look thicker and shinier. It’s that “I woke up like this” glow that fits right into the quiet luxury bob trend and so many of the effortless 2026 hairstyles we’re starting to see.
This method is perfect if you’re growing out a more dramatic color or just want a low-commitment refresh. It’s all about a soft, believable result.
Gathering Your At-Home Kit
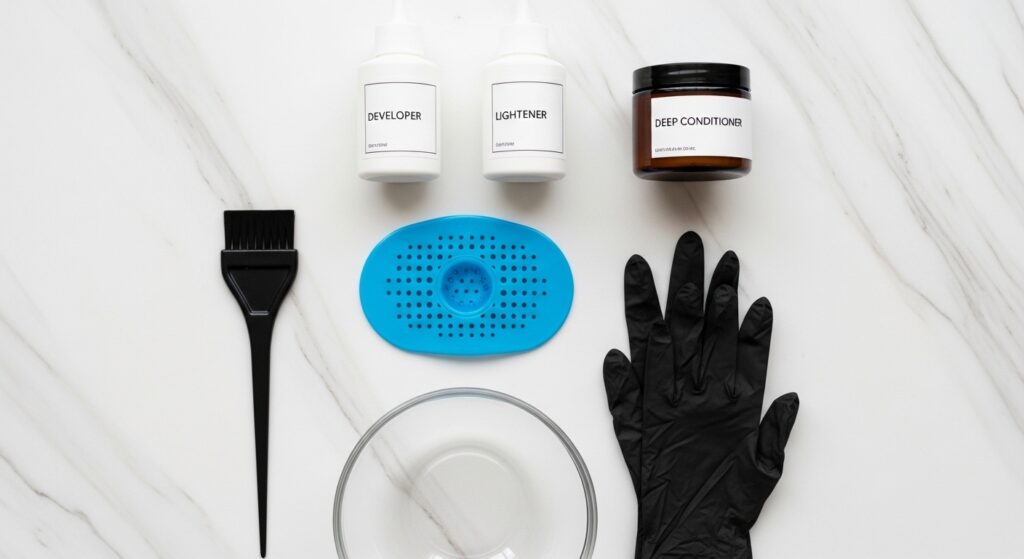
You don’t need a pro kit, but you do need the right basics. First, a highlighting cap or a fine-tooth comb for precise application. I prefer a cap for beginners—it’s less intimidating.
You’ll also need a cream lightener kit, a 20-volume developer, a tint brush, clips, and a good deep conditioner for after. Always do a strand test 48 hours before to check for allergies and color result.
Set up in a well-lit bathroom with old towels. Wear an old button-down shirt you don’t care about. Being prepared is half the battle for a stress-free experience.
Choosing the Perfect Shade for You
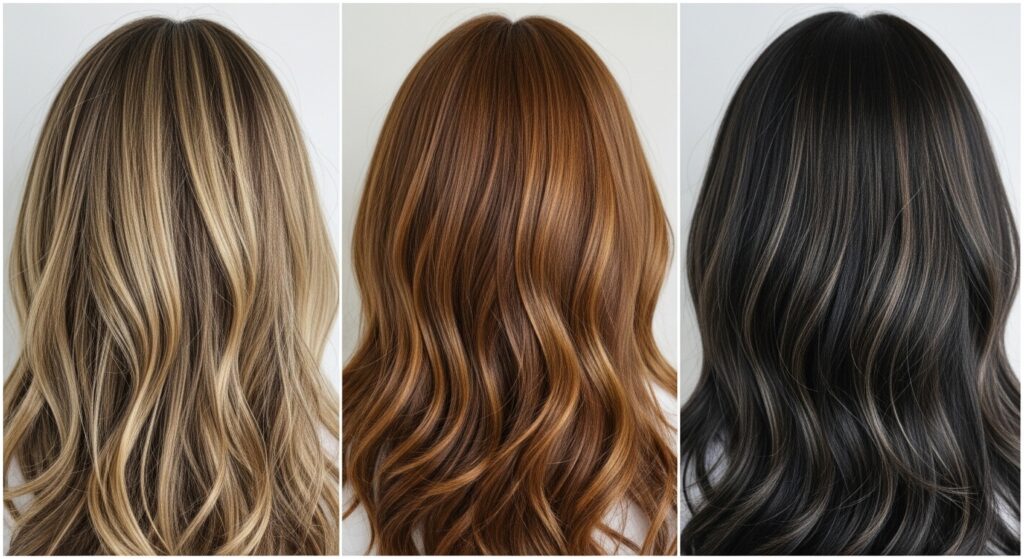
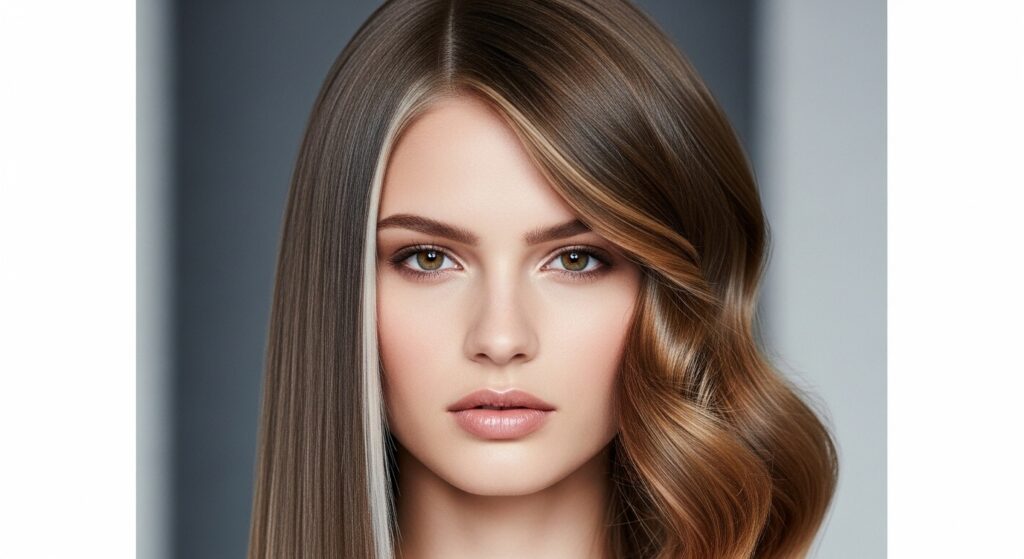
This is the most important step. The key word is “subtle.” You want a shade that’s only one or two levels lighter than your natural base. If you have dark brown hair, think a warm caramel, not platinum.
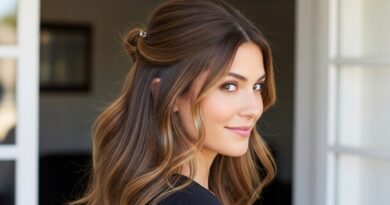
For blondes, go for a beige or honey tone to avoid brassiness. Brunettes look amazing with golden or toffee ribbons. This creates that soft, blended look that’s so chic right now.
Avoid ash tones unless you’re a pro—they can turn gray. When in doubt, go warmer. It mimics how the sun would naturally lighten your hair and blends more easily.
Sectioning Your Hair Like a Pro
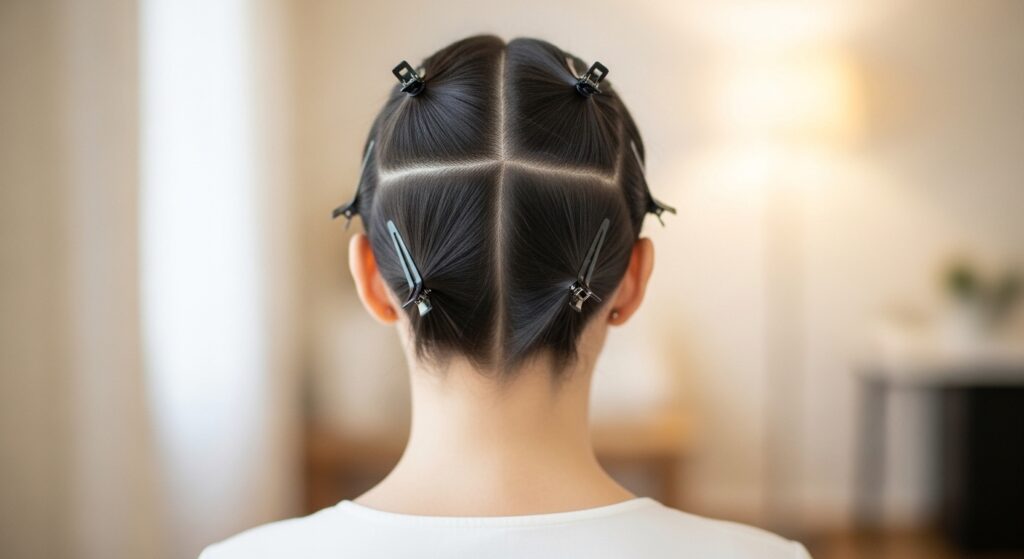
Don’t just dive in! Clean, dry hair is your canvas. Start by parting your hair down the middle. Then, make a part from ear to ear, separating the top section from the bottom. Clip the top up.
You’ll work from the bottom up. Divide the bottom section into two halves, left and right. This gives you four main quadrants to manage. Working in small, thin sections is what creates that natural, scattered highlight effect.
It feels meticulous, but it prevents patchiness and ensures you don’t miss spots. This control is what makes the difference between a DIY disaster and salon-worthy results.
The Cap Method: Easiest for Beginners
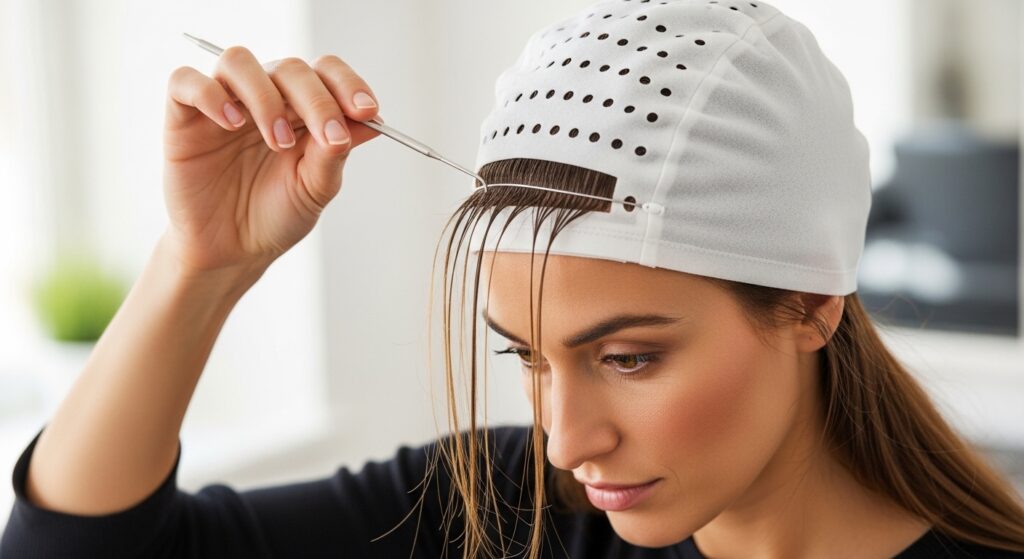
If the thought of freehand painting makes you sweat, start here. Put on the highlighting cap snugly. Using the hook tool, pull out tiny, random sections of hair through the holes.
The trick is to be sporadic. Don’t pull every single hole in a row. Skip around to create a natural, sun-kissed pattern. Focus on the top layer and around your face for a brightening effect.
This method is fantastic for achieving that all-over dimensional look without any stress about placement. It’s how I did my own highlights for years before getting more adventurous.
The Balayage-Inspired Painting Technique
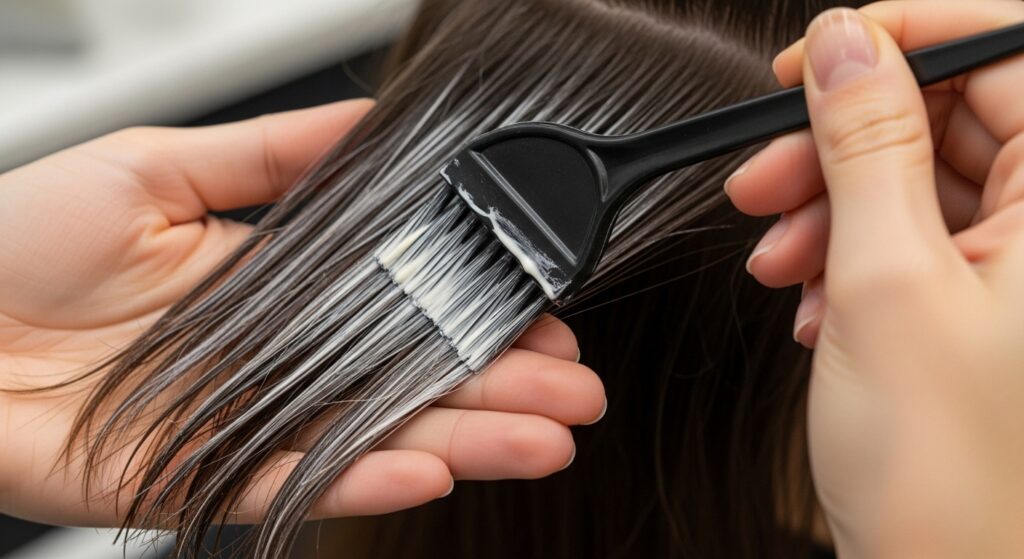
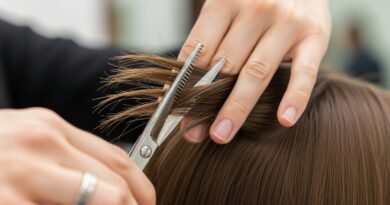
Ready to level up? This gives a more custom, blended effect. Take a very small, vertical section of hair. Using your brush, paint the lightener onto the mid-lengths and ends.
Feather the product upward, so there’s no harsh line. Leave the roots mostly untouched. This mimics how a stylist would balayage, giving you that soft, grown-out look from day one.
It’s perfect for an asymmetrical lob or any cut where the ends are the star. This technique adds serious movement and is a cornerstone of those glitchy glam hair textures.
Timing is Everything: Don’t Overprocess
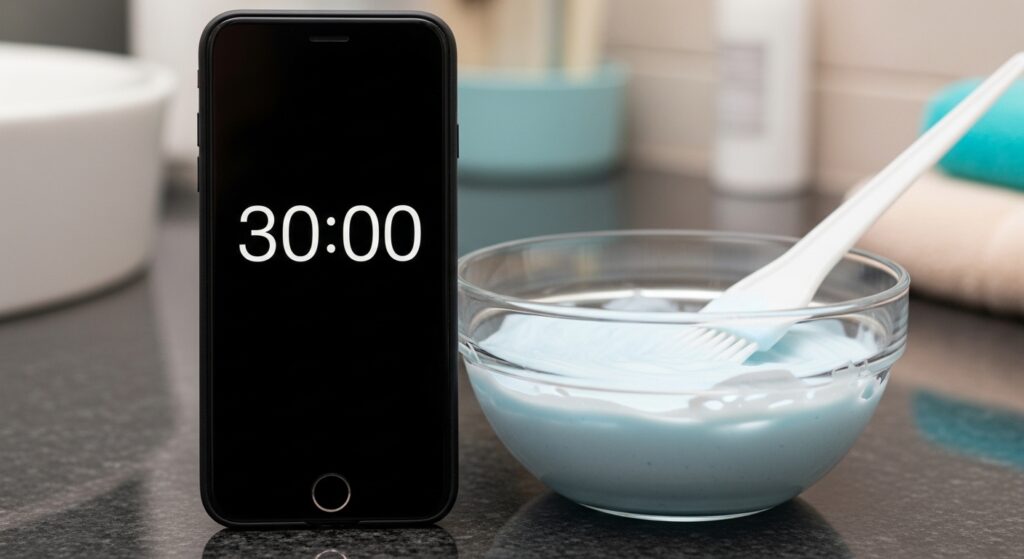
Set a timer! This isn’t a “set it and forget it” situation. Check your hair every 10 minutes after the first 30. The ends process faster than the roots.
We’re going for a gentle lift, not platinum. You want a pale yellow color, not white. Once you see that level of lightness, you can rinse, even if it’s before the max time on the box.
Overprocessing is what leads to dry, damaged hair. We’re boosting shine, not killing it. Patience here gives you that healthy, old money hair shine.
The Gentle Rinse-Out Process
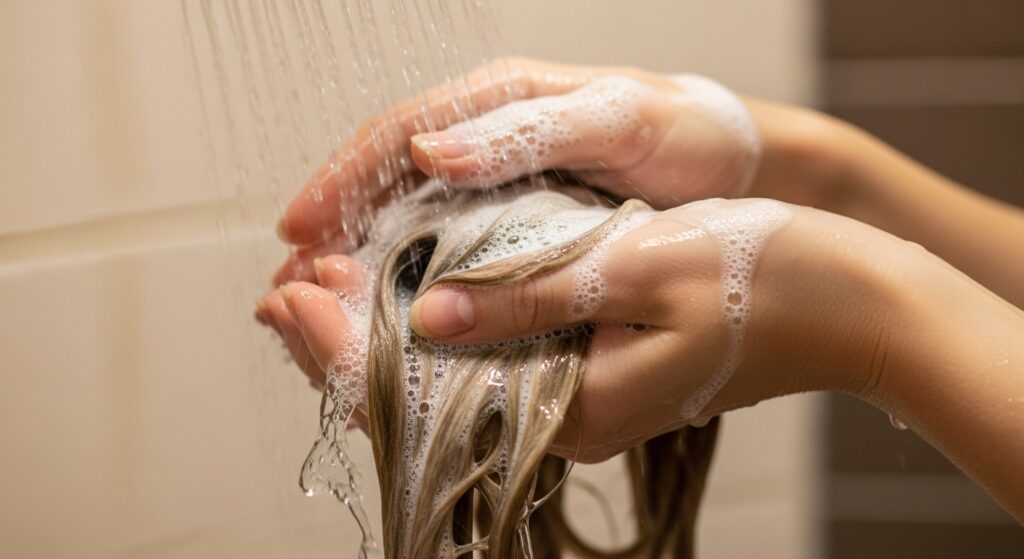
When your time is up, rinse the lightener out with lukewarm water first. Don’t use shampoo yet. Just rinse until the water runs completely clear. This might take a few minutes.
Be gentle—don’t rub or scrub your hair. Let the water flow through it. Once all the product is out, you can apply the toner that came in your kit, if you used one, following its instructions.
This careful rinse prevents any leftover product from continuing to process and ensures your toner or conditioner can work properly.
Your Post-Color Moisture Boost
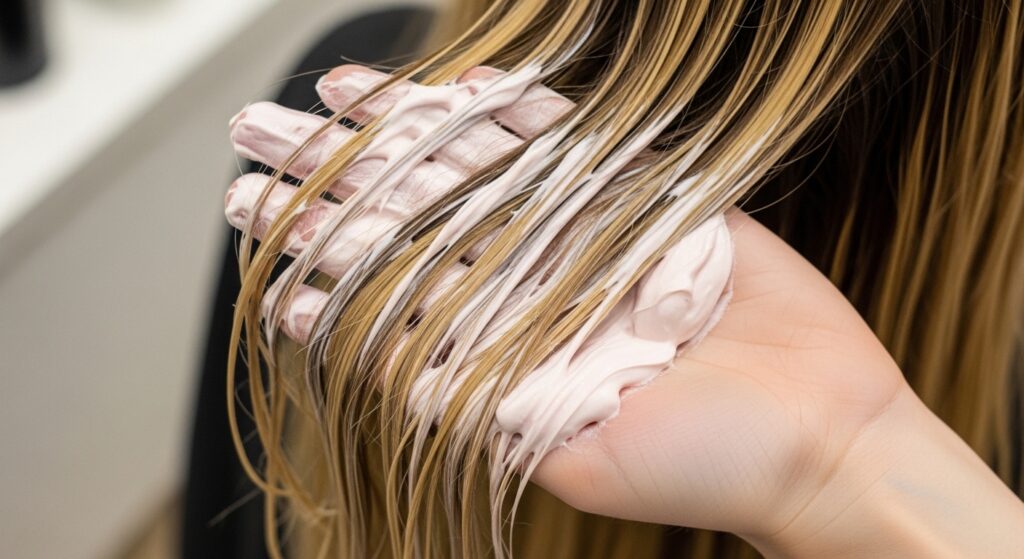
This step is non-negotiable. Lightening opens your hair’s cuticle, so we need to seal it back up with moisture. Use the deep conditioner from your kit or a rich, reparative mask.
Apply it generously from your mid-lengths to ends, where the hair is most porous. Let it sit for the full recommended time—I usually leave mine on for 10-15 minutes while I do other things.
This replaces lost proteins and moisture, making your hair feel soft, smooth, and incredibly shiny. It’s the secret to hair that looks and feels healthy, not fried.
The Final Rinse for Maximum Shine
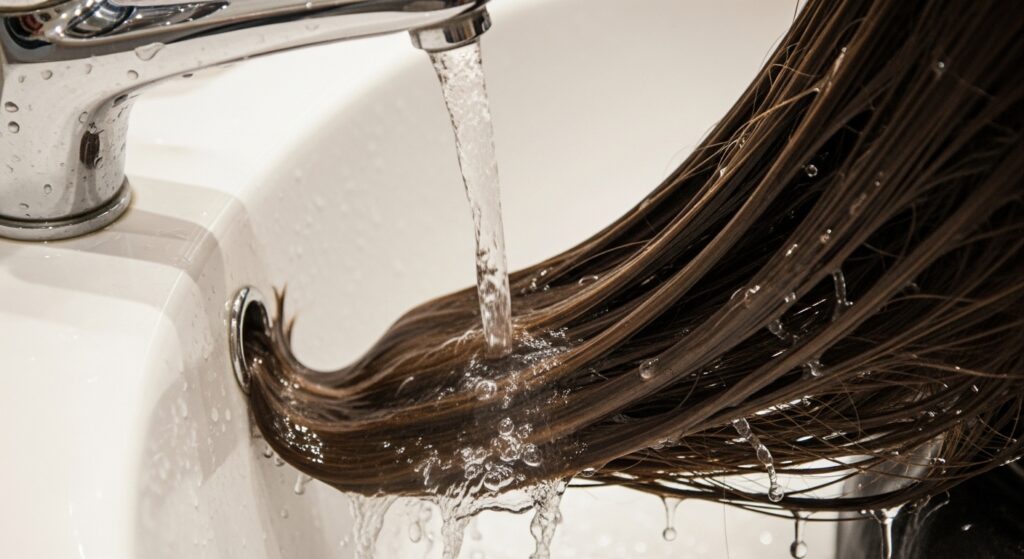
After your deep conditioner has worked its magic, rinse it out thoroughly. For the last 30 seconds of your rinse, switch the water to cool.
This cool blast helps to flatten the hair cuticle, sealing in the conditioner and locking in shine. It makes your hair reflect light better, giving you that glossy finish.
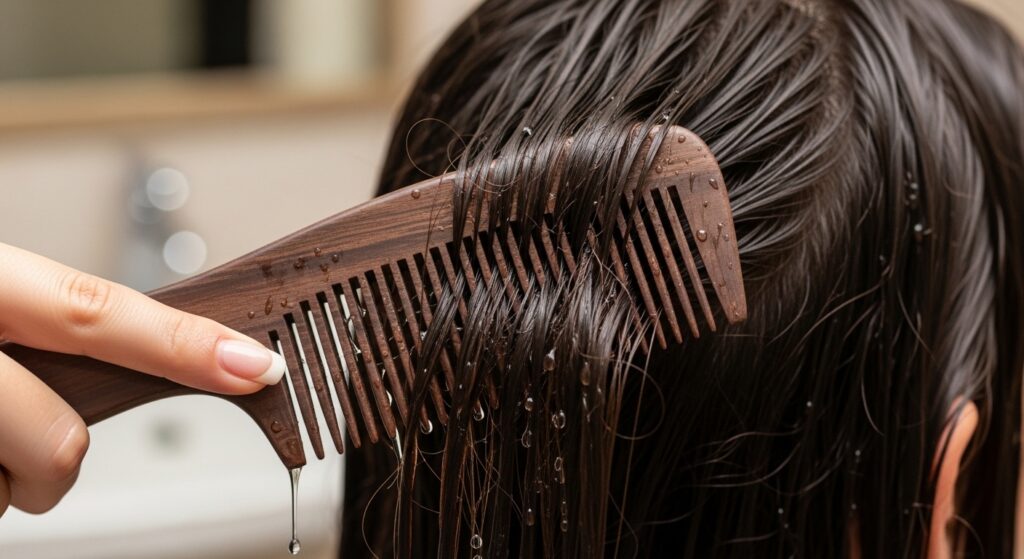
Gently squeeze out excess water with your hands. Avoid rough towel-drying with a regular bath towel, which can cause frizz. We want smooth, defined waves next.
How to Dry for Perfect Waves
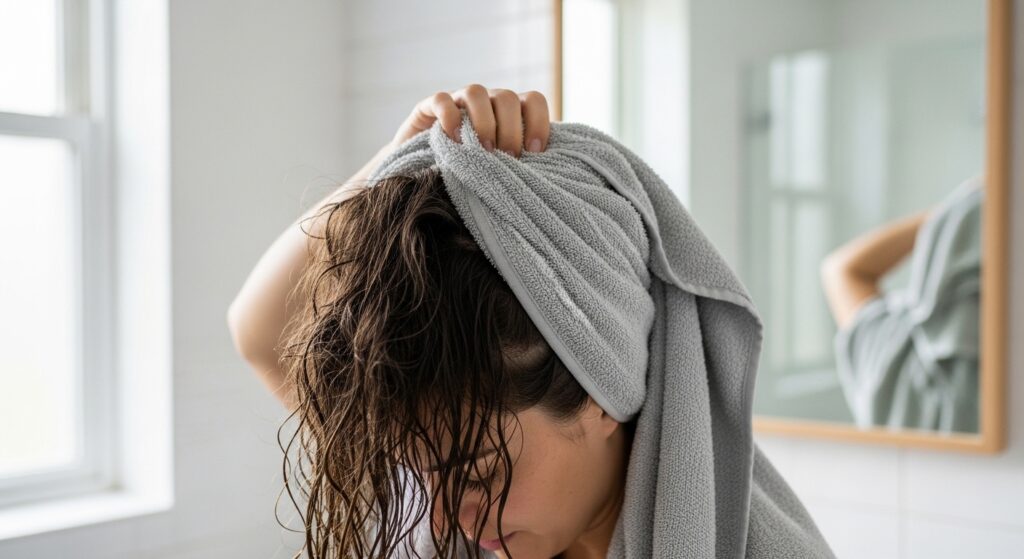
First, grab an old cotton t-shirt or a microfiber towel. These are much gentler than terry cloth. Wrap your hair up in a “plop” to absorb water without causing friction.
After 10-15 minutes, let your hair down. Apply a heat protectant and a curl-enhancing mousse or cream from mid-lengths to ends. This will define your waves and fight frizz.
Let your hair air-dry as long as possible. The less heat you use, the shinier and healthier it will stay. If you must blow-dry, use a diffuser on low heat.
Creating No-Heat Waves Overnight
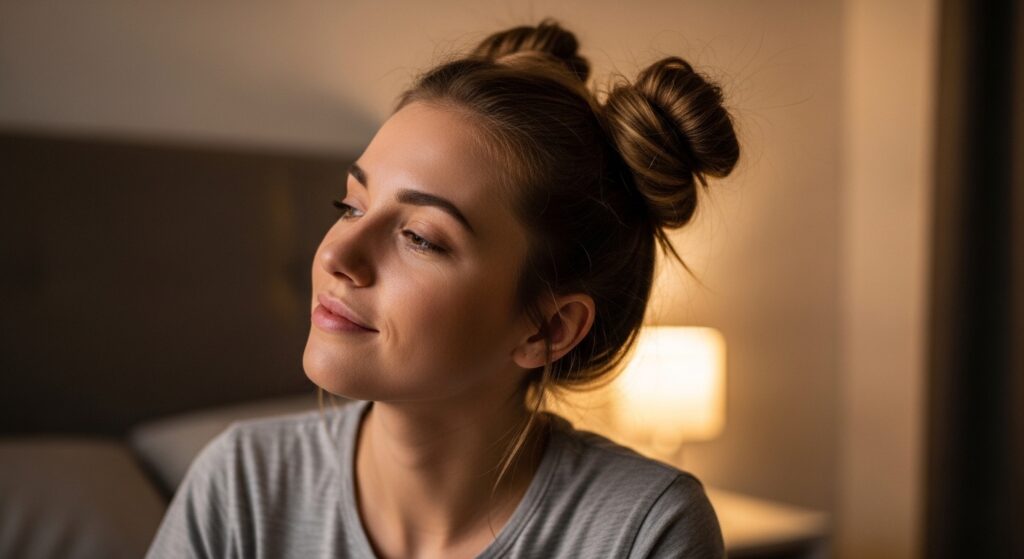
My favorite method for that “I didn’t try” wave. Once your hair is about 90% dry, split it into two sections. Twist each section away from your face, then wrap it into a loose bun on top of your head.
Secure with a soft coil hair tie or scrunchie—nothing too tight. Sleep on it! In the morning, take the buns down, shake your hair out with your fingers, and you’ll have gorgeous, soft waves.
This technique gives you uniform, romantic waves that really show off the dimension in your highlights. It’s the perfect base for so many styles, from romantic goth hairstyles to everyday chic.
The Classic Braid Wave Method
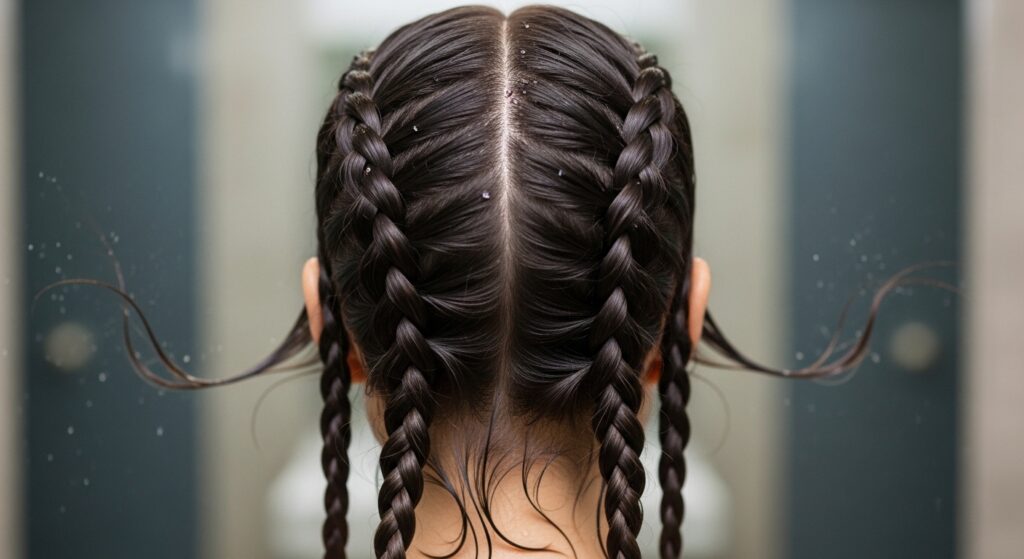
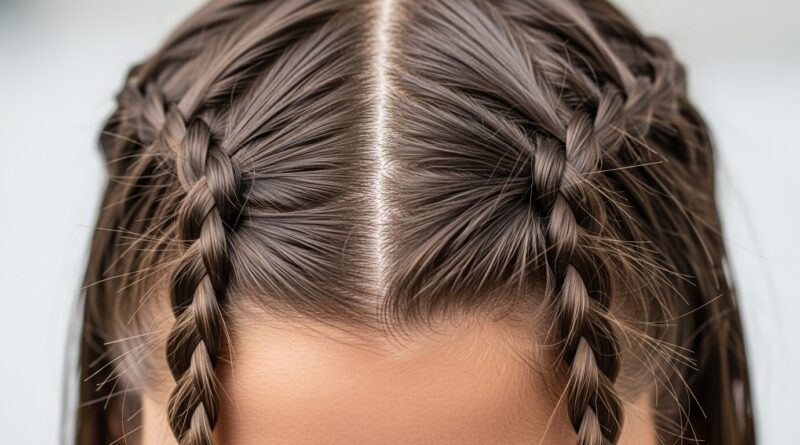
If you want a slightly more defined wave, braids are your friend. On damp, product-treated hair, create two simple, loose braids (one on each side).
The looser the braid, the softer the wave. Secure the ends, let your hair dry completely (overnight is easiest), and then unravel in the morning.
Run your fingers through the waves to separate them, and maybe hit them with a tiny bit of texturizing spray. This gives a beautiful, bohemian texture that works with everything from a hime cut to long layers.
Using Hot Tools the Right Way
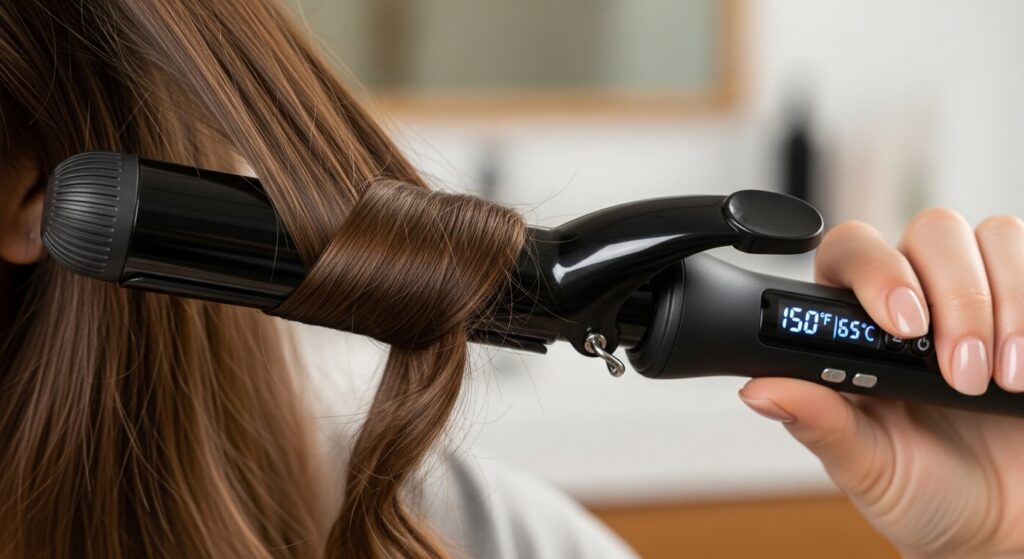
Sometimes you need waves fast. Always, always use a heat protectant spray first. Set your curling iron or wand to a medium heat—around 300-350°F is plenty.
Take large sections and curl away from your face for a modern look. Don’t curl all the way to the roots. Leave the ends out for a breezier feel.
After curling, let the curls cool completely, then run your fingers through them to break them up. This creates soft, blended waves, not tight ringlets, preserving that subtle highlighted effect.
Products to Make Your Shine Pop
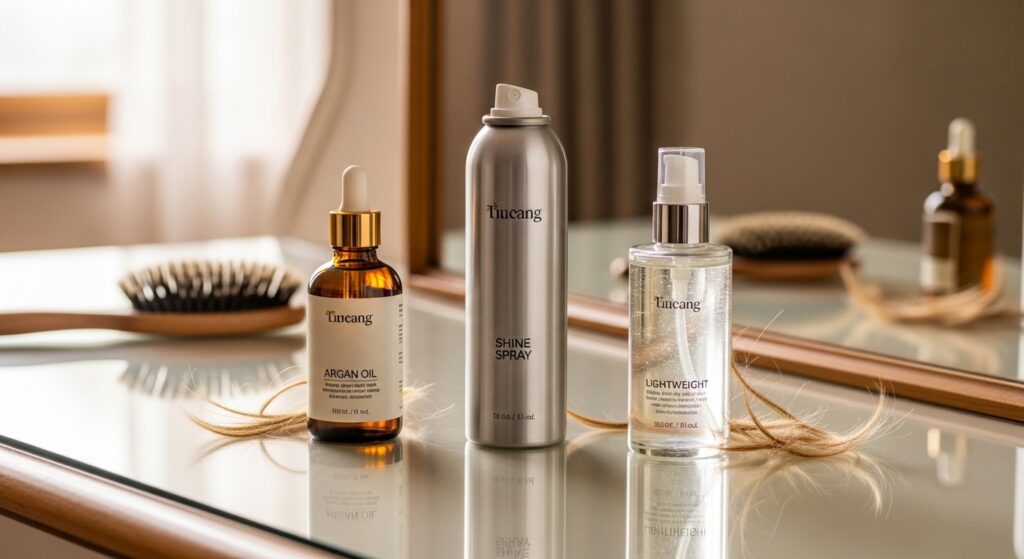
The right products lock in your look. A single drop of argan or marula oil rubbed between your palms and smoothed over your ends adds incredible shine and tames flyaways.
A lightweight shine spray is great for a midday refresh. Look for products labeled “glossing” or “brightening.” Avoid heavy gels or waxes that can dull your color and weigh hair down.
These finishing touches are what give you that salon-fresh look every day. They protect your highlights and make the color look even more vibrant.
Styling Your New Highlights for Day
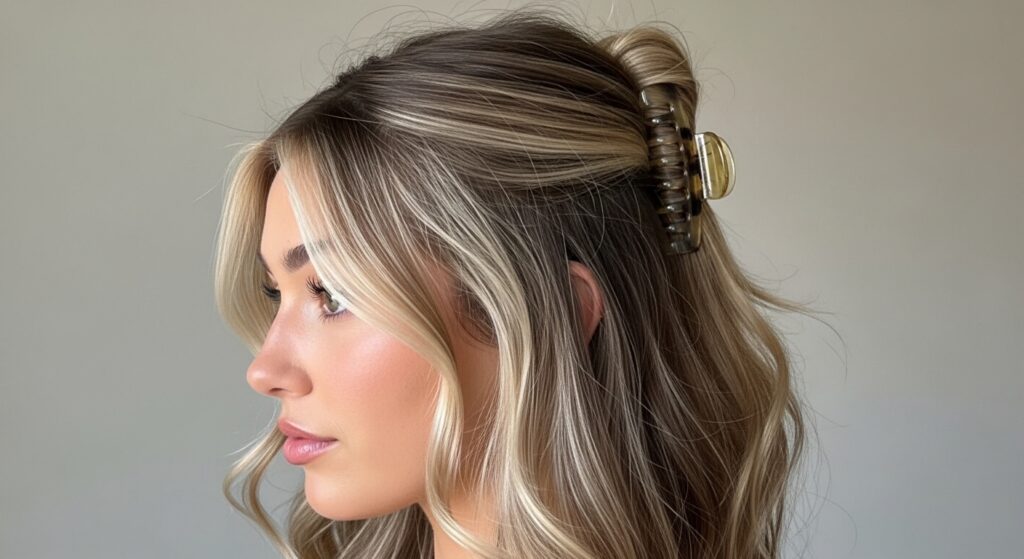
Show off that dimension! A half-up style with a chic claw clip instantly pulls your face-framing pieces forward. Or, try a low, loose ponytail, pulling out a few pieces around your face.
Simple is best. You’ve already done the work with the color and waves, so let them be the star. A deep side part can also look incredibly elegant and show off the contrast.
This is where you really see the quiet luxury bob vibe come to life—it’s all about effortless polish that doesn’t look overdone.
Evening Glam in Minutes
To elevate your look for night, add a bit more definition. Use a flat iron on low heat to smooth the top section near your part for a sleek contrast to your wavy ends.
Or, create a deep side part and tuck one side behind your ear. This is a stunning look with an asymmetrical lob or a sharp vampire haircut, making the highlights look even more dramatic.
A touch of shimmering highlighter on your cheekbones and collarbones will make your hair shine even more under evening lights.
Fighting Brassiness at Home
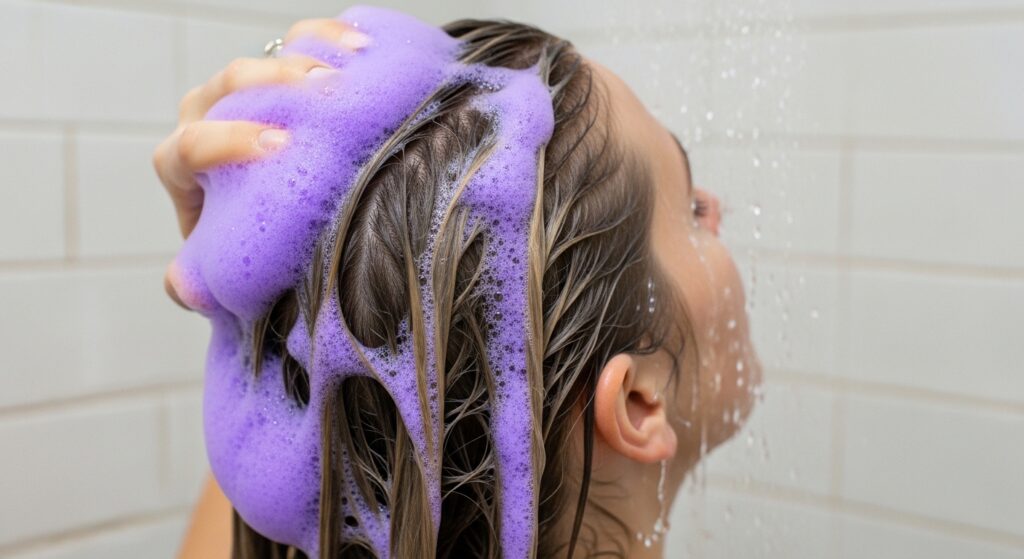
If your blonde or light brown highlights start to look a bit yellow, don’t panic. A purple shampoo is your new best friend. Use it once a week or every other week.
Apply it to wet hair, lather, and let it sit for 3-5 minutes—no longer! Then rinse thoroughly. It neutralizes yellow tones, keeping your color cool and bright.
For brunettes with caramel highlights that go too red, a blue shampoo will cancel out those orangey tones. It’s simple maintenance for a professional look.
Extending Time Between Touch-Ups
To keep your highlights looking fresh, protect your hair. Wash with sulfate-free shampoo in lukewarm water. Always use a heat protectant. Sleep on a silk pillowcase to reduce friction.
When you do your roots eventually, you can just “refresh” the pieces around your face and on top. You don’t need to re-do your entire head every time.
This selective touch-up is the real secret to a low-maintenance highlight life. It keeps the look dynamic and growing out gracefully.
Mixing Styles: Your New Versatility
The beauty of subtle highlights is how versatile they are. They add the depth needed to make edgier cuts like the hime cut or glitchy glam hair really stand out.
They can lean romantic or sharp depending on your styling. The same head of hair can work for a soft, romantic goth hairstyles day and a sleek, professional look the next.
You’ve essentially given yourself a multi-dimensional canvas. Play with it! Try new parts, new accessories, and have fun with your new texture and light.
Your Hair Health Check-In
Listen to your hair. If it starts feeling dry or straw-like, take a break from any heat and up your deep conditioning treatments. Consider a bond-building treatment like Olaplex No. 3.
Get regular trims every 8-10 weeks to prevent split ends from traveling up the hair shaft. Healthy hair holds color and shine better than anything.
This is about loving your hair, not just coloring it. Nourishing it ensures your highlights always look their absolute best.
You Did It! Own Your Look
Seriously, give yourself a pat on the back. You just gave yourself a custom color treatment and learned new styling skills. That’s a huge win.
The confidence that comes from knowing you can maintain this look yourself is the best accessory. You look amazing, and you did it on your own terms.
Wear your new waves and shine with pride. You’ve mastered a look that’s totally current, incredibly flattering, and completely yours.
And that’s it, friend! My complete, step-by-step guide to getting that gorgeous, sun-touched hair without the salon chair. It might seem like a lot of steps, but once you do it once, it becomes second nature.
The real magic is in the confidence it gives you. There’s something so empowering about mastering a skill like this for yourself. You get beautiful hair and the satisfaction of knowing you created it.
Save this post to Pinterest to keep this guide handy for your next highlight refresh! And I’d love to know—which technique are you most excited to try? Leave me a comment below and tell me all about your hair journey!