Gracefully 24 Cascading Step Layers Flowing Waterfall Like Soft
Okay, let’s be real. We’ve all seen those impossibly perfect, flowing hairstyles on our feeds and thought, “I could never.” It looks like it takes an hour and a team of stylists, right? What if I told you the secret is all in a single, genius cutting technique?
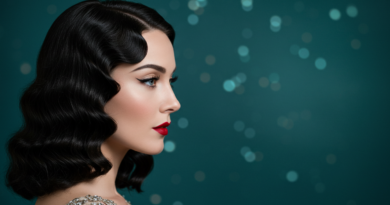
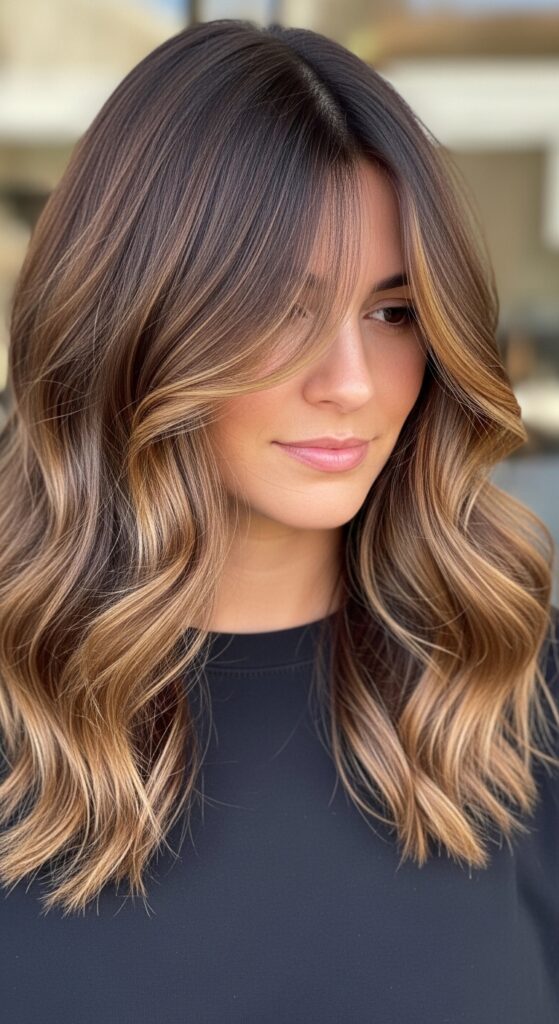
I’m talking about the cascading step layer. It’s the magic behind that soft, waterfall-like movement that feels both effortless and incredibly polished. It’s the kind of hair that turns heads not because it’s loud, but because it moves so beautifully.
This isn’t about a drastic chop. It’s about strategic layering that builds volume, softens your features, and gives you that “I woke up like this” texture. Whether your hair is long or shoulder-length, this guide will break down exactly how to ask for it and style it yourself. Let’s get into it.
What Are Cascading Step Layers, Really?
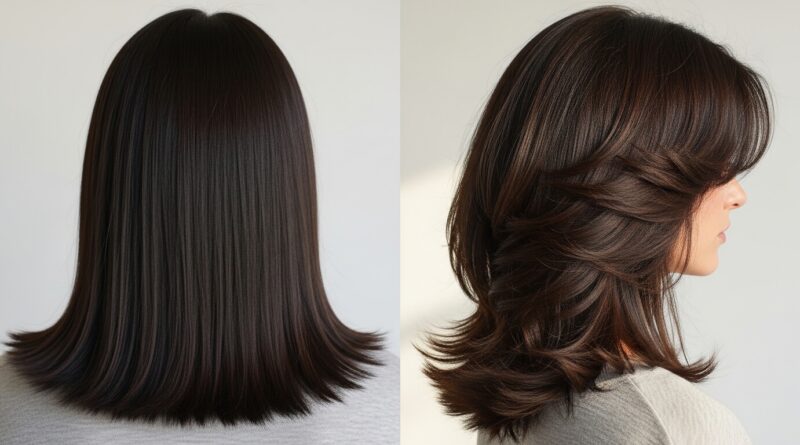
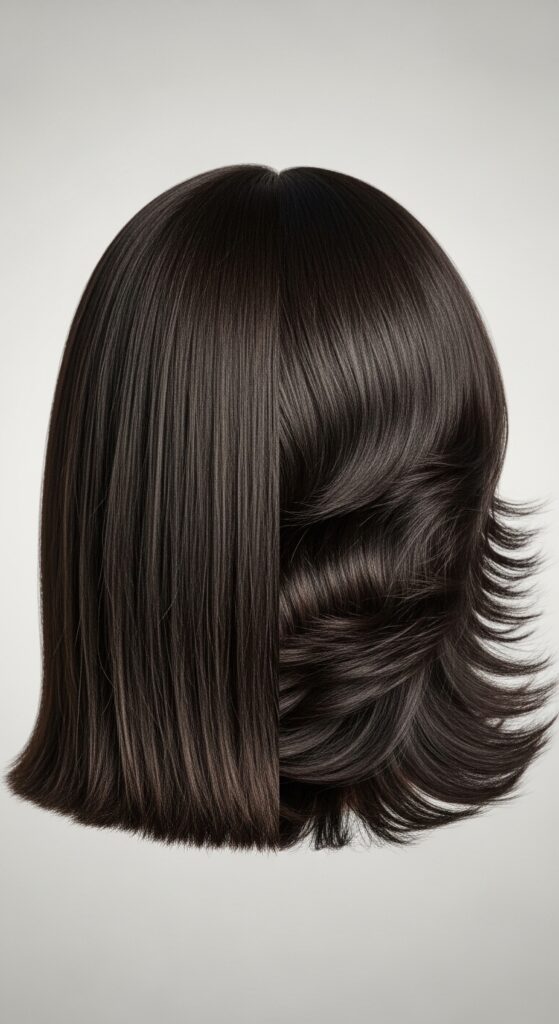
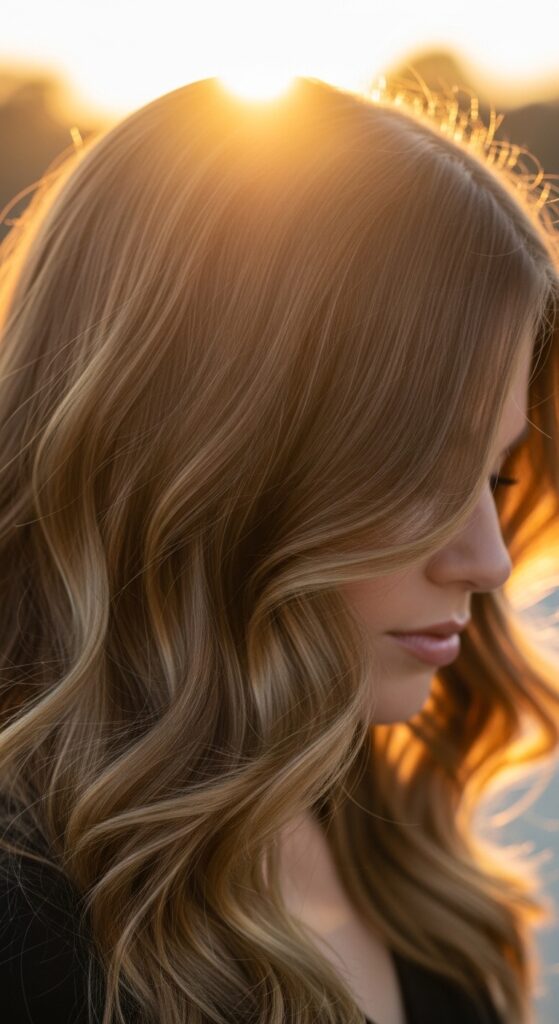
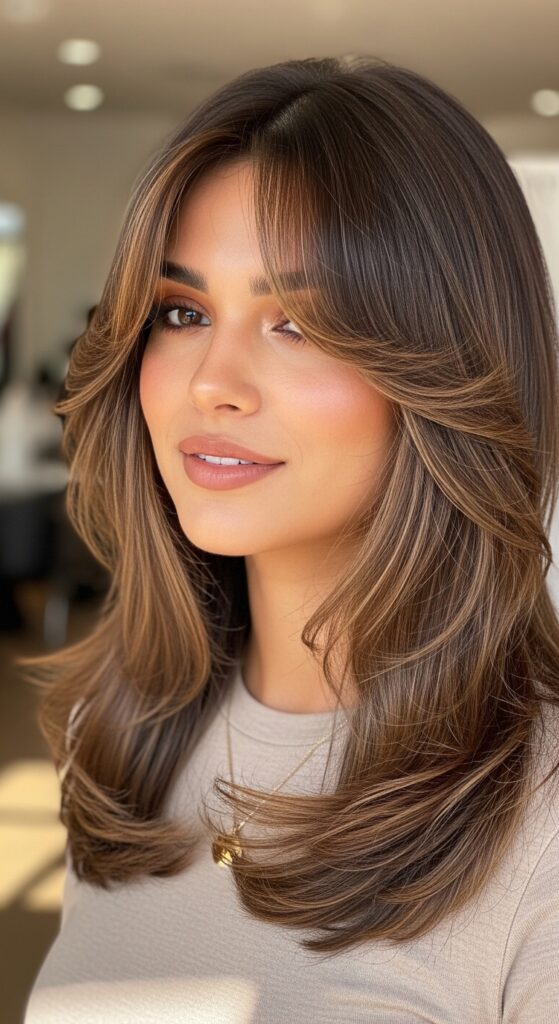
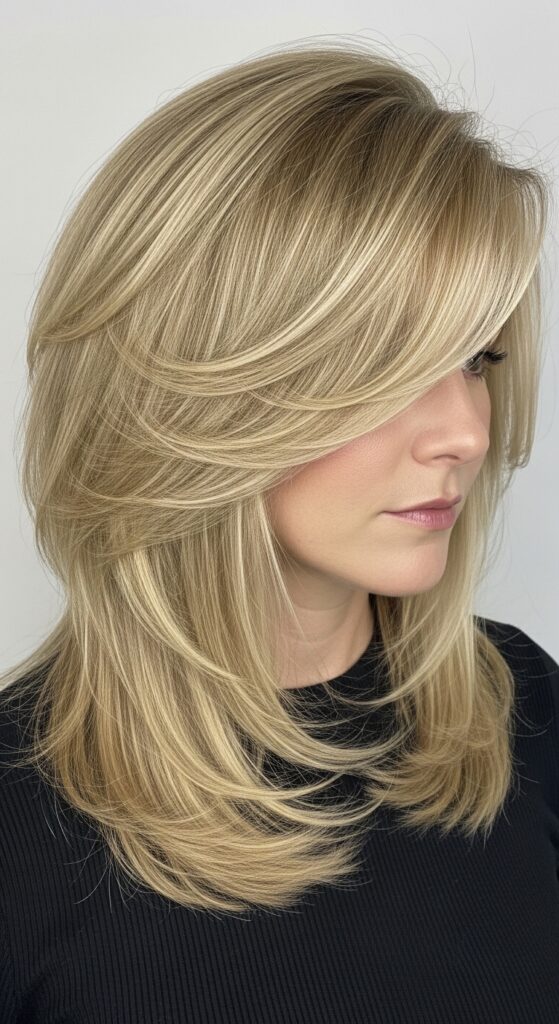
Forget the harsh, choppy layers of the past. Cascading step layers are different. Imagine each layer as a gentle step on a staircase, each one slightly longer than the last. They’re cut at an angle to create a seamless, flowing effect.
The goal is softness and motion. The layers start around your cheekbone or jaw, framing your face, and continue down the length of your hair. This technique removes weight without sacrificing length, giving you that dreamy, waterfall-like silhouette that’s full of life.
Why This Cut is a Total Game-Changer
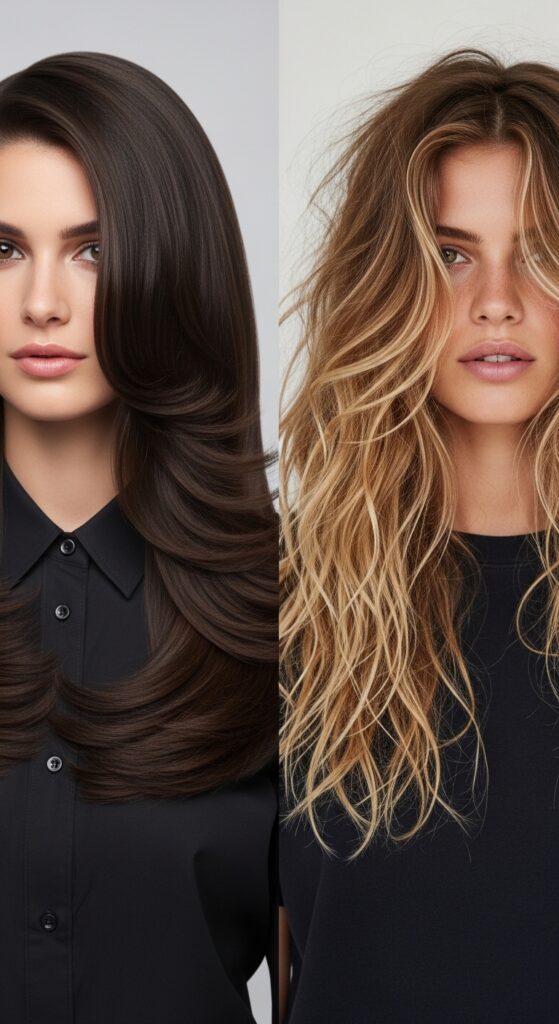
If you have fine or flat hair, this cut gives you instant volume and body. If your hair is thick and heavy, it releases the weight so your natural waves can spring to life. It’s the ultimate universal fix.
The real magic is in the movement. Every turn of your head creates a soft, romantic swing. It adds dimension and a touch of that “old money hair” elegance—it looks expensive and cared for, without being overly done. It’s a cornerstone of quiet luxury hair.
The Perfect Face Shape for This Look
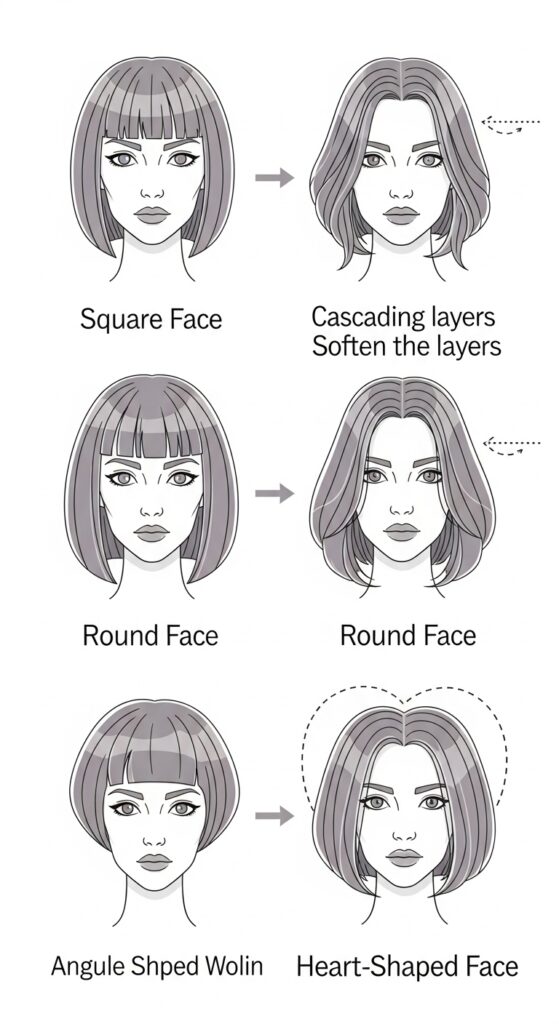
Good news: this is one of the most flattering cuts out there. The soft, graduated lines are fantastic for softening strong jawlines (square and heart shapes) and adding definition to rounder faces.
For oval faces, it’s pure perfection, highlighting your natural balance. The key is in the consultation. A great stylist will adjust where the shortest layer starts to perfectly frame your unique features. It’s all about customization.
Bringing the Picture: How to Talk to Your Stylist
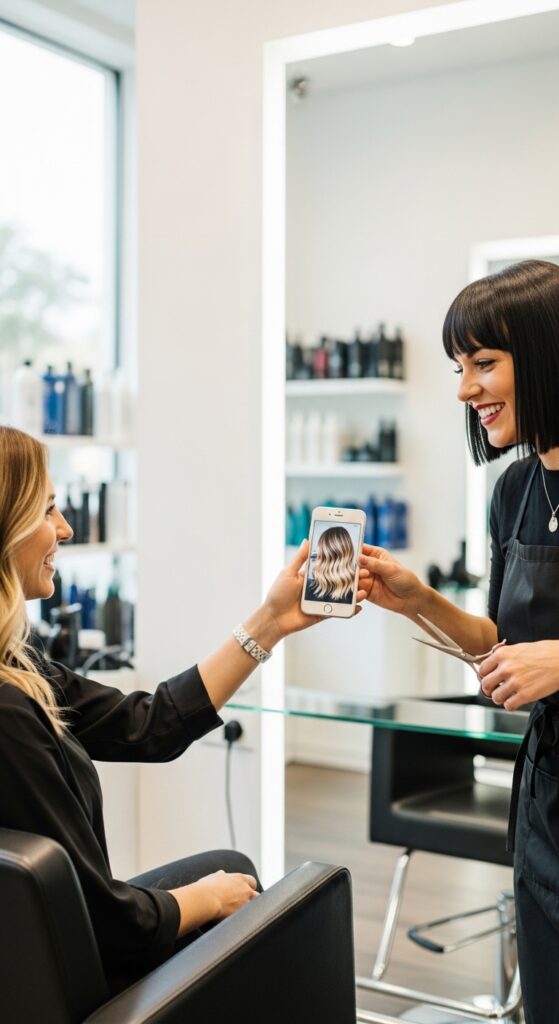
Walking into the salon and just saying “layers” won’t cut it. You need the right vocabulary. Be specific. Say you want “soft, cascading step layers” that start at your cheekbone or jaw and flow downward.
Use phrases like “waterfall effect,” “seamless layers,” and “no choppy ends.” Show them a picture! Say, “I want the layers to be hidden when my hair is straight, but create movement and volume when it’s styled.” This gives them a clear technical and visual goal.
Styling Secret #1: The Blow-Dry Foundation
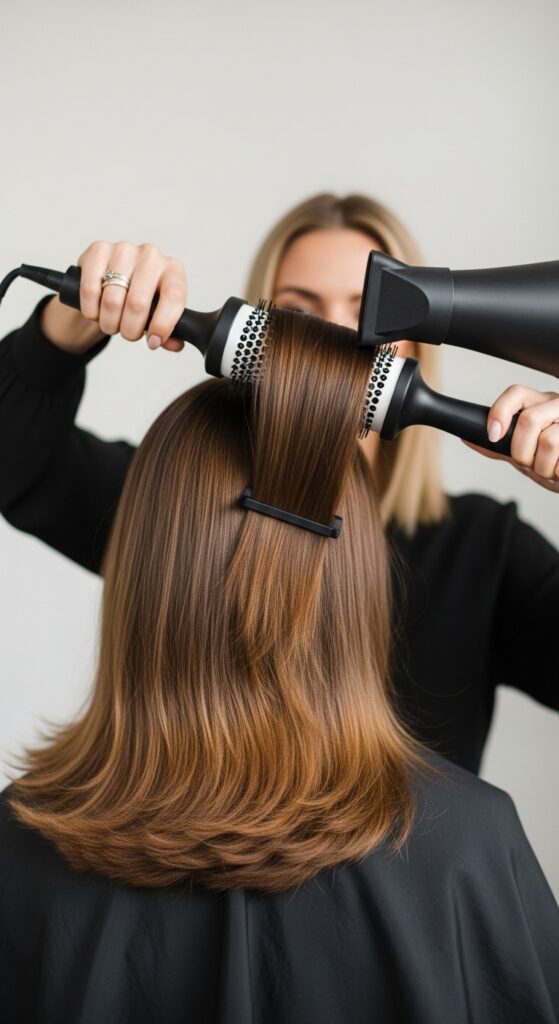
Great styling starts with a great blow-dry. For maximum flow, dry your hair in sections. Use a medium-round brush and direct the hair slightly back and away from your face as you dry.
- Start with damp, towel-dried hair and a heat protectant.
- Dry the roots first for lift.
- Wrap sections around the brush, pulling down and slightly outward to accentuate the layers.
This smooths the cuticle and creates a soft, unified shape that makes the layers pop in the best way.
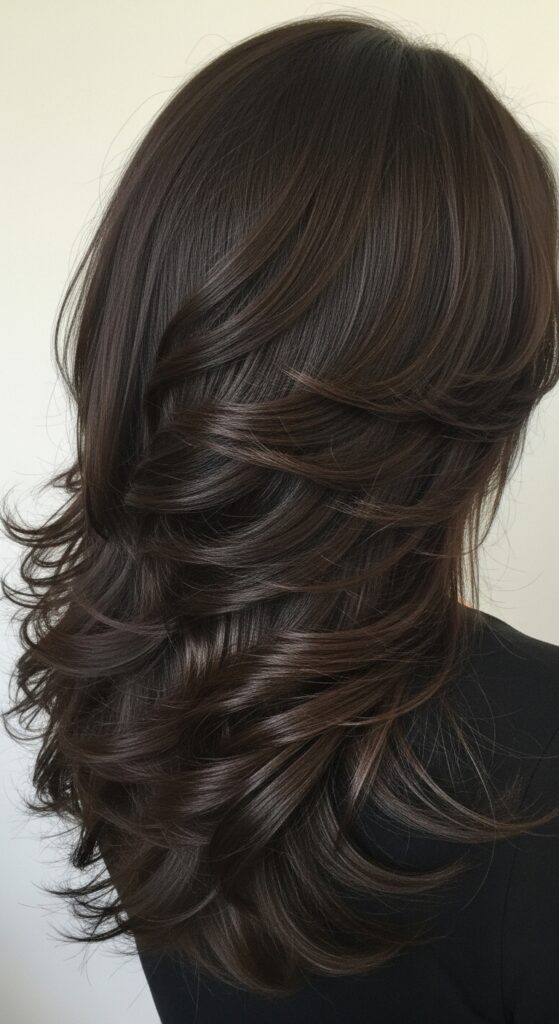
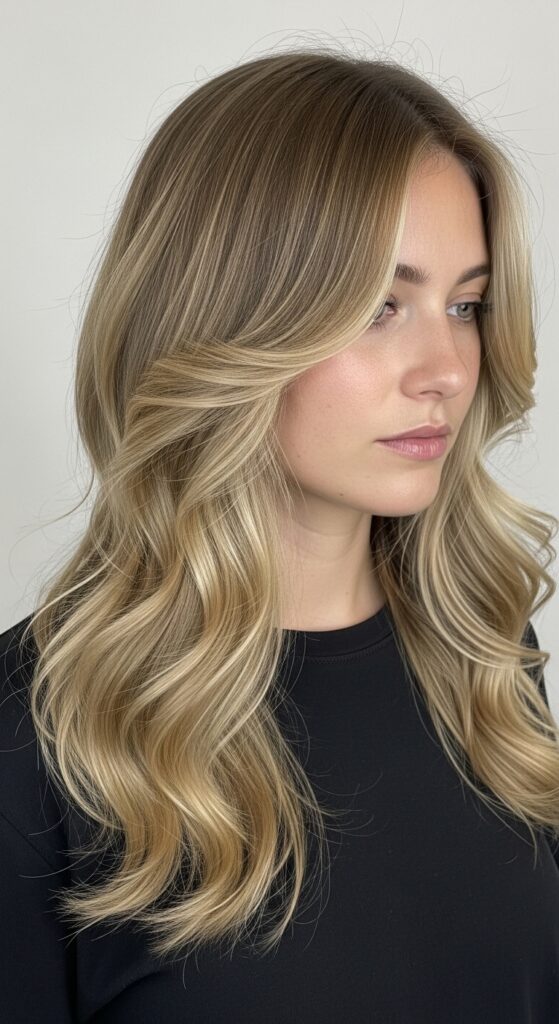
Styling Secret #2: Waves That Enhance the Layers
This is where the magic happens. Your cascading layers are designed to make waves look incredible. Use a 1.25-inch curling iron or wand. Take vertical sections, not horizontal.
- Wrap a section of hair around the barrel, leaving the ends out for a softer finish.
- Hold for 8-10 seconds, then release.
- Alternate the direction of the curls (toward and away from your face) for a natural look.
Once all your hair is curled, run your fingers through it. The layers will create a perfectly imperfect, romantic cascade.
The “I Did Nothing” Texturizing Spray Trick
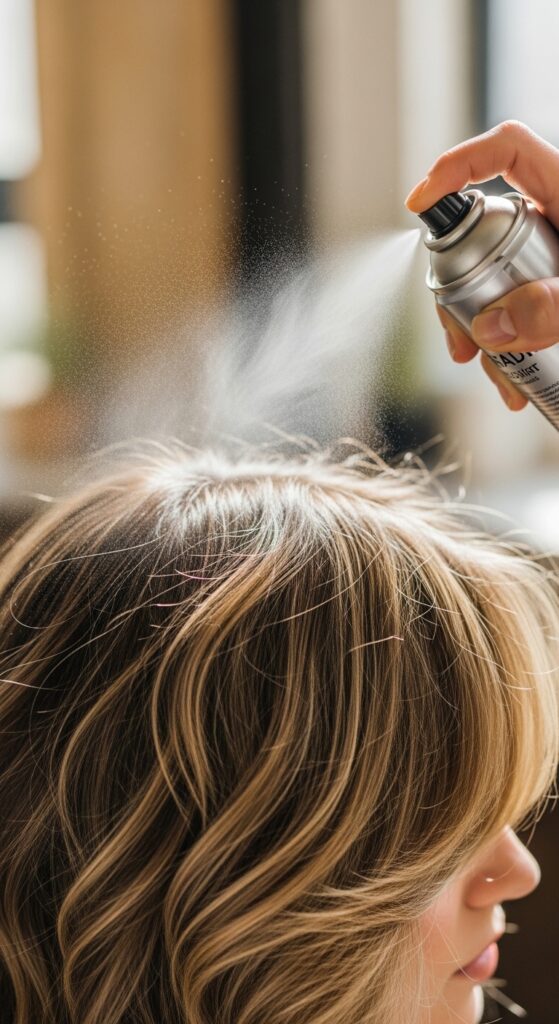
For that lived-in, effortless vibe, a texturizing spray is non-negotible. It’s the final step that makes the layers look intentional and cool, not just “done.”
After styling, flip your head over. Lightly mist the spray at your roots and mid-lengths. Scrunch gently with your hands. Flip back up and gently separate any pieces that are too stuck together. This adds grit, hold, and that perfect piece-y texture.
How This Cut Fits the 2026 Hairstyle Mood
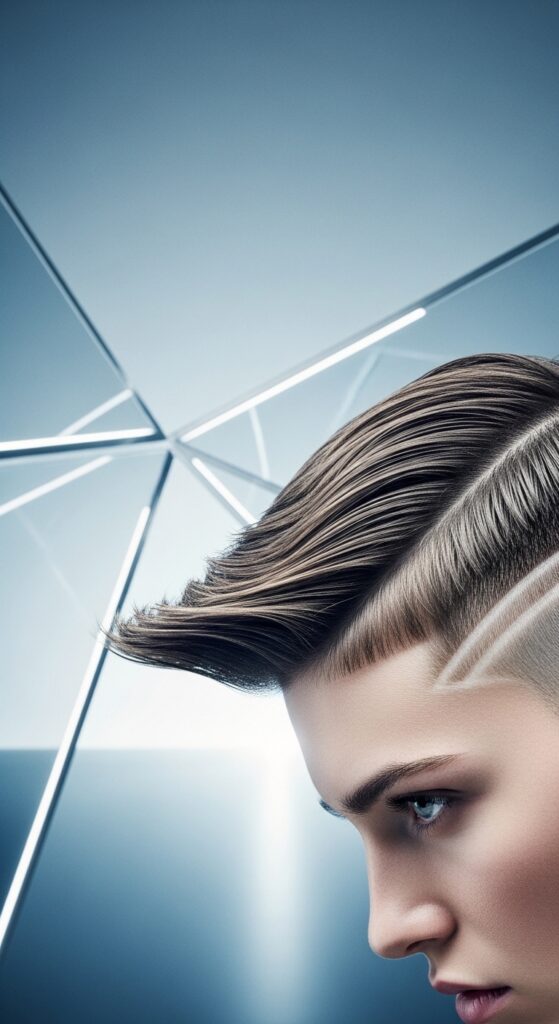
Looking ahead to 2026 hairstyles, we’re seeing a blend of romantic softness with structural precision. The cascading step layer is a perfect bridge. It has the fluid, romantic feel but is built on a very technical, smart cut.
It aligns with the “glitchy glam hair” trend—something beautiful but slightly undone, polished but not stiff. It’s a timeless cut that feels completely next-year, especially when paired with face-framing pieces or curtain bangs.
The Quiet Luxury Bob Connection
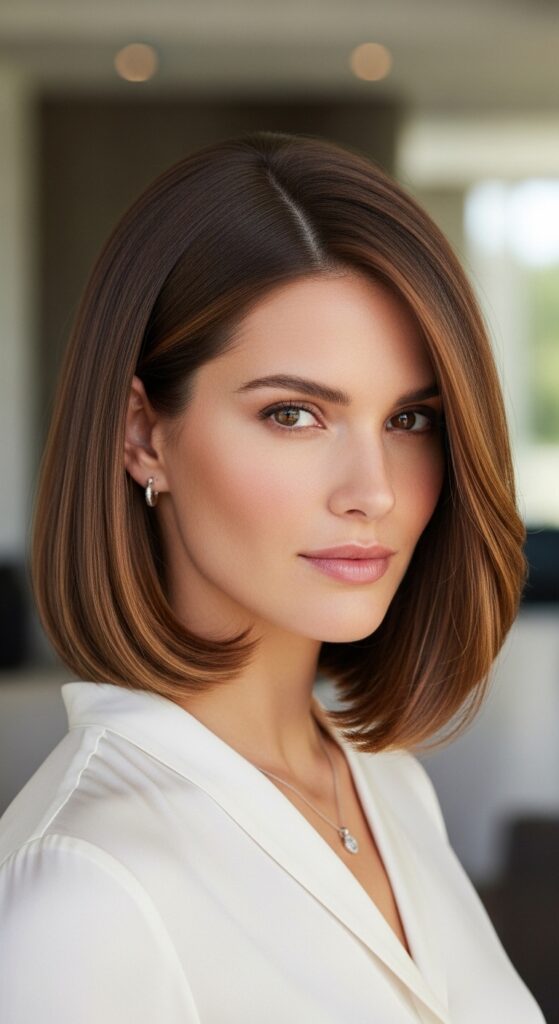
Think the cascading step is only for long hair? Not at all. This technique is the secret behind the “quiet luxury bob” and asymmetrical lob you’re seeing everywhere.
On a bob, the steps are tighter and more subtle, starting around the ear. They create internal movement so the bob swings beautifully instead of sitting like a heavy helmet. It’s that understated, expensive look that’s all about perfect cut, not product.
Even Romantic Goth Hairstyles Use This
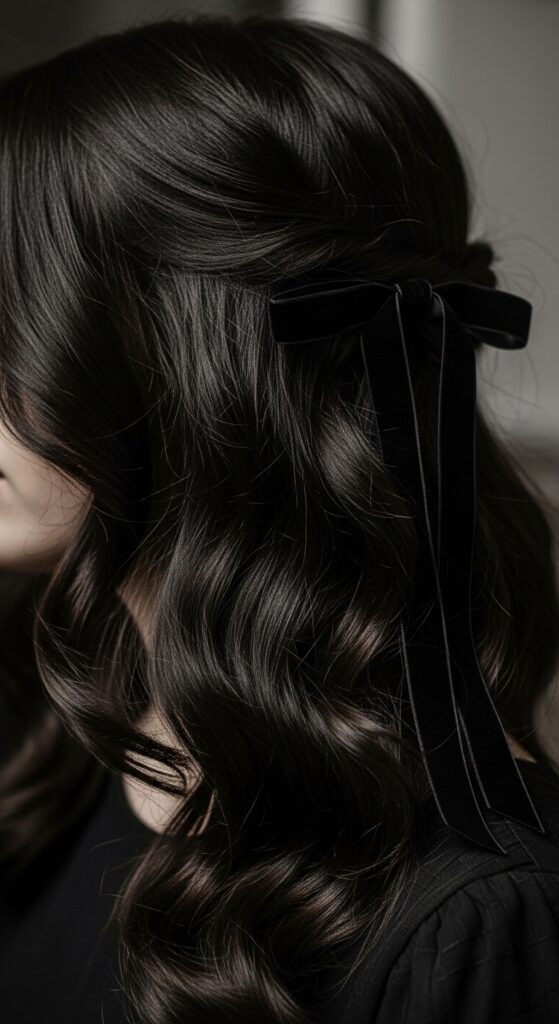
For a romantic goth hairstyles twist, this cut is a perfect base. The soft, flowing layers provide the perfect romantic canvas. Imagine this style in a deep black or burgundy, with a velvet bow or a few delicate, face-framing braids.
It’s less severe than a classic vampire haircut but carries that same sense of dramatic, beautiful movement. The layers catch the light in a mysterious, captivating way, perfect for a softer dark academia vibe.
Pairing It With Bangs: Yay or Nay?
Absolutely yay! The key is choosing bangs that flow into the existing layers. Curtain bangs are a match made in heaven—they’re essentially the shortest front layer of your cascading steps.
A hime cut, with its straight-across front pieces and long sides, can also be adapted with softer, stepped layers in the back for a more blended, wearable look. It prevents any harsh lines.
Maintaining Your Cut: Trimming Schedule
To keep the waterfall effect sharp, you can’t skip trims. The beauty of this cut is that it grows out gracefully, but to maintain the precise steps, aim for a trim every 10-12 weeks.
This schedule trims off any split ends that can weigh down the layers and keeps the shape intact. Tell your stylist you just want a “dusting” to maintain the shape, not to remove length.
My Favorite Products for This Haircut
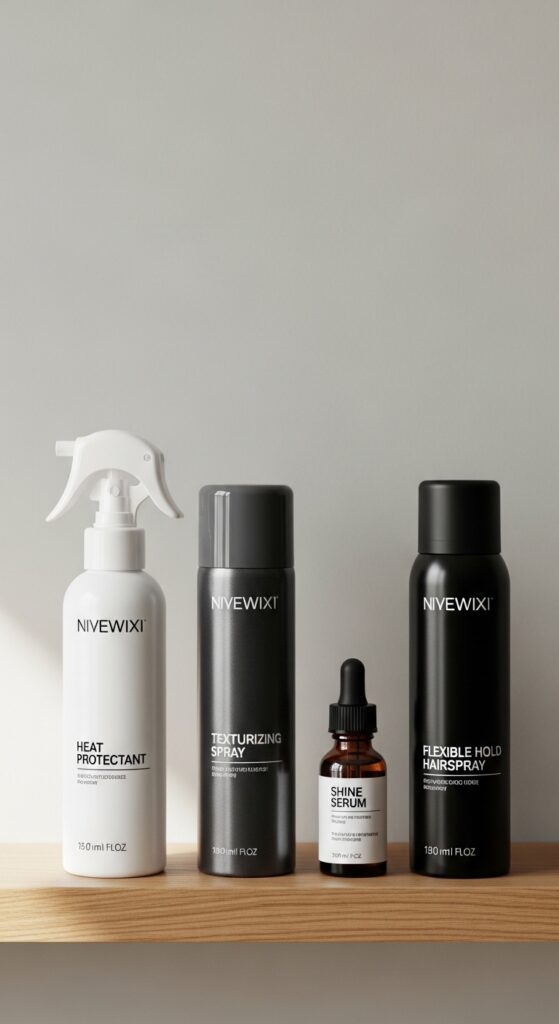
- Heat Protectant: Non-negotiable. Use it every time you style.
- Texture Spray: For that piece-y, lived-in finish.
- Lightweight Hair Oil: A drop on the ends to combat frizz and add shine without flattening.
- Flexible Hold Mousse: Applied to damp roots for lasting volume.
Can You Get This Cut If Your Hair is Thin?
Yes! This is one of the best cuts for thin hair. By removing weight strategically, it creates the illusion of much more fullness and body. The layers lift at the root and create movement, which makes hair look thicker.
The key is keeping the ends blunt-ish within each step. You want softness, but not over-thinning. A good stylist will know how to layer fine hair to maximize volume without compromising density.
Can You Get This Cut If Your Hair is Super Thick?
Also yes! For thick hair, this cut is a lifesaver. It removes the bulk and weight that can make thick hair feel oppressive and triangle-shaped. It allows your natural texture to spring up with more definition.
The layers are cut to release the curl or wave pattern, not to thin it out. You’ll get shape, movement, and a much more manageable head of hair that feels light and airy.
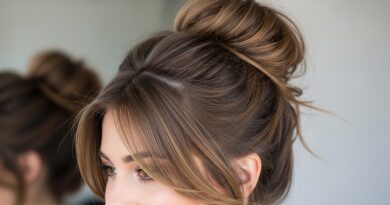
The Half-Up, Half-Down Showstopper
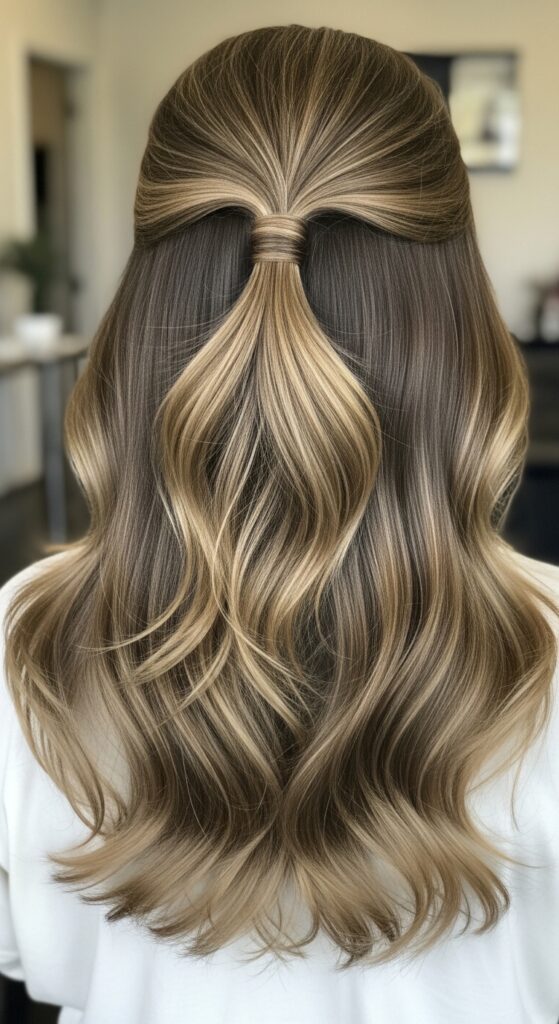
This is the ultimate style to show off your cut. Pull the top section of your hair back loosely, leaving out all your face-framing layers and pieces around your ears.
Secure it with a claw clip or a small elastic. Then, gently pull on the pieces around your face and the hair in the back to loosen it. This style highlights the beautiful graduation of your layers from short to long.
Mastering the Perfect Ponytail
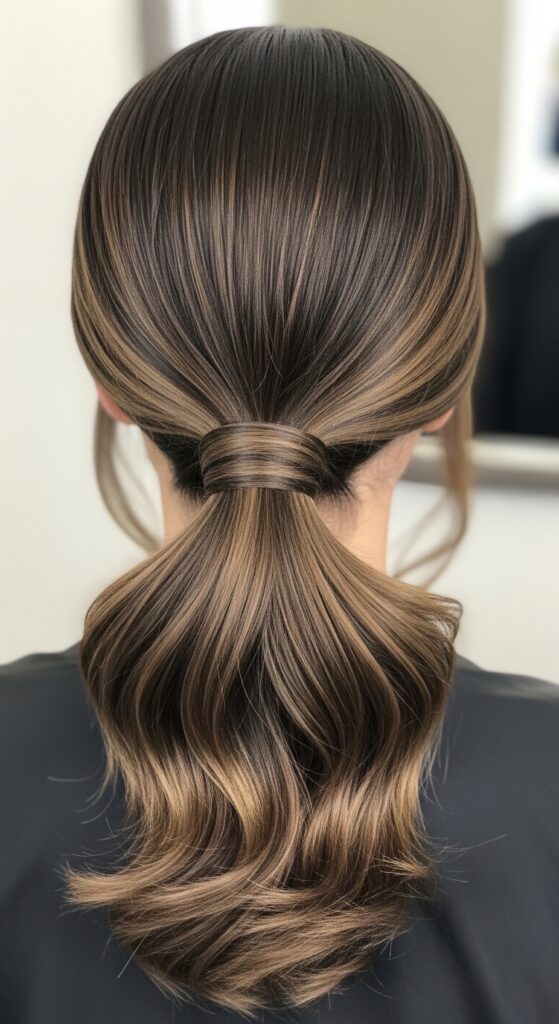
With this cut, your ponytail will never be boring. For a low pony, leave out the shorter layers around your face and at the nape of your neck. They’ll naturally frame your face and neck.
For a high pony, tease the crown slightly for volume. The layers will create a soft, feathery tail instead of a blunt one. Wrap a small piece of hair around the elastic to hide it for an extra-polished look.
Air-Drying for Your Natural Texture
If you have wavy or curly hair, this cut will make air-drying your best friend. After washing, apply a curl cream or mousse from mid-lengths to ends. Scrunch gently with your hands or a microfiber towel.
Let it air dry, scrunching occasionally. The layers will help your curls or waves form better clumps and reduce bulk. You’ll get defined, bouncy texture with zero heat.
Common Mistakes to Avoid
- Going to a Scissor-Happy Stylist: The cut should be soft, not choppy.
- Over-Thinning the Ends: This can make hair look wispy and thin, not full.
- Using Heavy Products: They’ll weigh down the layers and kill the volume.
- Cutting It Yourself: This is a technical cut. Please see a professional.
Seasonal Adaptations: Summer vs. Winter
This cut adapts beautifully. In summer, embrace texture! Use sea salt spray for beachy waves that highlight the layers’ separation. Updos are easier and more romantic.
In winter, combat static and dryness with a shine serum. A sleek, straight blowout shows off the flawless lines of the cut. Deep condition weekly to fight dry air damage.
Final Thoughts From My Chair
I’ve had this cut myself for years, and it’s the most requested style by my readers for a reason. It’s low-maintenance in spirit but makes you look like you put in high effort. It grows out beautifully and works with almost every texture.
It’s that perfect blend of practical and aspirational. You get a hairstyle that feels special every day, that moves with you, and that honestly just makes you feel pretty. And that’s the whole point, right?
So, there you have it—your complete guide to getting and rocking the cascading step layer of your dreams. It’s more than just a haircut; it’s a styling shortcut to hair that feels alive, elegant, and uniquely you.
Remember, the best haircut is one that makes you feel confident the moment you leave the salon. Bring these tips, talk to your stylist, and get ready for the best hair days ahead.
Save this post to Pinterest to keep this guide handy for your next salon visit! And I’d love to know—are you thinking of taking the plunge? Or do you already have layers you love? Tell me everything in the comments below!