Hacks 13 Shower Cap Liners Protecting Styles During Deep Conditioning
Okay, let’s be real for a second. You’ve finally nailed your perfect wash day routine. Your curls are defined, your blowout is smooth, or maybe you’re rocking that gorgeous asymmetrical lob you saved from Pinterest. Then… it’s time for deep conditioning. The moment of truth where you have to choose between nourishing your hair and completely wrecking the style you just spent an hour on.
I used to dread it. I’d try to pile my hair on top of my head, only to have the conditioner drip down my neck and flatten my roots. Total vibe killer. It felt like I could never win.
But what if I told you the secret weapon has been hiding in your bathroom cabinet this whole time? It’s humble, it’s cheap, and it’s a total game-changer. I’m talking about the shower cap liner. This isn’t just about keeping your hair dry in the shower anymore. This is about protecting every single style, from old money hair waves to intricate braids, while giving your hair the deep moisture it craves. Let me show you how.
What Is a Shower Cap Liner, Really?
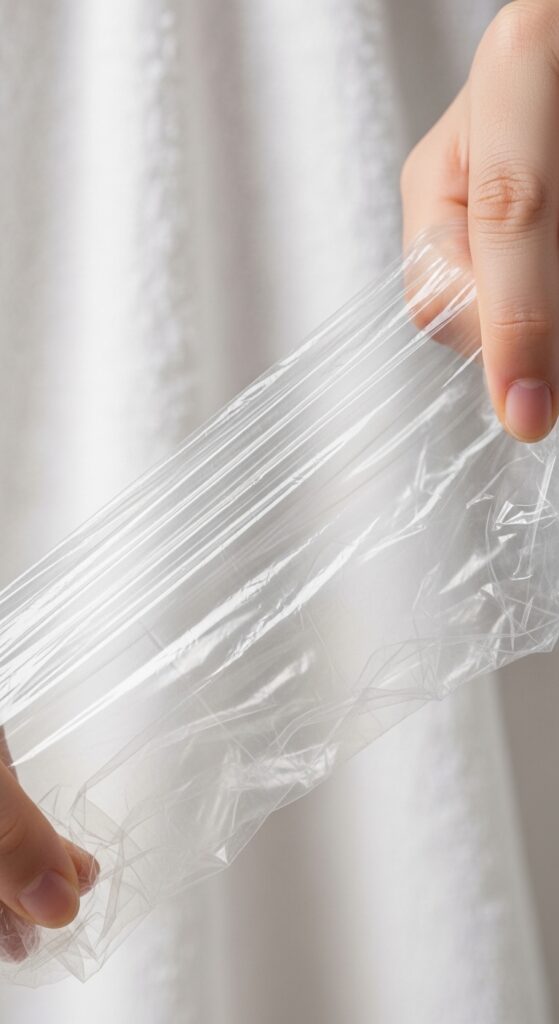
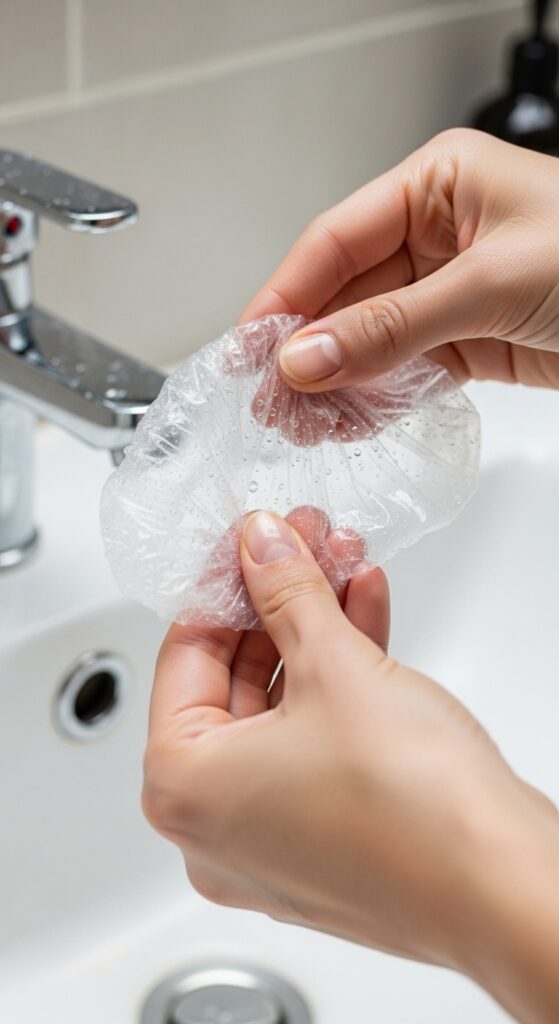
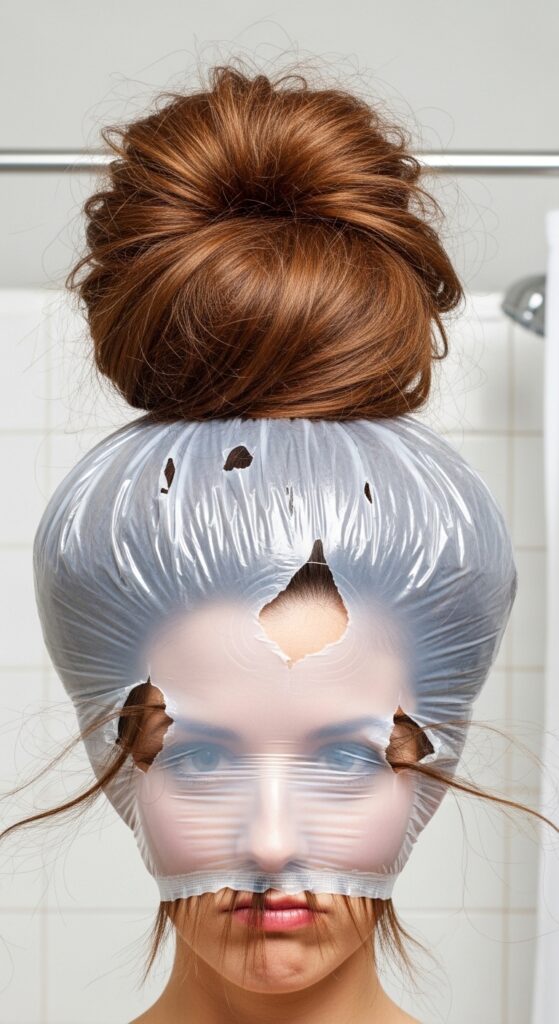
We all know the basic plastic shower cap. A liner is the thin, often disposable, plastic cap you get in hotels or buy in packs of 50. It’s flimsy on its own, but that’s the point. It’s designed to be a barrier.
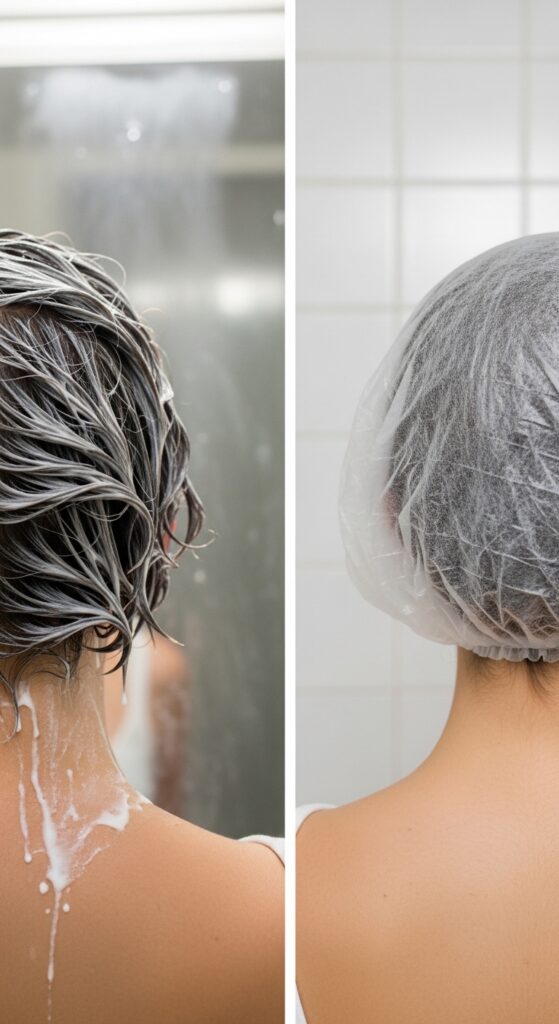
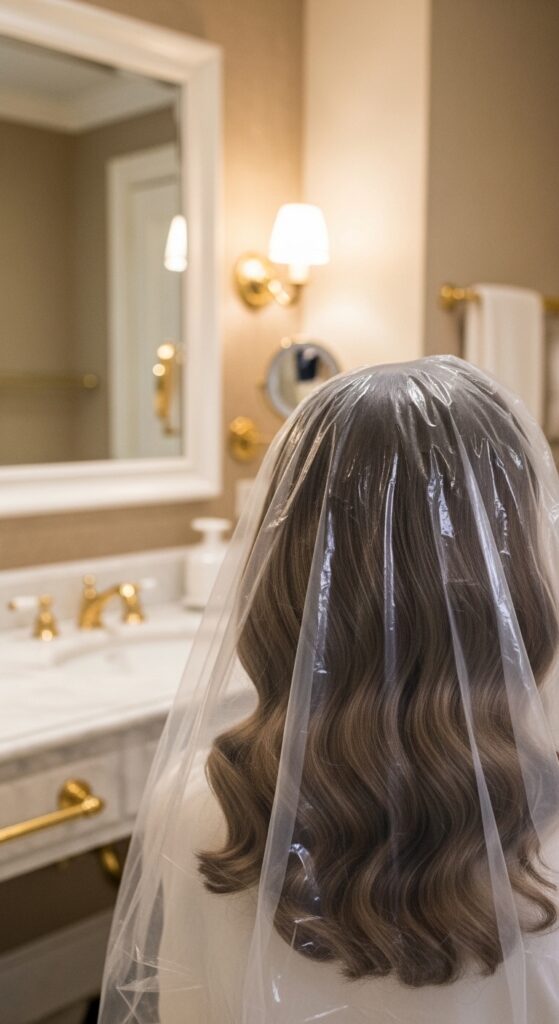
When you use it under your regular, thicker shower cap, magic happens. The liner clings directly to your hair and scalp, creating a sealed environment. The outer cap provides structure and contains any potential mess. Together, they lock in heat and moisture without letting your actual hairstyle get wet or misshapen.
The Core Problem It Solves
Deep conditioners and hair masks are thick. They need heat and time to penetrate. Without a proper seal, they drip, they dry out on the ends, or they saturate the roots of your style. This leads to frizz, flattened volume, and having to restart from scratch.
A liner-cap combo creates a mini steam room for your hair. It traps your body heat, helping the treatment work better and faster. Your style on top? It stays perfectly dry, untouched, and intact. It’s the ultimate multitasker.
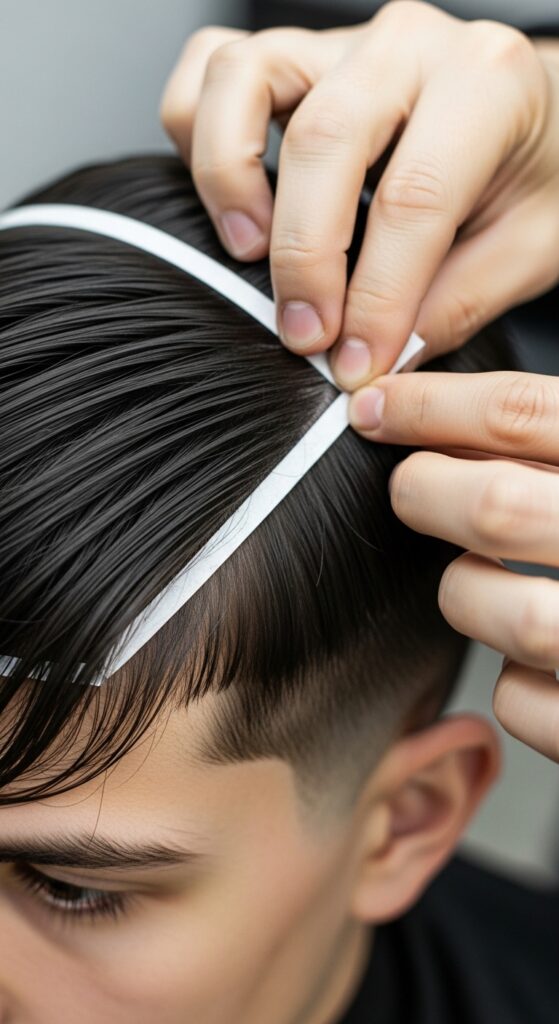
How to Do the Basic Double-Cap Method
- After styling, gently gather your hair at the nape of your neck. Don’t aggressively pile it up.
- Take a single liner and stretch it over your entire head, ensuring all hair is covered. Smooth it down around your hairline.
- Now, put your sturdy, reusable shower cap over the liner. The liner sticks to your hair, the outer cap holds everything in place.
- Leave your deep conditioner on for the recommended time. Go about your life worry-free.
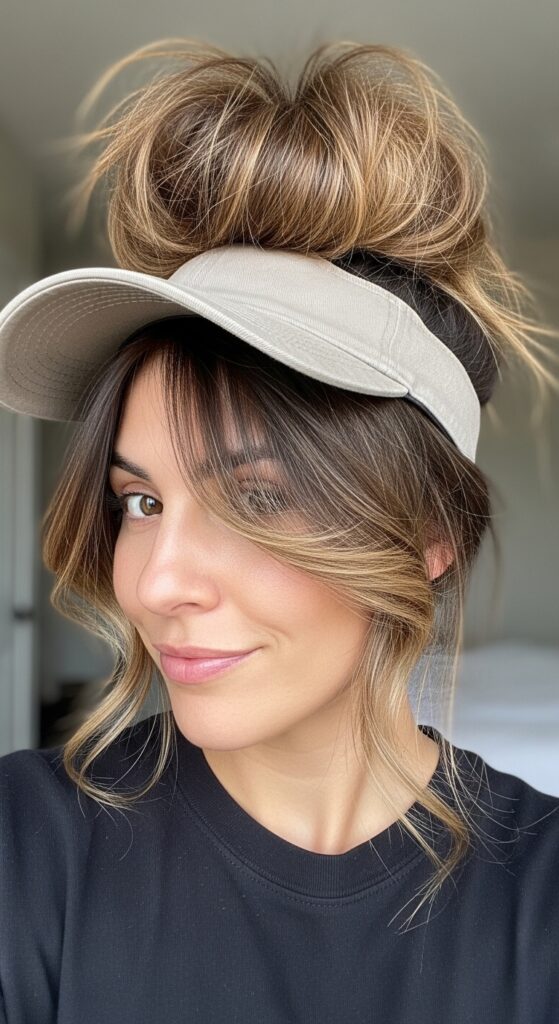
Protecting Blowouts & Silk Presses
This is where I use this hack the most. You spend all that effort for a smooth, sleek look—why ruin it? The liner is key because it doesn’t have the bulky seams of a regular cap that can create dents.
Apply your conditioner to the mid-lengths and ends only. Use the double-cap method. The heat will help the treatment travel upward without wetting your roots. When you rinse, only the conditioned sections get wet. You can then just re-blowdry those small sections, saving you an hour.
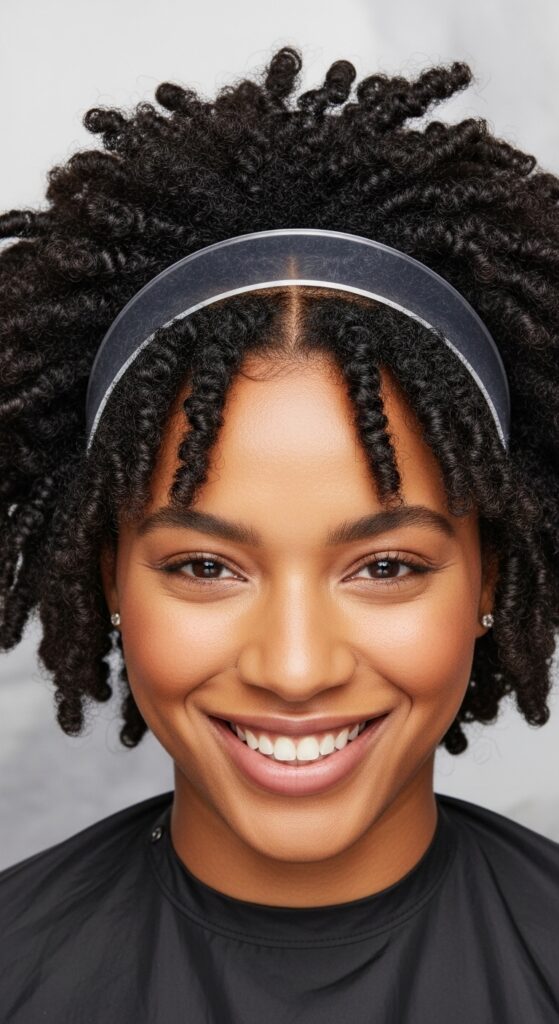
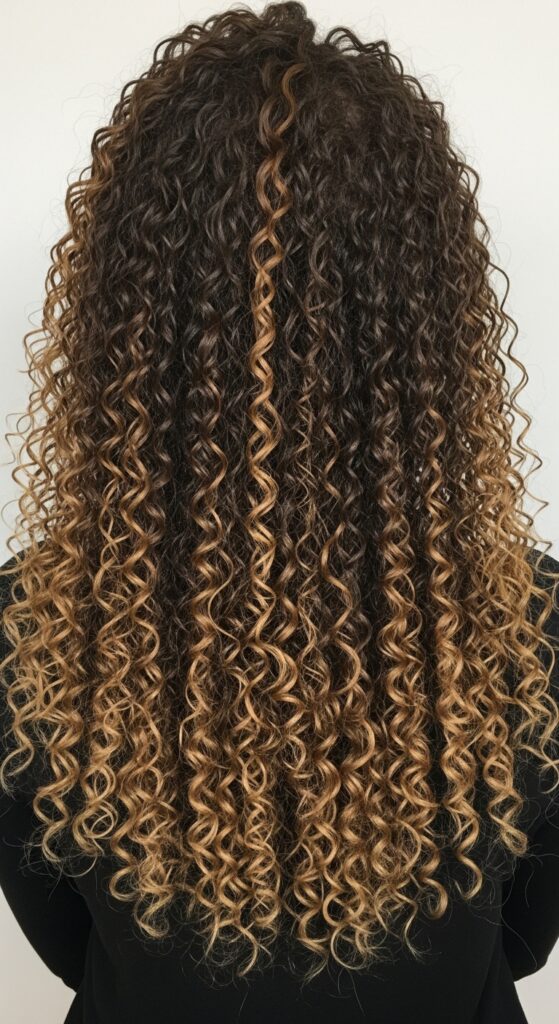
Keeping Curly & Coily Styles Perfect
Got a great twist-out, braid-out, or defined wash-and-go? Don’t let deep conditioning undo your definition. The goal is to add moisture without causing frizz or shrinkage.
Section your hair if needed. Apply your deep conditioner in sections, focusing on the areas that need it most. Use a liner for each section or one large one, then the outer cap. Your curl pattern on the surface remains undisturbed while the treatment works underneath.
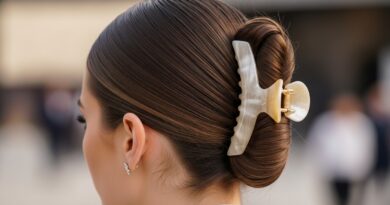
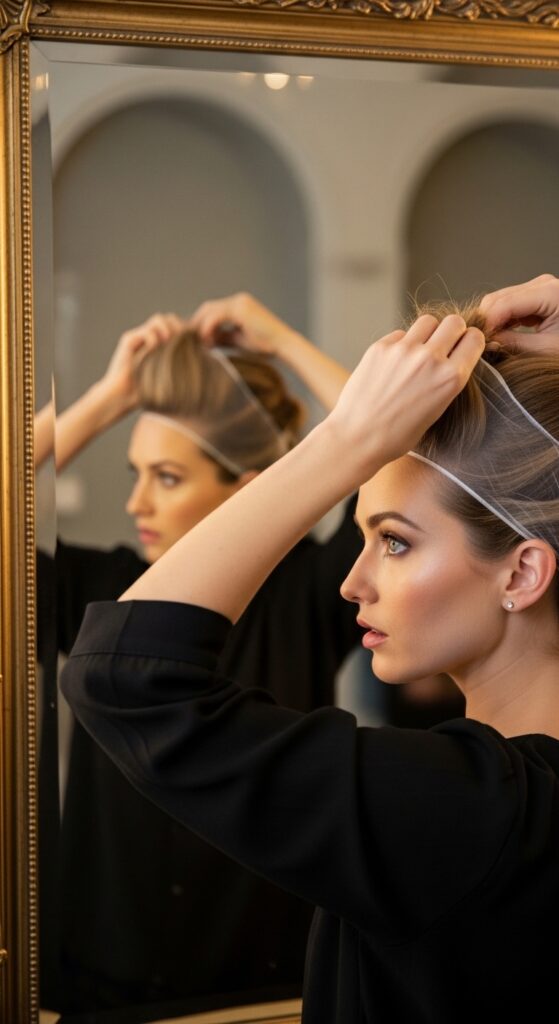
For Those “Old Money Hair” Waves
That effortless, lived-in wave—think quiet luxury bob with bend—relies on texture and memory. Getting the roots wet resets everything. With this method, you can target the drier ends with a rich mask.
The sealed heat from the caps will also help revitalize any waves that have fallen a bit flat. It’s like a refreshing steam treatment for your style, adding bounce back without a full wash.
When You’re Growing Out a Cut (Like a Hime or Lob)
Growing out a sharp cut, like a hime cut or a blunt asymmetrical lob, means dealing with awkward stages. The ends can get dry and ragged. Consistent conditioning is non-negotiable.
Protect the shape and volume at the crown with the liner. You can be generous with conditioner on those ends that need extra love. This keeps your growing-out style looking intentional, not thirsty.
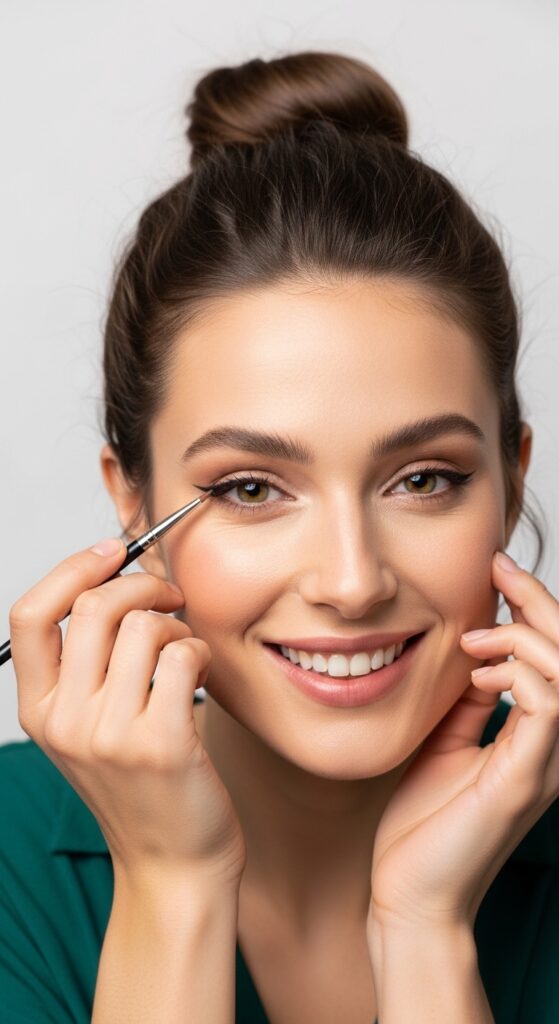
Maintaining Edgy Cuts: The Vampire & Romantic Goth
Precision is everything for styles like the vampire haircut or romantic goth hairstyles. Think sharp layers and curtain bangs. Wetting them can make them cling and lose their separation.
Use a small brush or your fingers to apply conditioner precisely where you need it—avoiding the bang area and top layers. The liner keeps everything else pristine. Your dramatic shape stays camera-ready.
Before a Style Refresh or Reset
Sometimes your style is on day 3 or 4 and just needs a boost, not a full wash. Maybe your glitchy glam hair pieces are losing their hold. A quick, targeted conditioning treatment can add moisture and make restyling easier.
Do a 10-minute mask under the caps. When you rinse, your hair will be more manageable and receptive to products. You’re not starting from zero; you’re just giving it a second wind.
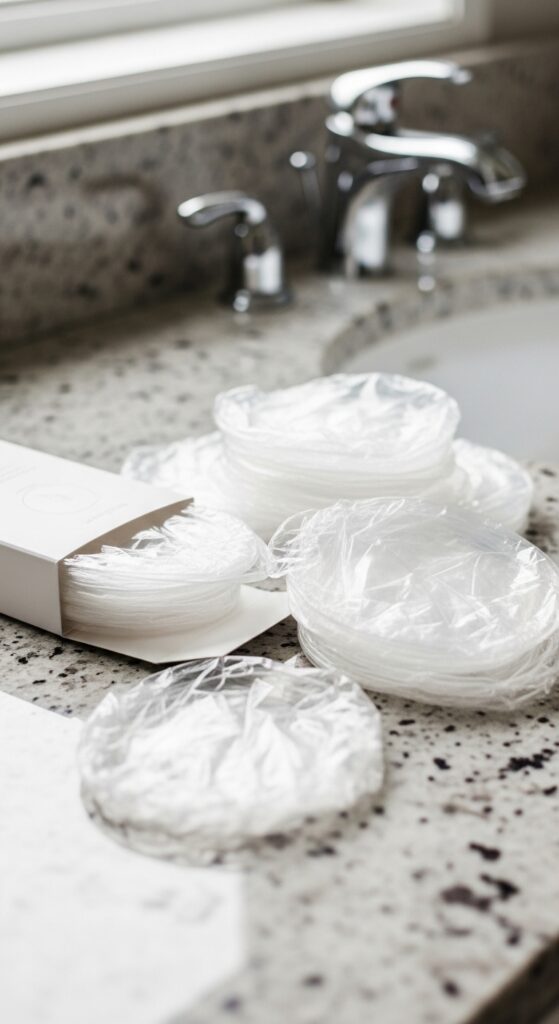
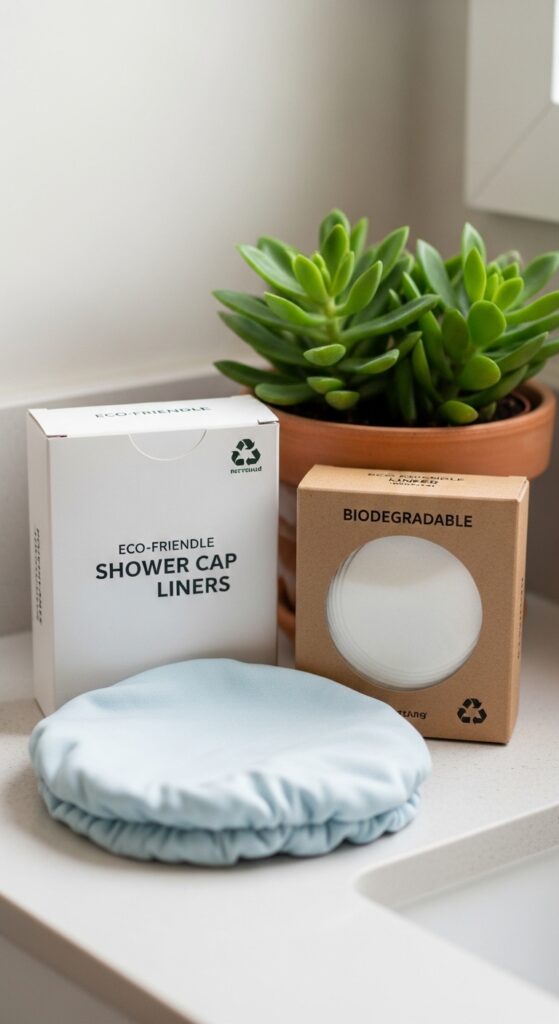
Choosing the Right Liner Material
Not all liners are equal. The super cheap, crinkly plastic ones can sometimes tear. I look for “disposable processing caps” made of polyethylene. They’re a bit softer and more stretchy.
You can find them in bulk online or at beauty supply stores. They’re incredibly inexpensive, so you can use a fresh one every time without guilt. Never reuse a liner—it’s a breeding ground for bacteria.
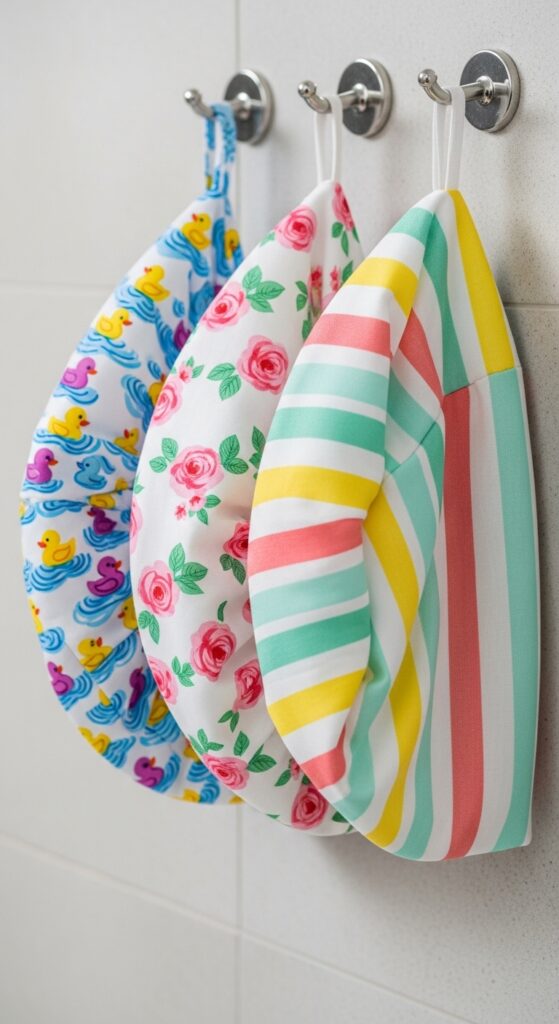
My Favorite Reusable Outer Caps
The outer cap needs to be sturdy. I love the ones with a terry cloth lining on the inside. They absorb any potential condensation and provide extra insulation.
Look for one with a tight, elasticized edge. This ensures a good seal. A cute print or color is a bonus—it makes the process feel a little more luxurious, even though it’s such a simple hack.
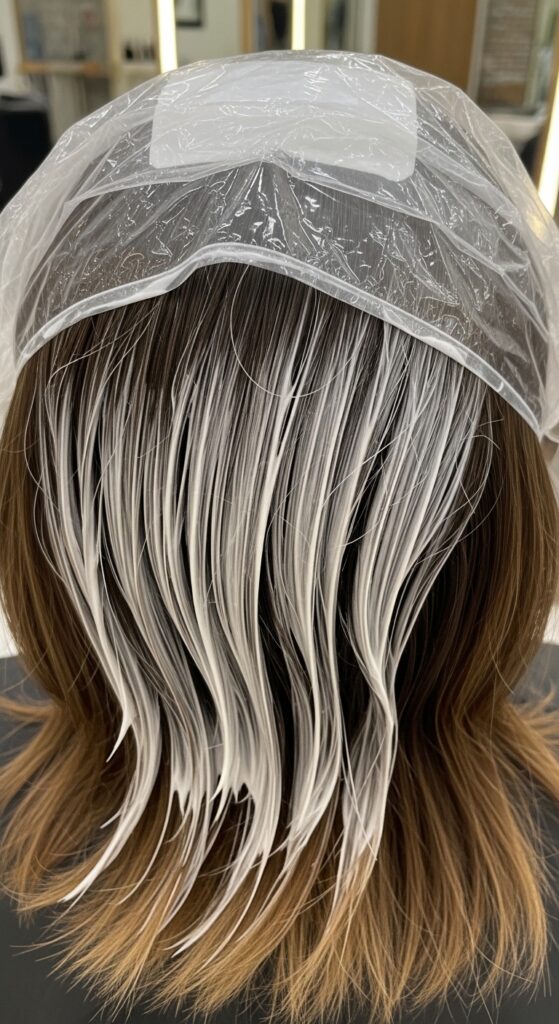
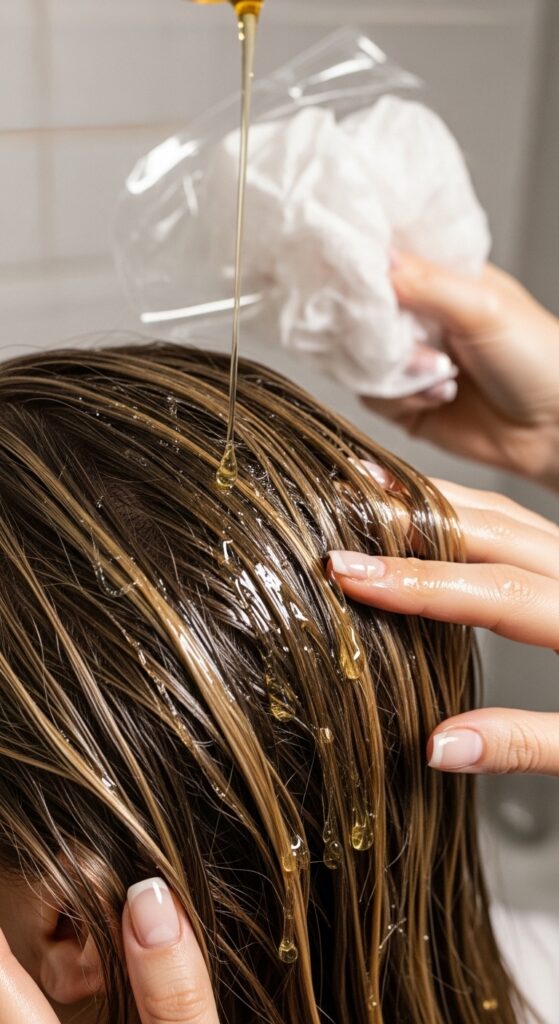
Applying Conditioner Without Mess
This is a crucial step. Use an applicator brush or your hands to apply the product directly to the hair you want to treat. For most protected styles, this is the mid-lengths to ends.
Try to avoid smearing it on the scalp or the top layer of your style. If you have a parting, use the brush to apply underneath the top layer. Precision prevents the need to rinse your whole head.

Adding Heat for Maximum Benefit
For an even deeper treatment, add heat. After you’ve got both caps on, wrap your head in a warm towel for 10-15 minutes. Or, use a hooded dryer on a low, warm setting for 10 minutes.
The liner ensures the heat is evenly distributed and the steam stays locked in. This makes a drugstore mask perform like a high-end salon treatment. Your hair will drink it up.

The Take-Down & Rinse Process
- Remove the outer cap first, carefully.
- Peel off the liner from the back forward, rolling it gently to contain any drips.
- Lean over the sink or into the shower. Rinse only the conditioned sections. Use a handheld showerhead or a cup of water for control.
- Gently blot the wet sections with a towel. Your original style on top should still be perfectly dry.
Spot-Treating Dry Areas
This hack is perfect for spot-treating. Just have a dry patch or damaged ends? Apply conditioner only there, cover that specific section with a small piece of liner or a plastic bag, and then secure it.
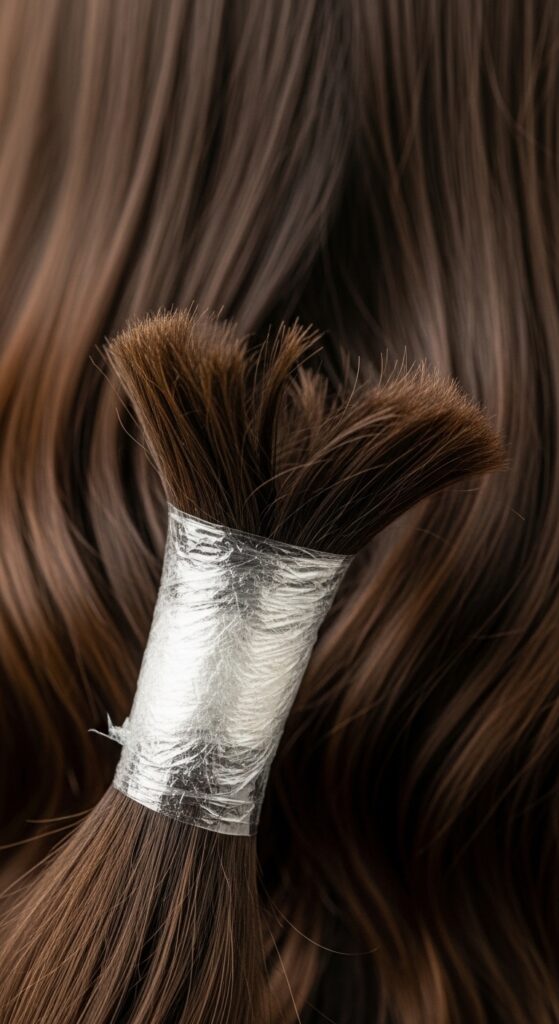
You don’t always need to do your whole head. This targeted approach saves product and time, and it’s perfect for maintaining complex color or 2026 hairstyles that might have multiple textures.
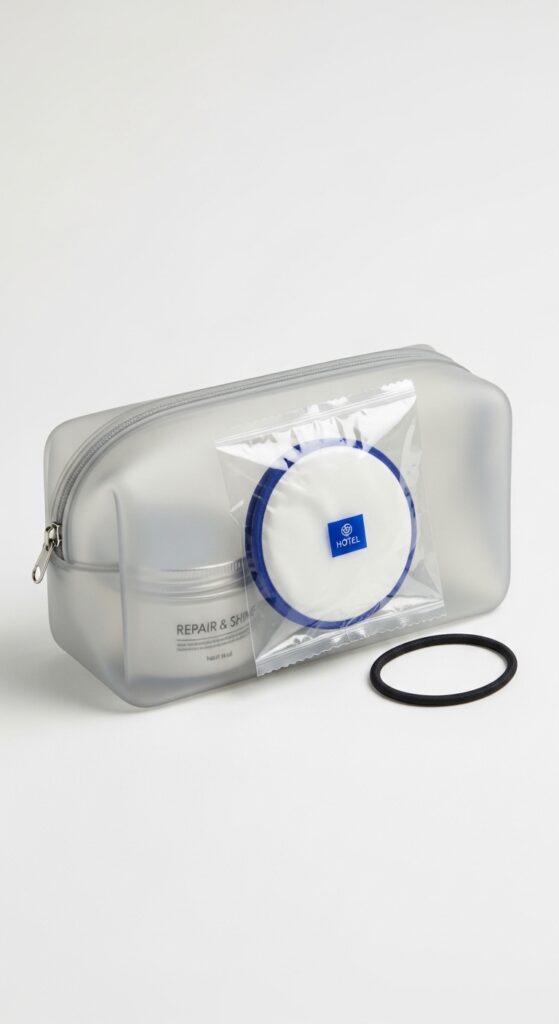
Travel & Hotel Hack Perfected
Those free hotel shower caps? They’re perfect liners! I always pack a couple when I travel. They take up zero space and let me do a deep treatment in any hotel bathroom without risking my vacation style.
Pair it with a travel-sized mask, and you can combat dryness from sun, pool, or air travel without ever having to fully re-wet and restyle your hair on the go. It’s a lifesaver.
For Pre-Poo Treatments
The “pre-poo” (pre-shampoo) treatment is a game-changer for dry hair. Apply an oil or light conditioner to dry hair before you shower. Use the liner-cap method for 20-30 minutes.
This creates a protective barrier so your shampoo is less stripping. When you finally wash, your style afterward will be shinier, softer, and less prone to frizz because you’ve prevented moisture loss during cleansing.
Saving Time on Wash Day
Think about it: if you can condition without ruining your style, you can do it while cleaning, working, or relaxing. It turns a passive step into active multitasking.
This hack effectively decouples deep treatment time from styling time. You don’t have to block out a 3-hour window for a full wash day. You can nourish your hair on your schedule.

It’s Budget-Friendly & Sustainable
While the liners are disposable, this method is still sustainable because it prevents you from wasting water, electricity (from blow-drying), and product on a full restyle. You’re conserving resources.
You can also look for biodegradable liners if you use them frequently. Compared to the cost of a salon treatment or the frustration of a ruined style, this hack pays for itself instantly.
Common Mistakes to Avoid
- Piling hair too high: This creates tension and flattens roots. Gather gently.
- Using a liner alone: It’s not enough containment. Always use the two-layer system.
- Getting conditioner on the scalp: This leads to oily roots and forces a full wash.
- Rushing the rinse: Be meticulous. Rinse thoroughly to avoid product buildup on just those sections.
Adapting for Every Hair Type & Length
Short hair? Use a smaller liner or even just a plastic bag for the conditioned sections. Very long, thick hair? You might use two liners for full coverage. The principle is the same.
It works on straight, wavy, curly, coily, colored, natural, or relaxed hair. The goal is universal: treat the hair that needs it, protect the style you love. It’s the ultimate customizable tool in your routine.
Your New Styling Freedom
This simple hack gives you the freedom to experiment. Want to try a bold 2026 hairstyles trend but worried about maintenance? Now you know you can keep it hydrated without compromise.
It removes the fear of “ruining it” from your deep conditioning sessions. You can commit to regular treatments, which is the real secret to healthy, beautiful hair, no matter what style is on top.
So, there you have it. My not-so-secret secret for having my cake and eating it too—gorgeous, styled hair and deeply conditioned, healthy hair. It took me years of frustration to finally put the pieces together, and now I swear by it.
It’s one of those small, practical shifts that has a huge impact on your routine. It gives you back time, preserves your effort, and lets you show up for your hair’s health without sacrificing your look. That’s a win in my book.
I’d love to hear from you! Have you tried this before? What style are you most excited to protect during your next treatment? Let me know in the comments below!
Save this post to Pinterest to keep these hacks handy for your next wash day!