Hacks 15 Sweat-Resistant Braid Locks Enduring Gym Sessions Fully
Okay, let’s be real. You finally get that perfect braid, you head to the gym feeling like a warrior… and ten minutes into cardio, it’s a frizzy, sweaty mess sliding down your neck. I’ve been there more times than I can count. It’s the worst kind of workout distraction.
But what if your braids could actually survive the session? Not just survive, but look good enough to head straight to brunch? I’ve been on a mission to crack the code, testing every product and technique on my own sweaty gym days.
This isn’t about complicated, runway-only styles. It’s about 15 real, practical hacks that lock your braids in place from warm-up to cool-down. Think of this as your go-to guide for hair that works as hard as you do, no matter your style—whether you’re into the clean lines of a quiet luxury bob or the edge of romantic goth hairstyles.
Let’s get into it and finally solve the sweaty-braid problem for good.
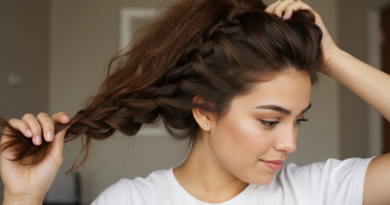
1. Start With Day-Old Hair (Seriously)
Freshly washed hair is like a slip ‘n slide for braids. It’s too soft, too smooth, and has zero grip. That silky feel is exactly what lets everything unravel the second you start moving.
Braiding on day two or three hair is a game-changer. Your natural oils and a little dry shampoo create the perfect texture for hold. Your hair will grip itself, making every plait more secure from the very first section.
- Spray dry shampoo at the roots the night before or an hour before braiding.
- Focus on the crown and nape of your neck, where sweat hits first.
- This gives the product time to absorb oil and create maximum texture.
2. The Pre-Braid Prep Spray Is Key
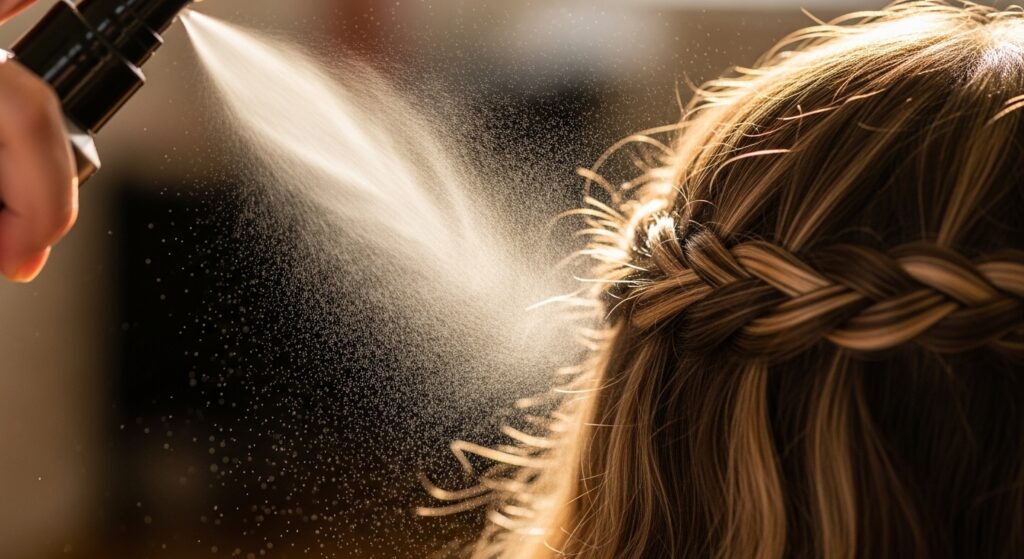
Skip the regular conditioner before your workout. Instead, grab a dedicated pre-styling product. A light texturizing or sea salt spray is your best friend here.
These sprays add a slight grit and roughness to each strand. Think of it like giving your hair tiny little hands to hold onto its neighbors with. It makes the braid structure inherently tighter and more resistant to moisture.
- Mist it lightly on damp or dry hair before you start sectioning.
- Comb it through evenly to avoid crunchy spots.
- Let it set for a minute so it’s tacky, not wet.
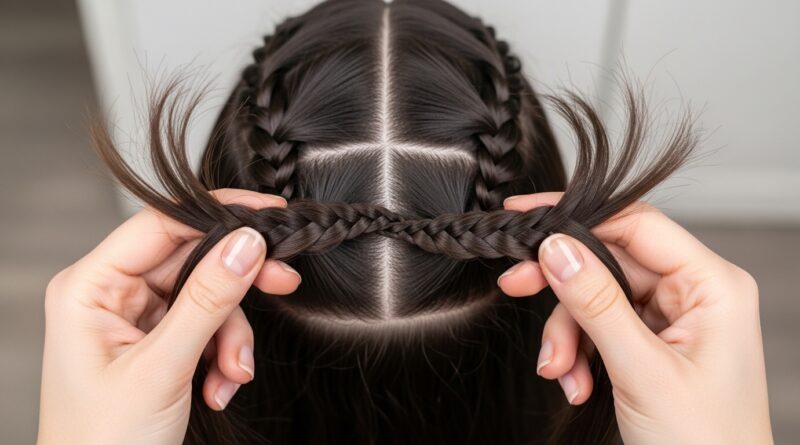
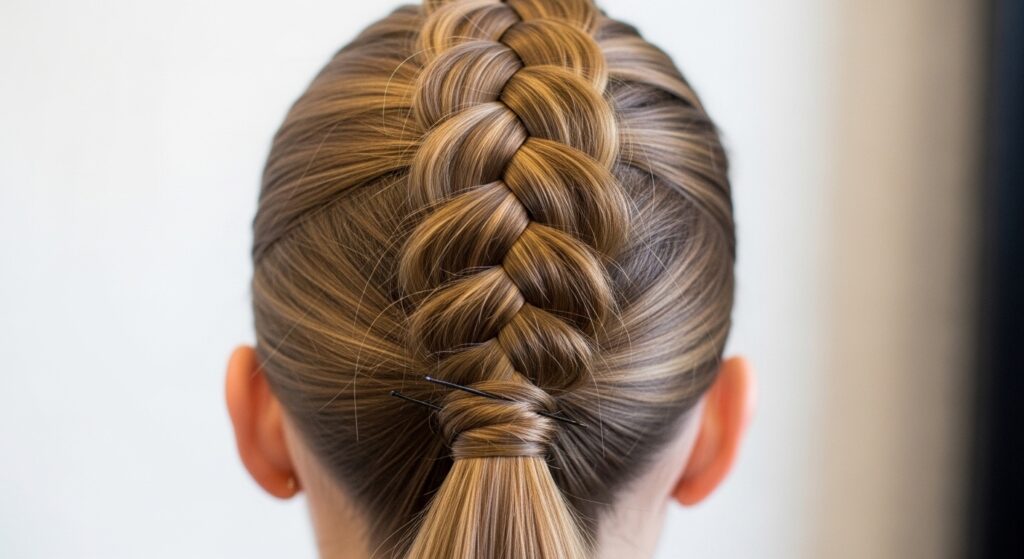
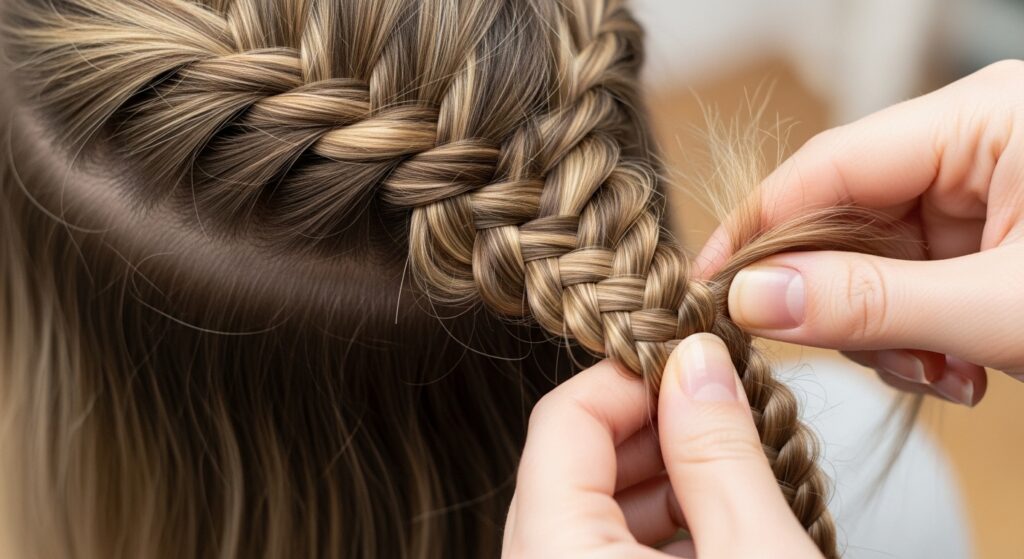
3. Master the “Under-Braid” Technique
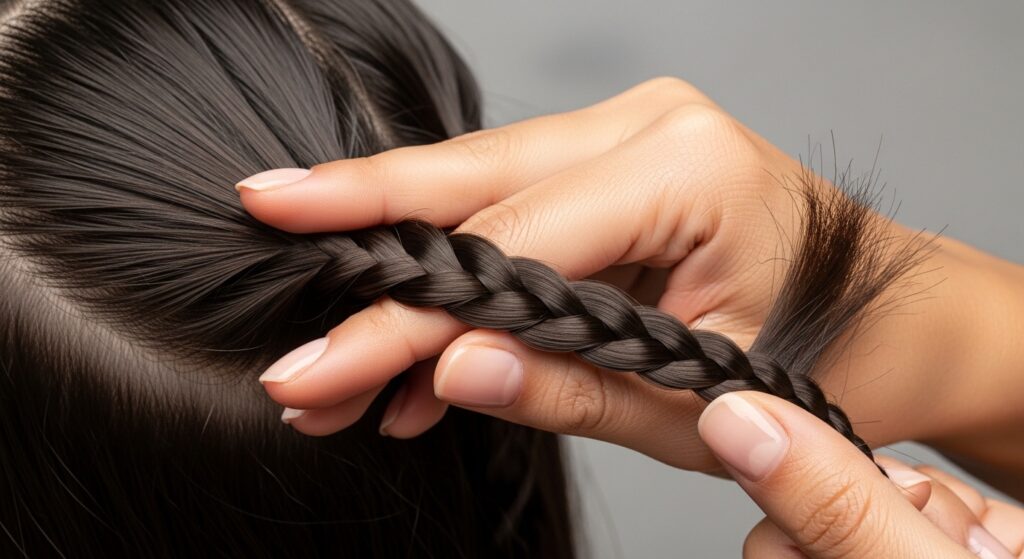
Not all braids are created equal for the gym. The standard overhand braid can loosen faster. For the most locked-in feel, try braiding “under” instead of “over.”
This is sometimes called a Dutch braid. By crossing sections under the middle piece, you create a braid that sits on top of the scalp, anchored more securely. It feels tighter and distributes tension better during high-impact moves.
- Divide hair into three sections at the crown.
- Cross the right section under the middle, then the left under the new middle.
- Continue, adding hair to each section as you go down the head.
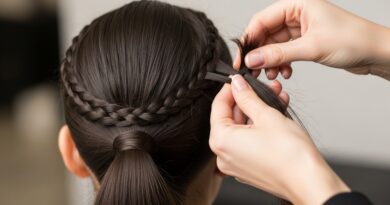
4. Secure With Coated Elastics, Not Fabric

That cute fabric scrunchie? Save it for yoga or your old money hair day off. For sweat-proof braids, you need elastics with grip. Coated elastics are the secret weapon.
Look for clear elastics with a silicone or rubberized coating. They cling to the hair without snagging, creating a much firmer hold than fabric, which can get slick with sweat. They’re also less likely to leave a deep dent.
- Double-wrap the elastic for extra security.
- Keep a couple on your wrist or gym bag as spares.
- They’re perfect for securing the ends of any style, from pigtails to a single asymmetrical lob braid.
5. The “Pancake” Your Braid Method
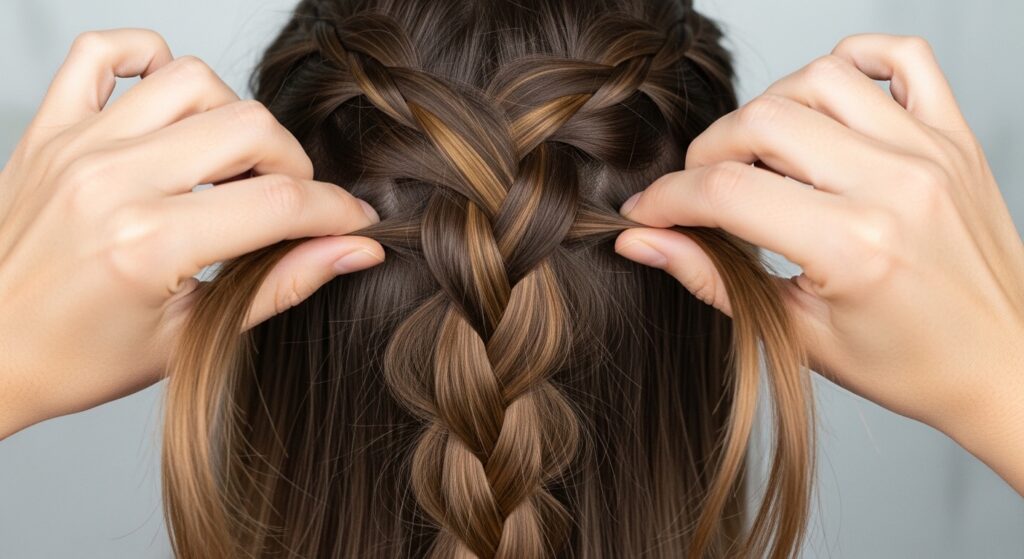
A tight, skinny braid can actually be more prone to slipping. The “pancake” method adds volume and, counterintuitively, stability. By gently pulling the braid sections outward, you increase internal friction.
This technique creates more points of contact within the braid itself. The hair gets a little tangled in a good way, making it harder for the whole structure to come undone, even when soaked.
- After securing the end of your braid, gently tug each “bump” outward.
- Alternate sides to keep it even.
- Stop when it’s full but still feels tight at the roots.
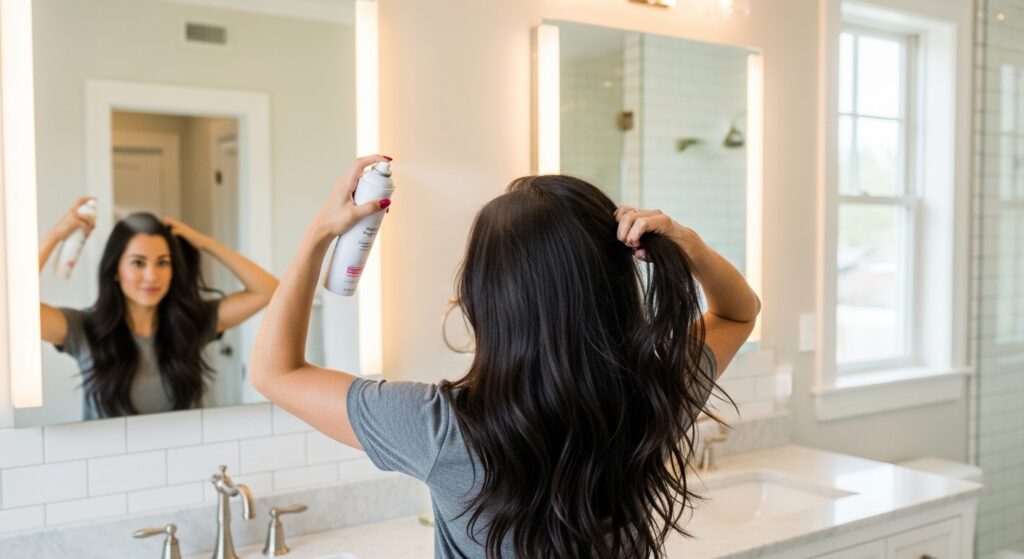
6. Strategic Dry Shampoo Application
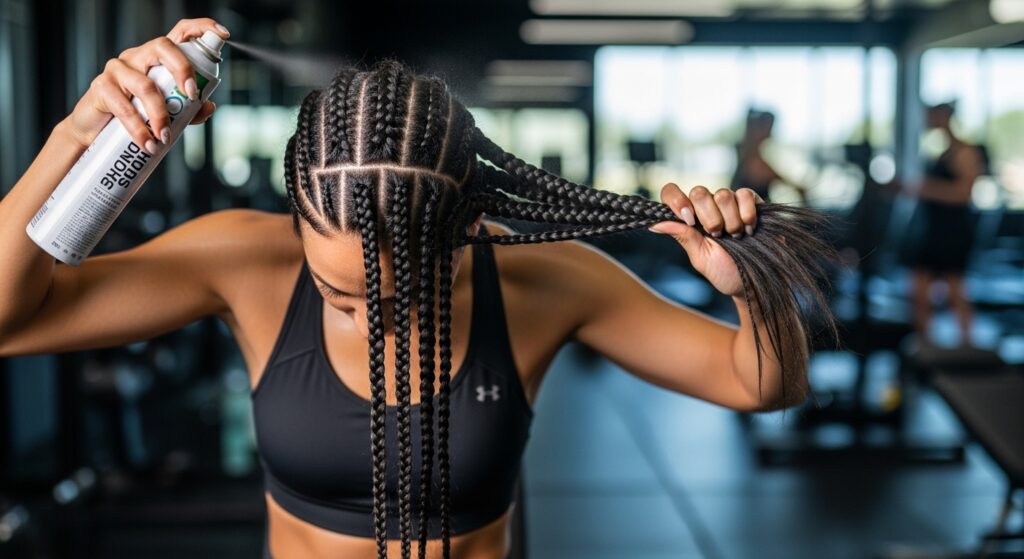
Don’t just use dry shampoo before—use it as a shield during your workout. Applying it to key areas creates a barrier against moisture. It absorbs sweat before it can saturate your braid and ruin its shape.
Think of it like an invisible sweatband for your hair. Focus on your hairline, part, and the nape of your neck. These are the sweat zones that will compromise your style fastest.
- Do a quick spray at these spots right before you start your session.
- For a vampire haircut or fringe, pay special attention to the forehead area.
- Lightly brush or finger-comb any visible residue after your workout.
7. Incorporate Tiny, Clear Hair Pins
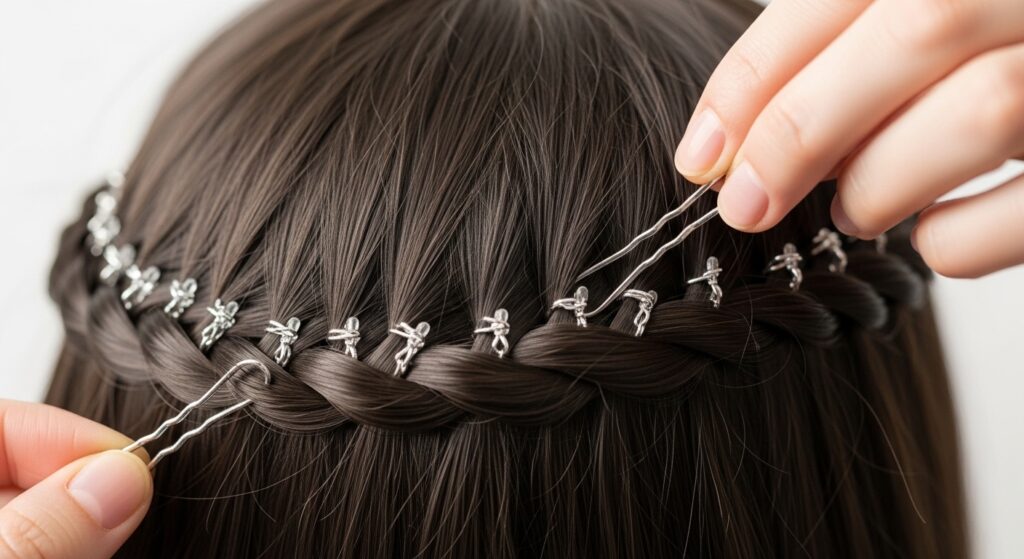
For extra insurance, especially on shorter styles like an asymmetrical lob, clear hair pins are invisible heroes. Weave them horizontally into the braid where it meets your scalp.
This anchors the entire style directly to your head. They’re especially crucial for French or Dutch braids that start at the crown. A few pins will stop that top section from lifting or sliding back as you move.
- Slide the pin into the base of the first braid crossover.
- Push it in, then back toward your scalp to hook more hair.
- Use 3-4 pins along the top for bombproof security.
8. The “Double-Braid” For Super Long Hair
If you have waist-length hair, a single braid can feel heavy and pull loose. The double-braid method distributes weight and creates incredible hold. It’s a stylish take on 2026 hairstyles that prioritize function.
Create two parallel braids (like pigtails), then loosely twist or braid them together into one. This interlocking system means if one section gets loose, the other holds it in place. It’s surprisingly elegant, too.
- Braid two sections tightly from the nape of your neck.
- Twist them together and secure the ends with a coated elastic.
- Pancake both inner braids slightly before combining for mega volume.
9. Cold Air Blast At The End

Heat opens the hair cuticle, letting moisture in. Cold air seals it shut. After your workout, if your roots are damp, hit them with the cold setting on your blow dryer for 60 seconds.
This quick step helps reset your style and locks in the shape of your braids at the scalp. It cools you down and helps absorb any lingering dampness at the part and hairline, preventing frizz.
- Use the “cool” button on your hair dryer.
- Lift the top layers of your braid and direct air at the roots.
- Focus on the areas that get sweatiest.
10. Silk or Satin Scrunchies For Recovery
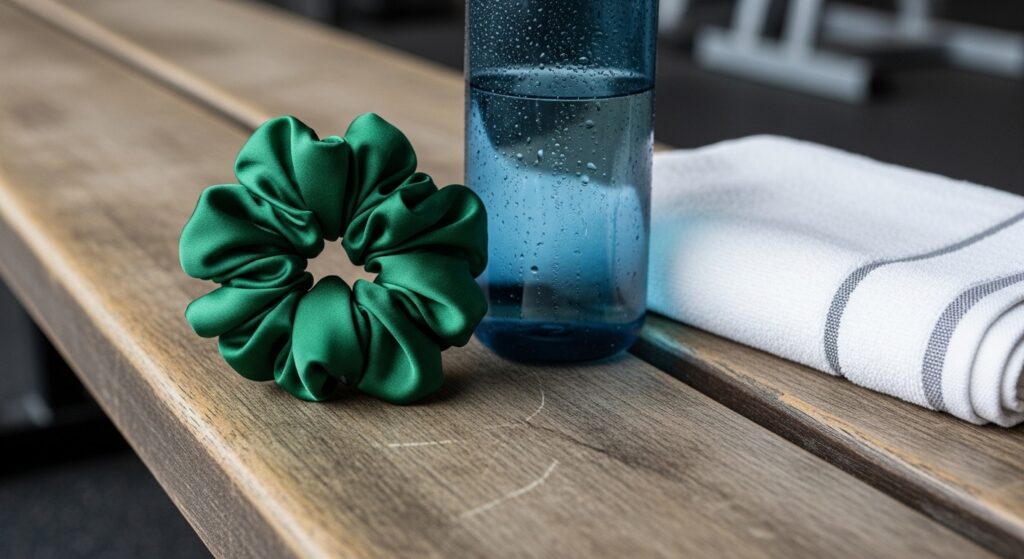
After you conquer your session, how you secure your hair matters. Swap to a silk or satin scrunchie for the ride home or your cooldown. These materials cause less friction and breakage than cotton.
They help maintain the integrity of your braid without denting it. It’s a small switch that makes a big difference in keeping your style smooth and intact, ready for whatever’s next in your day.
- Keep a silk scrunchie in your gym bag for the post-workout switch.
- Use it to create a loose, low pony or bun if your braids need a break.
- It’s the perfect quiet luxury touch for hair care.
11. Braid Over A Hair Band Trick
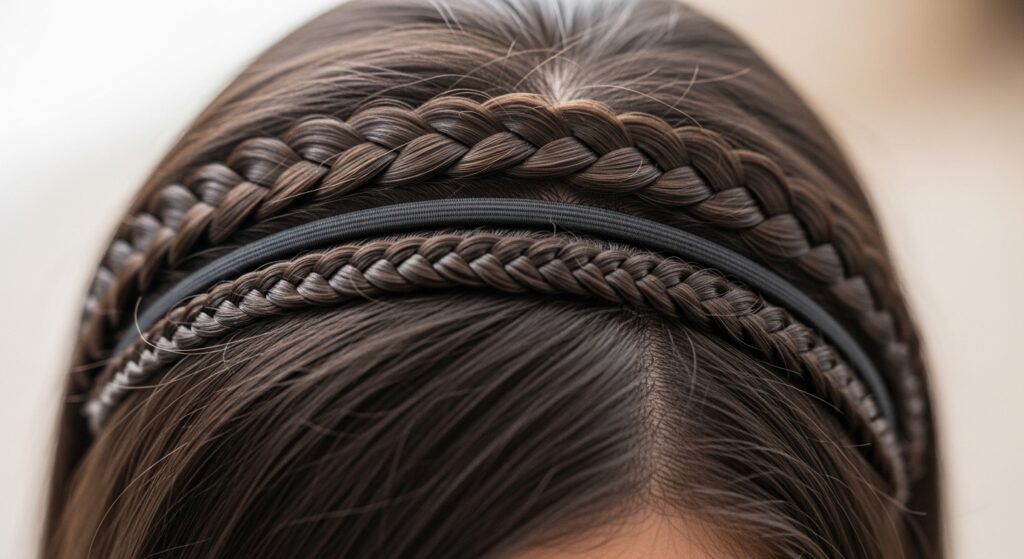
This is a genius hack for fine or slippery hair. Place a thin, elastic headband around your head like a crown. Then, braid your hair, incorporating the headband into the braid as you go.
The headband acts as a permanent anchor, giving the braid something to grip onto beyond just your hair. It completely eliminates sliding and takes all the weight off your roots. It’s great for a hime cut with long front sections.
- Place a thin headband over dry, textured hair.
- Start a French or Dutch braid, catching the headband in each crossover.
- Continue to the ends and secure. The band disappears into the style.
12. Use A Texturizing Paste, Not Gel
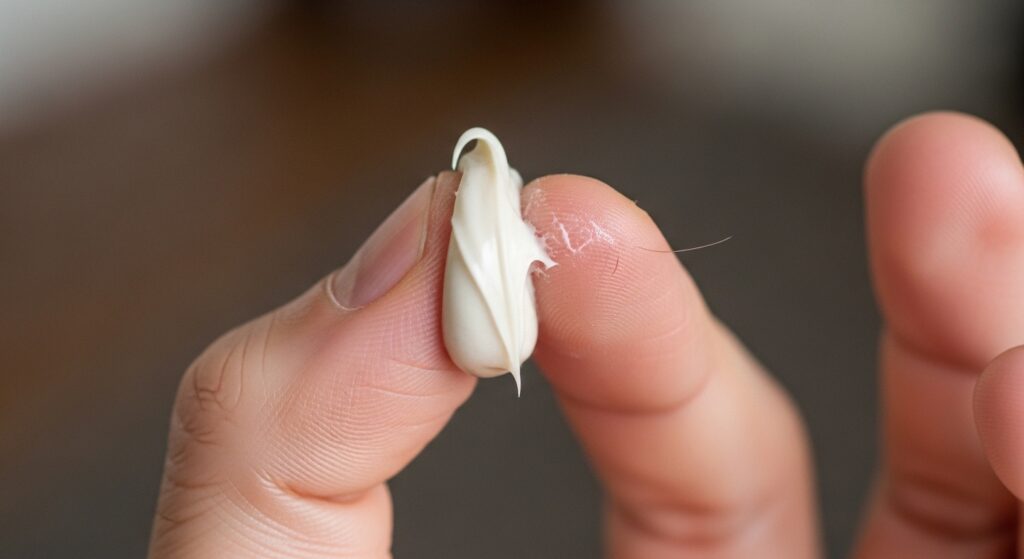
Avoid hard, crunchy gels that can melt and get sticky with sweat. A matte texturizing paste or putty is a better choice. Use a tiny amount rubbed between your palms and scrunched into the lengths before braiding.
This adds pliability and a flexible, gritty hold. Your braids will stay put but still have movement. It’s the same principle behind the undone texture of glitchy glam hair—controlled chaos that lasts.
- Warm a pea-sized amount between your palms.
- Scrunch it into the mid-lengths and ends of your hair.
- Braid as usual. The paste provides invisible internal support.
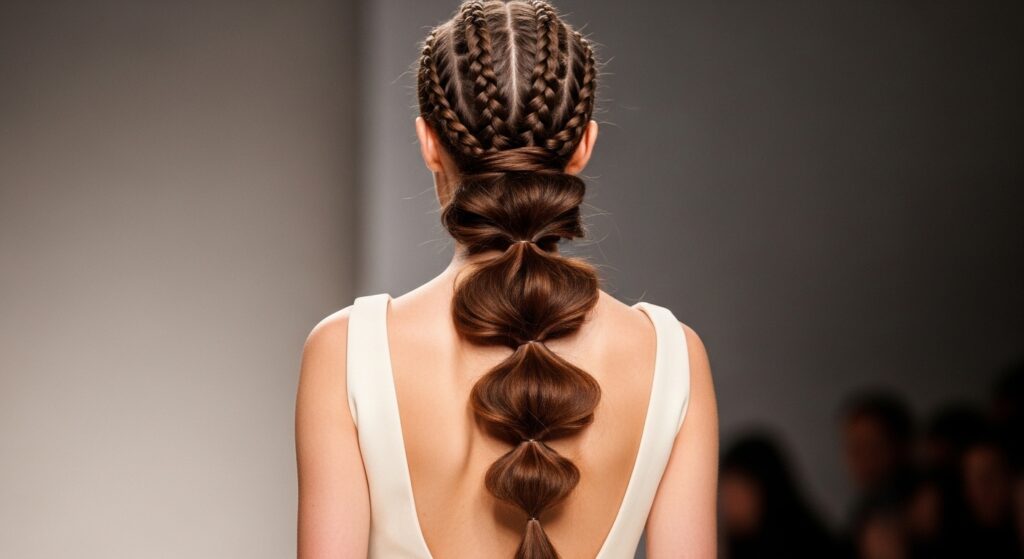
13. The “Crossed Pony” Base For High Braids
High braids and top knots are prone to drooping. Create an unshakable foundation by making two ponytails first. Cross the elastics and pin them in an “X” shape before braiding the combined tail.
This cross-locking system uses physics to your advantage. The weight of the braid is supported by the crossed anchors, not just a single point of tension. It’s a must for high-impact training.
- Make a high ponytail and secure with a coated elastic.
- Make a second ponytail directly below the first, using the same hair.
- Cross the elastics and secure with bobby pins, then braid the tail.
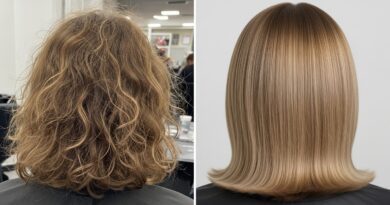
14. Damp Braiding For Curly & Coily Hair
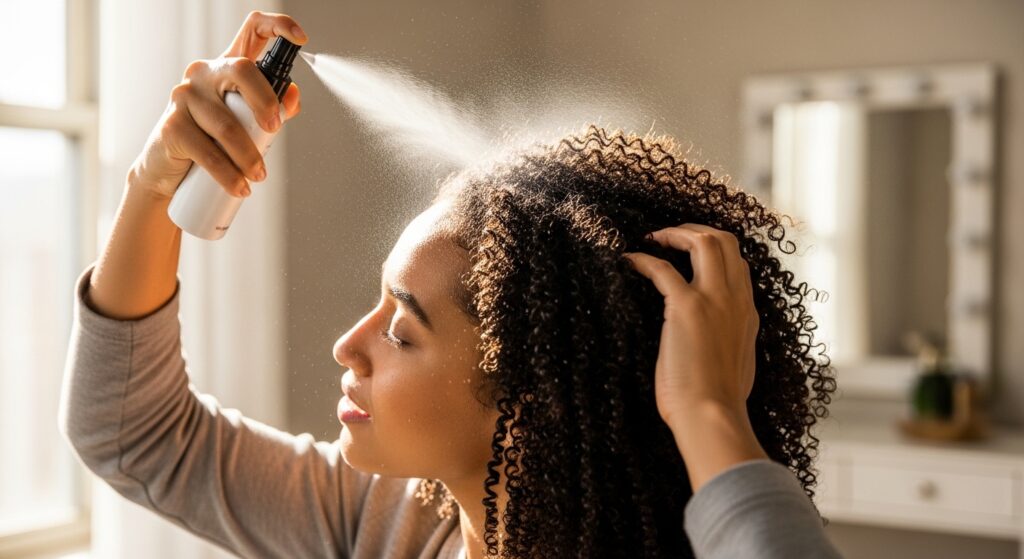
If you have curly or coily hair, braiding on soaking wet hair with a good leave-in conditioner can provide superior, longer-lasting hold. As the hair dries, it shrinks and tightens the braid naturally.
This method minimizes frizz and keeps your braids neat and defined through intense heat and movement. It’s a classic technique for a reason—it simply works.
- Start with freshly washed, wet hair saturated with leave-in conditioner.
- Braid in your desired style while hair is very damp.
- Allow to air dry or use a diffuser on low heat. The dry braid will be incredibly secure.
15. The “Loop Through” Finishing Move
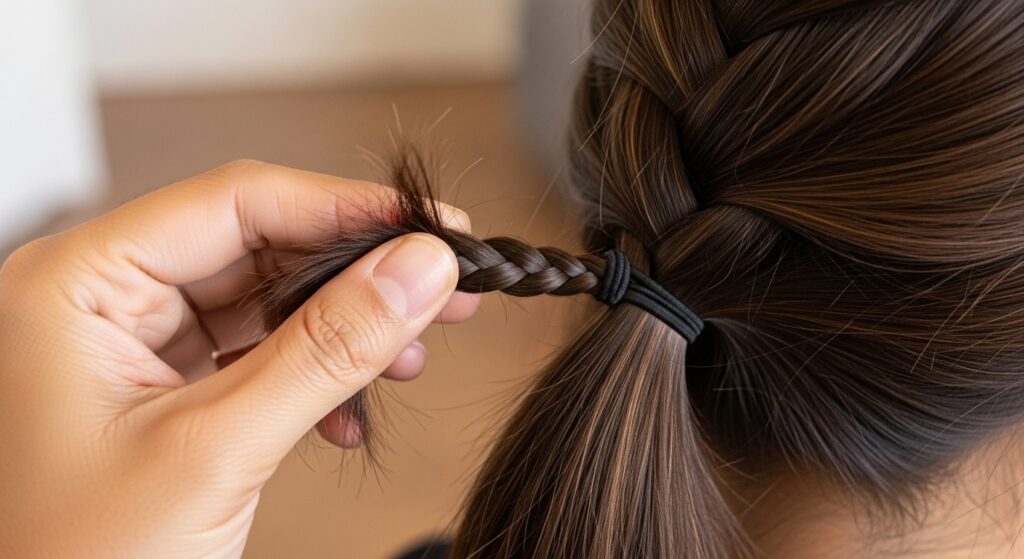
Instead of just wrapping an elastic around the end of your braid, use this trick for a finish that won’t budge. After the final wrap, pull the tail of the braid only halfway through the last loop of the elastic.
This creates a locked knot that would need to be intentionally pulled open. It’s a simple, five-second step that adds a huge amount of security, especially for the ends of your braids which can whip loose.
- Wrap your elastic around the end of the braid as normal.
- On the final wrap, only pull the hair halfway through, creating a loop.
- Tighten the elastic. The end is now knotted inside the band.
16. Refresh With A Lightweight Hair Oil
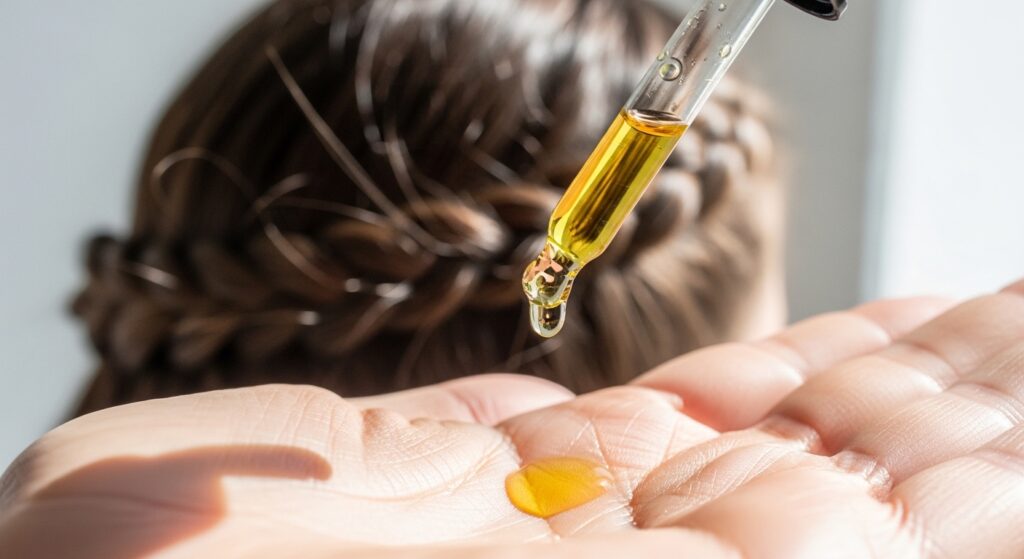
Post-workout, your braids might have a few flyaways from friction. A heavy product will weigh it down. Instead, use a single drop of lightweight hair oil on your palms.
Gently smooth it over the surface of your braids. This tames frizz, adds a healthy shine, and helps the style look freshly done without making it greasy or undoing any of your hard work.
- Choose a non-greasy oil like argan or jojoba.
- One drop is enough—warm it between your palms first.
- Lightly glaze over the braid, avoiding the roots.
17. Switch Up Your Part Pre-Braid
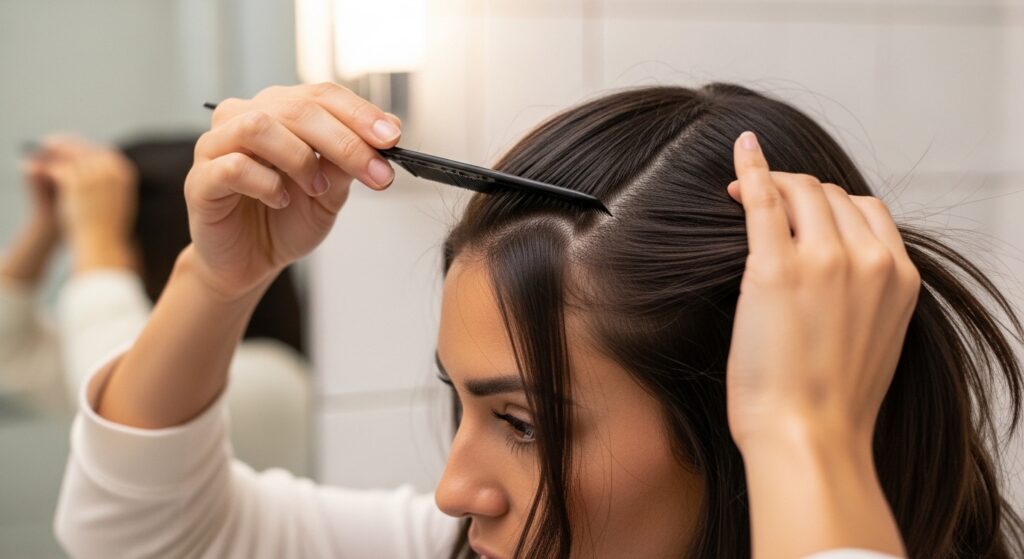
If you always braid your hair with the same part, that area gets trained to lie flat and can loosen faster. Switching your part, even slightly, before braiding creates new resistance.
The hair isn’t used to falling in this direction, so it will grip better and create a tighter braid from the very start. Try a deep side part for a dramatic romantic goth feel, or a zig-zag part for extra hold.
- Before any product, use a comb to create a new, sharp part.
- For maximum grip, make it a deep side part or a zig-zag.
- Apply your texturizing spray and braid as usual over the new part.
18. The “Inside-Out” Fishtail For Density
A fishtail braid is beautiful but can be time-consuming. The inside-out method (braiding pieces under instead of over) creates a braid that looks like a rounded, textured rope and has incredible hold.
This structure is naturally denser and more interlocked than a standard fishtail. It withstands movement and moisture amazingly well and has that cool, intricate vibe perfect for 2026 hairstyles.
- Divide hair into two main sections.
- Take a thin piece from the *outside* of the left section and cross it *under* to the inside of the right section.
- Repeat from the right side, crossing under to the left. Continue to the end.
19. Secure Wispies With A Toothbrush & Hairspray
Those baby hairs and wispies around your face are the first to curl up in humidity. A clean toothbrush or spoolie brush is the perfect tool to control them without disturbing your braids.
Give the brush a single, light spritz of flexible-hold hairspray. Then gently brush the wispies back along your hairline or smooth them