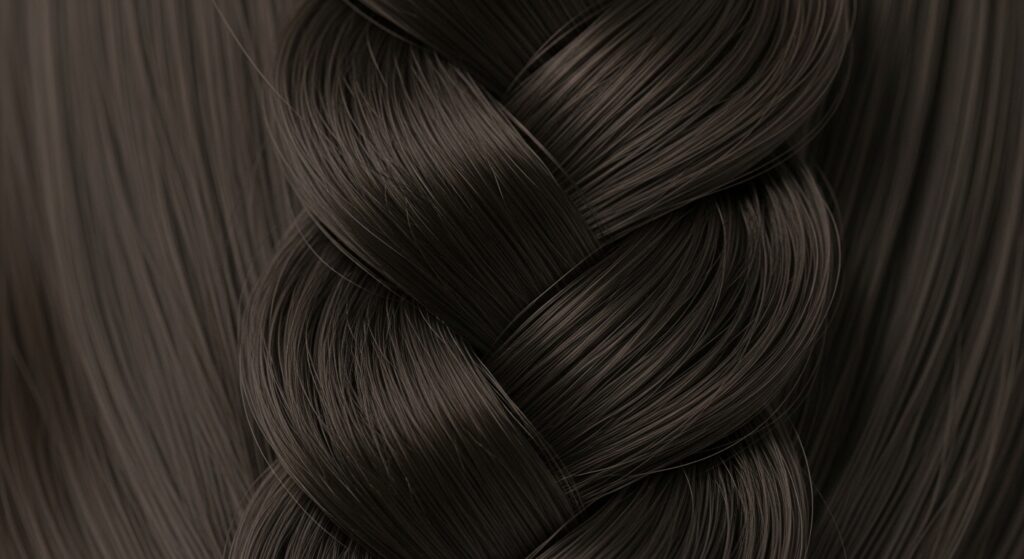
Hacks 19 Gale-Force Winds Defying Heavy Hold Mousses Strategically
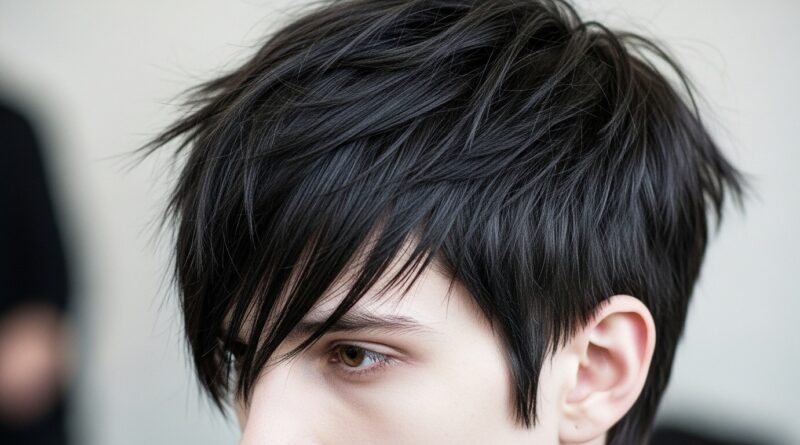
Okay, let’s be real. You finally nail your style—whether it’s a sleek quiet luxury bob or some gorgeous romantic goth hairstyles waves—and then you step outside. Cue the wind. Suddenly, you’re in a hair tornado and all that work is gone.
I’ve been there so many times. It’s the worst feeling. You want your hair to look good and actually stay that way, right? That’s where a heavy-hold mousse becomes your secret weapon.
But using it wrong can leave you with crunchy, stiff hair that’s just as bad as the wind-blown mess. This isn’t about helmet hair. It’s about smart, strategic holds that let your style breathe while it fights the weather.
I’m sharing my absolute best hacks for using heavy-hold mousse to actually defy those gale-force winds. These are the tricks my team and I use for every shoot and windy day. Let’s get into it.
1. Ditch the “Wet Hair Only” Rule
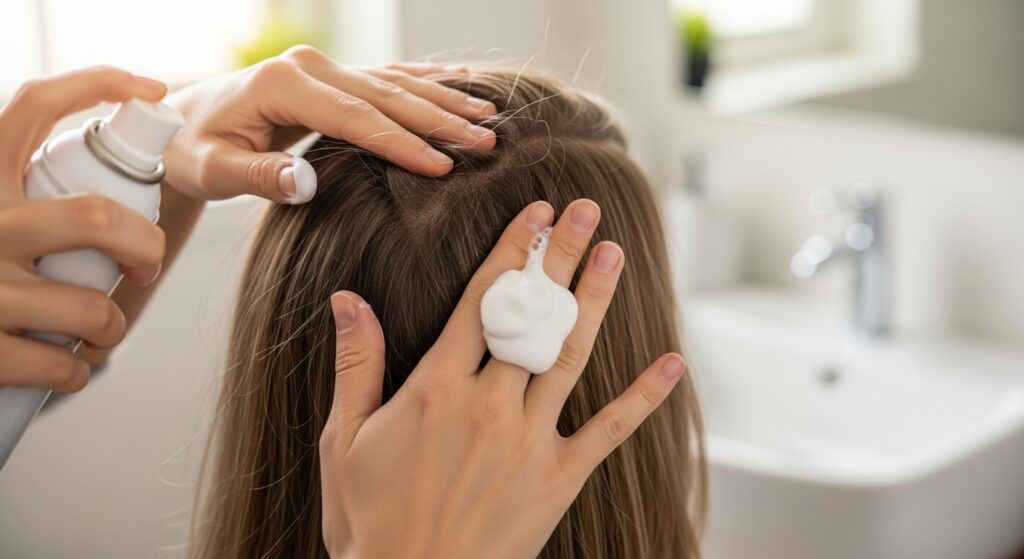
Most of us were taught to apply mousse to soaking wet hair. That’s great for some styles, but for maximum hold against wind, try it on towel-dried or even dry hair.
Applying to damp hair gives you control and definition without diluting the product. Using a small amount on completely dry hair is a game-changer for refreshing second-day styles or adding instant root lift that won’t quit.
- For damp hair: Focus on mid-lengths to ends for definition, then roots for lift.
- For dry hair: Rub a tiny amount between palms and scrunch into ends or smooth over flyaways.
2. The Root Lift Sandwich Technique
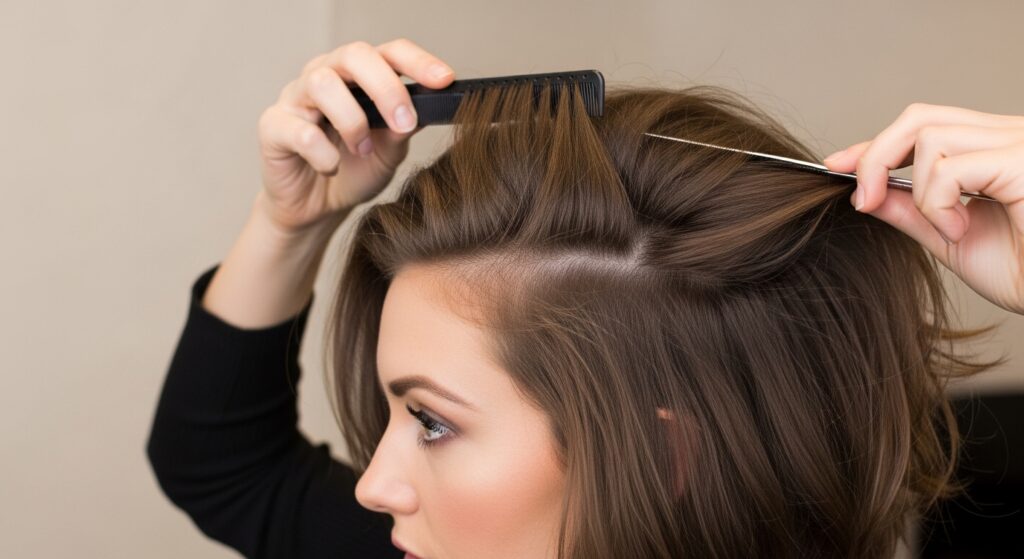
Wind flattens hair first. To combat it, you need architectural support at the base. This “sandwich” method builds a foundation.
Start with a golf-ball sized amount of mousse worked into your roots on damp hair. Blow-dry that section until about 80% dry. Then, apply a second, smaller layer of mousse just to the roots before finishing the dry.
This double layer creates a flexible but powerful hold right where you need it most. It’s perfect for adding volume to sleek looks like the old money hair aesthetic.
3. Pre-Styling with a Blow-Dry Primer
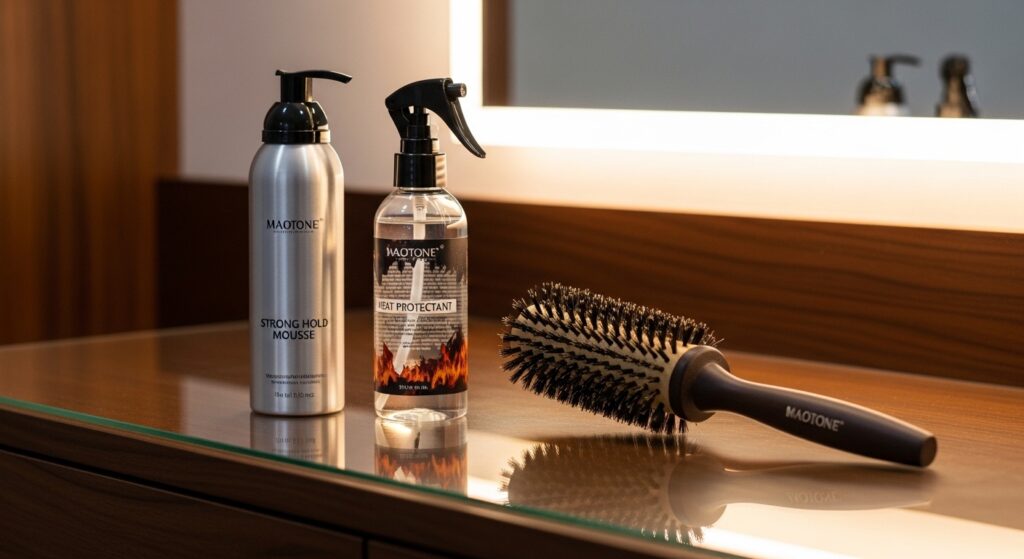
Never apply strong-hold mousse directly to hair without a base layer. Always start with a light heat protectant or blow-dry cream.
This primer creates a barrier, ensuring the mousse’s polymers don’t stick directly to your hair shaft, which causes crunch. It also adds moisture, so the finish is strong but soft.
- Step 1: Apply heat protectant from roots to ends.
- Step 2: Follow with your mousse, focusing on your target areas.
- Step 3: Blow-dry immediately for best results.
4. Section, Don’t Smother
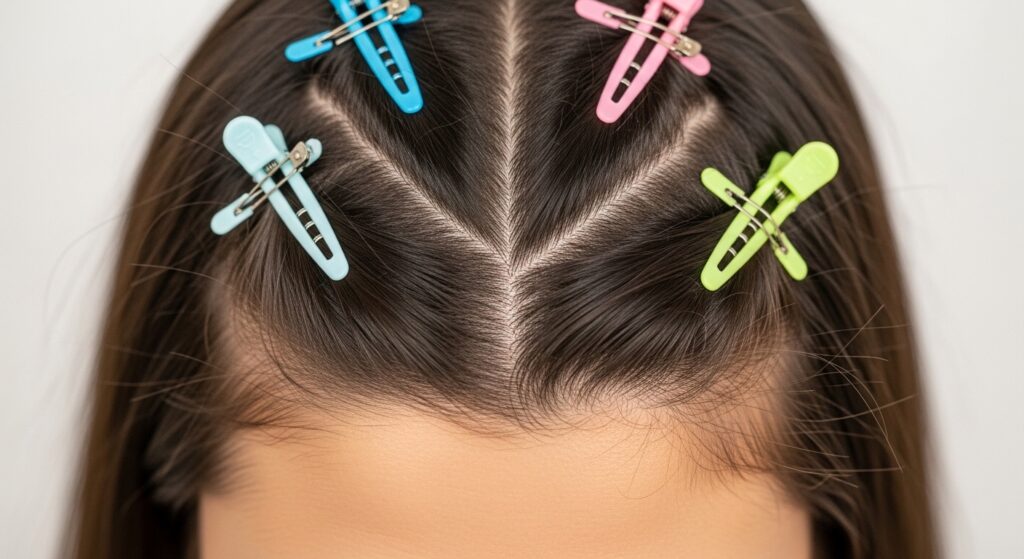
The biggest mistake? Globbing mousse all over. You’ll get uneven hold and product buildup. The pro move is to work in small, clean sections.
Clip up the top half of your hair. Apply mousse to the bottom section, then unclip the next part. This ensures every layer gets the product it needs for all-over wind resistance, especially for thick hair or a voluminous hime cut.
5. The “Crunchie” Scrunchie Method for Waves

You want windproof waves, not a crispy cast. After applying mousse to damp hair, use a gentle, continuous “scrunching” motion while you blow-dry with a diffuser.
Don’t just hold the diffuser there. Keep moving your hands to break the product’s cast as it dries. This sets the wave pattern with incredible hold but leaves the hair touchably soft, ideal for 2026 hairstyles that favor movement.
6. Smooth Down Flyaways Before They Start
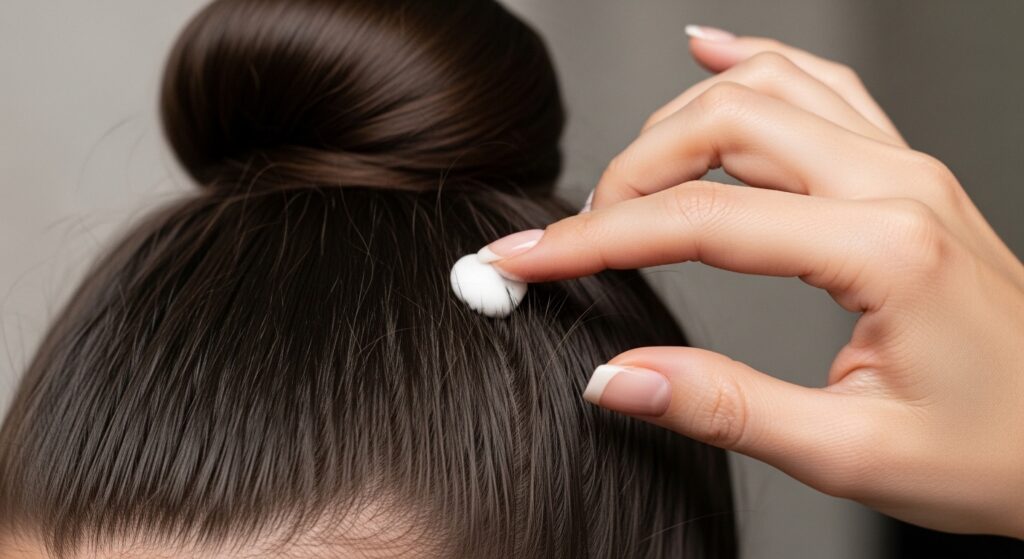
Wind is flyaway city. Preempt the static. After styling, take a minuscule amount of mousse on your fingertips.
Rub your fingers together until the product is almost dry. Then, gently glide them over your hairline, crown, and any prone areas. This seals the cuticle and creates a light, flexible barrier against frizz.
7. Mix Mousse with a Texture Spray
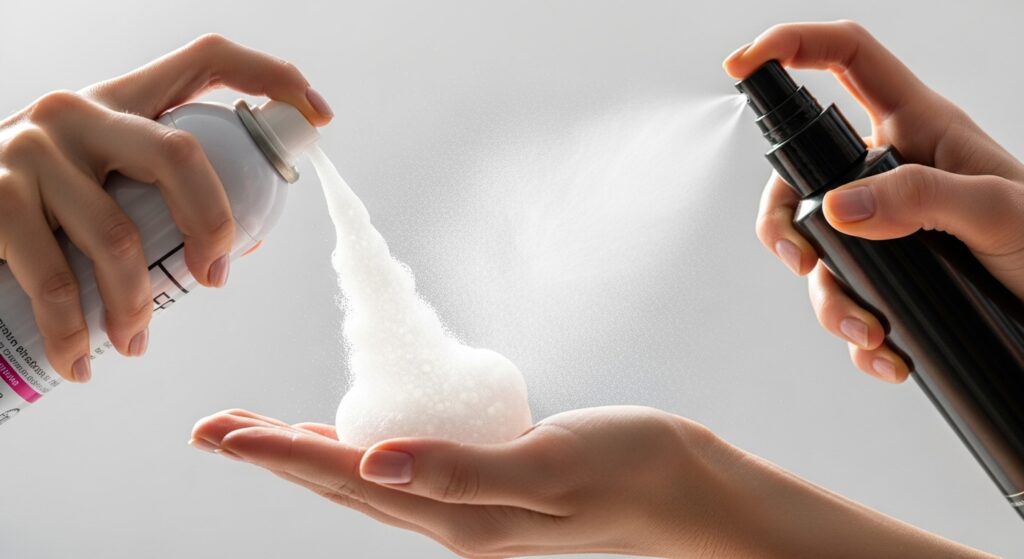
For the ultimate flexible hold, cocktail your products. Spray a texturizing spray into your palm, then add a dollop of mousse. Rub your hands together to mix.
Apply this mixture to dry hair for instant, gritty texture with a serious hold. This is my go-to for glitchy glam hair looks that need to stay perfectly imperfect all night, wind or no wind.
8. Set Your Style with Cold Air
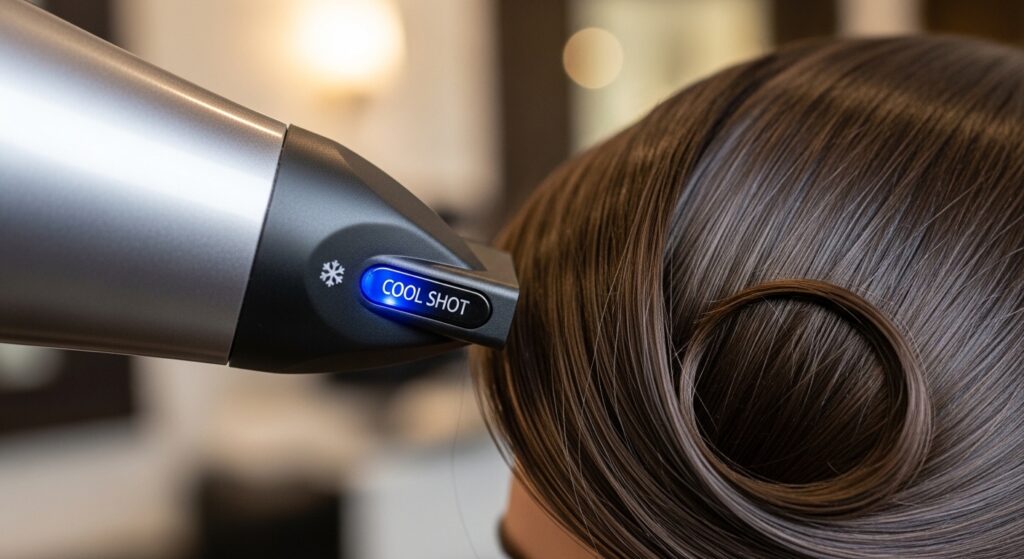
Heat styles your hair, but cold air sets it. After you’ve finished blow-drying with mousse, spend a full 60 seconds blasting your style with the dryer’s cold setting.
This shocks the polymers in the mousse, locking them into place. It’s the final seal that makes your style significantly more resistant to humidity and wind.
9. Protect Your Ends to Prevent Tangles
Wind tangles and shreds ends. When applying mousse, don’t neglect them! For damp hair styling, work a small amount through your ends last.
This coats the hair shaft, providing a protective layer that helps strands slide past each other instead of knotting up in a breeze. It’s crucial for long romantic goth hairstyles.
10. Create a Wind-Proof Base for Updos
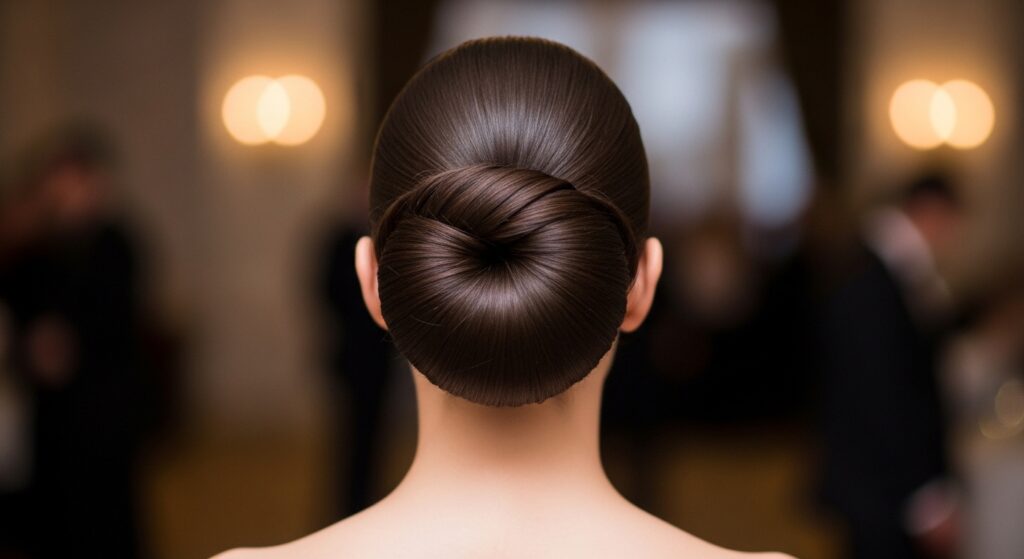
An updo in the wind can become a messy nest. Before you even twist or pin, apply mousse to your roots and through the length of your hair.
Blow-dry it smooth. This gives your hair “grip” and body, making it easier to pin and ensuring the style has its own internal support system, so it doesn’t collapse.
11. Refresh Day-Two Hair Instantly

Second-day hair has natural oils that can break down mousse hold. To reboot it, lightly mist your roots with water or a salt spray.
Then, take a pea-sized amount of mousse, rub it between your palms, and rake it through your roots only. Blow-dry for two minutes. It revives the hold without weighing hair down.
12. The Ponytail “Grip” Hack
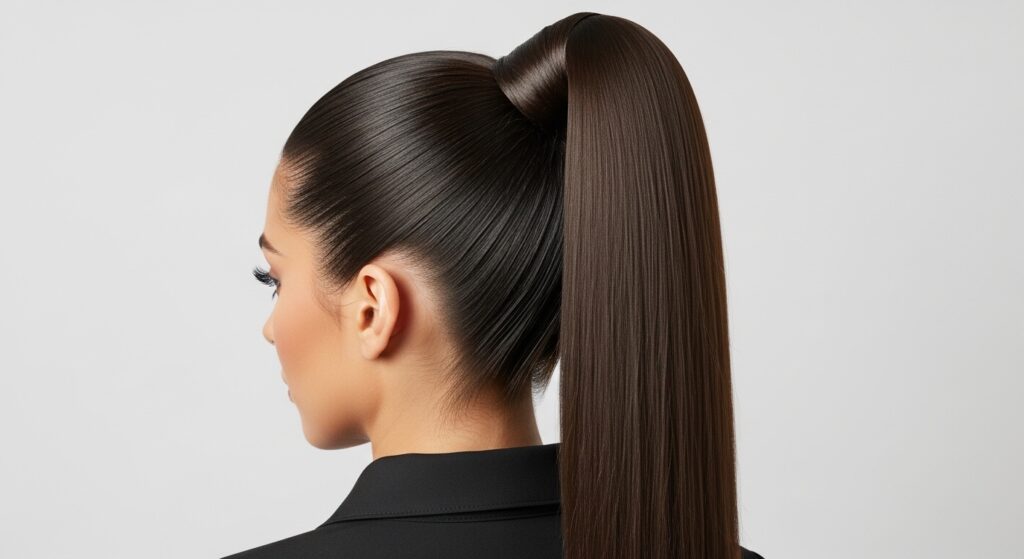
For a ponytail that doesn’t sag or slip in the wind, mousse is your best friend. Apply it to the roots at your crown and along your hairline before gathering your hair.
Also, run a little over the length of your ponytail before securing it. This gives the elastic something to grip onto and keeps the tail itself smooth and controlled.
13. Define Curls Without the Frizz

For curly girls, wind is the ultimate frizz-bringer. Apply a generous amount of mousse to sopping wet hair using a praying-hands motion, then scrunch.
Do not touch it while it air-dries or diffuse. This allows a hard cast to form. Once 100% dry, scrunch your curls again to break the cast. You’ll have defined, frizz-free curls that stand up to wind.
14. Sleek Looks Need Internal Hold
A sleek asymmetrical lob looks simple but needs armor. Apply mousse to damp hair from roots to ends before blow-drying straight with a paddle brush.
The mousse creates an internal structure. Even if the wind disrupts the surface, the style bounces back because the hair underneath is set in that smooth position.
15. Boost Braid Definition and Stay
Braids get fuzzy fast in wind. Work mousse through each section of hair before you start braiding. This slightly coats the strands, making them easier to handle and less prone to flyaways.
It also gives the braid lasting definition, so it looks freshly done for hours, even in a storm.
16. Preserve Your Blowout for Days

To make a mousse-enhanced blowout last, always use a silk scarf or pillowcase at night. The silk prevents friction that breaks down the mousse’s hold.
In the morning, flip your head over and shake out your roots. The mousse’s memory will help your style fall back into place with minimal effort.
17. The “Vampire Haircut” Texturizing Trick

The vampire haircut is all about sharp, piece-y texture. To get that look wind-resistant, apply mousse to dry hair.
Focus on the ends and the layers around your face. Twist small sections and pinch the ends with your mousse-coated fingers. This gives that “lived-in, just-bitten” look serious staying power.
18. Avoid Product Build-Up for Lasting Hold

Heavy hold mousse can lead to build-up, which actually makes hair limp and less responsive. Use a clarifying shampoo once a week.
This strips away residue, allowing the mousse to grip fresh, clean hair shafts on your next use. You’ll get better hold with less product.
19. Tailor Your Amount to Your Hair Type
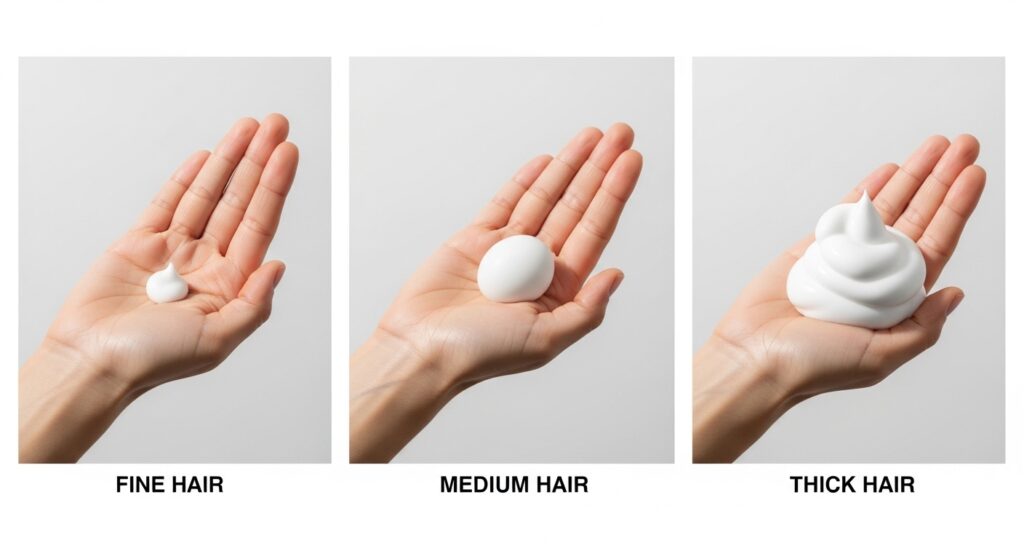
More product isn’t always better. Fine hair needs a lemon-sized amount max, applied to damp roots. Medium hair can handle a golf ball.
Thick, coarse hair often needs two golf-ball amounts, distributed evenly. Using the right amount prevents heaviness and ensures the hold works optimally.
20. Choose the Right Mousse Formula
Not all mousses are equal. For wind-defying hold, look for keywords like “ultra,” “maximum,” or “professional hold.” Avoid “volumizing” or “light” if hold is your main goal.
Read the label. Ingredients like PVP (polyvinylpyrrolidone) are classic for strong, flexible holds that can truly battle the elements.
So there you have it—my full playbook for turning a simple can of mousse into your hair’s best defense. It’s not about fighting your hair with product, but about using smart techniques to give it the support it needs to look amazing, even when the weather has other plans.
Remember, great hair in the wind is all about strategy, not just strength. A little know-how with your heavy-hold mousse means you can rock your favorite style, from a quiet luxury bob to glitchy glam texture, with total confidence.
Save this post to Pinterest so you always have these hacks handy for the next windy day! And tell me in the comments—which hack are you trying first? Is there a windy-day horror story you need to solve? Let’s chat!