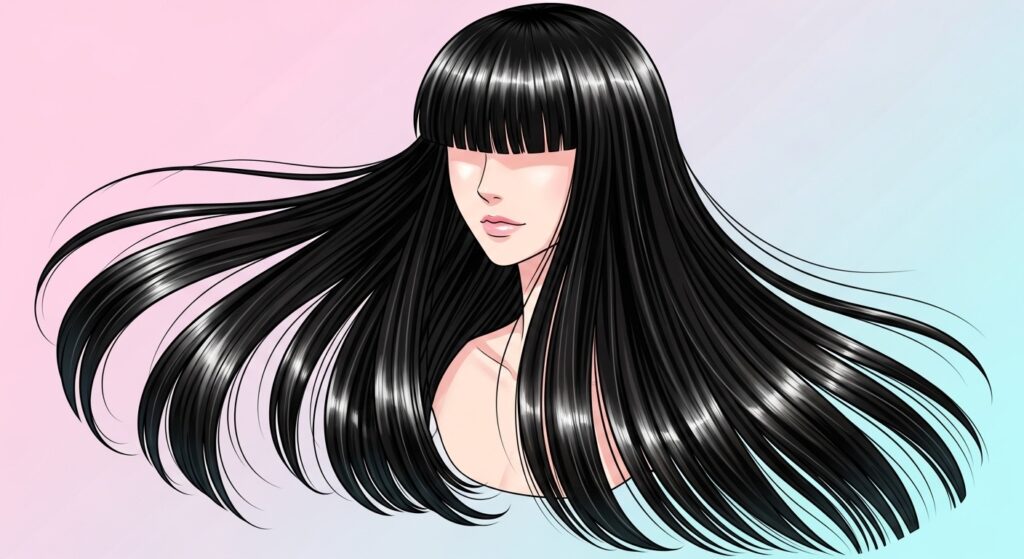
Hacks 23 Thin Strand Crimpers Adding Instant Fullness Everywhere
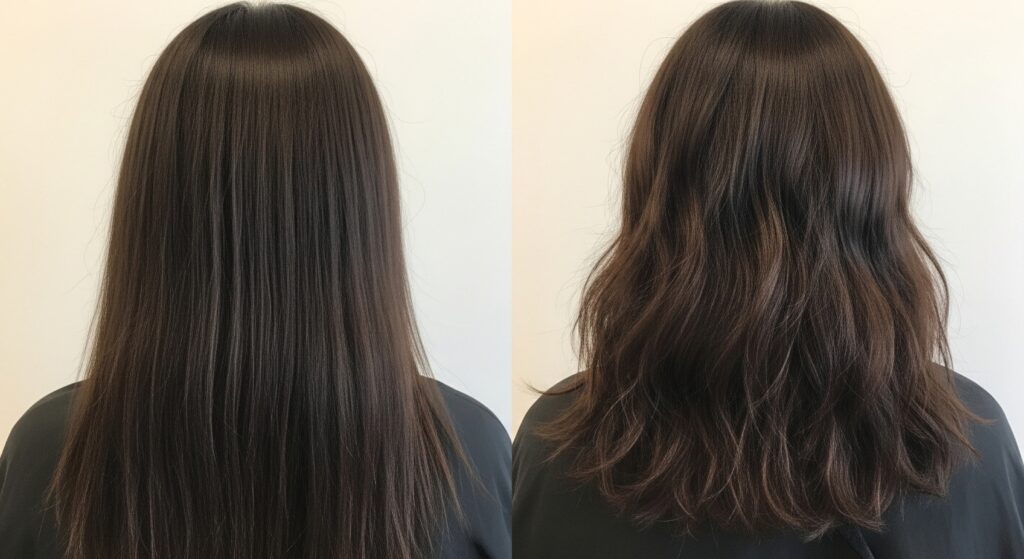
Okay, let’s be real. If you have fine or thin hair like me, you’ve probably had a love-hate relationship with volume. We love the idea of big, full hair, but hate the flat reality we wake up to most days. I’ve tried every root-lifting spray and teasing trick in the book, and the results were always… temporary.
But what if I told you there’s a tool that creates lasting, believable fullness from root to tip? It’s not a magic wand—it’s a thin-strand crimper. And before you panic about 80s flashbacks, hear me out.
This isn’t about creating chunky zig-zags. Modern thin-strand crimpers work in secret, adding grip and body that makes every style look twice as thick. I’m sharing all my hacks to get that instant, everywhere fullness you’ve been dreaming of.
Why a Thin-Strand Crimper is a Game-Changer
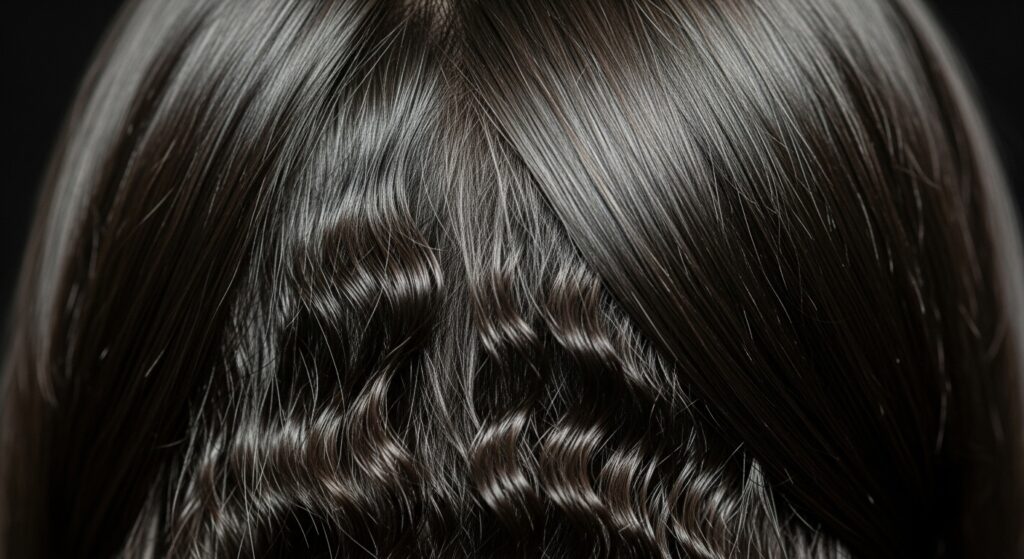
Forget everything you think you know about crimpers. The new versions have tiny, narrow plates that create a super subtle texture. This texture is the secret sauce. It gives your hair something to hold onto, so styles don’t fall flat in an hour.
It adds body without adding noticeable pattern. When you brush it out or layer it under the top sections of your hair, all you see is volume. It’s the ultimate base layer for any 2026 hairstyles that demand serious body and movement.
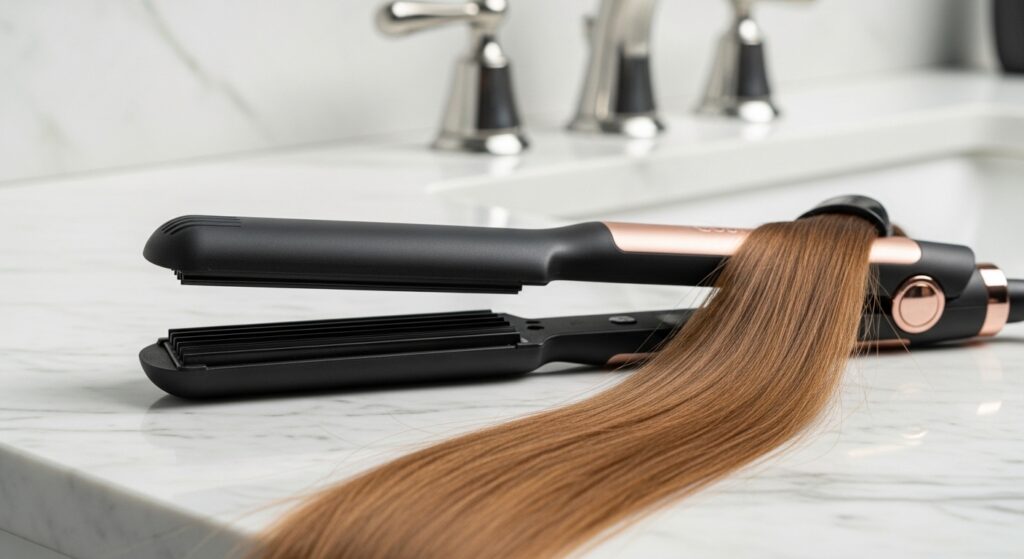
The Right Tool: What to Look For
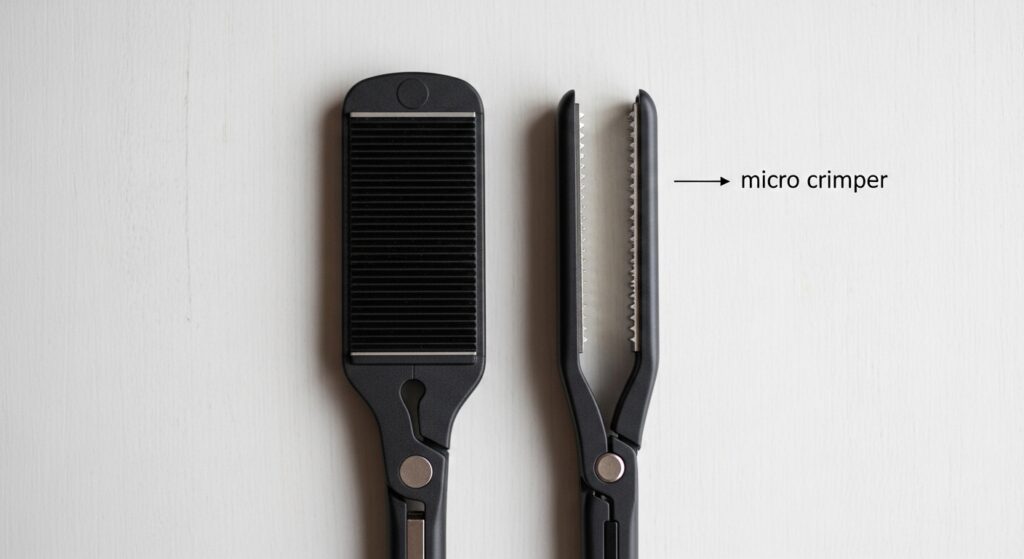
Not all crimpers are created equal. You want one specifically labeled for “thin strands” or with a “micro” or “mini” barrel. The plates should be narrow, creating a tight, fine wave pattern that blends seamlessly.
Look for adjustable heat settings. Fine hair is delicate, so you need control. A tool with a swivel cord is also a lifesaver for maneuvering. My favorite is the one I’ve linked on my shop page—it heats up fast and doesn’t fry my ends.
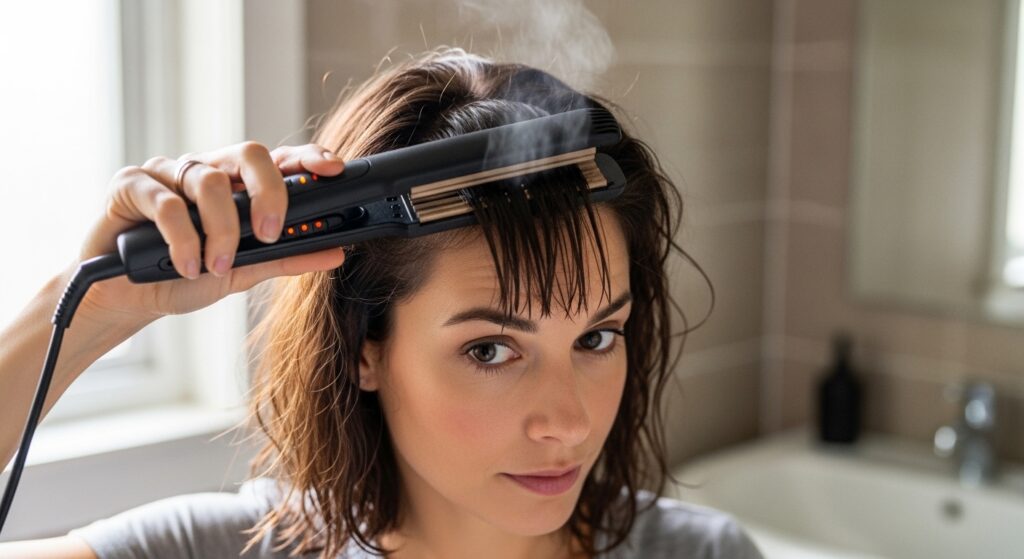
Prep is Everything: Protecting Fine Hair
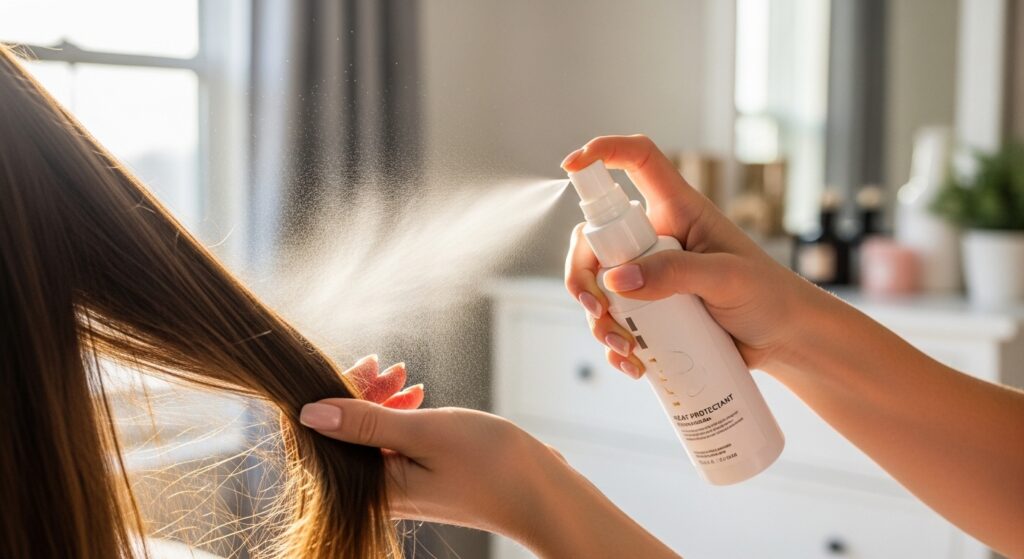
Heat protection is non-negotiable, especially when adding texture. You’re creating body, not breakage. Always start with clean, towel-dried hair and apply a lightweight heat protectant from mid-lengths to ends.
I follow with a volumizing mousse or root lifter at the crown. This combo sets the stage. The products give lift, and the crimper gives that lift something to cling to all day long. It’s a powerhouse duo.
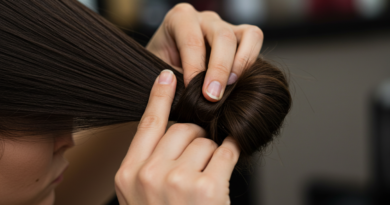
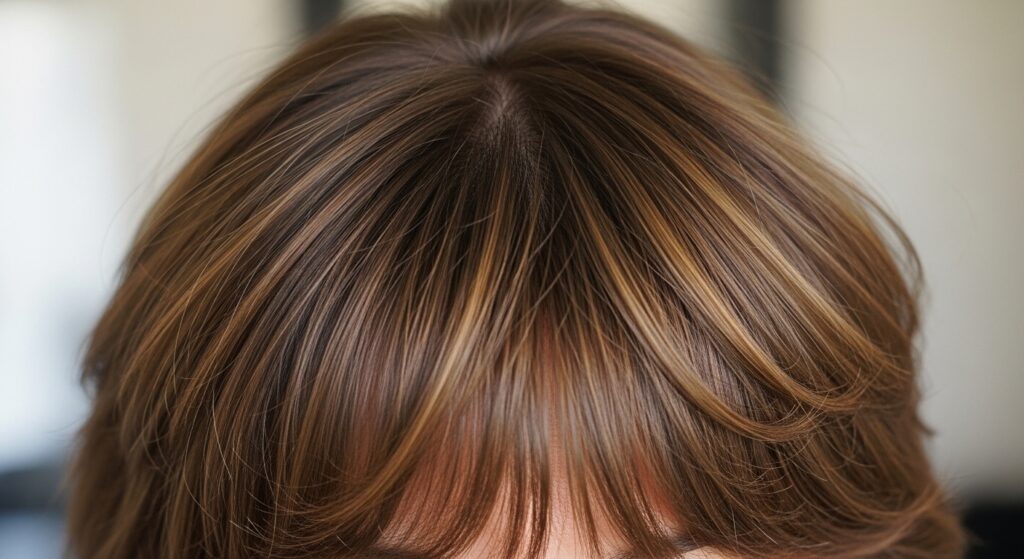
The Foundation: Secret Root Crimping
This is my number one hack. Section off the top layer of your hair (the part you see). Take a one-inch section from the underlayer at your crown. Crimp only the root area, about 1-2 inches from the scalp.
Let the section cool, then gently brush it out. Drop the top layer over it. Instantly, you have invisible lift that looks completely natural. No one will know your secret—they’ll just ask how your hair looks so full.
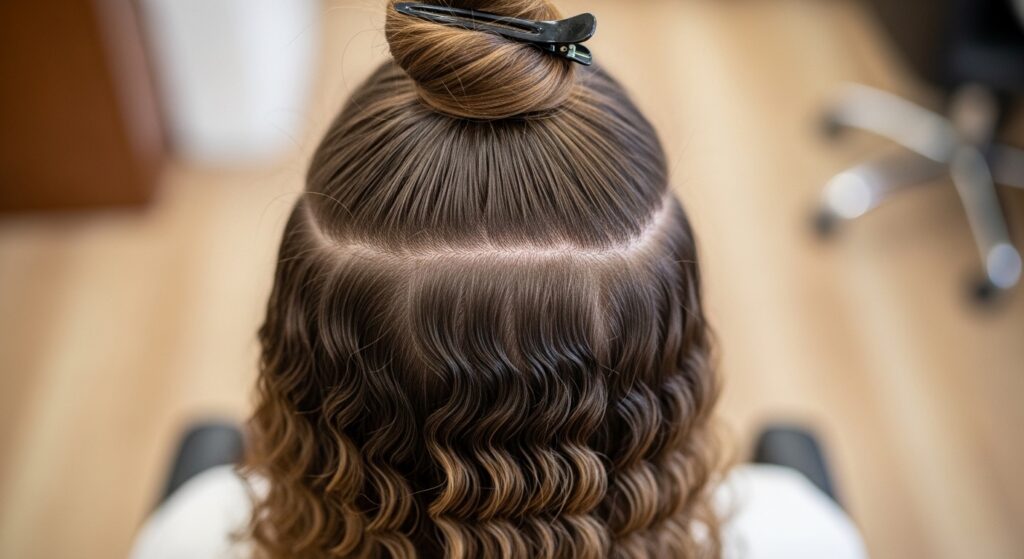
Full-Body Volume: The Underlayer Method
For maximum, all-over fullness, crimp your entire underlayer. Create a deep part and clip the top half of your hair out of the way. Work in small sections, crimping from root to tip on the bottom hair only.
Once the underlayer is done, let it cool, brush it lightly with a wide-tooth comb, and release the top layer. This gives you a dense base of support that makes even the simplest ponytail or quiet luxury bob look incredibly expensive and thick.
Elevating the Classic Blowout
Want a blowout that lasts for days? Crimp your hair straight out of the shower (after protectant). Do the full underlayer method. Then, take a round brush and blow-dry the top layer smooth as you normally would.
The crimped underlayer acts like built-in Velcro, holding the smooth shape of the blowout in place. It resists going flat. This is a perfect trick for nailing that old money hair aesthetic—polished but with undeniable, lived-in body.
Perfect Ponytails & High Buns
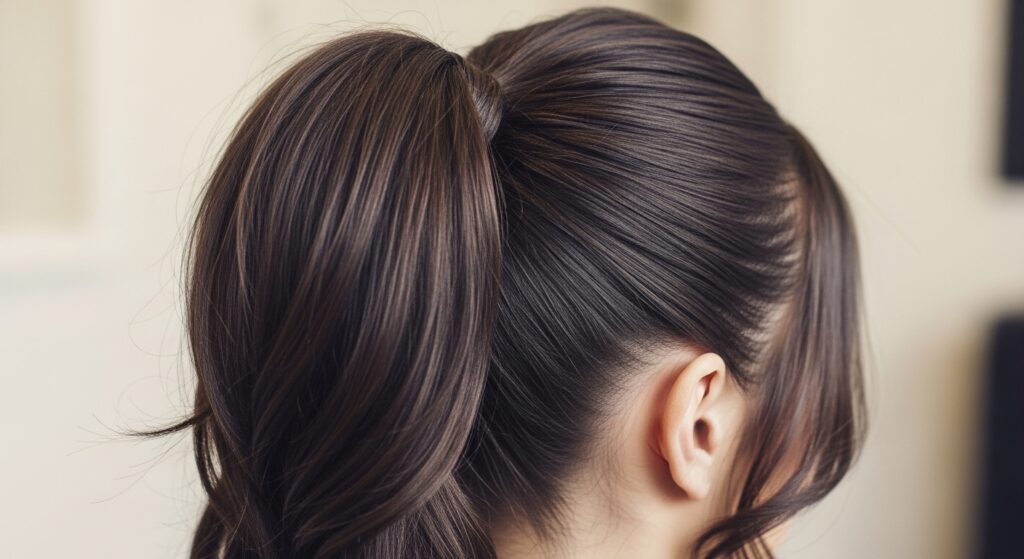
Fine hair ponytails can look… sad. Crimping fixes that. Lightly crimp all of your hair, focusing on the roots and mid-lengths. Brush it all back into your ponytail or bun.
The texture gives the elastic so much more to grip, preventing slippage. It also bulks up the length of the ponytail, making it look lush and full. For a modern twist, try this with an asymmetrical lob pulled into a half-up style.
Beachy Waves That Actually Hold
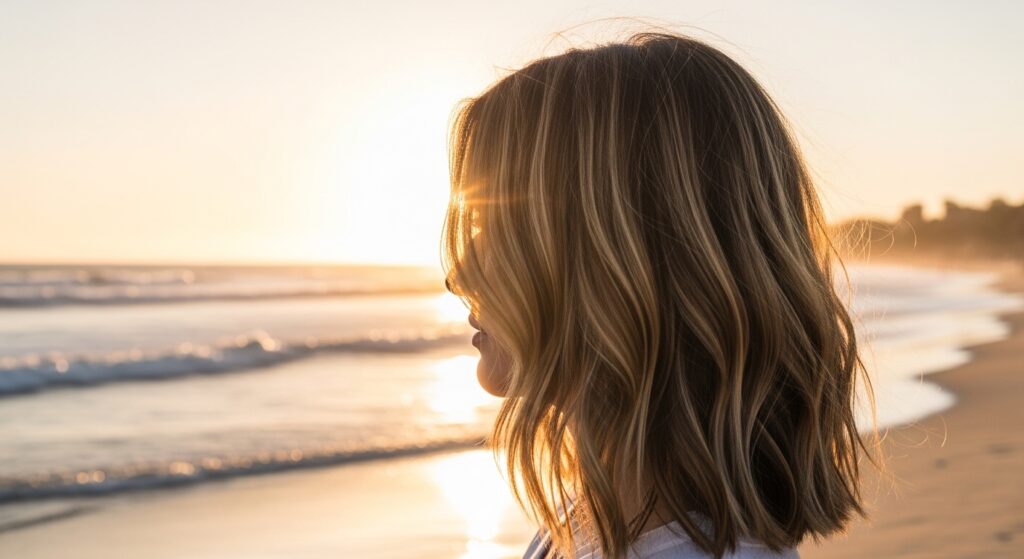
Beachy waves on fine hair often fall out. Crimp your entire head, then go in with a large-barrel curling wand. Wrap random, large sections around the wand, leaving the ends out.
Break up the curls with your fingers. The crimped base gives the waves a gritty, lasting texture that mimics a day in the saltwater. It’s that perfect, undone wave without the frizz or quick fade.
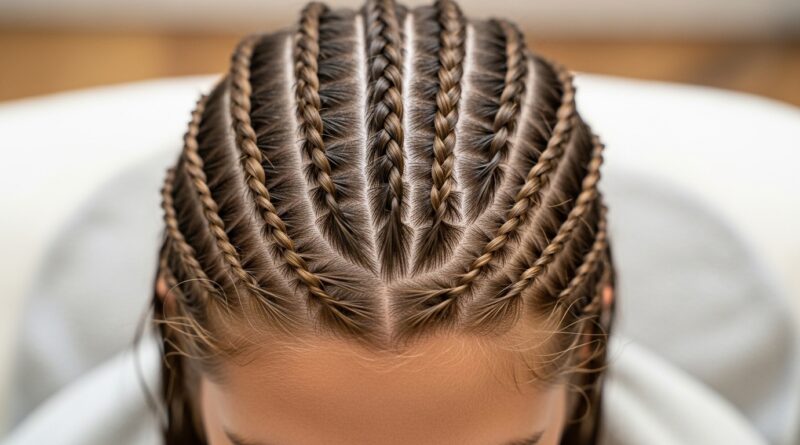
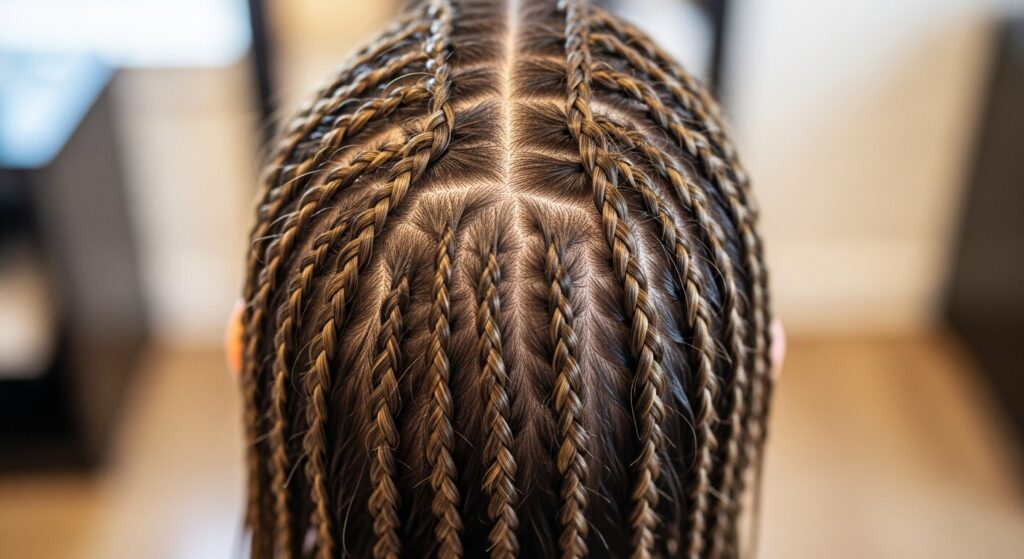
Adding Grip for Updos & Braids
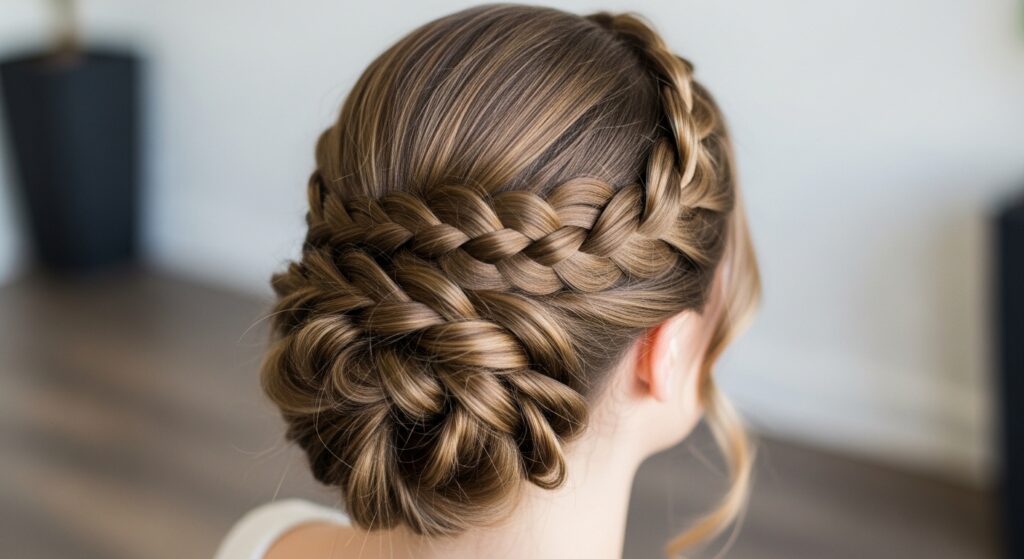
Braids and updos on thin hair can look sparse. Crimping adds the necessary grit and thickness. Before you start styling, give your hair an all-over light crimp.
You’ll find braids hold their shape better and look fuller. Updos have more to work with and look more romantic. This is a must-try for any romantic goth hairstyles or intricate bridal looks that need to last.
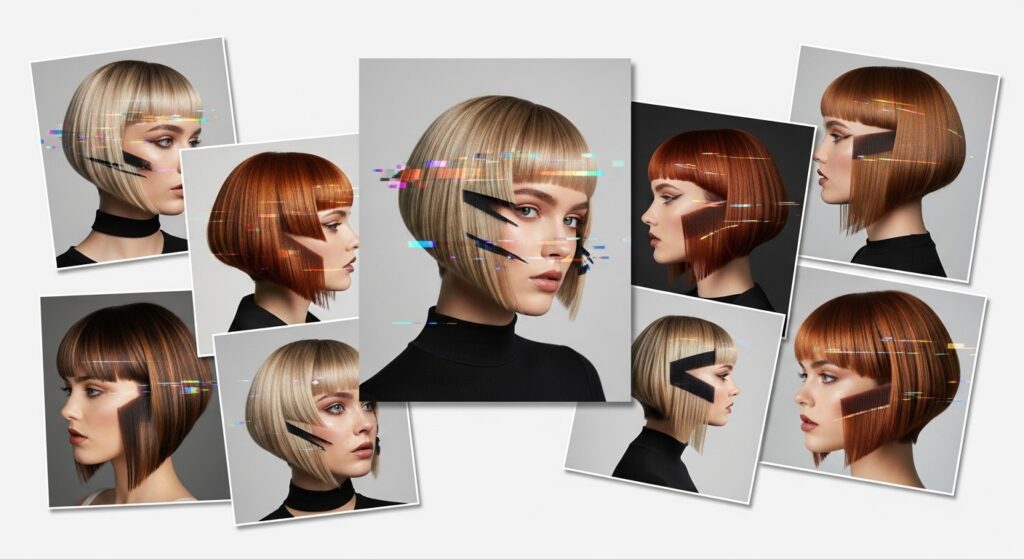
The “Lived-In” Texture for Short Hair

Short hair needs volume too! A thin-strand crimper is perfect for adding piece-y texture to pixies and bobs. Crimp small sections at the root and through the ends.
Use your fingers and a bit of pomade to break up the pieces. This creates a cool, glitchy glam hair effect—intentional texture that looks editorial and effortless, perfect for making a statement.
Revamping the Vampire Haircut
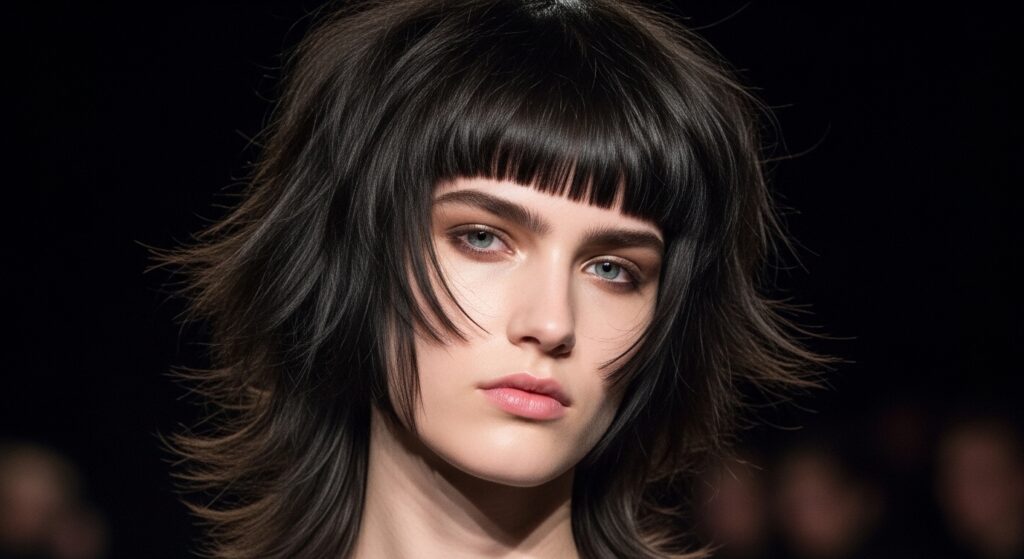
The vampire haircut is all about dramatic, heavy bangs and sharp layers. To keep it from looking flat, crimp the underlayers. Focus on the roots beneath the bang area and the interior layers.
This pushes the top layers up and out, creating that iconic, dramatic silhouette. It adds a touch of modern fullness to the vintage-inspired severity of the cut, making it wearable and ultra-cool.
Boosting the Hime Cut’s Drama
The hime cut relies on strong shapes—blunt bangs and long, straight sidelocks. Crimp the hair underneath the sidelocks and at the crown.
This gives the long sections a fuller, more powerful swing and prevents the top from going flat against the head. It emphasizes the geometric beauty of the cut while adding a surprising amount of body.
Creating Lasting Curls
If you curl your hair and it drops, this is for you. Crimp your hair first. Then, take smaller sections than usual and curl them with your iron.
The crimped texture acts as a primer, helping the curl shape cling and last all night. The curls will be bouncier, more defined, and far more resistant to humidity or time.
Fixing Sparse-Looking Bangs
Fine or wispy bangs can be a struggle. Take a vertical section of your bangs, lift them up, and crimp just the root area on the underside. Be very gentle.
Drop them back down. The hidden texture gives them a light, airy lift that makes them look fuller and more face-framing instantly, without any stiffness or crunch.
Day-Two & Three Hair Revival
On day two or three, your style is flat but dry shampoo only does so much. This is the crimper’s moment. Hit the roots and underlayers again to reactivate the texture.
It soaks up any excess oil at the roots and gives you a fresh base of volume. It’s the fastest way to revive your style without a full wash and restyle.
For Super Straight, Slippery Hair
If your hair is very straight and silky, it lacks grip. Crimping creates the necessary friction. Concentrate on the underlayers and the root area you can’t see.
This gives your hair a “grippy” core that holds styles, keeps clips and accessories in place, and finally gives you the lasting volume you’ve been missing.
Mixing Textures for Glitchy Glam
Glitchy glam hair is about contrasting textures. Crimp random, face-framing pieces from root to tip. Leave the rest of your hair smooth or in soft waves.
Brush out the crimped pieces just enough to soften them, but let the texture show. It’s an edgy, fashion-forward look that’s surprisingly easy to achieve and is perfect for making a statement.
No-Heat Alternative: Overnight Crimping
Want to avoid heat? On damp hair, create a head full of very small, tight braids. Let your hair dry completely overnight or for a full day.
Undo the braids and gently separate. You’ll have a soft, crimped texture that’s perfect for adding base volume before you style. It’s a great, protective way to get the same benefits.
Styling Products That Work With It
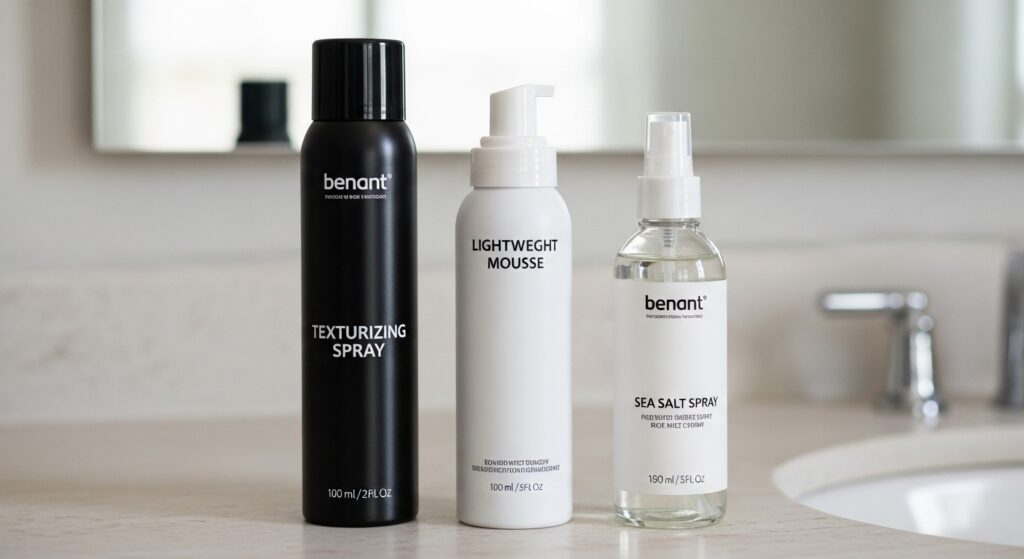
Pair your crimping with the right products. A lightweight texturizing spray or dry shampoo after crimping amplifies the grit. A volumizing mousse before crimping adds hold.
Avoid heavy oils or creams before crimping, as they can weigh down the effect. You want products that enhance grip, not smoothness, for this technique.
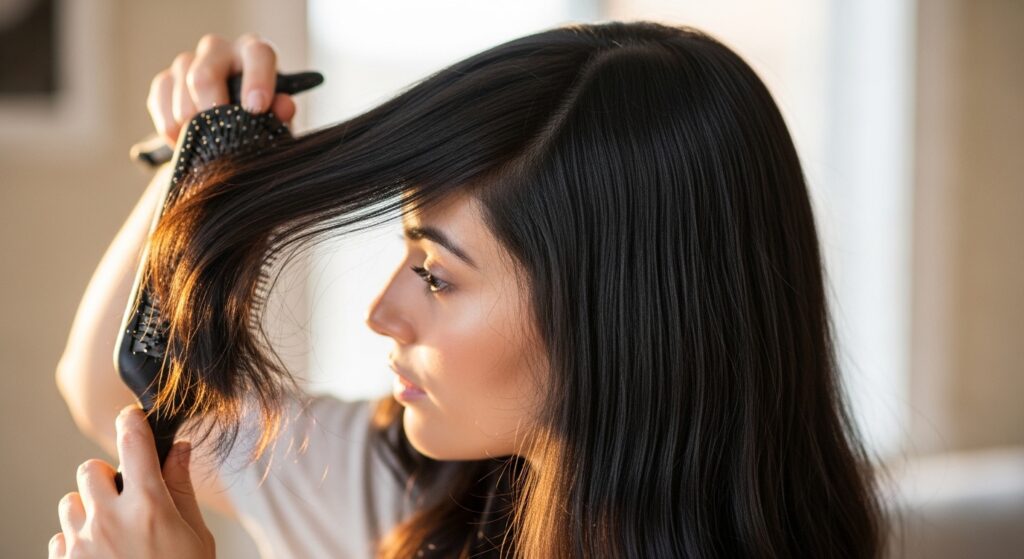
Common Mistakes to Avoid
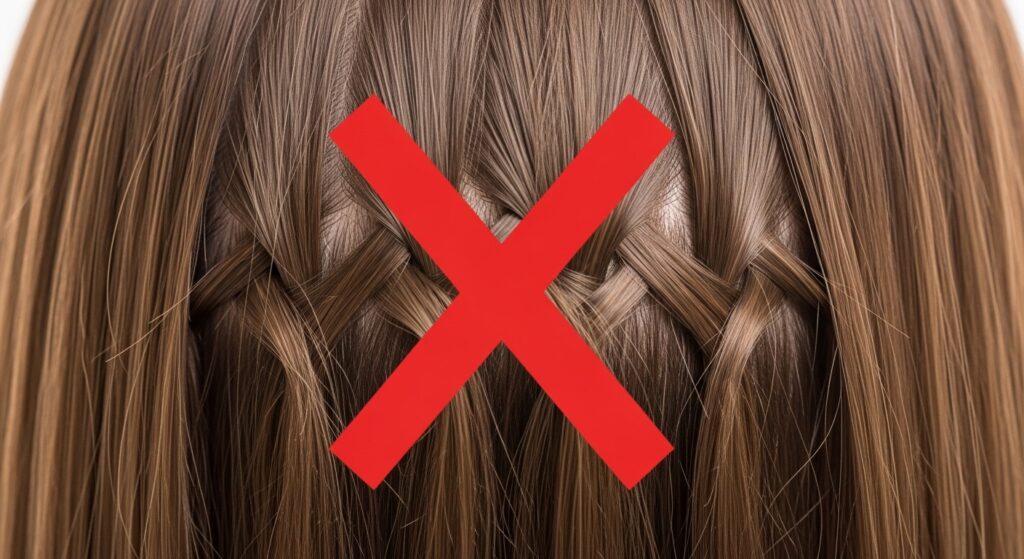
The biggest mistake is crimping the top layer you see. Always keep it hidden underneath. Also, avoid crimping too close to the ends, as it can make them look dry.
Don’t use too high a heat setting. Start low. And always, always brush out the crimped sections before adding your top layer—this is what creates the invisible fullness, not the visible pattern.
My Final Verdict & Tips
This tool changed my hair game. It’s not a gimmick. Start subtle—just do the secret root crimp. You can always add more. Remember, it’s a base builder, not always the final look.
Pair it with your favorite styles, from sleek bobs to messy buns. It gives every single one more oomph, more hold, and more style longevity. It’s the practical secret I wish I’d known years ago.
So, there you have it—my full playbook for turning a simple tool into your biggest hair secret. It’s about working smarter, not harder, to get the hair that makes you feel confident every single day.
This isn’t about changing your hair type, but about embracing it and giving it the best possible support. Once you try these hacks, that dream of easy, lasting volume won’t be a dream anymore. It’ll just be your normal hair day.
Save this post to Pinterest to keep all these hacks handy! And I’d love to know—which hack are you most excited to try first? Drop a comment below and tell me!