Hacks for Updos Lasting Longer Through Any Event
Hey friend. Let’s talk about the number one party foul: a beautiful updo that starts falling apart before the main course even arrives. We’ve all been there. You spend an hour twisting and pinning, feeling like a total queen, only to feel wisps escaping an hour later. It’s the worst.
But what if I told you it doesn’t have to be that way? Whether you’re rocking a sleek old money hair bun or a messy romantic updo, the secret is all in the prep and a few sneaky tricks.
I’ve tested every hack (and had some serious fails) so you don’t have to. This is your no-BS guide to updos that actually last. From backyard BBQs to black-tie weddings, these tips will keep your hair locked in place, so you can actually enjoy the event.
Let’s get into it. Your next flawless hair day starts right here.
1. The Foundation is Everything: Start With Day-Old Hair
This is the golden rule, and I will shout it from the rooftops. Freshly washed hair is too soft and slippery. It simply will not hold pins or grips the way you need it to.
Day two or even day three hair has that perfect amount of natural oil and texture. It gives everything something to grab onto. If you must wash day-of, skip the conditioner on the areas you’ll be pinning (like your crown and nape).
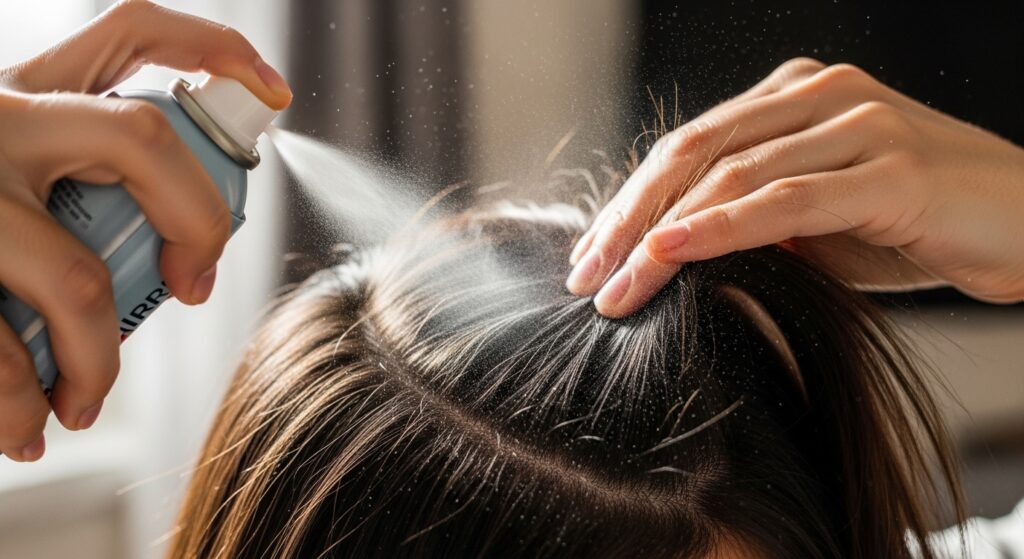
- If your hair is clean, use a texturizing spray or a light dusting of dry shampoo at the roots.
- This creates instant grit and volume, which is the best base for any updo, from a simple twist to an intricate style.
2. Prep With the Right Products (It’s Not Just Hairspray)
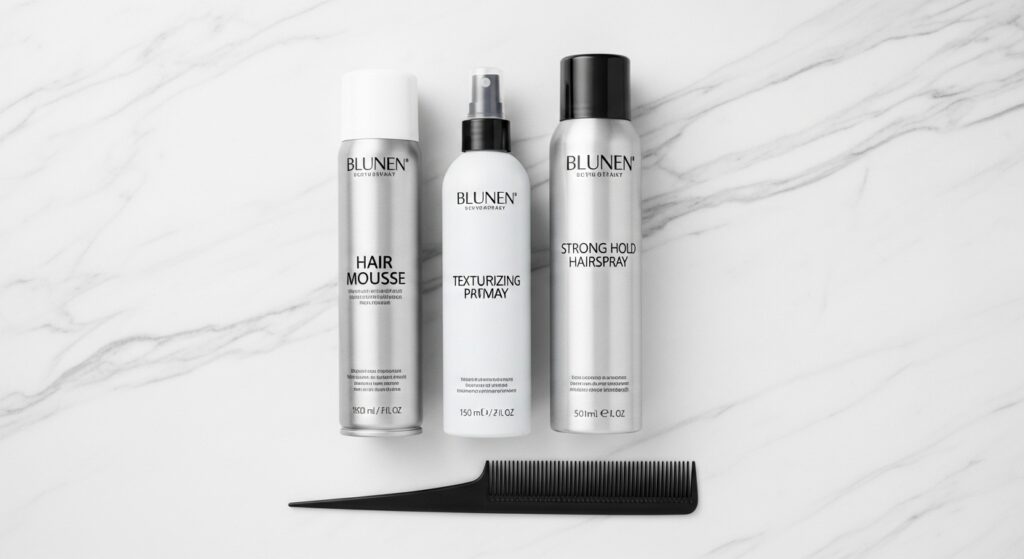
Think of products like your hair’s primer and setting powder. You need layers. Start with a styling mousse or a light gel on damp hair before you blow-dry. This builds memory and hold from the inside out.
For updos, I always reach for a strong-hold styling spray while I’m working, not just at the end. Dampen sections slightly as you pin them. This makes the hair moldable and helps it set in place as it dries.
3. Master the Teasing Technique for Hidden Grip
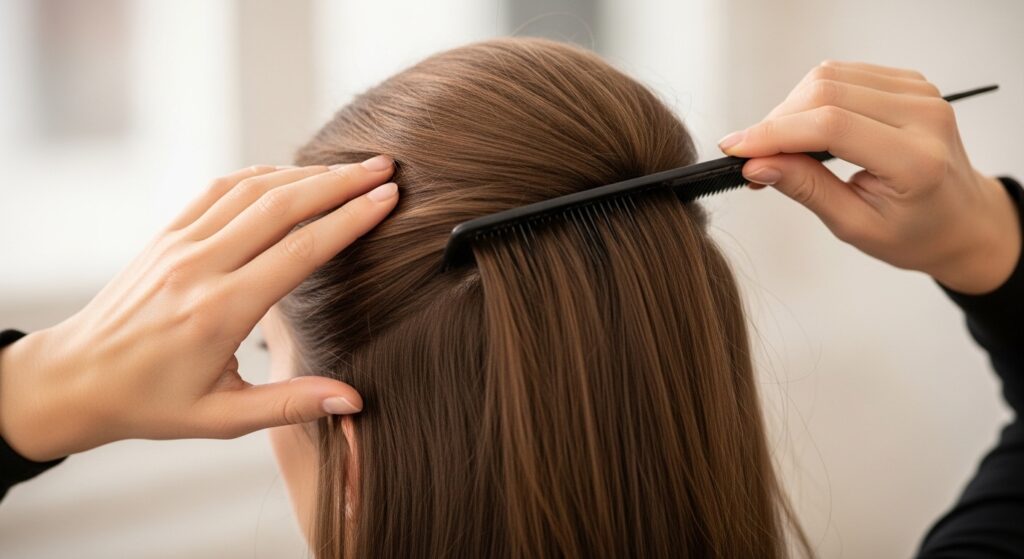
Don’t be scared of teasing! It’s not just for 80s volume. A light backcomb at the roots where you plan to place your bun or twists creates a hidden anchor. It gives the pins something to lock into that the smooth surface can’t provide.
Be gentle. Use a fine-tooth comb and only tease small sections at the base. You don’t need a huge rat’s nest; just enough to create some friction. This is a game-changer for heavy hair or slippery fine hair.
4. Choose Your Weapons: Pins, Clips & Elastics
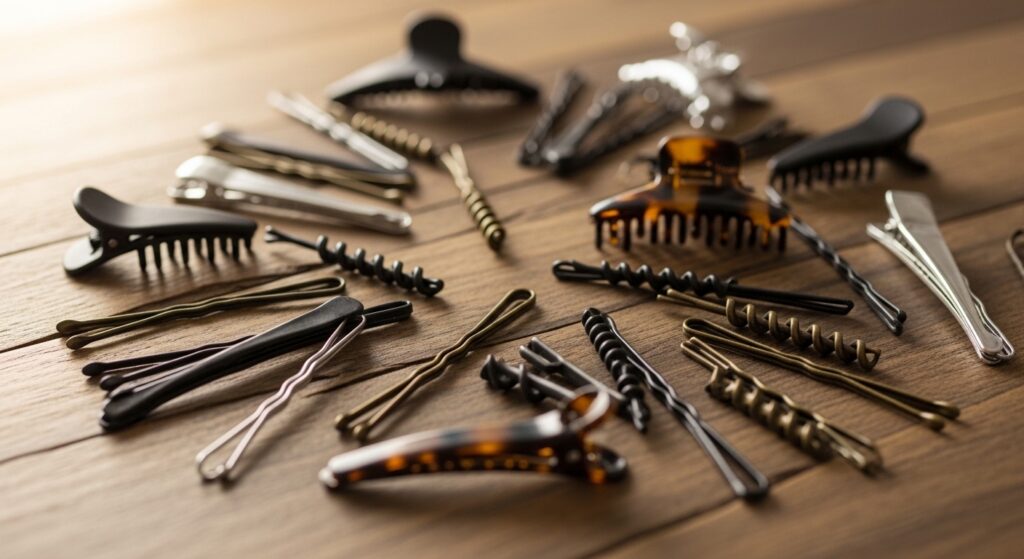
Not all pins are created equal. Those flimsy, coated ones from the drugstore? Toss them. Invest in professional-grade, matte-finish bobby pins. The matte texture grips hair better than the shiny, slippery ones.
- Bobby Pins: Use the wavy side down against your scalp for maximum hold.
- Spin Pins: Magic for buns! They corral hair like nothing else.
- Elastics: Use the thin, coil-free kind to avoid snags and create a seamless base.
5. The “Cross and Lock” Bobby Pin Method
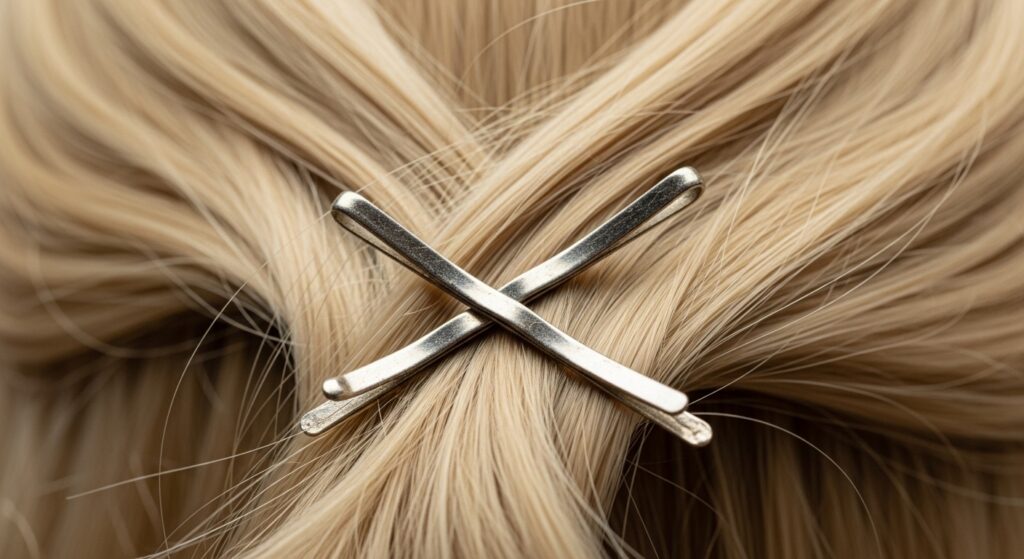
Stop just sliding pins in straight. They’ll pop right out. The professional secret is to cross them. Insert one bobby pin, then slide a second one in the opposite direction, crossing over the first to form an “X”.
This creates a locking mechanism that physically cannot slide out as easily. It distributes the weight and holds the hair from two angles. Use this method anywhere you need serious security, like the base of a bun or to secure a braided section.
6. Secure Every Section As You Go
Don’t try to hold everything in one hand and pin it all at the end. It’s a recipe for sagging. As you create each twist, braid, or section, secure it temporarily with a small clip or even a pin.
This keeps the tension and placement exactly where you want it. Then, when you build the final shape, you’re just connecting already-secure pieces. It makes the whole process less frustrating and the result much more stable.
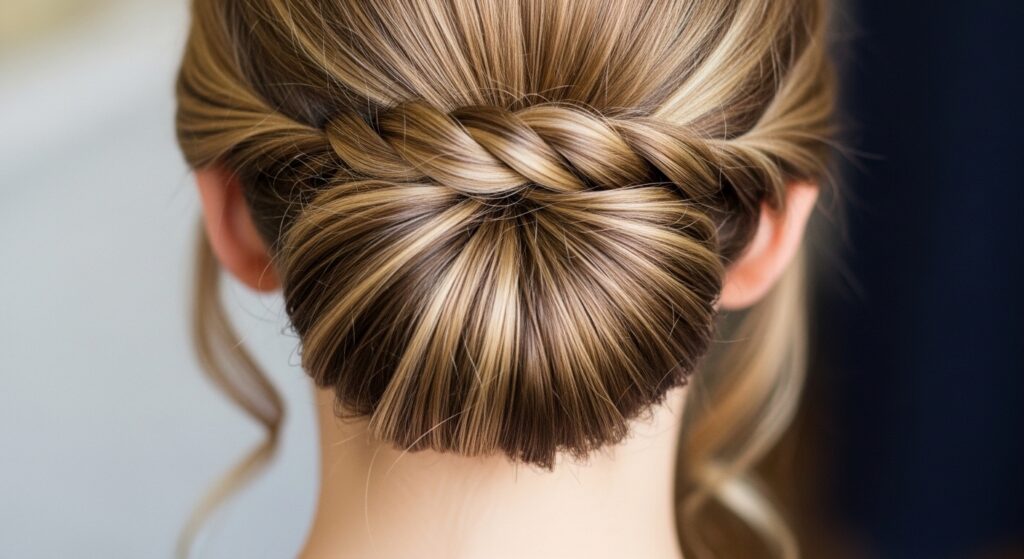
7. Incorporate Braids for Built-In Structure

Braids aren’t just for decoration. They are functional architecture for your updo. A simple braid along the hairline or into a ponytail acts like a rope, holding hair tightly together.
You can then wrap or pin that braid as the core of your bun. This is perfect for romantic goth hairstyles or any look that mixes braids with loose pieces. The braid does the heavy lifting so the pins have less work to do.
8. The Ponytail Base: Your Updo’s Best Friend
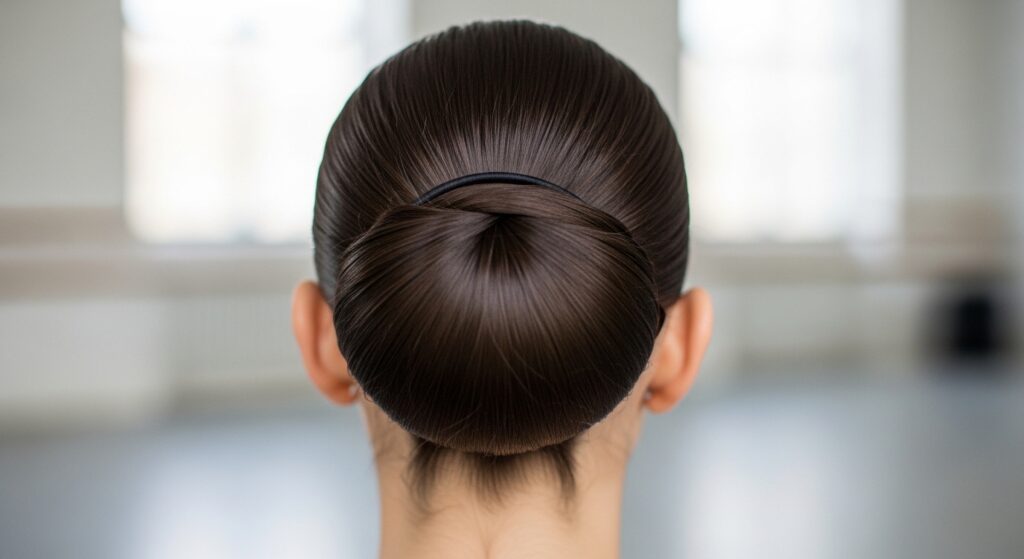
For most classic buns and chignons, start with a solid, tight ponytail. Where you place the ponytail determines the final look. A high ponytail gives a youthful, perky bun. A low one feels more elegant and relaxed.
Make sure the ponytail is smooth and secure. This single anchor point means you’re working with one consolidated section of hair, not a million loose strands. It simplifies everything.
9. Dampen and Set Each Layer
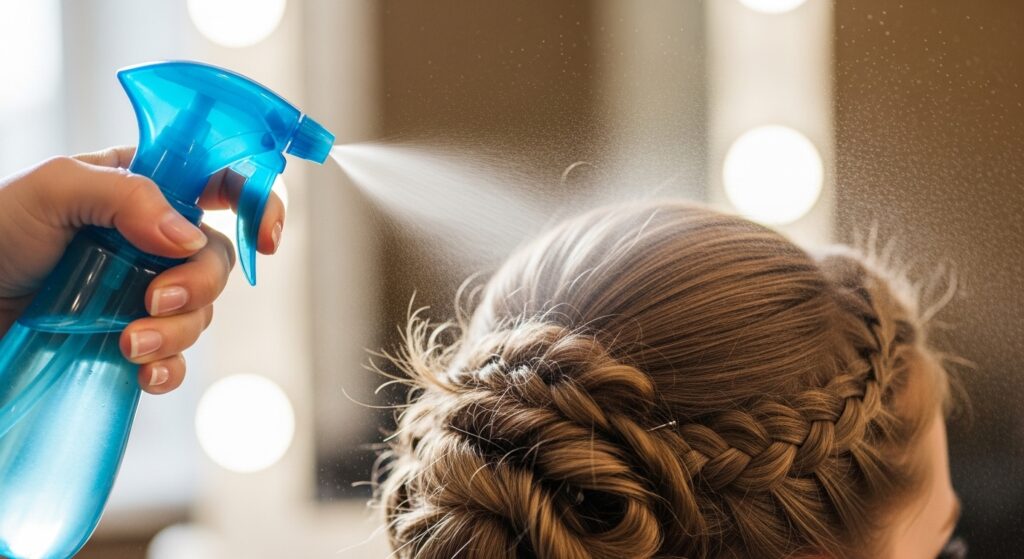
Remember that styling spray I mentioned? Use it in layers. After you secure a major section—like your ponytail base or a key twist—give it a light mist. Smooth the hair with your hands, then let it dry for a minute.
This “sets” that part of the style. Hair has a memory. By setting it in stages, you train it to stay in that shape before moving on. This is key for complex styles or very soft hair.
10. Don’t Forget the Nape and Sides
The front might look perfect, but the back tells the real story of longevity. Those tiny baby hairs at your neck and around your ears are the first to rebel. Before you start, use a tiny bit of gel or wax on a toothbrush to smooth them down.
As you pin your updo, make sure you’re catching those shorter layers. Pin them securely against the scalp or twist them into the main body of the updo. Leaving them loose guarantees they’ll be a frizzy mess in an hour.
11. For Fine Hair: Create Illusion of Thickness
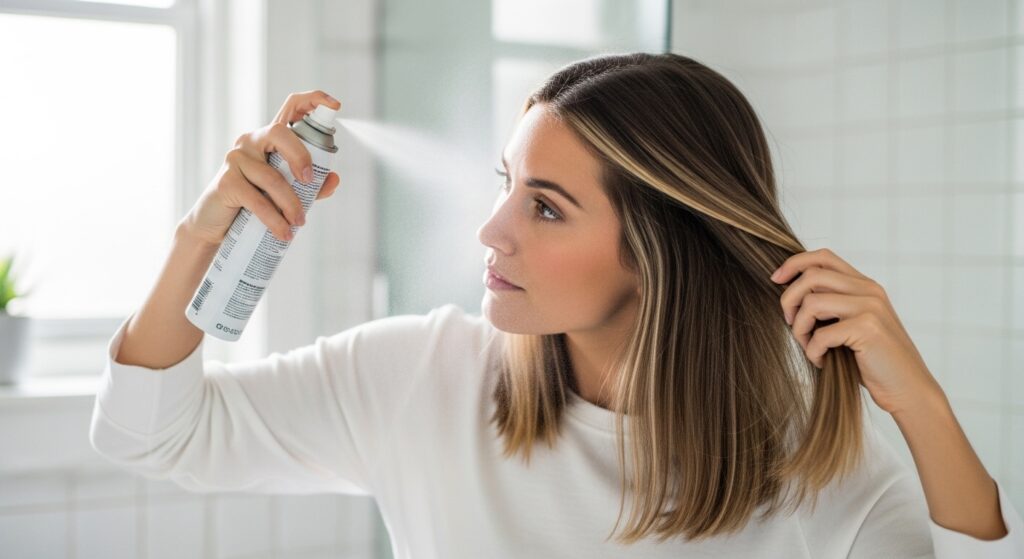
Fine hair struggles with hold because it’s light and silky. Your best hack is to create texture everywhere. Use a texturizing spray or powder on the lengths of your hair before you even start putting it up.
Consider adding in a few hidden hair extensions just for the updo. Even a small set of clip-ins adds bulk for pins to grip and makes any bun or twist look fuller and more secure.
12. For Thick or Curly Hair: Section and Conquer
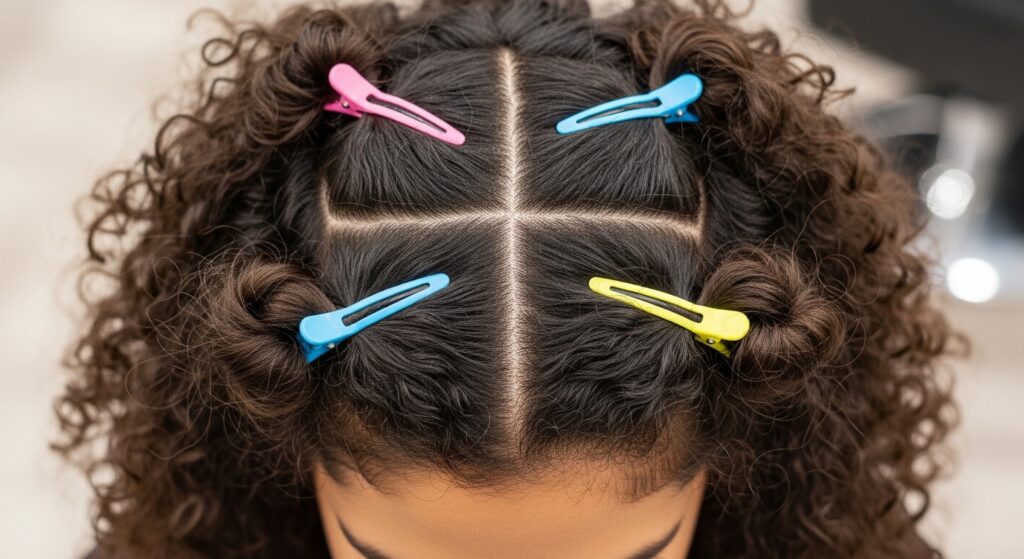
Trying to wrangle all your thick hair at once is a battle you’ll lose. Work in clear, clipped sections. It makes the hair more manageable and ensures you’re securing every layer right down to the scalp.
For curly hair, don’t fight the texture—use it. A curly updo often has more natural grip. Use curl-enhancing cream to define curls, then pin them while they’re still damp for a set that lasts for days.
13. The Final Seal: Hairspray With a Hood Trick
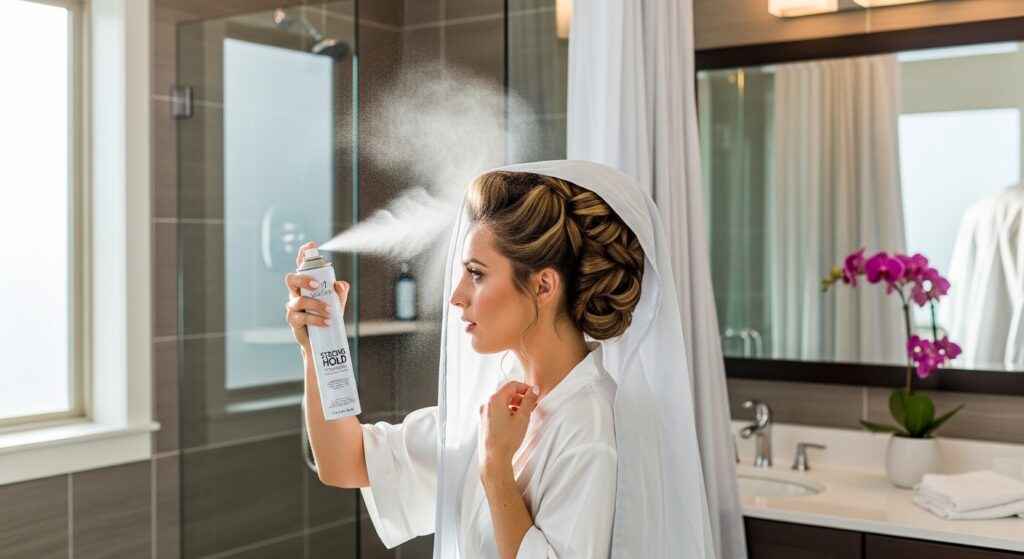
Yes, you need a final coat of strong-hold hairspray. But here’s the trick: do it in the bathroom. After you spray, turn on the hot shower for just a minute to create a steamy environment (don’t get in!).
The light steam helps the hairspray polymers relax and then reset, forming a harder, longer-lasting hold. It’s like a quick, DIY salon set. Let the steam dissipate, then step out with a rock-solid style.
14. Touch-Up Kit for Your Clutch
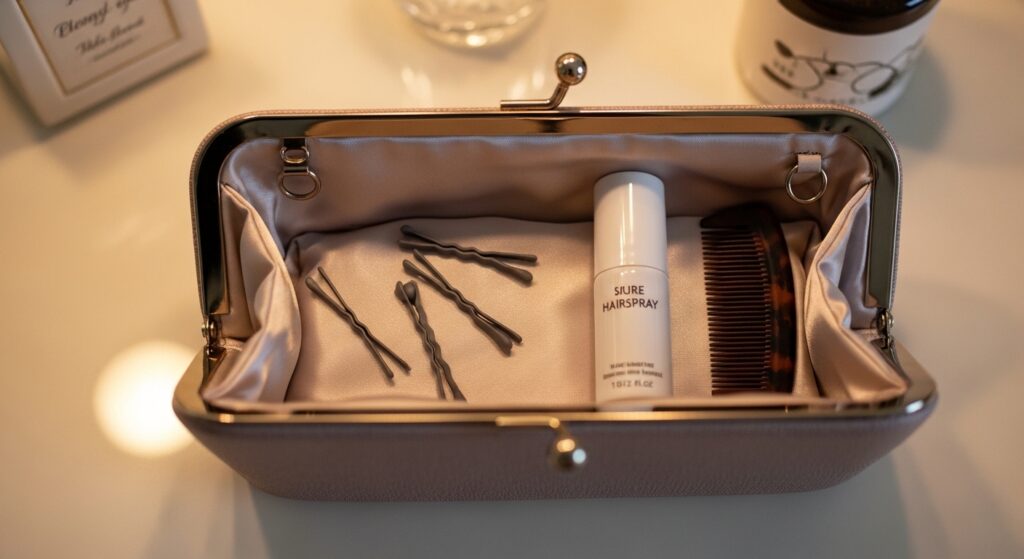
Be prepared! Toss a few extra bobby pins, a mini hairspray, and a tiny comb or brush into your evening bag. If you feel a piece coming loose, don’t just shove it back. Take it out, re-twist or smooth it, and re-pin it properly with a fresh pin.
Having the right tools on hand means a 30-second fix in the bathroom instead of a slow-motion hair disaster all night. It’s total peace of mind.
15. Sleep Protection to Make It Last a Second Day

You nailed an updo for a wedding and have brunch the next day? Don’t take it down! Protect it while you sleep. Loosely wrap the whole style in a silk or satin scarf, or sleep on a satin pillowcase.
In the morning, gently remove any pins that are poking you, mist with a little texturizing spray, and re-pin any loose pieces. You’ll get a gorgeous, second-day lived-in updo with zero effort.
16. Modern Styles: The Asymmetrical Lob Updo
Shorter hair like an asymmetrical lob or a quiet luxury bob can feel tricky to put up. The key is to work with the length you have. Use tiny pins and focus on creating a “half-up” or twisted look that feels intentional.
Pull back just the top section or one side, leaving the rest down. Use texturizing paste to piece out the ends. This creates a modern, cool-girl updo that’s perfect for a dinner out and holds easily because there’s less weight.
17. Trendy Texture: Glitchy Glam and Vampire Haircuts
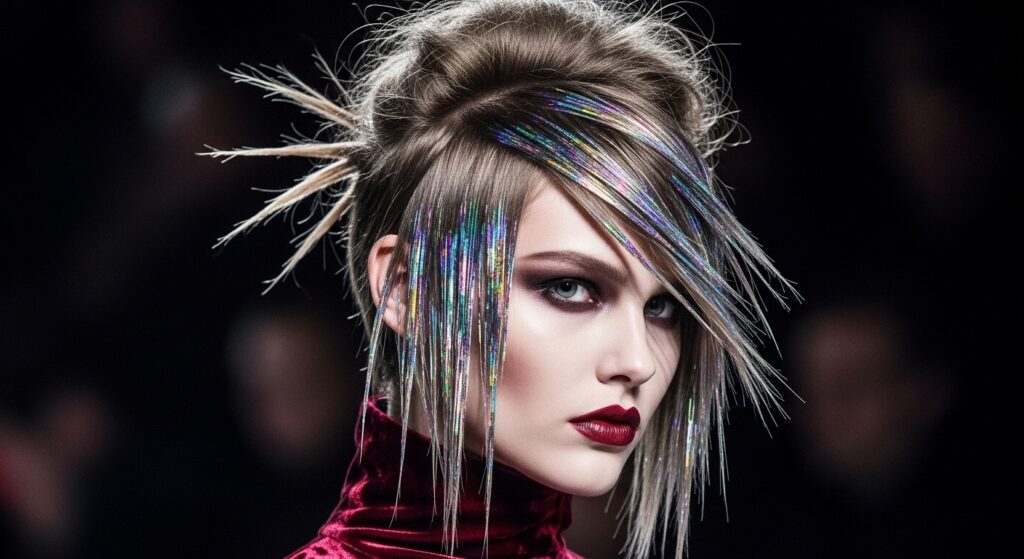
Styles like glitchy glam hair or the vampire haircut are all about piece-y, textured finishes. This actually works in your favor for hold! Use a strong-hold wax or pomade to define those pieces before pinning.
When creating the updo, leave strategic pieces loose around the face. The contrast between the secured back and the artful front pieces is the whole look. Pin the base tightly, but let the front be free and textured.
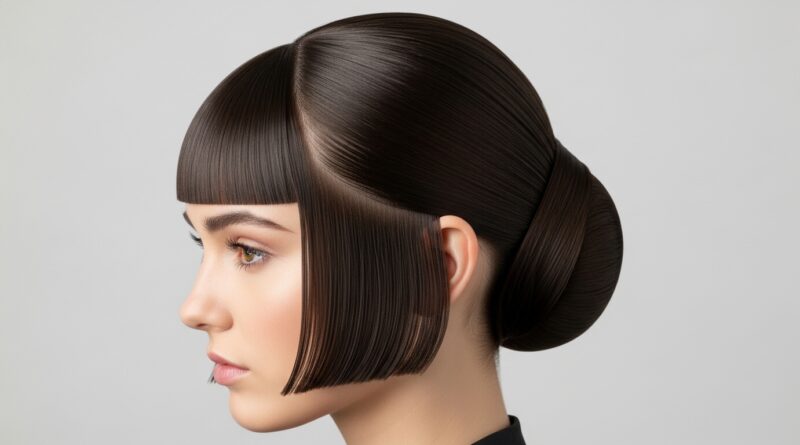
18. Elegant Looks: Old Money and Hime Cut Influence
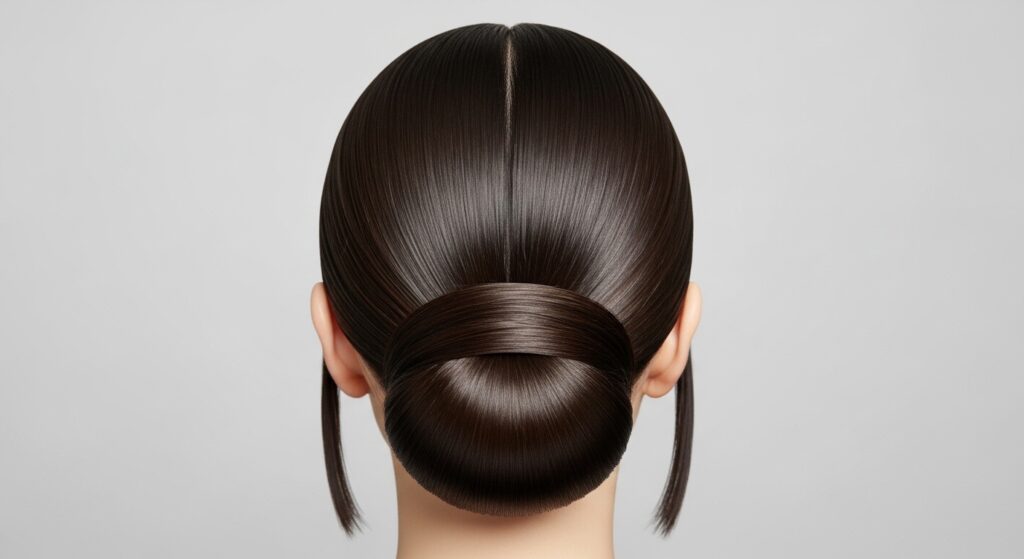
For that polished old money hair vibe or a style inspired by the sharp hime cut, sleekness is key. After applying a smoothing serum, use a fine-tooth comb and a light-hold gel to slick every hair into place.
Pin with precision. Every pin should be hidden. The goal is a seamless, almost surgical-looking finish. This style relies on perfect tension and zero flyaways, so the prep and pinning technique are everything.
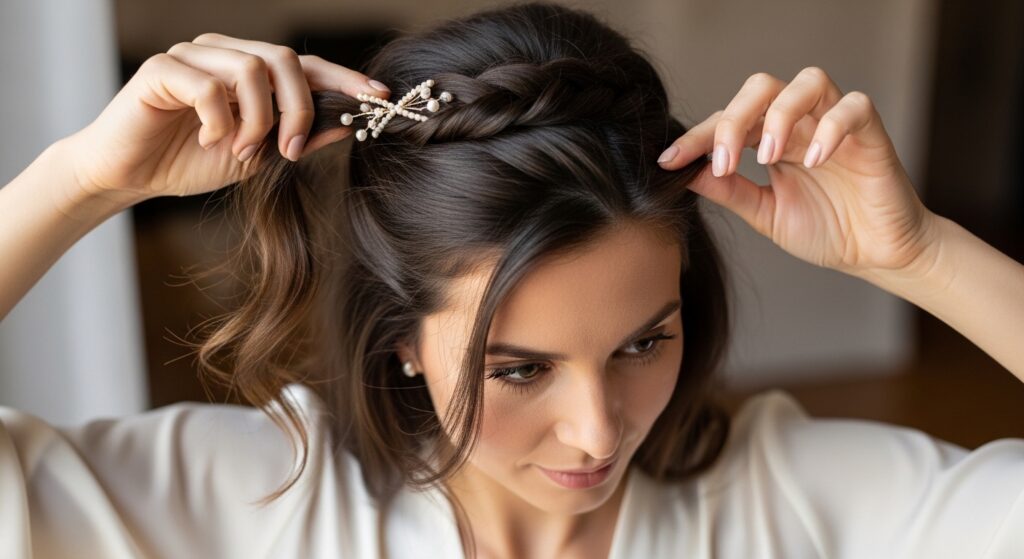
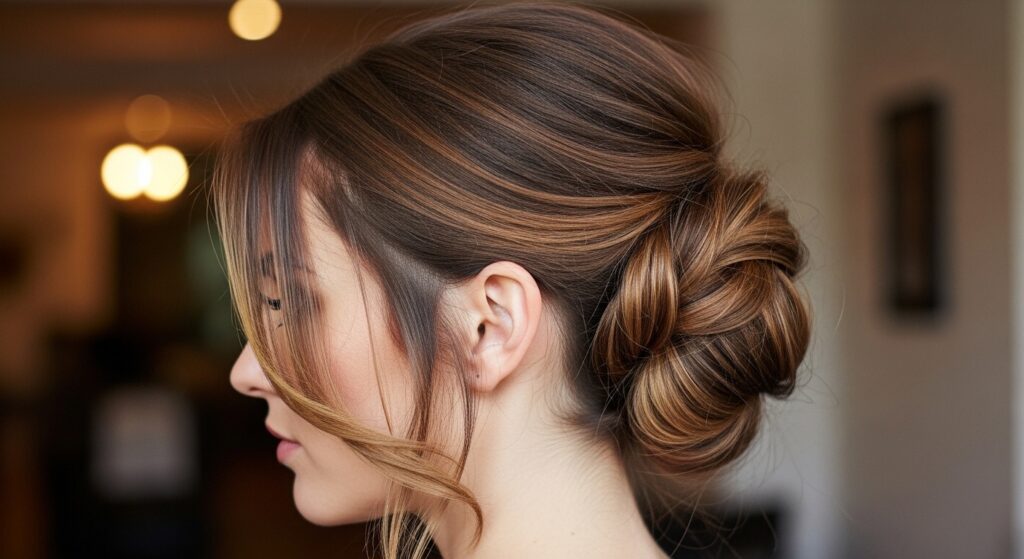
19. Romantic Styles: Soft, Lasting Romance
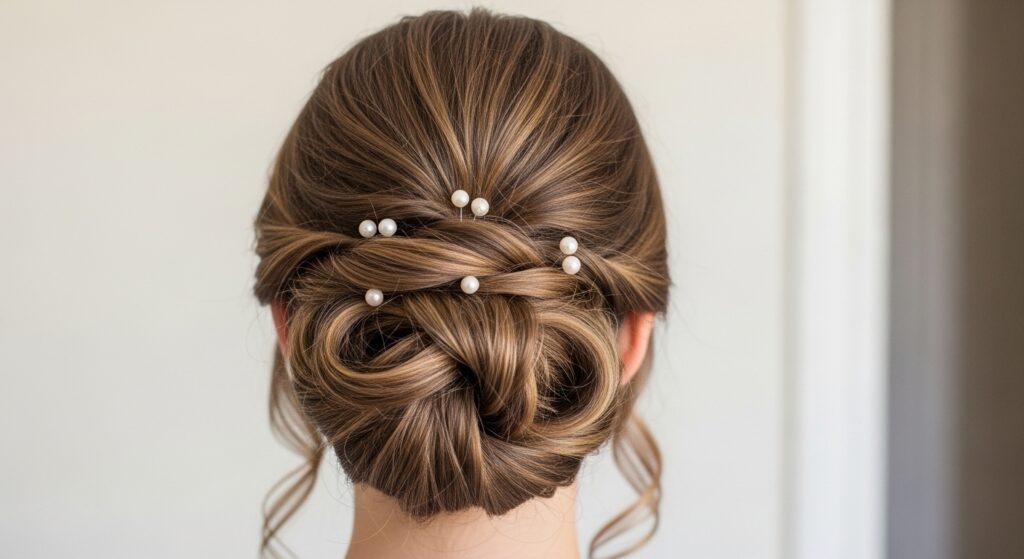
Romantic updos need to look soft, not stiff. The trick is to build a tight, secure base first—like a pinned bun or twist. Then, gently pull out a few small tendrils around your face and neck.
Curve these tendrils with a small iron and pin their ends discreetly into the base so they have a set shape. This gives the illusion of loose, romantic hair that’s actually completely secured and won’t fall flat.
20. Adapting for 2026 Hairstyles & Beyond
As we look to 2026 hairstyles, updos will get more creative and architectural. The principles of hold remain the same. For sculptural looks, you might use clear elastics as part of the design or pin hair in unexpected directions.
No matter how avant-garde the style, it still needs a foundation of texture, strategic pinning, and product. Master these basics, and you can make any trend last all night long.
And there you have it! Every single hack I’ve collected and tested to save you from updo despair. It really comes down to a few simple things: the right base, the right pins, and securing as you build.
The best part? Once you get these techniques down, you can adapt them to absolutely any style you want to try. That confidence of knowing your hair will stay put is the best accessory you can wear.
Now I’d love to hear from you! What’s your biggest updo struggle? Is it flyaways, or maybe the whole thing just slides down? Tell me in the comments below—let’s troubleshoot together.
Save this post to Pinterest so you’ve always got these hacks handy for your next big event!