Hair Toner 101: Fix Brassy Hair in One Wash
You’ve just left the salon, or perhaps you’ve spent a painstaking hour with a DIY dye kit, and your hair is almost perfect. But instead of the icy platinum, cool ash brown, or pearlescent blonde you dreamed of, you’re staring at a reflection tinged with orange or yellow. That, my friend, is the dreaded brass. It’s the arch-nemesis of anyone with lightened hair, but fear not. The solution is simpler than you think, and it doesn’t involve another round of harsh bleach. The hero of this story is hair toner, and this guide will show you exactly how to use it to banish brass in a single, transformative wash.
Think of toner as a color corrector for your hair. It’s the final, crucial step in the lightening process that fine-tunes your color, cancels out unwanted warm undertones, and delivers the sophisticated, salon-fresh hue you paid for. Ready to say goodbye to brassy hair and hello to your ideal cool-toned mane? Let’s dive in.

What is Hair Toner, Really?
At its core, hair toner is a product that deposits color to adjust the undertone of your hair. It’s not designed to lighten your hair—that’s the job of bleach or high-lift color. Instead, toner works on the surface level of the hair strand to neutralize and correct color. If you remember the color wheel from art class, you’re already halfway to understanding how toner works.
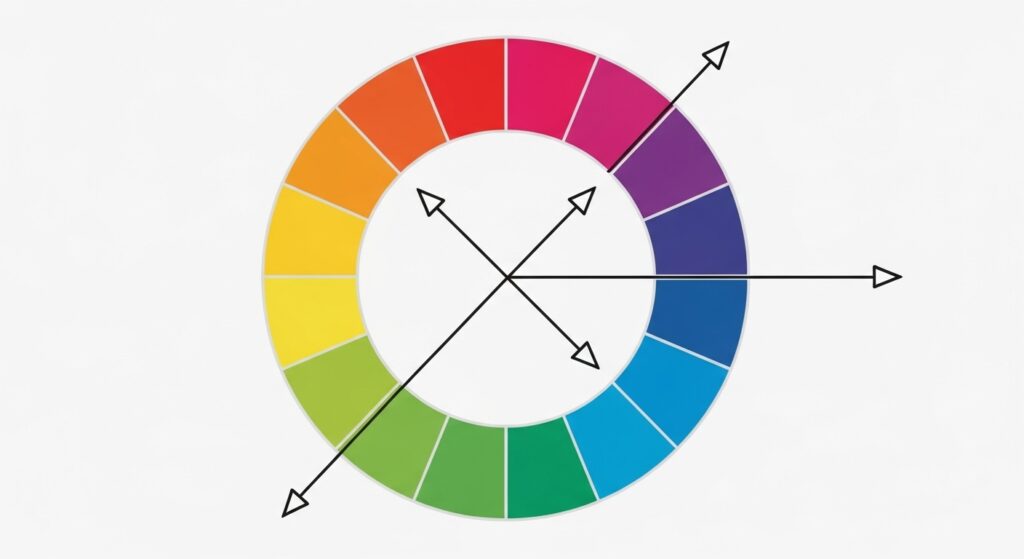
The Magic of the Color Wheel: On the color wheel, colors that sit directly opposite each other are called complementary colors, and they cancel each other out. This is the fundamental principle behind toner.
- Blue neutralizes Orange
- Violet/Purple neutralizes Yellow
- Green can help neutralize intense Red tones
So, if your lightened hair is pulling a strong, unflattering orange, a toner with a blue base will counteract it. If it’s a pale, lemony yellow, a violet-based toner is your best friend. This color-correcting action is what transforms brassy hair into a clean, neutral, or cool-toned masterpiece.
Why Does Hair Turn Brassy in the First Place?
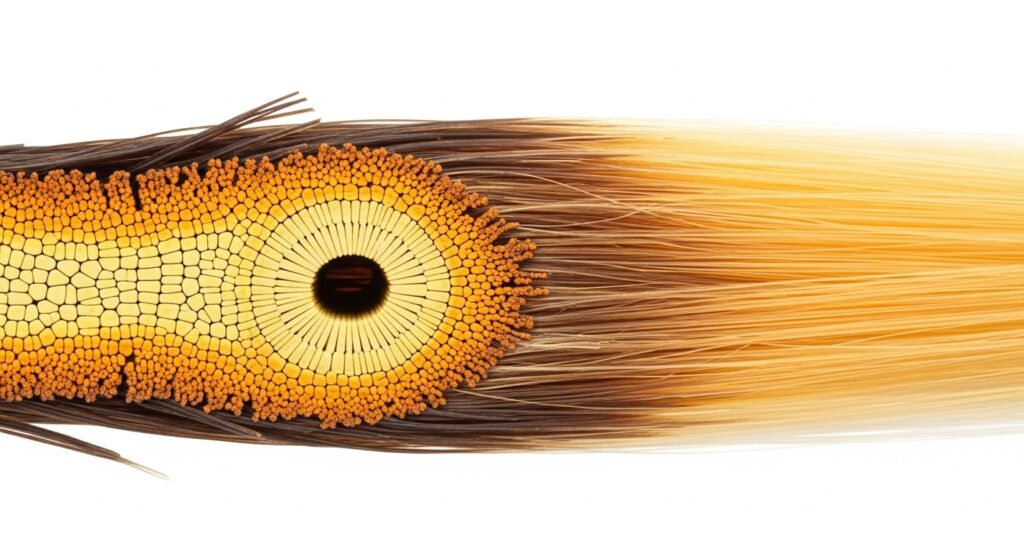
To understand the solution, it helps to know the cause. Brassiness isn’t a random flaw; it’s a natural part of the hair lightening process. Your natural hair color is made up of a mix of pigments: eumelanin (which gives us black and brown) and pheomelanin (which gives us red and yellow).
When you lighten your hair with bleach, these pigments are broken down and stripped away. However, they don’t all disappear at the same rate. The dark eumelanin molecules are larger and are the first to go. The smaller, sturdier warm pigments (the red and yellow pheomelanin) are much harder to remove. So, when your hair is lightened to a pale yellow or orange stage, you’re actually seeing the underlying warm pigment that was always there, now exposed.
Other factors that accelerate brassiness include:
Environmental Assaults: Sun exposure, hard water minerals, and chlorine can all oxidize the hair cuticle, accelerating the appearance of warm tones.
Product Buildup: Using the wrong shampoos and conditioners can leave a residue that dulls your cool tone and emphasizes warmth.
Heat Styling: Excessive use of hot tools can break down the color molecules in your hair, leading to fading and brassiness over time.
Choosing the Right Toner for Your Level of Brass
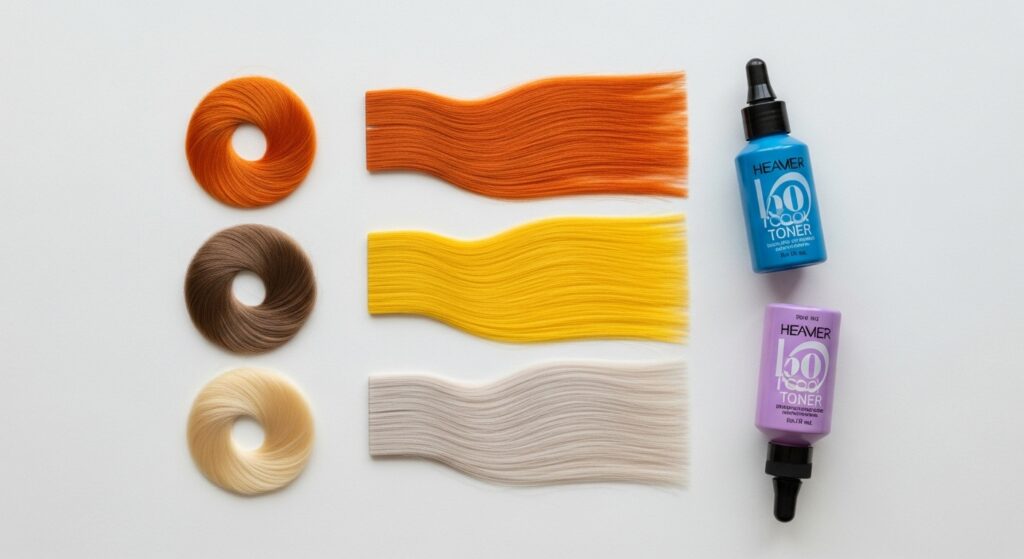
Not all brass is created equal, and using the wrong toner can lead to disappointing results—like hair that turns an ashy-green or a murky gray. The key is to identify the dominant warm tone in your hair and select a toner with the correct opposite color.
Here’s a simple guide to help you choose:
For Orange or Gold Brassiness (Level 7-8 Hair): If your hair is a definite orange or dark gold, you need a strong neutralizer. Reach for a blue-based toner. Blue is directly opposite orange on the color wheel and will effectively cancel it out, resulting in a more natural, neutral beige or light brown.
For Yellow Brassiness (Level 9-10 Hair): If your hair is a pale, lemony yellow (the classic “inside-of-a-banana” shade), you need a violet or purple-based toner. This is the most common type of toner for blondes and will neutralize the yellow to create a stunning, icy, platinum, or silver blonde.
For Pale Yellow/Almost White Hair (Level 10+): If your hair is very light, almost white, but still has a faint yellow cast, a pastel purple or silver toner will add a sheer, pearlescent finish and eliminate any last traces of warmth.
A Word on Formulas: Toners come in different forms, including demi-permanent creams (often used with a developer) and convenient, conditioning options like purple or blue shampoos and masks. For a dramatic, one-wash fix, a demi-permanent toner mixed with developer is your most powerful option.
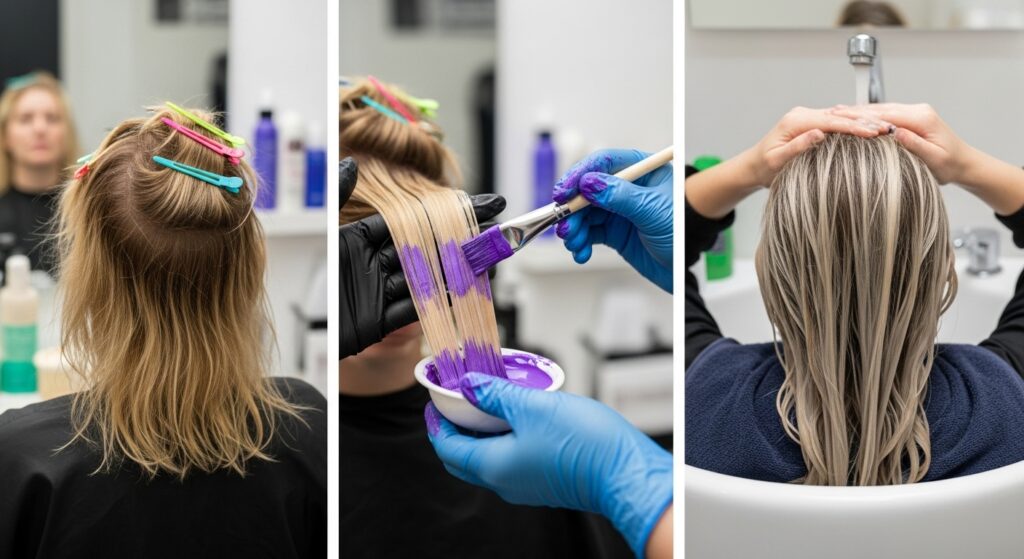
Your Step-by-Step Guide to Toning Hair at Home
Applying toner at home is a straightforward process, but precision is everything. Follow these steps for salon-worthy results.
What You’ll Need:
- Your chosen demi-permanent toner
- The appropriate volume of developer (usually 10 or 20 volume, as directed)
- Application brush and bowl
- Clips to section hair
- Gloves
- Timer
- Old towel to protect your shoulders
The Process:
1. Prepare Your Canvas: Start with hair that has been recently lightened and thoroughly washed and dried. Do not apply toner to dirty or oily hair, as it can create a barrier. Your hair should be 100% dry to ensure even application and predictable results.
2. Mix the Toning Cocktail: In your application bowl, mix the toner and developer according to the package instructions. The ratio is typically 1:1 or 1:2. Wear gloves to protect your hands.
3. Section and Apply: Divide your hair into four main sections (split down the middle and from ear to ear). Using your brush, apply the toner mixture evenly, starting from the back sections where hair is often more porous and processes faster. Work your way to the front, applying from the roots to the ends. Be swift but thorough, ensuring every strand is saturated. The most porous parts of your hair (like previously bleached ends) will grab color faster, so some stylists recommend applying to the mid-lengths and ends first, then going back to the roots a few minutes later.
4. The Waiting Game: Set your timer for the recommended processing time, usually between 10 and 30 minutes. Do not leave it on for longer, as this can over-tone your hair, leading to a violet or gray cast. Check your hair every 5 minutes after the first 10 to monitor the color change.
5. Rinse and Reveal: Once the time is up, rinse your hair with cool, lukewarm water until it runs clear. Follow up with a color-safe, sulfate-free shampoo and a rich conditioner. The cool water helps to seal the hair cuticle, locking in the new tone and adding shine.
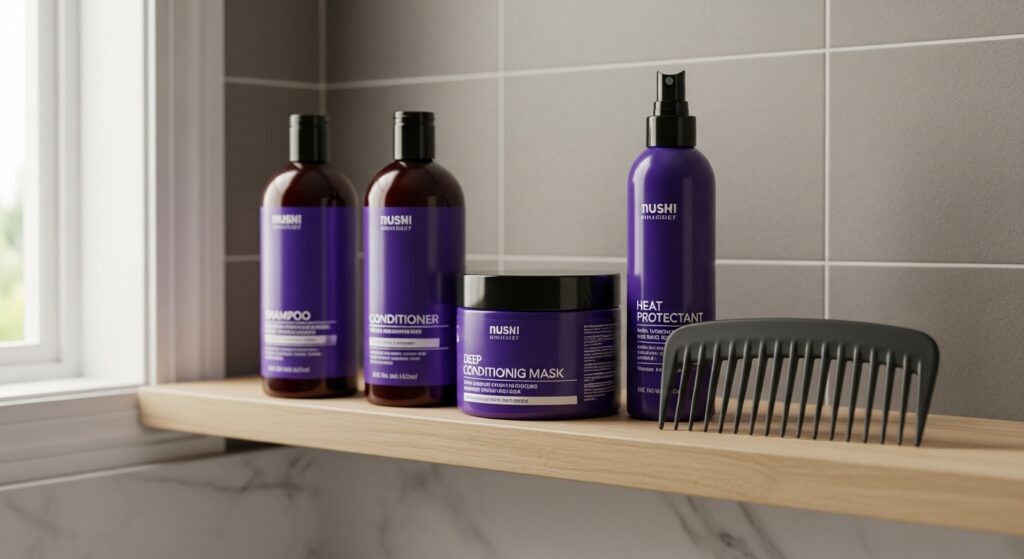
Maintaining Your Tone: How to Keep Brass at Bay
Toning your hair is a fantastic fix, but it’s not permanent. To keep your color looking fresh and vibrant for as long as possible, you need a smart maintenance routine.
1. Embrace Toning Shampoos and Conditioners: Your new best friends are purple or blue shampoo and conditioner. Use them once or twice a week, or as needed, to deposit a small amount of color-correcting pigment with every wash. Leave the shampoo on for 1-5 minutes before rinsing for a boost of toning power.
2. Wash with Care: Wash your hair less frequently and always with sulfate-free, color-safe products. Sulfates are harsh detergents that strip color and moisture from your hair.
3. Protect Against Heat: Always use a heat protectant spray before using any hot tools. Consider air-drying when you can to minimize damage.
4. Defend Against the Elements: When spending time in the sun, wear a hat or use a hair product with UV filters. If you swim in a chlorinated pool, wet your hair with clean water first and apply a leave-in conditioner to create a barrier, and wear a swim cap if possible.
5. Deep Condition Weekly: The lightening and toning process can be drying. A weekly deep conditioning treatment will replenish moisture, keep your hair healthy, and help your color look its best.
Common Toning Mistakes to Avoid
Even with the best intentions, it’s easy to make a misstep. Here’s what to watch out for:
Mistake #1: Toning Hair That Isn’t Light Enough. Toner cannot darken hair. If your base is too dark (a level 6 or below), toner will not be able to cancel out the orange effectively. You must lighten your hair to the appropriate pale yellow or orange stage first for the toner to work.
Mistake #2: Using the Wrong Volume Developer. A developer that is too strong (like 30 or 40 volume) can cause further damage and lift, disrupting the toning process. For toning, a low-volume developer (10 or 20) is almost always correct.
Mistake #3: Over-Toning. Leaving toner on for too long can lead to an overcorrected, dull, or even slightly gray or purple hue. Always follow the instructions and keep a close eye on the clock.
Mistake #4: Applying to Wet Hair. Water can dilute the toner formula, leading to uneven, patchy results. Always apply to dry, clean hair for perfect, predictable color deposition.
Conclusion: Unlock Your Hair’s True Potential
Brassy hair doesn’t have to be a permanent state or a reason for another expensive salon visit. With the power of hair toner, you have the key to achieving the cool, refined, and beautiful hair color you’ve always wanted. By understanding the color wheel, correctly identifying your level of brass, and following a careful application process, you can fix brassy hair in just one wash.
Remember, toner is the final, masterful touch in your hair color journey—the detail that elevates your look from “almost there” to “absolutely stunning.” So arm yourself with the right products, follow this guide, and get ready to reveal a cooler, more confident you.