Halo Braid: The Crown Braid That’s Perfect for Any Occasion
Imagine a hairstyle that effortlessly combines ethereal romance with polished elegance, a look that frames your face like a crown and works just as well for a Saturday market run as it does for your best friend’s wedding. This is the magic of the halo braid. More than just a passing trend, this timeless crown braid has secured its place as a go-to style for anyone seeking beauty, versatility, and a touch of fairy-tale charm.
What Exactly is a Halo Braid?
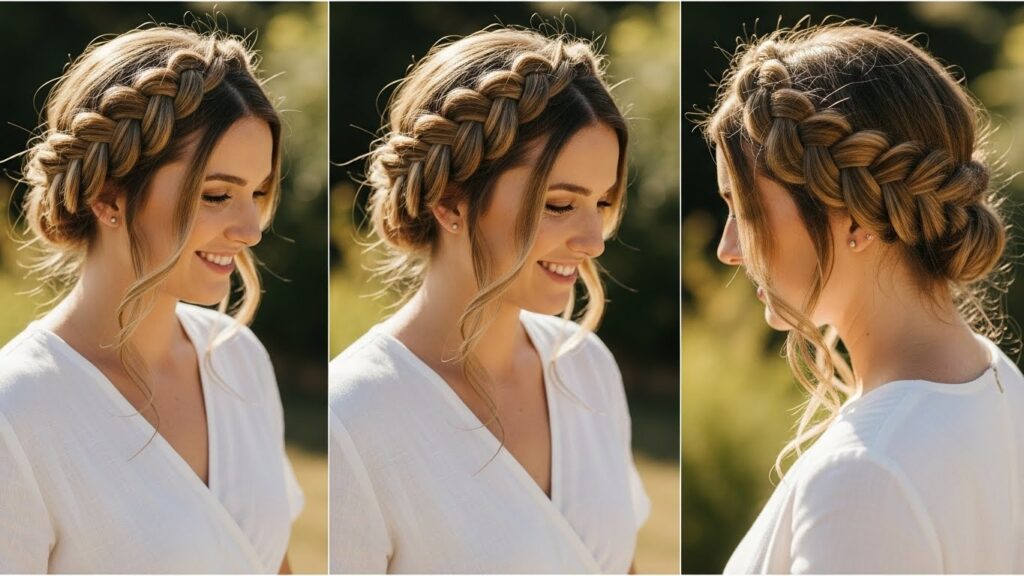
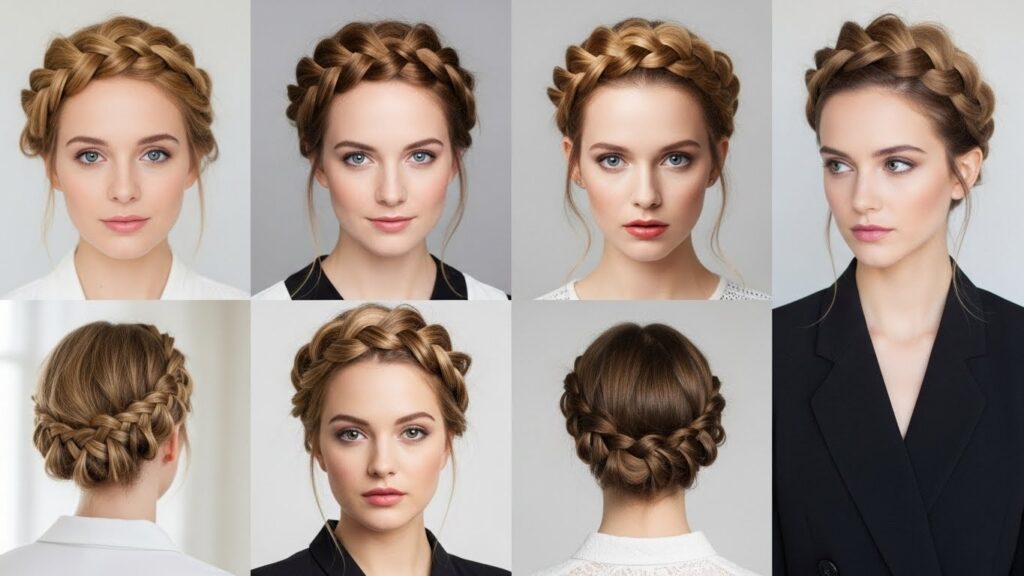
At its core, the halo braid is a circular braid that wraps around the head like a crown, hence its other common name: the crown braid. It’s created by braiding two sections of hair—one from each side of the head—and pinning them around the circumference to meet at the back or top. The result is a continuous, beautiful braid that encircles your head without the need for a visible hair tie at the end, creating a seamless, regal effect.
It’s important to distinguish it from a simple headband braid. While a headband braid is a single braid placed across the front of the head, the halo braid fully encircles, offering a more complete and intricate look. The beauty lies in its flexibility; it can be a tight, sleek cornrow for a sophisticated gala or a loose, textured Dutch braid for a casual day out, with tendrils softly framing the face.
Why the Halo Braid is Your New Secret Weapon
The halo braid isn’t just pretty; it’s profoundly practical. Its versatility is unmatched, making it a truly valuable technique to master. First, it’s an exceptional style for second or third-day hair. The natural oils and slight texture provide better grip and volume, making the braiding process easier and helping the style hold longer. It’s the ultimate solution when you’re short on time but need to look put-together.
Furthermore, it’s a remarkably flattering style for almost every face shape. By drawing the eye around the face, it creates a balanced, harmonious look. It also keeps hair completely off the neck and face, which is perfect for workouts, hot days, or busy workdays, all while maintaining an air of deliberate elegance. From the office to an evening soirée, the halo braid transitions seamlessly with just a few strategic tweaks.
Step-by-Step Guide to Creating Your Halo Braid
Ready to create your own crown? Follow this foundational guide. You’ll need a comb, hair elastics (clear ones are best), bobby pins matching your hair color, and a bit of texturizing spray or dry shampoo.
Step 1: Prep and Part. Start with slightly textured hair. Apply dry shampoo if your hair is clean. Using a comb, create a deep side part or a center part, depending on your preference. This part will define where your braid begins and ends.
Step 2: Section Your Hair. Divide your hair into two main sections. The dividing line should run from your part, over the crown of your head, down to the nape of your neck. Temporarily clip the top section out of the way. You will start braiding with the bottom section.
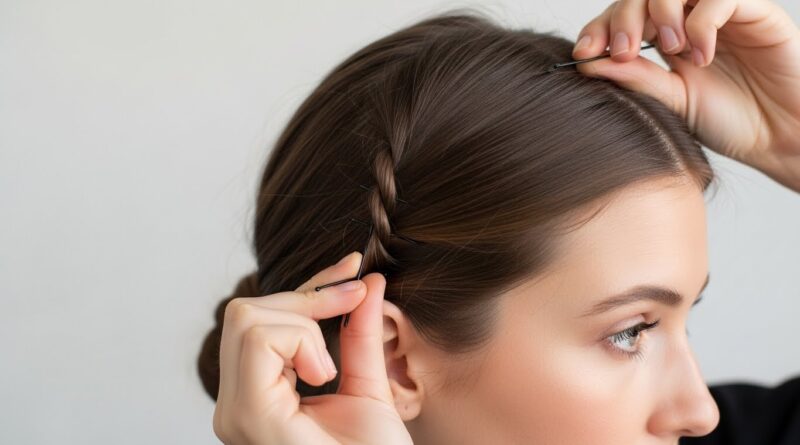
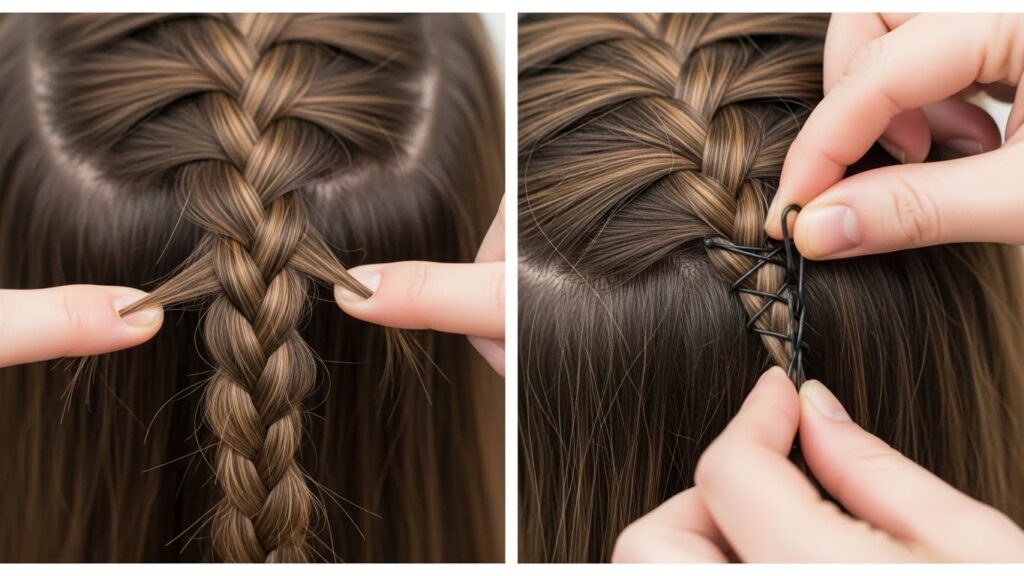
Step 3: Begin the First Braid. Unclip the bottom section. Starting on the heavier side of your part, begin a Dutch braid (an inside-out French braid) along your hairline, incorporating hair as you go. Braid towards the back of your head, following the natural curve just above your ear, and continue until you reach the nape of your neck on the opposite side. Secure the end with a clear elastic.
Step 4: Create the Second Braid. Release the top section. Now, start a second Dutch braid just above or behind the starting point of the first braid. Follow the same path, but this time along the upper curve of your head. You will be braiding the remaining hair, incorporating it until you reach the end of the first braid at the nape. Secure with an elastic.
Step 5: Connect and Conceal. This is the magic step. Carefully coil the first braid up and around the back of your head, pinning it securely with bobby pins along the path of the second braid. Then, take the second braid and coil it to meet the end of the first, covering the elastic of the first braid. Tuck the end of the second braid under and pin everything meticulously. Gently pull on the edges of the braids to create a fuller, softer look.

Adapting Your Halo Braid for Every Occasion
The true genius of the halo braid is its chameleon-like ability to adapt. Here’s how to tailor it for any event.
For a Casual Day Out: Embrace texture. Start with unwashed hair or use texturizing spray. Go for a looser, puffier Dutch braid and don’t be afraid to leave some face-framing pieces loose. The goal is effortless, boho chic.
For the Office: Opt for a sleeker, more polished version. Use a smoothing serum before braiding, create a neater French or Dutch braid, and ensure all flyaways are tamed. A center part can lend a symmetrical, professional feel.
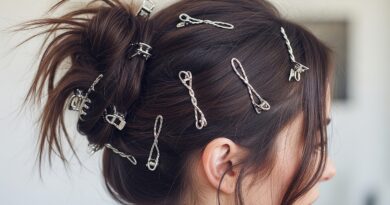
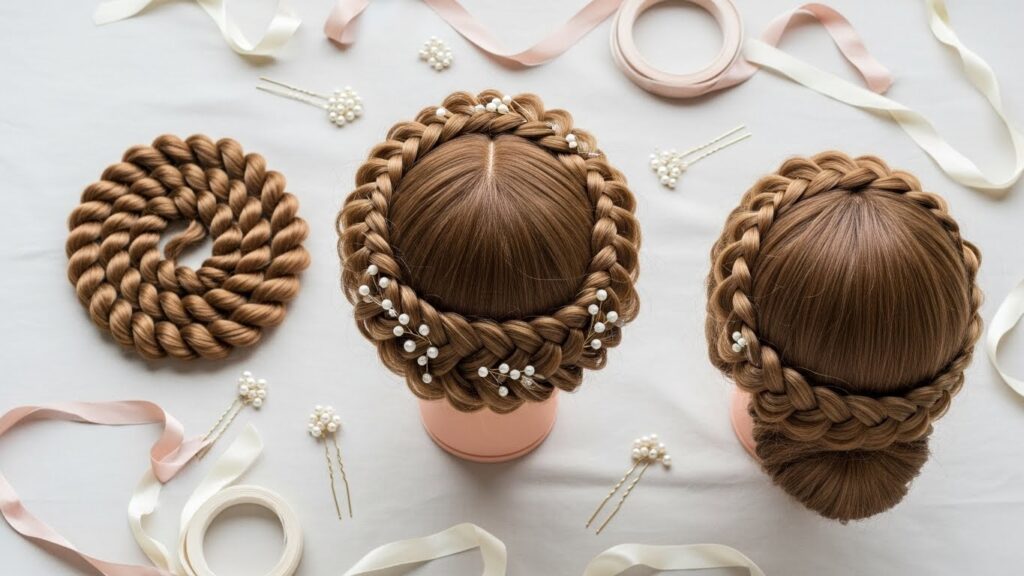
For a Wedding or Formal Event: This is where you can shine. Incorporate delicate accessories like pearl-ended pins, a thin ribbon braided in, or fresh flowers tucked into the weave. A low, soft bun at the back where the braids meet can add an extra touch of sophistication.
For the Gym or Active Wear: A tight, secure halo braid is the ultimate athletic hairstyle. It keeps every strand in place. Use a strong-hold spray and extra pins. A high ponytail wrapped into the braid is another stylish, sporty option.

Pro Tips and Troubleshooting Common Halo Braid Hurdles
Even the most beautiful styles have their challenges. Here’s how to overcome them.
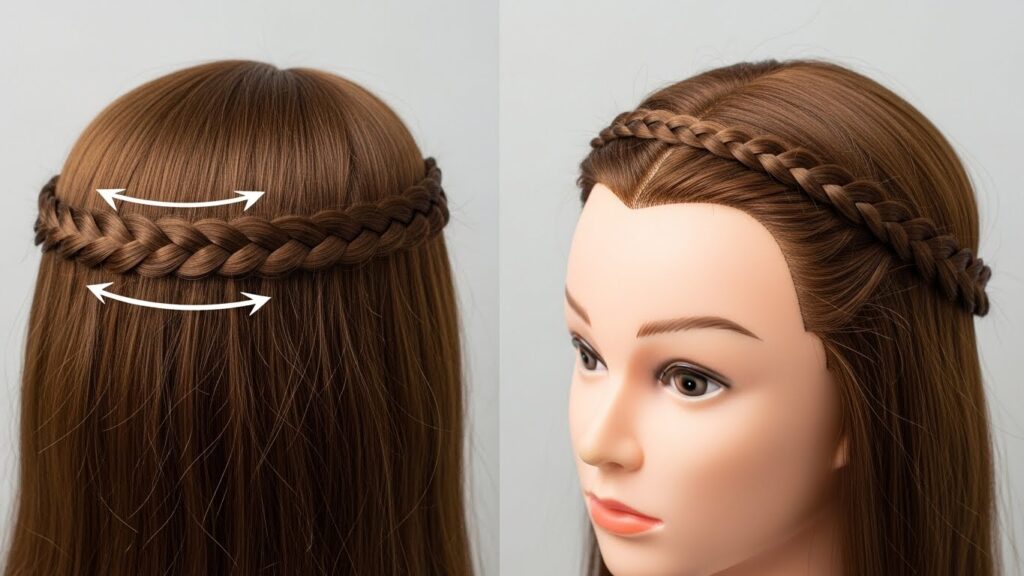
If You Have Shorter Hair or Layers: Don’t be discouraged! Use more pins and smaller, tighter braids. You can also create a “half-halo” that wraps around just the front of your head, leaving the back in a chic ponytail or bun. Texturizing spray is your best friend for gripping shorter pieces.
If Your Braid Feels Lumpy or Uneven: Practice consistent tension while braiding. After pinning, gently tug on the outer loops of the braid to pancake it—this creates width and a more uniform, elegant look. It also helps conceal any uneven sections.
For Maximum Hold: Braid on slightly dirty hair. Use bobby pins in a “criss-cross” pattern rather than just sliding them in straight. Finish with a light mist of strong-hold hairspray, focusing on the pinned areas.
To Add Volume: Before braiding, tease the hair at the crown lightly. After creating the halo, gently pull apart the braid to make it look wider and fuller. This is especially effective for fine hair.
Beyond the Basic: Creative Variations to Try
Once you’ve mastered the classic halo, a world of creativity opens up.
Try a Fishtail Halo Braid for a more intricate, bohemian texture. A Twisted Rope Halo (using two-strand twists instead of three-strand braids) offers a sleek, modern alternative. For a truly romantic look, create a Halo Braid into a Low Bun, where the braid feeds directly into a soft, rolled bun at the nape of the neck.
Don’t shy away from accessories. Weaving a colorful ribbon, a chain, or delicate strings of pearls into your braid can transform it into a statement piece for a special event. The halo braid provides the perfect canvas for your personal style.
Crowning Glory: Embrace Your Halo
The halo braid is more than a hairstyle; it’s a versatile tool in your beauty arsenal that offers a solution for nearly every hair-related dilemma. It elevates the everyday and perfects the formal. While it may require a few practice sessions to get the placement and pinning just right, the result is always worth the effort—a stunning, crown-like creation that makes you feel both beautiful and capable.
So, the next time you’re staring into your closet wondering what to wear, or into your mirror wondering what to do with your hair, remember the halo braid. It’s the crown you can give yourself, perfect for any occasion life brings your way. Grab your comb and pins, and start practicing your royal technique today.