Household Items Hacks for Stunning Curls at Home
Okay, let’s be real. We’ve all stared longingly at those perfect, bouncy curls on our feeds and thought, “I need a $300 curling iron and a professional stylist for that.” I’m here to tell you that’s simply not true. Some of the best hair days I’ve ever had started with a rummage through my kitchen and bathroom cabinets.
Forget the complicated routines and expensive tools. Getting stunning, lasting curls is totally possible with things you already own. It’s all about getting creative and working with what you have. This approach is perfect for trying out 2026 hairstyle trends without the commitment or cost.
Whether you’re aiming for old money hair waves or full-on romantic goth hairstyles volume, your home is a treasure trove of styling potential. Let’s dive into these simple, genius hacks that will save you time, money, and a whole lot of frustration.
The Classic T-Shirt Towel Trick

Before we even get to curling, we need to talk about your hair’s foundation. A regular terry cloth towel is actually too rough for curly hair—it causes frizz and breaks up your natural wave pattern before you even start. The solution is probably in your dresser drawer.
An old, soft cotton t-shirt is a game-changer for drying your hair gently. It absorbs excess water without all the friction. This sets the stage for smoother, more defined curls from any method you use next.
- Lay a clean t-shirt flat.
- Flip your hair over and place the nape of your neck at the center of the shirt’s collar.
- Wrap the bottom of the shirt up over your hair, then tie the sleeves on top of your head to secure.
Sock Bun for Perfect Spiral Curls
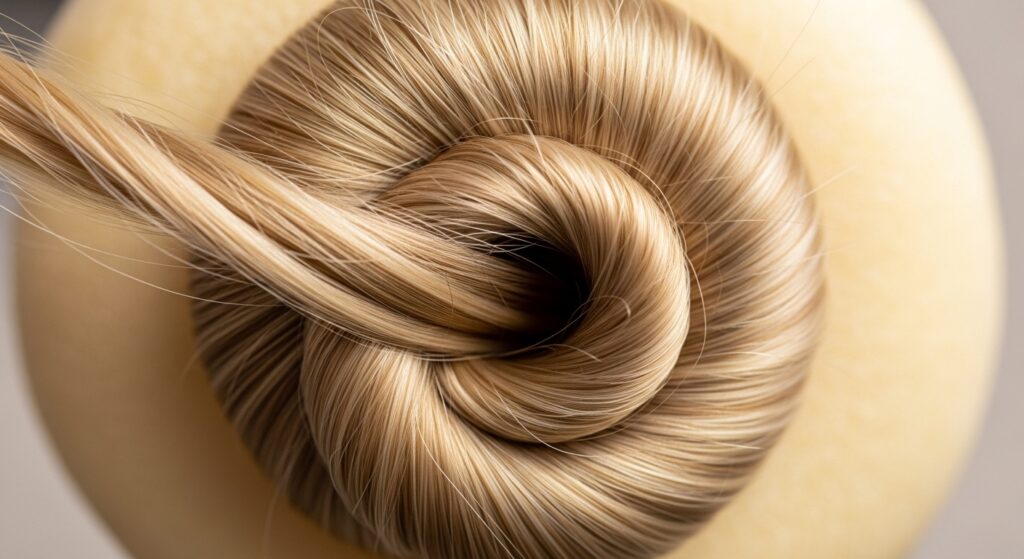
This is the ultimate zero-cost curling method for long or medium hair. It gives you those uniform, bouncy spiral curls that look like you just left the salon. It works best on slightly damp hair that’s been prepped with a light mousse or curl cream.
You’ll need one clean, long sock (ankle socks work too, you just cut them differently). The beauty of this is you can make the bun as big or as small as you want, which controls the tightness of your final curl. It’s perfect for a head full of glamorous, defined curls.
- Take a sock and cut off the toe part.
- Roll the sock into a donut shape.
- Pull your hair through the center like a ponytail, then spread your hair evenly over the sock.
- Roll the sock down to your scalp, tucking all hair in as you go. Secure with bobby pins and sleep on it or let it dry completely.
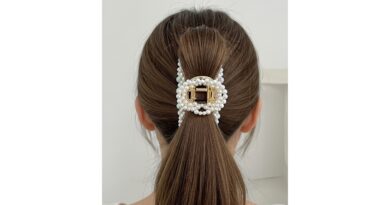
Headband Waves for “Old Money Hair”
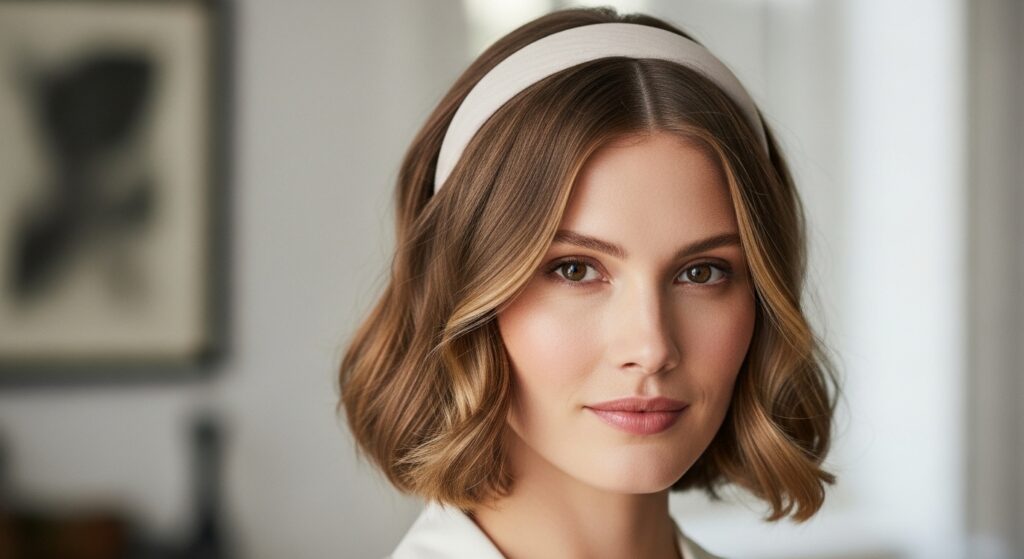
This hack is my secret for achieving that coveted, effortless “old money hair” look—soft, touchable waves that look naturally gorgeous and undeniably chic. It’s incredibly gentle on your hair and creates a beautiful, uniform wave pattern that’s perfect for a quiet luxury bob or longer styles.
You’ll need a flexible, fabric-covered headband. The wider the band, the looser the wave. This method is fantastic because you can do it on dry hair for a subtle texture or damp hair for more defined, lasting waves.
- Place a headband around your head, over your dry or damp hair.
- Take small sections of hair and twist them loosely, then tuck them up and through the headband, working all the way around your head.
- Leave it for a few hours or overnight. When you take it down, you’ll have perfect, heatless waves.
Paper Bag Curls for Vintage Volume
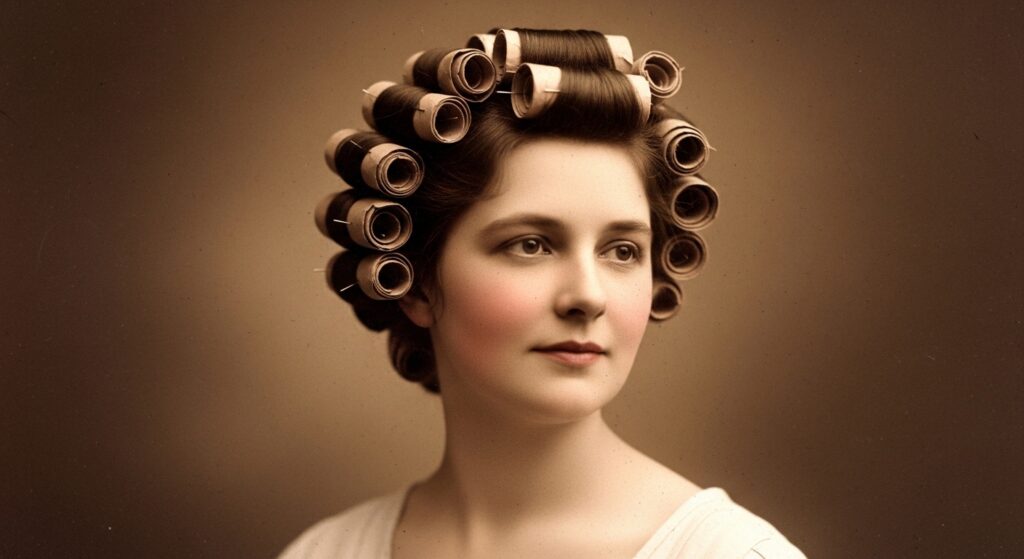
Before there were velcro rollers, there were paper bags. This hack gives you incredible, voluminous curls with a gorgeous vintage shape. The paper is much gentler than heat and gives a slightly more textured, lived-in result than a sock bun.
You’ll need a brown paper lunch bag and some bobby pins. Tear the bag into long strips about 2-3 inches wide. The roughness of the paper helps your hair grip and hold the curl beautifully. This is a great method for adding body to fine hair.
- Roll a section of damp hair around the middle of a paper strip.
- Roll all the way up to your scalp.
- Fold the ends of the paper strip up and secure them together with a bobby pin, creating a little “package” on your head.
- Repeat all over, let dry completely, and unravel for big, bouncy curls.
Using a Comb for Pin-Straight Roots
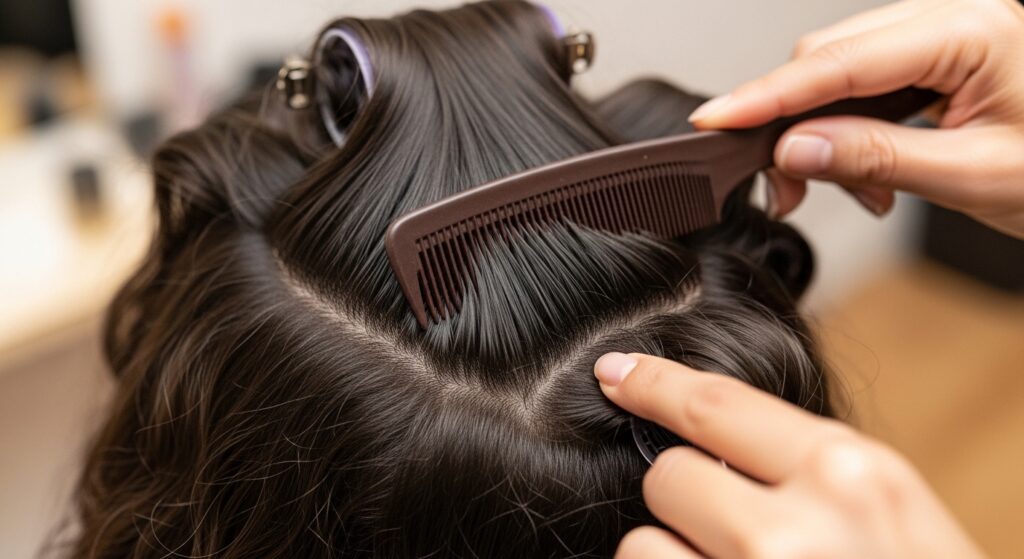
One tell-tale sign of at-home curls can be frizzy or bent roots. We want that smooth, polished look from root to tip, like a stylist achieved it. The tool for this is already in your shower caddy: a simple comb.
After you’ve set your curls using any of these methods (like the sock bun or paper bags) but before your hair is fully dry, this trick makes all the difference. It ensures your style looks intentional and sleek, not messy.
- Once your set hair is about 80% dry, carefully remove the rollers or pins.
- Take a wide-tooth comb or a tail comb and gently comb only the roots of your hair, smoothing them flat against your head.
- Do not comb through the curls! Just the first inch or two from your scalp. Let the rest finish drying. This creates tension for a smooth root.
Dishwashing Gloves for Grip and Definition
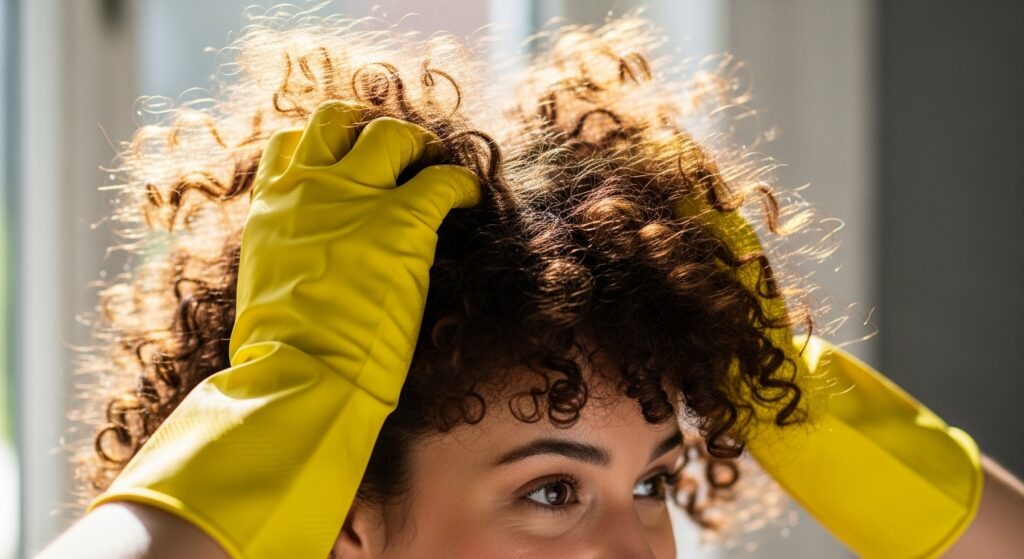
If you have wavy or curly hair and struggle with definition and frizz, your solution is under the kitchen sink. The textured rubber on dishwashing gloves provides an insane amount of grip that your bare hands just can’t match.
This is perfect for enhancing your natural pattern or for scrunching out the “cast” from gel or mousse without causing frizz. It helps clump your curls together for bigger, more defined pieces—ideal for that modern “glitchy glam hair” texture.
- After applying your curl product to damp hair, put on a pair of clean dish gloves.
- Scrunch your hair upwards towards your scalp aggressively. The grip will help form curl clumps.
- You can also use the gloves to gently “pulse” or squeeze curl sections for extra definition without disturbing them.
Bobby Pins as Mini Clamps
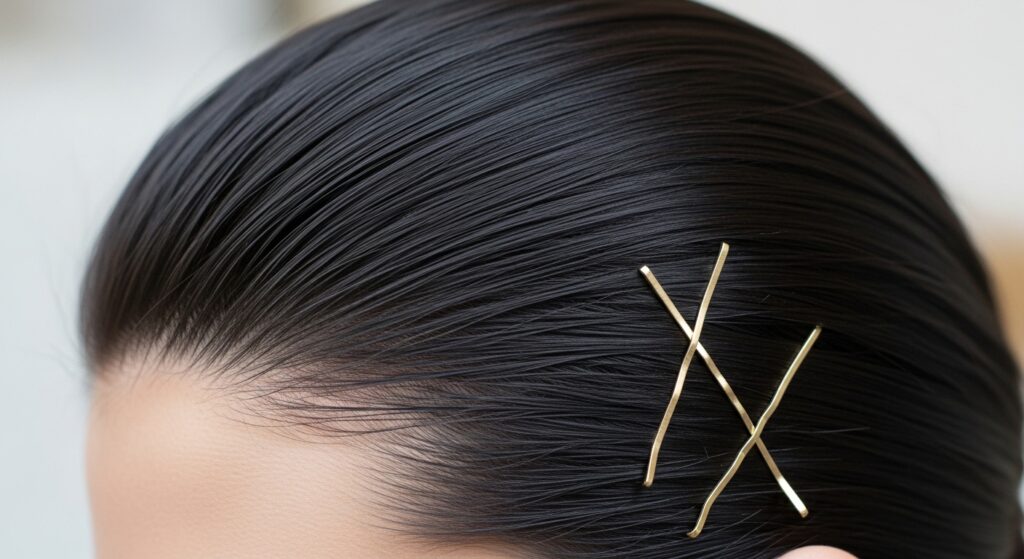
Bobby pins are for more than just pinning hair back. When creating heatless sets, they are your best friend for securing things in place. But there’s a right and wrong way to use them for maximum hold without slippage.
The classic mistake is placing them with the wavy side facing out. For a secure hold that lasts all night while you sleep on your curls, you need to flip that technique. This is crucial for styles that need a strong anchor point.
- Always insert bobby pins with the wavy side facing down against your scalp.
- This creates far more grip and prevents them from sliding out.
- For heavy sections, criss-cross two pins to form an “X” for an unbreakable hold.
Ice Cube for Setting Your Style
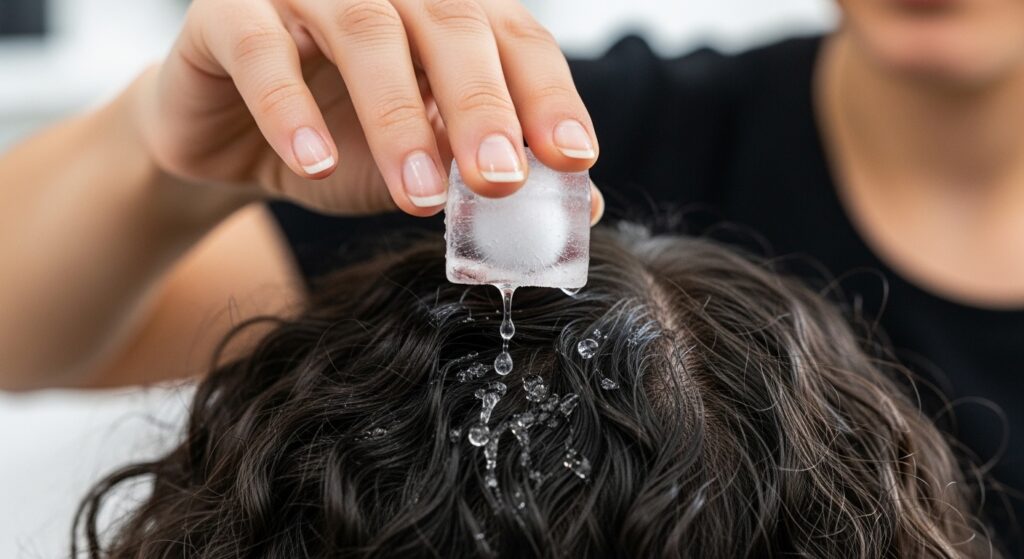
Heat opens the hair cuticle to style it, and cold closes it to lock the style in. You can use this principle without any hot tools at all. An ice cube is your final step to seal your curls and make them last for days.
Once your heatless curls are completely dry and you’ve broken up the set, this cold shot helps to smooth the hair’s outer layer, adding shine and reducing frizz. It’s the perfect finishing touch for a polished look.
- After unraveling your curls, let them settle for a few minutes.
- Take an ice cube and gently run it over the outer layer of your hair, following the curl pattern.
- Do not soak your hair—just a quick, light pass. Then, let your hair air dry the minimal moisture. Your curls will feel tighter and look shinier.
Pillowcase for Overnight Protection
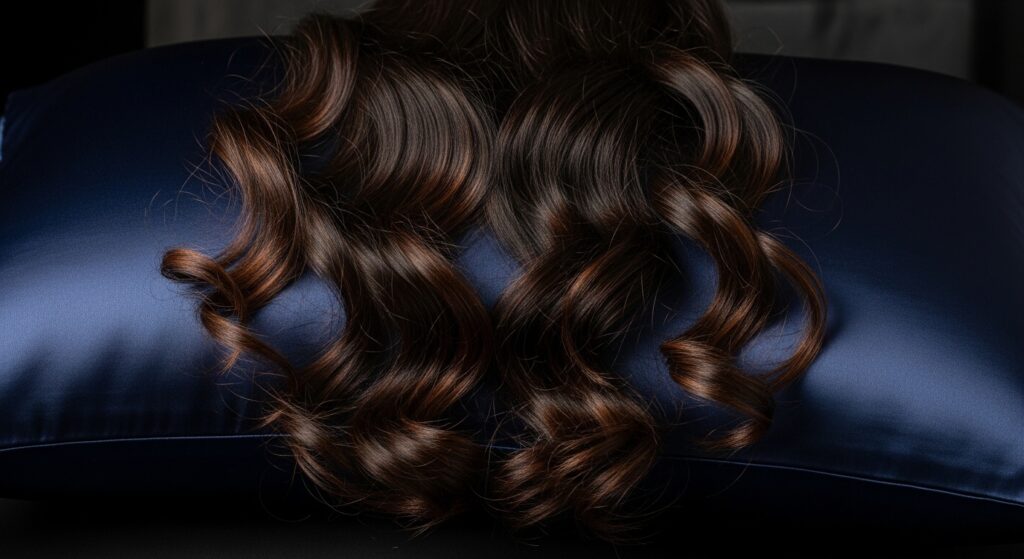
You put in all that work to create perfect curls, only to wake up with a frizzy, flat mess. The culprit? Your cotton pillowcase. The friction overnight destroys your style. The fix is a simple switch to a smoother surface.
A silk or satin pillowcase creates minimal friction, allowing your curls to glide as you sleep and preserving their shape. If you don’t have one, a smooth scarf tied over your hair works too. This protects any style, from an asymmetrical lob to tight coils.
- Invest in a silk or satin pillowcase. It’s a game-changer for hair and skin.
- Alternatively, loosely tie a silk scarf around your hair before bed.
- For a quick fix, put a smooth t-shirt over your pillow and secure it with hair ties on the corners.
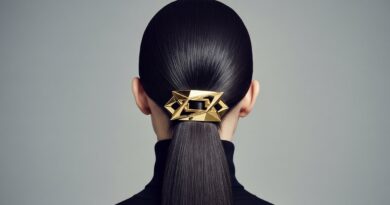
Fork for a Perfect Center Part
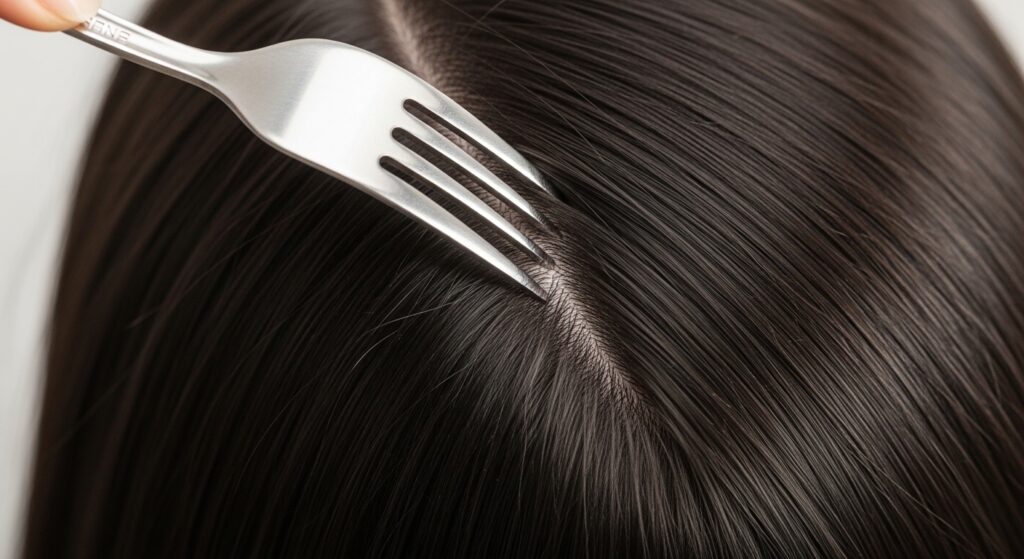
A crooked part can throw off your entire hairstyle. Getting it perfectly straight can be surprisingly tricky. For a precise, clean part every single time, reach for a fork—not to eat, but to style.
The pointed end of a fork handle (make sure it’s not sharp!) is the ideal width and tool for drawing a flawless line on your scalp. This is especially helpful for styles that demand symmetry or a severe part, like a sleek vampire haircut or a precise hime cut.
- Place the handle of a fork at the center of your hairline.
- Gently drag it back over your scalp, following the line you want.
- The prongs of the fork will naturally guide you in a straight line. It’s foolproof!
Toothbrush for Flyaways and Baby Hairs
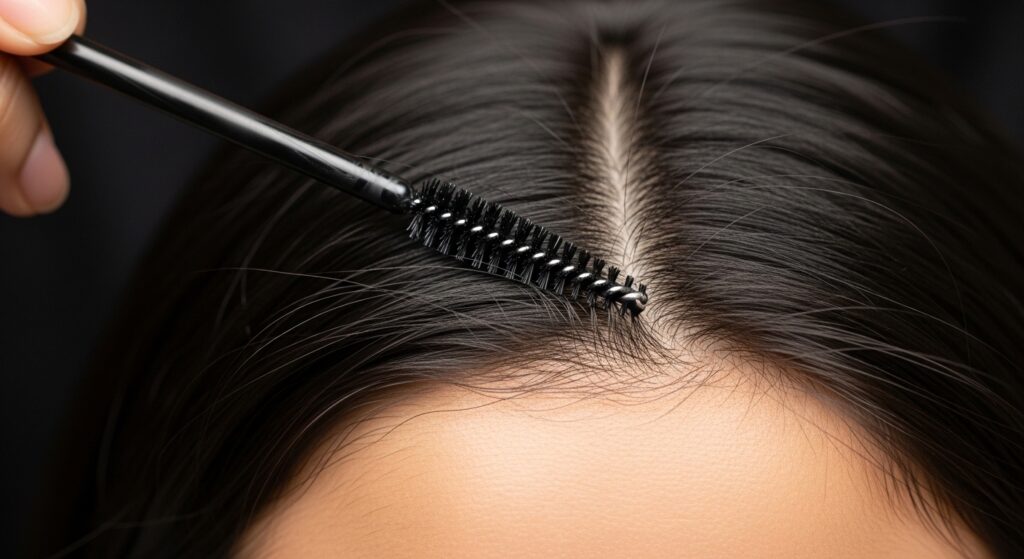
A can of heavy hairspray isn’t the only way to tame those wispy flyaways and baby hairs. In fact, it can often make them look stiff and crunchy. For a sleek, polished look, a simple tool from your bathroom drawer works better.
A clean, dry toothbrush (or a clean mascara wand) is perfect for coaxing small hairs into place with a bit of gel or pomade. The small, dense bristles offer control that a big hairbrush never could. It’s the secret to a truly finished look.
- Spray a tiny bit of hairspray directly onto the bristles of a clean toothbrush, or dab on a small amount of gel or pomade.
- Gently brush the flyaways flat against your head, following your hair’s direction.
- This gives you control without product buildup on your main hair sections.
Olive Oil for a Pre-Wash Treatment
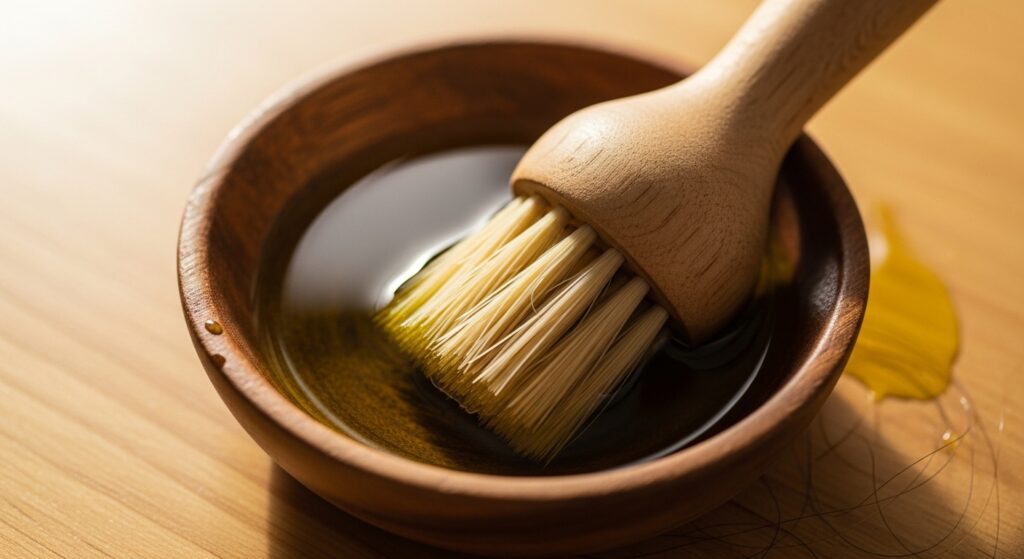
Healthy hair holds any style better. If your hair is feeling dry or brittle, curls will fall out faster and look frizzy. Before you even shampoo, you can use a kitchen staple for a deep conditioning treatment that adds incredible shine and softness.
Extra virgin olive oil is a fantastic natural moisturizer. Applying it before you wash your hair (a “pre-poo” treatment) helps protect your strands from the drying effects of shampoo and adds serious shine, making your curls look glossy and defined.
- Warm a few tablespoons of olive oil slightly.
- Apply it generously to the mid-lengths and ends of dry hair, avoiding the roots.
- Cover with a shower cap and leave it on for 30 minutes to an hour. Then, shampoo and style as usual.
Baking Soda for Clarifying

Product buildup is the enemy of bouncy, defined curls. It weighs hair down and makes it look dull. When your hair feels limp and products stop working, you likely need a reset. Instead of a clarifying shampoo, you can use baking soda.
This is a powerful deep-clean method, so only use it once a month at most. It strips away all residue, leaving your hair squeaky clean and ready to hold the most beautiful curls from any of our hacks. Follow it with a conditioner.
- Mix one tablespoon of baking soda with your regular shampoo in your palm.
- Lather it into your hair and scalp, then rinse thoroughly.
- Be sure to follow with a moisturizing conditioner, as this can be drying.
Apple Cider Vinegar Rinse for Shine
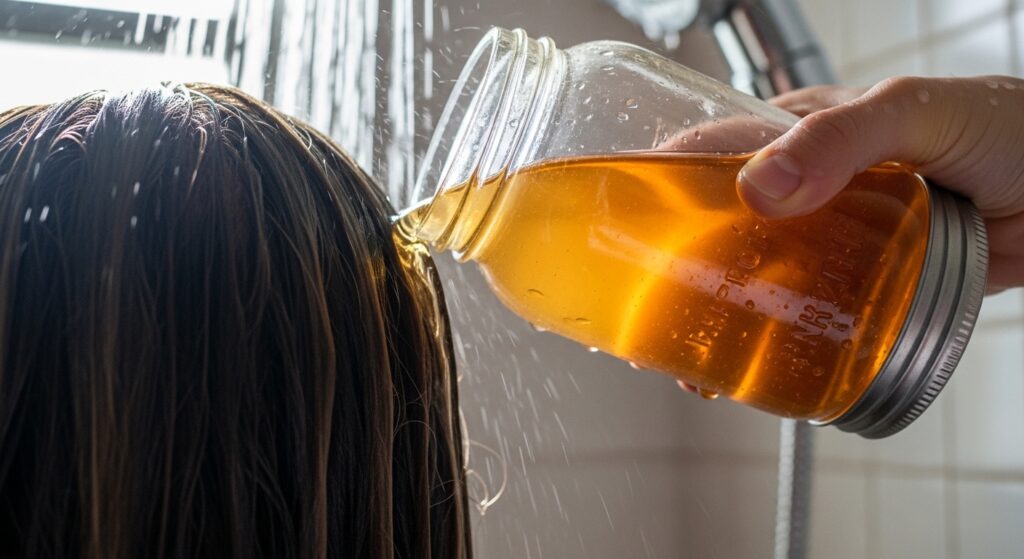
After clarifying with baking soda or just for a weekly shine boost, an apple cider vinegar (ACV) rinse is magical. It closes the hair cuticle, which is the outer layer of your strand. A closed cuticle means smoother hair that reflects light better—aka incredible shine.
It also helps balance your scalp’s pH and removes any last traces of buildup. Your curls will feel softer, look shinier, and have less frizz. The smell dissipates once your hair is dry, I promise!
- Mix one part raw apple cider vinegar with four parts cool water in a cup or spray bottle.
- After shampooing and conditioning, pour or spray the mixture over your hair.
- Let it sit for 1-2 minutes, then rinse thoroughly with cool water.
Honey for a Hydrating Mask
For hair that’s thirsty and needs moisture, honey is a humectant, meaning it draws and retains moisture. A simple honey mask can add softness and pliability to your hair, making it more receptive to holding beautiful, springy curls.
Use raw honey if you can, as it has more beneficial properties. This is a gentle, nourishing treatment you can do weekly. It leaves hair incredibly soft, manageable, and healthy-looking—the perfect base for any hairstyle.
- Mix two tablespoons of honey with one tablespoon of a conditioner you already love.
- Apply the mixture to damp, clean hair, focusing on the ends.
- Leave it on for 20-30 minutes with a shower cap, then rinse well with warm water.
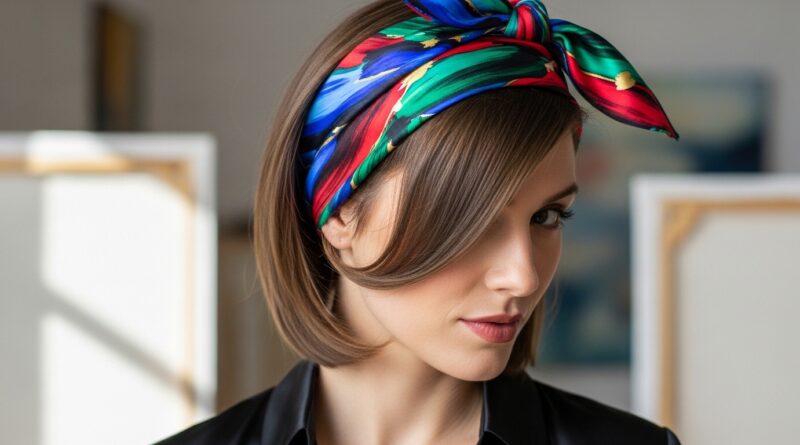
Creating an Asymmetrical Lob with a Scarf
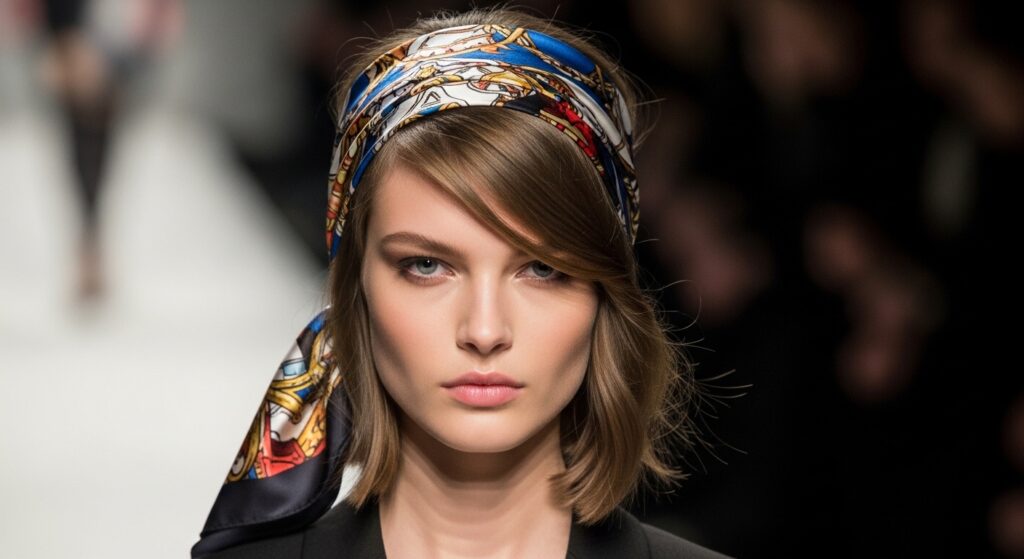
The asymmetrical lob is a forever-chic cut. You can fake the look or style your existing lob with a simple scarf. This trick adds instant polish and directional interest, making any straight or wavy bob look like a high-fashion, custom cut.
It’s all about using the scarf to push hair to one side and create a deep, dramatic part. This works beautifully on hair curled with any of our methods, adding a touch of “quiet luxury” to your look with zero cutting required.
- Create a deep side part.
- Take a long, narrow silk scarf and tie it around your head like a headband, over the hair on the “larger” side of your part.
- Tuck the hair on the heavier side behind your ear, letting the scarf hold it in place. This emphasizes the asymmetrical shape.
Softening a “Vampire Haircut” with Waves
The vampire haircut—with its sharp, heavy fringe and dramatic layers—can feel very intense if styled straight and sleek. To give it a more wearable, romantic goth hairstyles vibe, add soft, loose waves to the longer layers.
This contrast between the hard line of the bangs and the softness of the waves is absolutely stunning. Use the