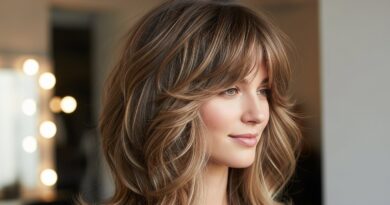
How to Air-Dry Hair Without It Looking Messy
Let’s be honest: the dream of air-drying your hair is all about effortless, I-woke-up-like-this beauty. It promises health, time saved, and a break from heat damage. The reality, however, can often be a frizzy, flat, or oddly-shaped mess that sends you scrambling for the hair dryer. But what if you could bridge that gap? What if your natural air-dried hair could look intentional, polished, and stunning?

Start in the Shower: The Foundation of Great Air-Dried Hair
Your air-drying success story begins long before you step out of the shower. The products and techniques you use here set the stage for everything that follows. This is where you build the foundation for smoothness and definition.
First, consider your shampoo. A clarifying shampoo is great for occasional use, but for regular washes, opt for a hydrating or moisturizing formula that won’t strip your hair of its natural oils. Follow with a conditioner that matches your hair’s density and needs—fine hair benefits from lightweight volumizing conditioners, while thick or curly hair may need a richer, creamy mask. The goal is to combat dryness, the primary culprit behind frizz, before it even starts.
When rinsing, make a crucial switch: finish with a blast of cool water. This helps to seal the hair cuticle, the outer layer of your hair shaft. A sealed cuticle lies flat, reflecting more light for shine and creating a smoother surface that’s less prone to frizz. It’s a simple step with a profound impact on your final result.

The Post-Shower Ritual: How You Treat Wet Hair Matters Most
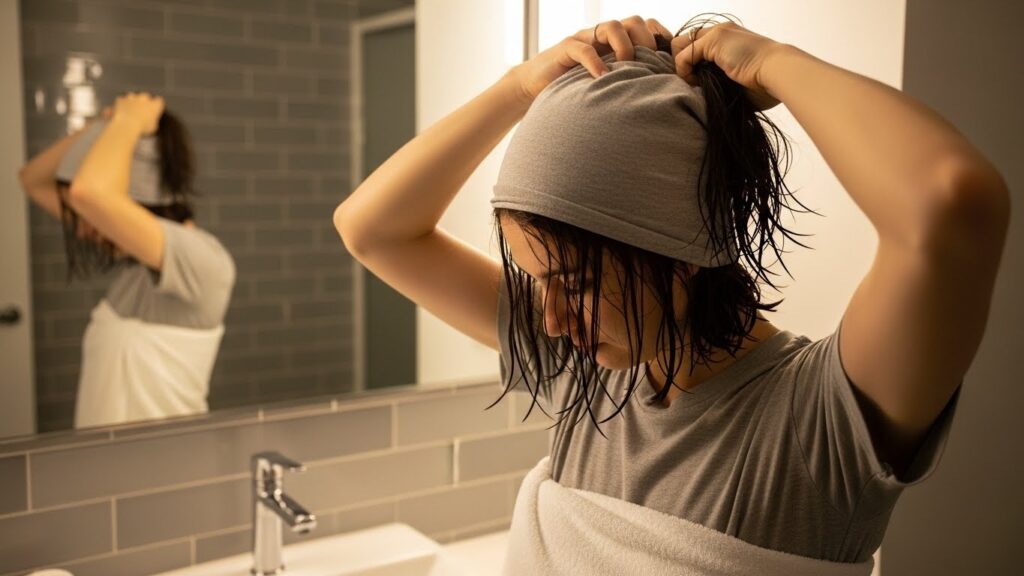
What you do in the first five minutes after your shower is arguably the most important phase. Rough treatment here guarantees a messy finish. Start by gently squeezing excess water from your hair with your hands. Never, ever rub your hair vigorously with a towel. The rough texture of a terry cloth towel disrupts the hair cuticle, creating instant frizz.
Instead, reach for a microfiber towel or an old, soft cotton t-shirt. These materials are much smoother and absorb water through capillary action without the abrasive friction. Wrap your hair up in a plop for 10-15 minutes to absorb the heavy dripping water. This “plopping” method also helps encourage natural wave and curl patterns without disturbing them.
Product Application: Your Anti-Mess Toolkit
This is your moment to strategize. Applying the right products to sopping wet or damp hair allows them to distribute evenly and work their magic as your hair dries. Think of them as your styling team, each with a specific role.
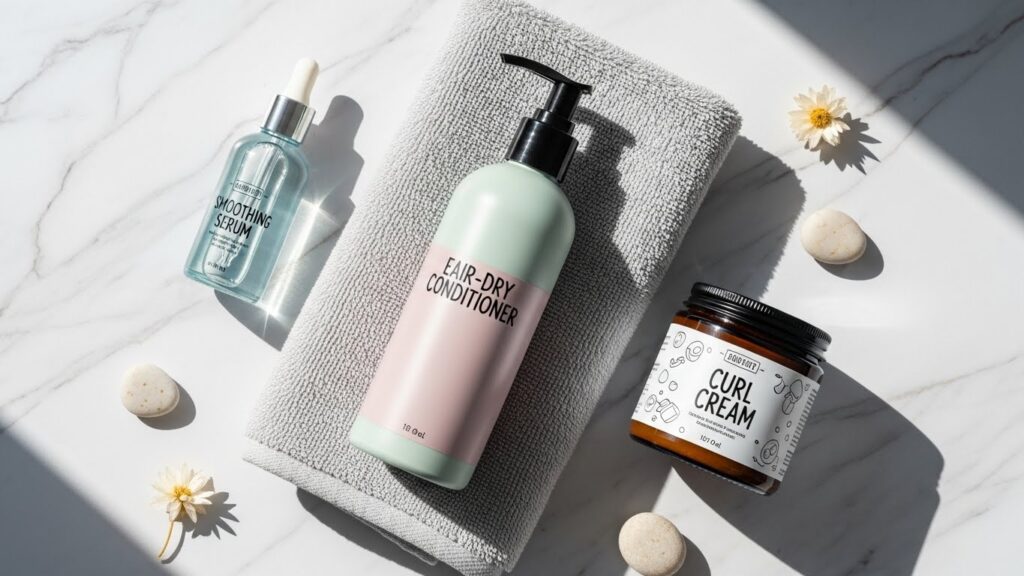
Always begin with a leave-in conditioner or detangling spray. This provides a base layer of hydration and makes combing through your hair effortless. Next, consider your hair type. For definition and frizz control, a curl cream or defining lotion is perfect for wavy to curly hair. For straight or fine hair that needs body, a lightweight volumizing mousse applied at the roots will lift without crunch.
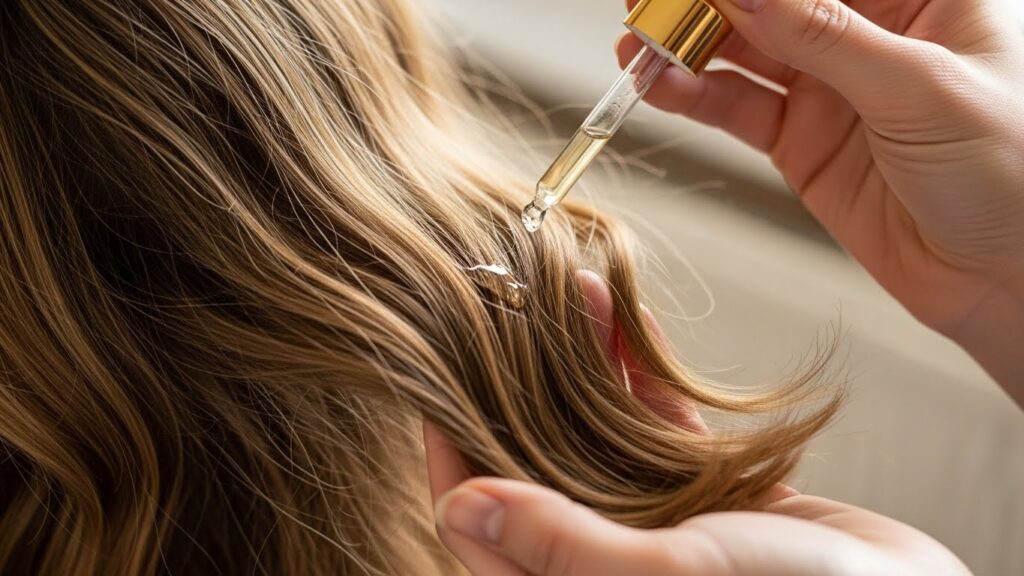
The non-negotiable hero for nearly every hair type? A smoothing serum or hair oil. Apply a small amount (a dime-sized drop for fine hair, more for thick) to the mid-lengths and ends. This creates a protective barrier, seals in moisture, and fights off atmospheric frizz. For ultimate hold and texture, you can finish with a light-hold texturizing spray or sea salt spray on damp ends.
Combing and Parting: Shape Your Style Before It Dries
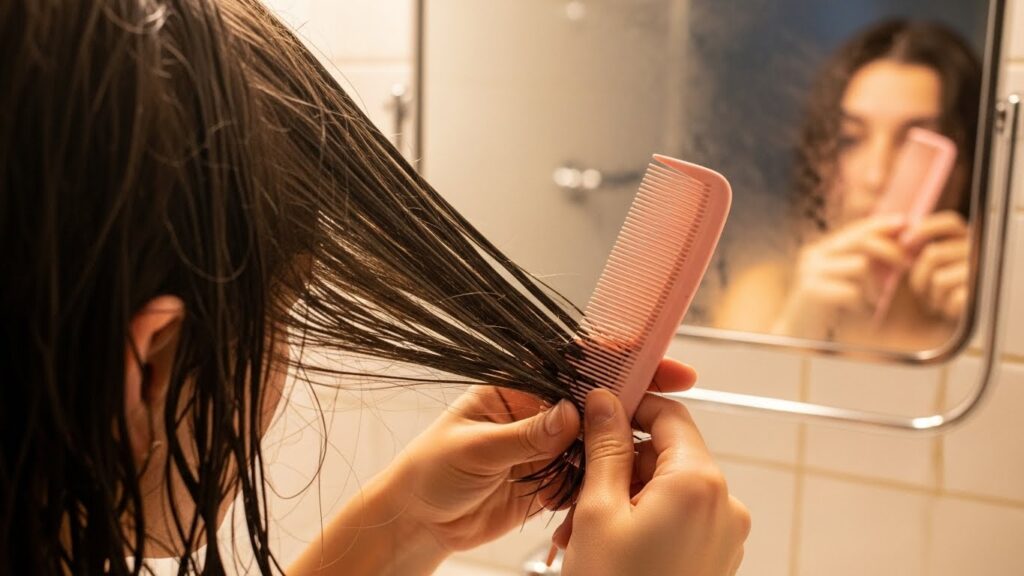
Once your products are in, it’s time to shape your hair into the position you want it to dry in. Use a wide-tooth comb or a detangling brush designed for wet hair to gently distribute products from roots to ends. This is the moment to establish your part.
Be decisive with your part. Use the end of a comb or your finger to create a clean, straight part, or go for a soft, zig-zag part for more volume at the roots. Where you place your part determines how the hair will fall and where volume will accumulate. If you want volume at the crown, try flipping your part to the opposite side for the drying process, then gently flipping it back once dry.
The Drying Process: Patience and Strategic Movement
Now, the waiting game begins—but not a passive one. First, avoid touching your hair as it dries. Constantly running your fingers through it breaks up clumps, creates frizz, and disrupts the natural drying pattern. Let the products and the air do their work.
If you have straight or wavy hair and want to encourage movement, you can give your hair a few gentle head shakes at the roots while it’s still quite damp. For curly hair, scrunching gently with your hands (not the t-shirt) after applying products can enhance curl formation. About halfway through the drying process, if you notice your hair starting to separate in awkward ways, you can gently re-scrunch or re-clump sections with a tiny bit of water or product on your hands.

Final Touches for a Polished Finish
Once your hair is completely dry (and we mean completely—no dampness at the scalp!), you can assess and perfect. You might find you have the perfect, touchable waves or smooth strands. If you need a little more polish, here’s how to finesse it without heat.
For frizz that appears at the crown or around the face, take a drop of serum or hair oil, rub it between your palms, and smooth it over the surface of your hair, avoiding the roots. To add volume, flip your head over and gently massage your scalp at the roots to lift them. You can also use texturizing spray on dry hair at the roots for instant grip and body.
If certain sections dried a little flat, try lightly misting them with water and re-applying a tiny amount of your defining product, then letting it air-dry again. The key is minimal intervention for maximum natural effect.
Pro Tips for Different Hair Types
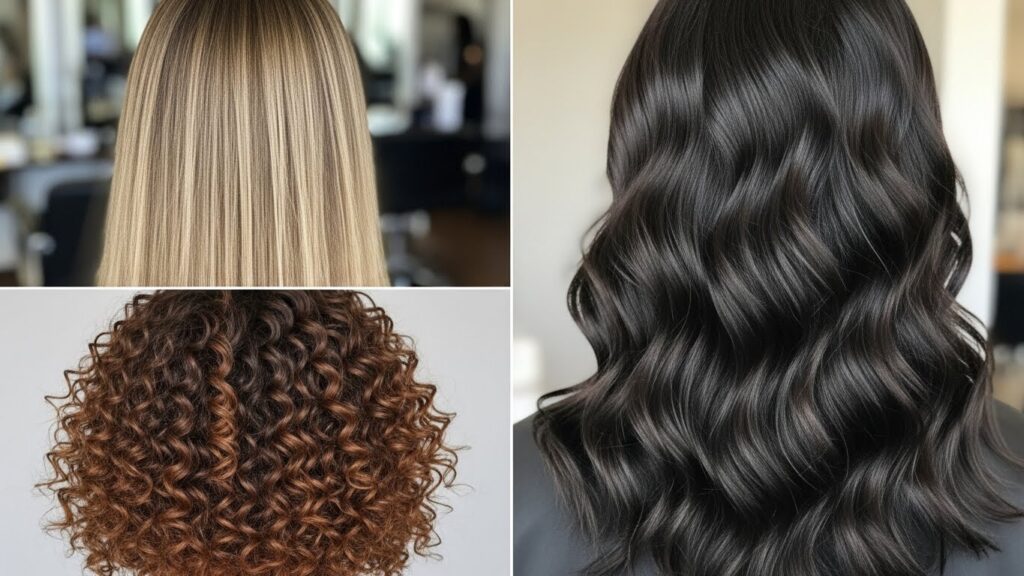
While the core principles remain the same, fine-tuning for your hair type makes all the difference.
For Fine, Straight Hair: Focus on root volume and avoiding weigh-down. Use lightweight mousse at the roots and a texturizing spray on dry ends. Let hair dry loosely, not stuck to your head. A loose braid before bed on damp hair can create beautiful, soft waves by morning.
For Wavy Hair: You’re the prime candidate for gorgeous air-drying! Use a curl-defining cream or mousse on sopping wet hair, scrunch, and then do not touch. Consider pineappling (a loose, high ponytail) while drying to encourage root volume.
For Curly & Coily Hair: Hydration is king. Use the LOC (Liquid, Oil, Cream) or LCO method on soaking wet hair. After applying products, allow hair to dry in defined sections—you can even use hair clips at the roots for lift. Diffusing on low heat until 80% dry, then air-drying the rest, is a great hybrid option.
For Thick, Frizzy Hair: Your mission is hydration and seal. A generous amount of leave-in conditioner followed by a strong-hold cream and a sealing oil or butter is essential. Plopping in a t-shirt for longer (20-30 mins) can help set the style and reduce drying time.
Embrace the Perfectly Imperfect
Mastering the art of air-drying is a journey of understanding your unique hair. It might take a few washes to find the perfect product cocktail and technique, but the payoff—healthier hair, saved time, and authentic beauty—is undeniable. The goal isn’t heat-styled perfection; it’s about enhancing your hair’s natural texture and movement to look its best self.
So next time you step out of the shower, see it as an opportunity, not a chore. With these steps, you can confidently put down the blow dryer and let your hair do its thing. You might just find that your “messy” air-dry becomes your most complimented, signature look.