How to Braid Your Own Hair in the Back Without a Mirror
Okay, let’s be real. Trying to braid the back of your own hair is a special kind of arm workout and a test of your patience. You twist, you reach, you guess… and then you feel a weird lump that you just know isn’t right. I’ve been there so many times.
But what if I told you it gets easier? That you can master a simple, elegant braid without needing a wall of mirrors or a second pair of hands? Because you totally can.
This isn’t about complex, runway-ready styles (yet!). It’s about one foundational skill that unlocks everything. Once you get this down, you can adapt it for everything from an old money hair vibe to those dreamy romantic goth hairstyles we all love.
Think of this as your no-mirror, no-fuss guide to looking put-together, even on busy days. Let’s save your arms and your sanity.
Why Bother Learning This Skill?
Beyond the obvious “I look cute” reason, mastering a self-braid is a game-changer. It’s the ultimate lazy-girl hairstyle that looks like you tried. It keeps hair off your neck in summer and tucked neatly under hats in winter.
Most importantly, it’s the base for so many trending looks. That effortless quiet luxury bob? Often styled with a low, tucked braid. The edgy vampire haircut or glitchy glam hair? Frequently incorporates braided elements. This skill lets you participate in trends without the salon trip.

Gather Your Simple Tools
You don’t need much. A good hair elastic is key—find one that’s strong but doesn’t snag. A few small, clear elastics are great for securing ends. A light-hold hairspray or texturizing spray can help grip, especially if your hair is silky.
I also swear by a single hair clip. Use it to section off the top part of your hair while you work on the lower section. It keeps things organized and stops you from pulling in random pieces. That’s it! No fancy gadgets required.

Start with Clean, Dry Hair
This is non-negotiable when you’re learning. Day-old hair has natural oils that give it better grip, which is amazing. But freshly washed, slippery hair is much harder to control behind your back.
If you must style clean hair, add a bit of texture. A light mist of sea salt spray or a dab of styling cream on your lengths will give your fingers something to hold onto. The goal is hair that listens, not hair that slides.
Master the Feel of a Basic Three-Strand Braid
Before you go behind your head, practice on the side where you can see. Close your eyes for a minute. Focus on the feel of the sections crossing: right over middle, left over middle. The rhythm is everything.
Pay attention to the tension in your fingers. You want it firm enough to be neat, but not so tight it pulls or creates a headache. This muscle memory is what you’ll rely on when you can’t see what you’re doing.
Find Your Perfect Standing Position
Posture is your secret weapon. Stand up straight. Tilt your chin down slightly to give your hands better access to the nape of your neck. Drop your shoulders—tensing them up will tire you out fast.
Some people find it easier to bring both elbows up high, almost like chicken wings. Others prefer to keep their arms lower. Try both. The right position minimizes the awkward reach and strain.
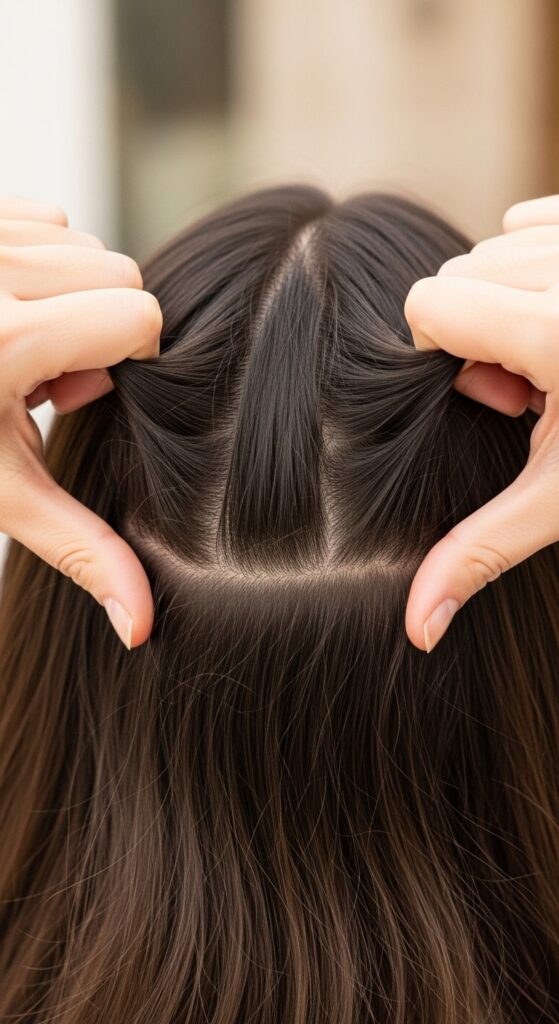
Section Your Hair by Feel, Not Sight
Use your fingers as combs and guides. Start by gathering all your hair as if for a low ponytail. Feel for the center of that mass at the nape of your neck with your thumbs. That’s your middle section’s starting point.
Then, simply divide the hair on either side of your thumbs. Don’t worry about perfect, straight parts. A little organic, uneven sectioning often looks more modern and soft, perfect for that asymmetrical lob vibe.
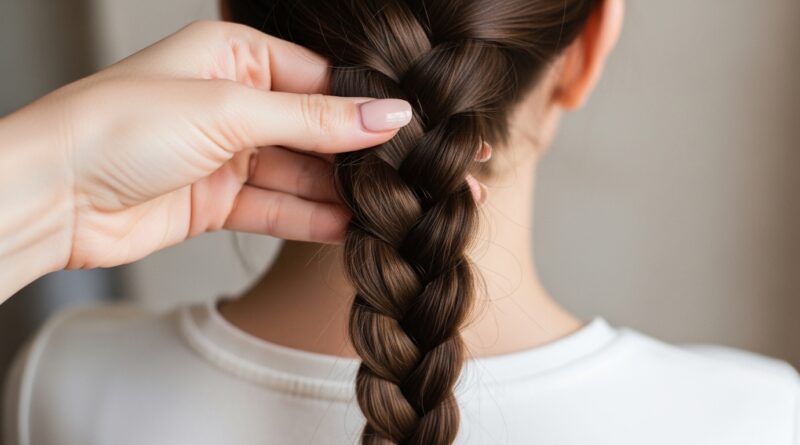
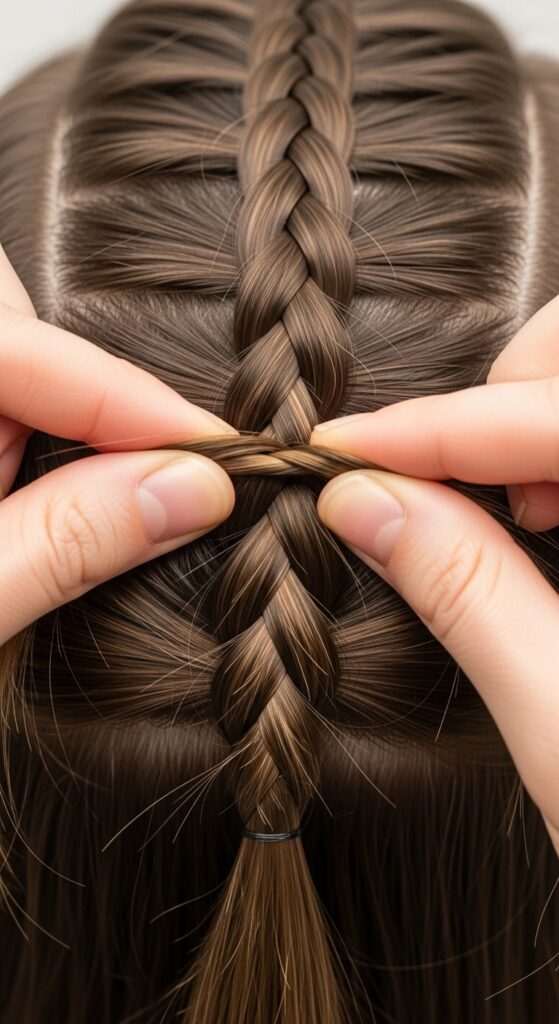
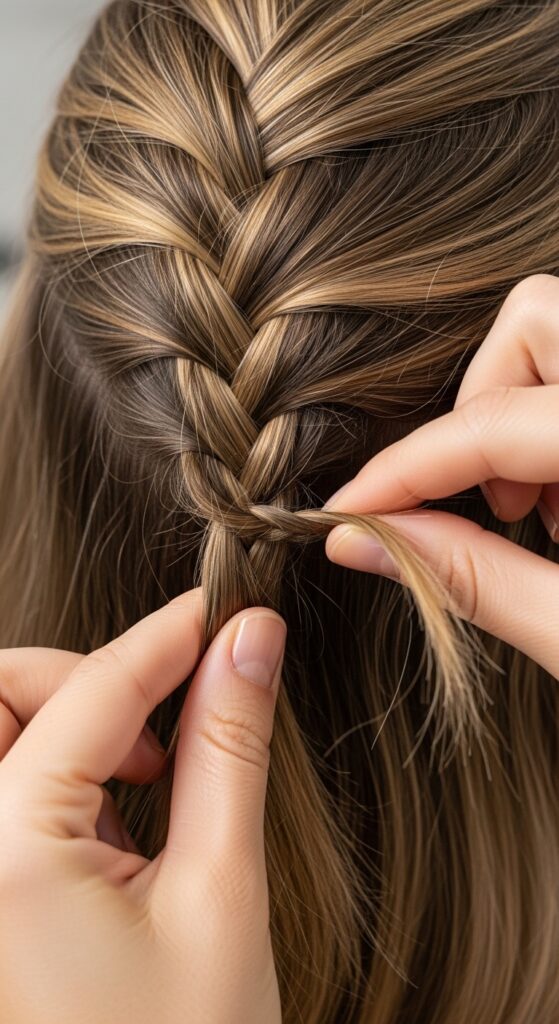
The Initial Cross is the Most Important
The first two crosses set the whole braid’s alignment. Take your time here. After dividing, do your first “right over middle” and “left over middle” slowly. Use your pinkies to anchor the sections you’re not holding.
Feel the braid forming directly centered on your spine. If it starts off-center, it will only get worse. It’s okay to drop the hair and start over two or three times until the start feels centered and secure.
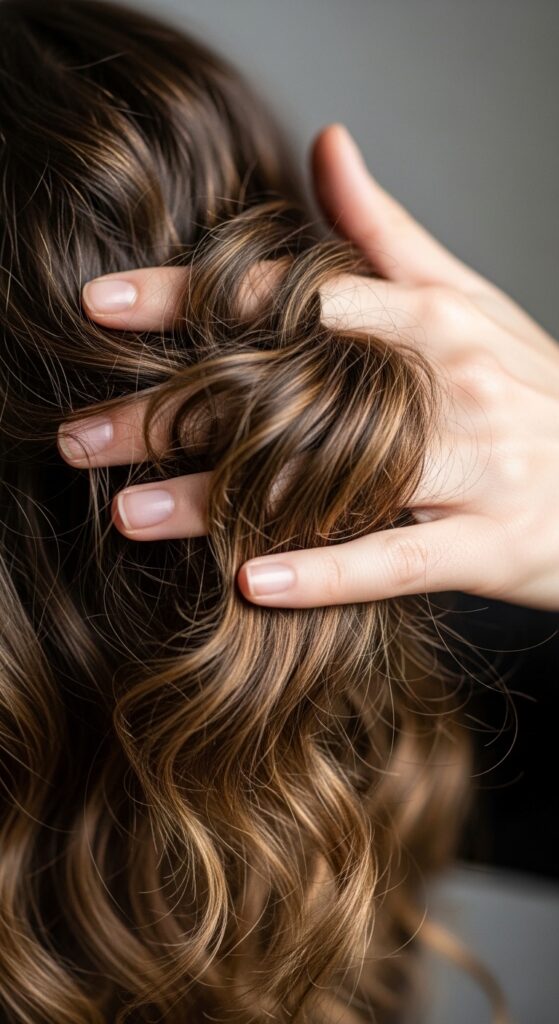
Let Your Fingers Do the “Seeing”
Close your eyes. Seriously. This trains you to rely on touch. Feel the thickness of each section as you pick up new hair. Notice if one strand is getting thinner than the others—it means you’re dropping hair from that section.
The feedback from your fingertips is your real-time mirror. The texture, the tension, the evenness—it all tells a story your eyes can’t see from that angle. Trust what you feel.
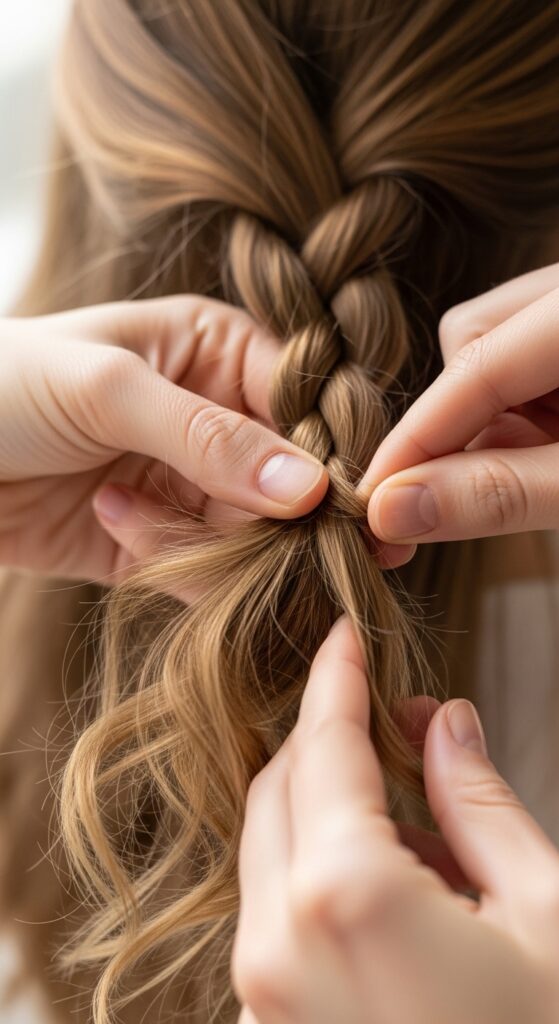
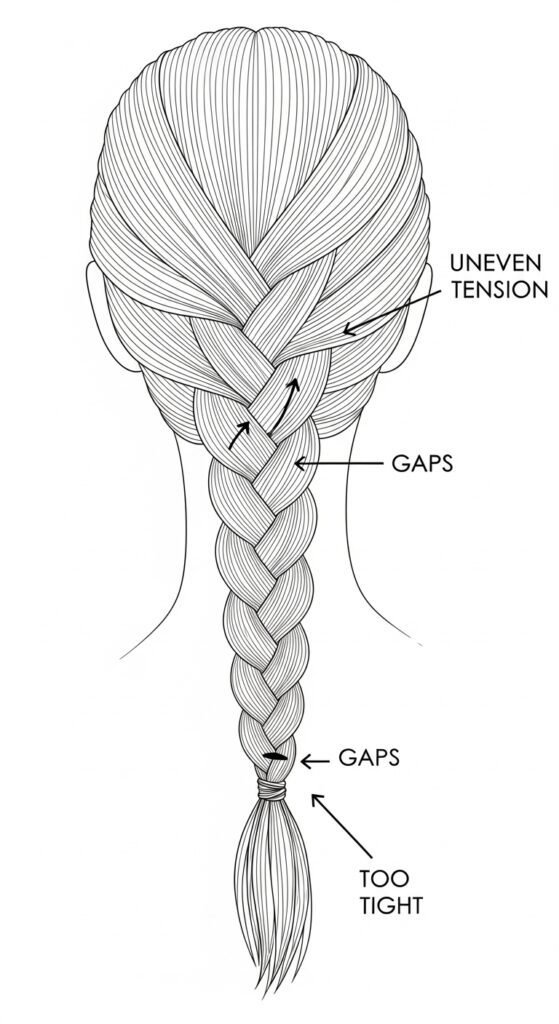
How to Keep Tension Even
Uneven tension is what causes lopsided, bumpy braids. As you cross each section, pull it outward and away from your head slightly before crossing it over. This tightens that specific move.
Try to use the same amount of pull with each cross. A good trick is to gently tug on the completed part of the braid with your non-dominant hand after every few crosses to evenly distribute the tension down its length.
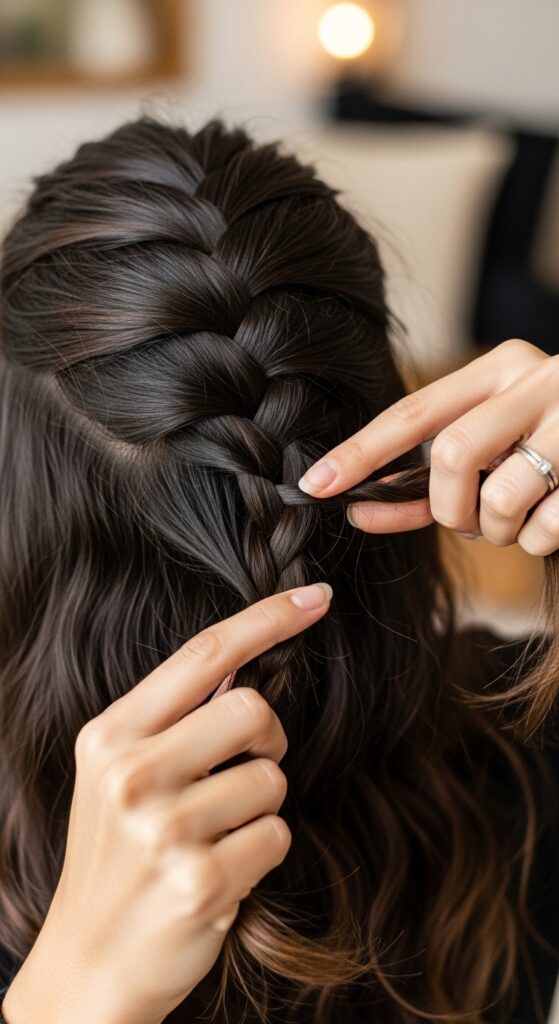
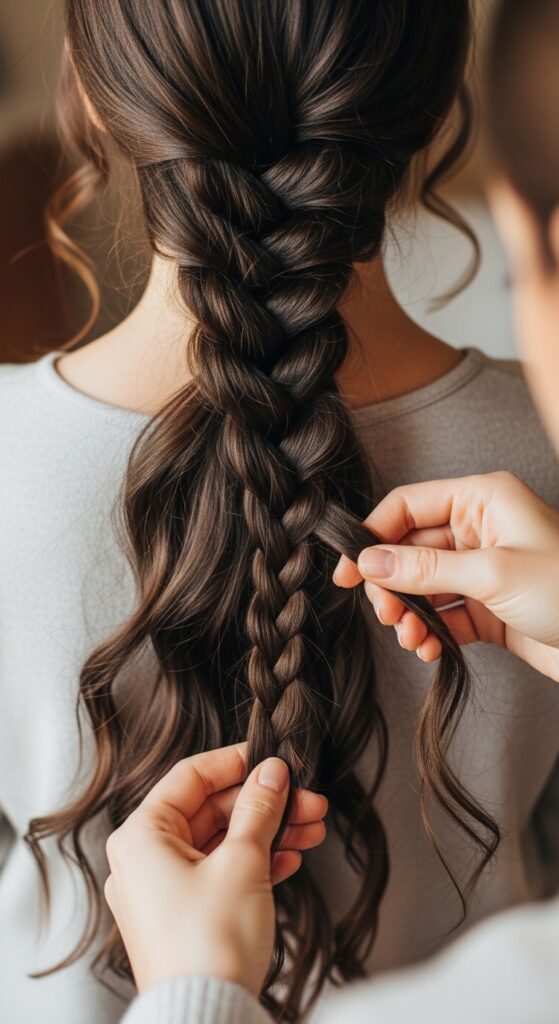
Adding Hair for a Dutch or French Braid
Once a basic braid is easy, try adding hair. For a Dutch braid (which pops out), you’ll cross sections under the middle. As you bring a section under, use your free thumb to sweep a little hair from that side of your head into it before crossing.
Add small, consistent amounts. Think “an inch of hair from my hairline” each time. This technique is key for so many 2026 hairstyles we’re seeing, adding that intricate, lived-in detail.
What to Do When You Hit a Tangle
Don’t panic and yank. It will make a knot. If you feel resistance, stop crossing. Use the hand holding that section to gently finger-comb just that piece, working from the ends up to where it’s caught.
Once it’s smooth, re-gather the section and continue. A tiny bit of leave-in conditioner on your hands beforehand can prevent this, especially for curly or thick hair.
The Awkward Middle Phase Push-Through
This is where most people give up. Your arms are tired, and you’re in the thick of it. Here’s the trick: once the braid is past your occipital bone (that bump on the back of your skull), you can switch grips.
Let the braid itself rest against your back. Now you’re just braiding the tail, which is much easier. Take a deep breath, shake your shoulders out, and finish strong.
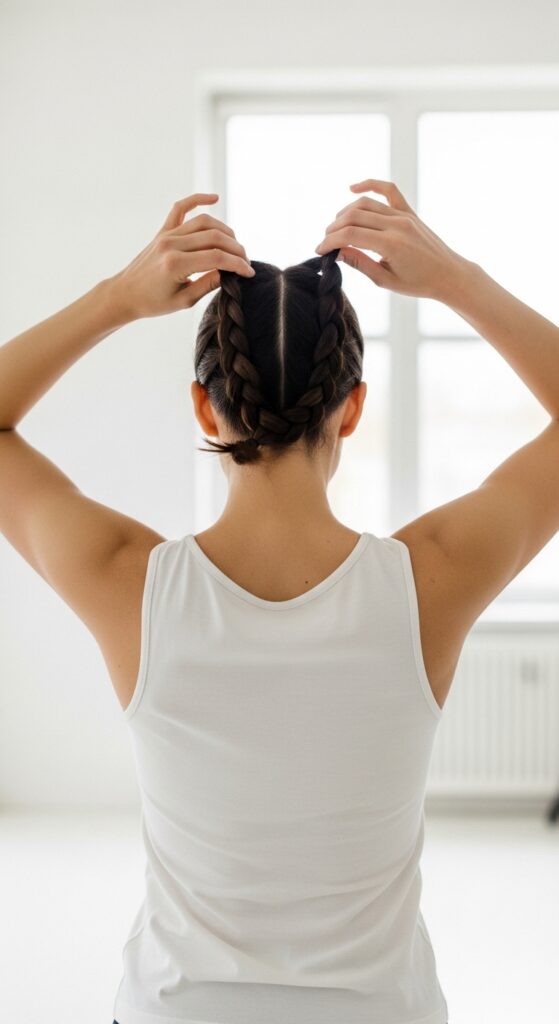
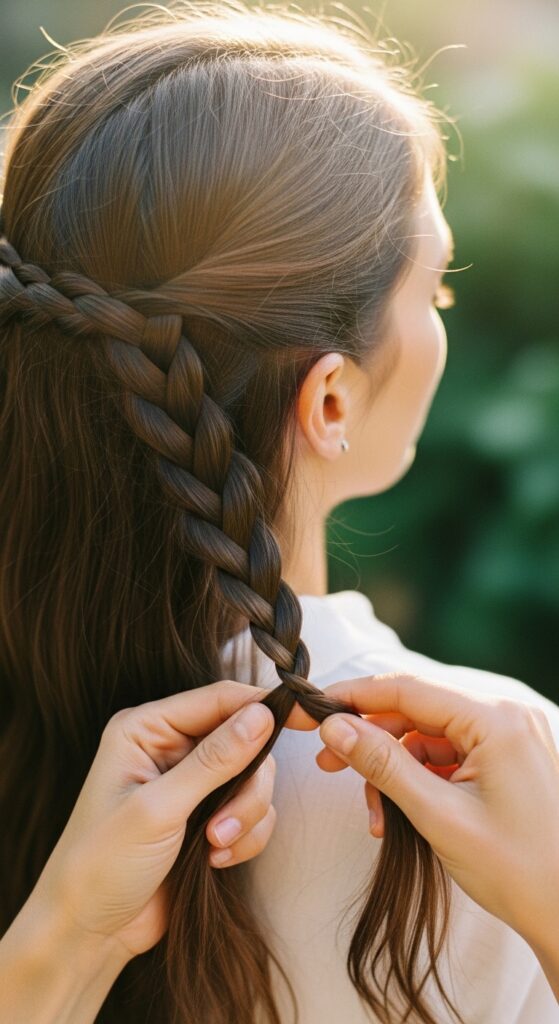
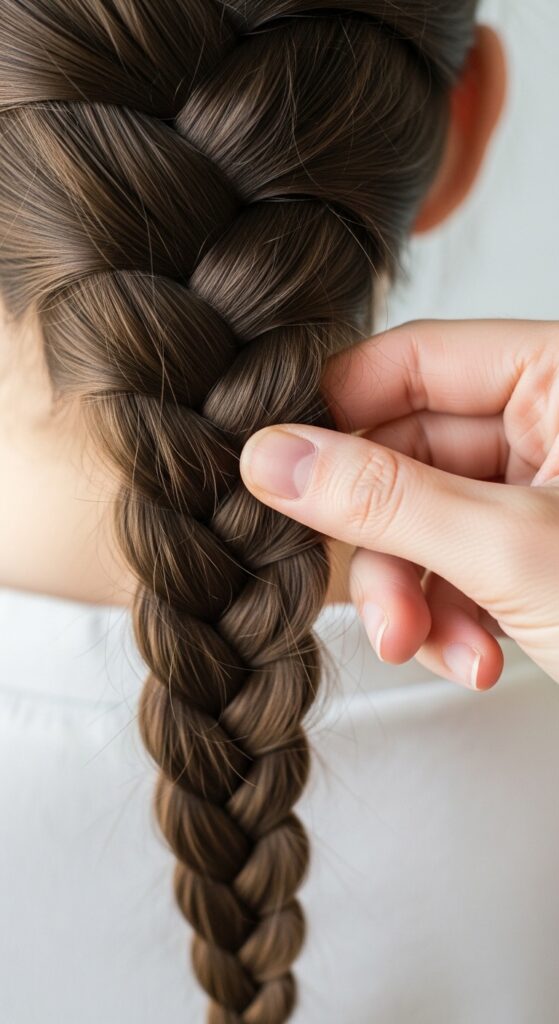
Securing the End Neatly
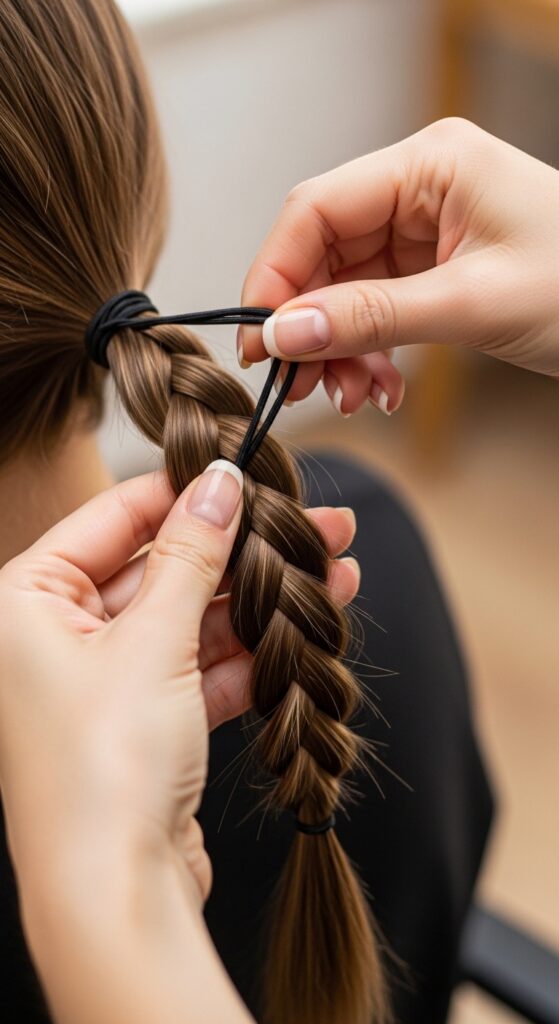
When you run out of hair to add, do three or four more regular crosses of the thin tail. Before you tie it, gently tug on the outer loops of the braid to loosen it slightly and make it look fuller and softer—a must for old money hair aesthetics.
Then, use one strong elastic to secure the end. Wrap it multiple times until it’s snug. For a seamless look, you can take a tiny piece of hair from the tail and wrap it around the elastic, securing it with a bobby pin underneath.
Checking Your Work Without a Mirror
Use your phone! Turn on the selfie camera and hold it in front of you, then slowly turn your back to it. You can also use the front camera and a larger wall mirror behind you. Don’t be critical—just look for obvious lopsidedness or gaps.
But first, just feel it. Run your hands down the braid. Is it generally even? Does it feel centered? Your touch check is often more accurate than a frantic mirror search.

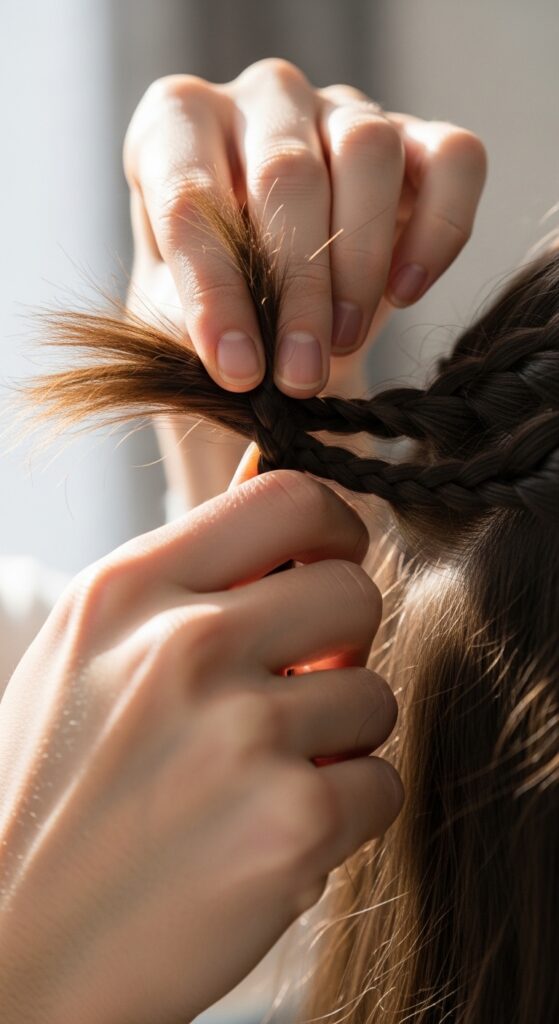
Fixing a Lopsided Braid Quickly
It’s leaning to the left? No problem. Gently pull on the braided loops on the *right* side to loosen them. This will visually pull the braid to the right. You’re redistributing the tension, not redoing it.
For small gaps where hair fell out, use the tip of a tail comb or a bobby pin to gently tuck the stray hairs back into the nearest braid loop. It’s like editing your own work.
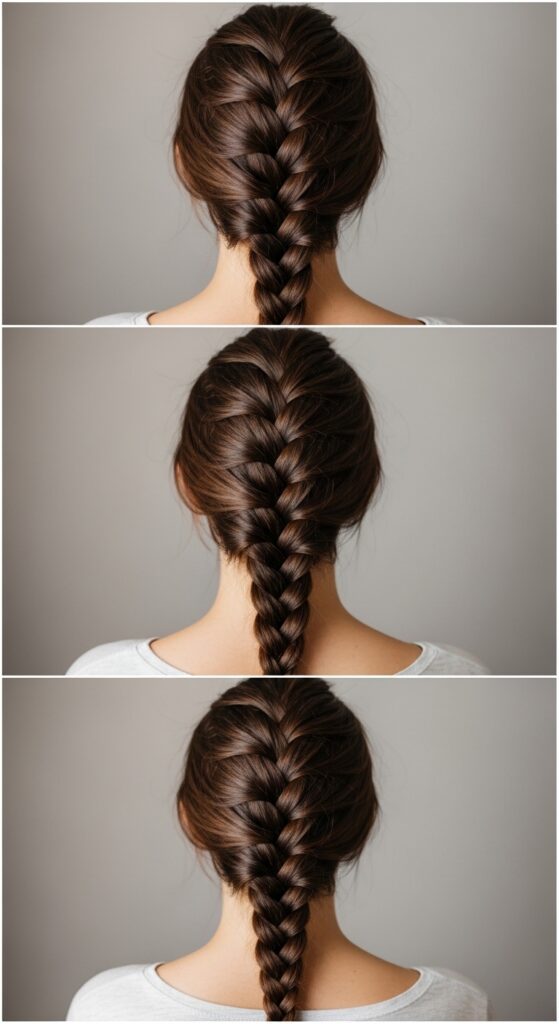
Styling Your Braid for Different Vibes
This is the fun part. A tight, sleek braid is polished. A gently pulled-apart, messy one is perfect for romantic goth hairstyles. Tuck the end under and pin it for an invisible finish, or leave it out for a casual look.
Wrap the braid into a low bun, or pull it over one shoulder. This single braid is the starting point for dozens of styles, from office-ready to a night out.

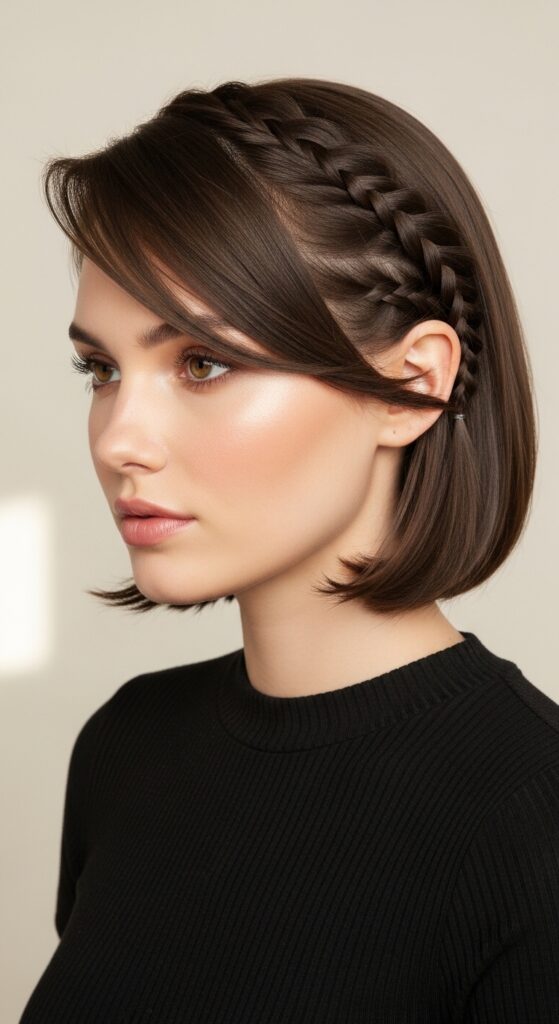
Adapting for an Asymmetrical Lob or Bob
Shorter hair is actually easier in some ways! You’ll be doing a mini-braid. Follow all the same steps, but only add hair for one or two crosses before you’re just braiding the tail. It becomes a cute, subtle accent.
For an asymmetrical lob, try a small braid just on the heavier, longer side. It adds detail and keeps hair tucked neatly. This works beautifully with a hime cut as well, braiding the front sections.
Creating a “Glitchy Glam” Braid Effect
Glitchy glam hair is all about intentional imperfection. After braiding, pull out several random, chunky loops. Leave some shorter pieces loose entirely. Mist with a shine spray.
You can also braid in a single, contrasting ribbon or a few strands of metallic thread by including them in one section from the start. The “glitch” is the unexpected, deconstructed detail.

Practicing for Consistency
Do it every day for a week. Even if you take it out right after. Muscle memory is built through repetition. Time yourself. You’ll go from a frustrating 10-minute struggle to a 2-minute breeze.
Try it with different hair textures—on second-day hair, with product, on damp hair. Knowing how your hair behaves in different states makes you a braid pro in any situation.
Common Mistakes and How to Avoid Them
- Pulling too tight: Gives you a headache and a skinny, severe braid. Consciously loosen your grip.
- Adding uneven sections: Causes bumps. Try to pick up the same amount of hair from each side per cross.
- Looking up: Pulls the scalp tight and changes the angle. Keep your gaze level or slightly down.
Your Final, No-Stress Mindset
Perfection is not the goal. A little imperfection looks lived-in and cool. The first time you do this, it might be messy. That’s okay. The goal is to get your hair up and styled in a way that makes you feel good.
Celebrate the fact that you tried something new with your own two hands. Each time gets easier, faster, and better. You’ve got this.
And just like that, you’ve done it. You’ve conquered one of those “how do people even do that?!” beauty skills. It might have felt clumsy at first, but that’s how every expert starts. The real win isn’t just the braid—it’s the confidence that comes from knowing you can figure it out.
This simple skill is your ticket to so many looks, from the sleekest quiet luxury bob accent to the most dramatic vampire haircut detail. It’s a tool in your style toolbox that never expires.
Save this post to Pinterest so you can come back to these steps anytime your arms need a reminder. And tell me in the comments—what’s the next hairstyle you want to learn to do yourself? I’m always looking for new ideas to tackle together!