How to Do a Dutch Braid on Yourself for the First Time
Okay, let’s be real. We’ve all seen that perfect Dutch braid on Pinterest and thought, “I could never do that on myself.” It looks complicated, like something only hairstylists and Instagram pros can manage. I felt the exact same way for years.
But here’s the secret I wish someone had told me: it’s just a simple pattern. Once you get the rhythm, it’s actually relaxing. This isn’t about creating a flawless masterpiece on your first try. It’s about learning a new, super useful skill.
Think of this as your no-stress, best-friend guide. We’re going to break it down into tiny, manageable steps. By the end, you’ll have a braid in your hair and a whole new world of hairstyles—from 2026 hairstyles to romantic goth hairstyles—will open up to you. Let’s get started.
What Exactly Is a Dutch Braid?
You know a regular three-strand braid, right? A Dutch braid is its cool, raised cousin. Instead of crossing the strands over the middle, you cross them under. This is what creates that beautiful, 3D braid that sits on top of your head like a crown.
It’s the foundation for so many gorgeous looks. That old money hair vibe with a low, perfect braid? Often a Dutch braid. Intricate styles that lead into an asymmetrical lob? Yep, they start here. Mastering this one technique is a game-changer.
Gather Your Simple Tools
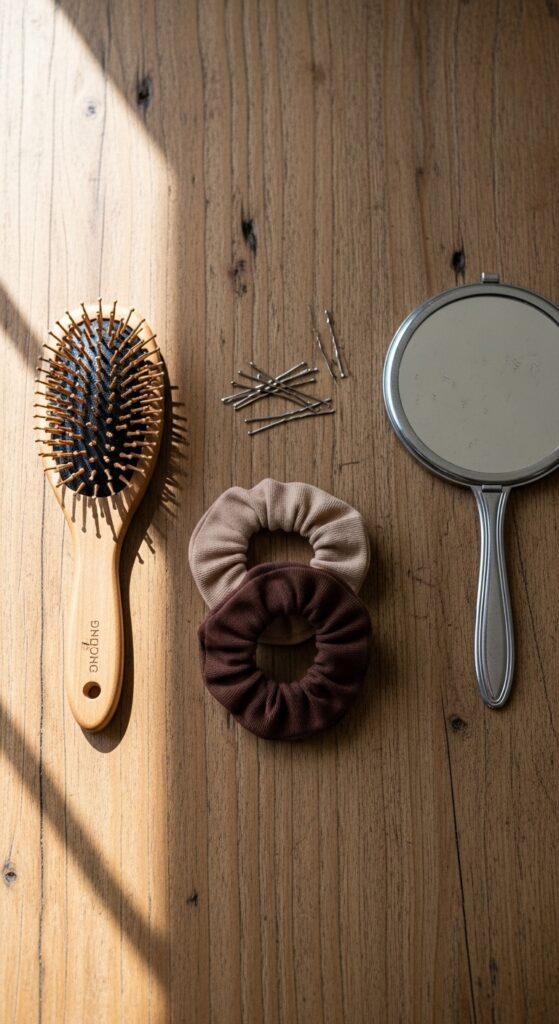
You don’t need much! In fact, you probably have everything already. The goal is to make this easy, not intimidate you with fancy gear.
- A fine-tooth comb or brush to detangle.
- A couple of hair ties (the coil ones are great for no-slip holds).
- A few bobby pins that match your hair color.
- A small mirror to see the back of your head, or use your phone camera.
- Optional: A light-hold texturizing spray. Slightly “dirty” hair grips better.
Start With the Right Hair Texture
Is your hair freshly washed and super silky? That’s the hardest texture to braid. For your first try, aim for day-two or day-three hair. It has a bit more natural grip and texture.
If you just washed it, no worries! Just spray a little dry shampoo or texturizing spray at the roots. This gives your hair some “grip” so the sections hold better. This tip is a lifesaver for all braided styles, whether you’re going for glitchy glam hair or something simple.

Master the Hand Position First
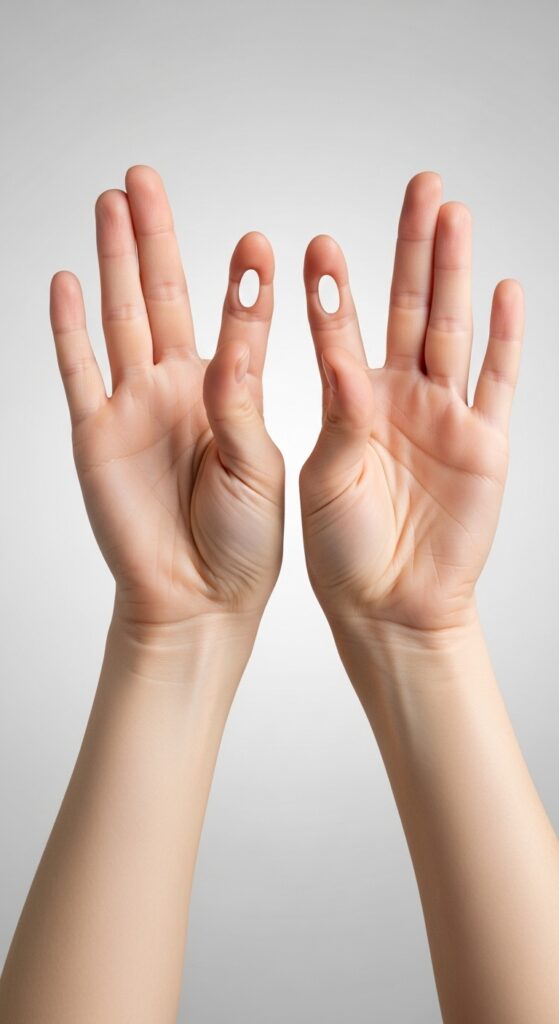
This is the most important step. Don’t even touch your hair yet. Just practice the finger motion. Hold your hands up in front of you, like you’re about to braid.
Remember: Dutch = Under. Say it out loud. “Left strand goes under the middle. Right strand goes under the new middle.” Practice crossing your empty hands under each other. Getting this motion into your muscle memory is 80% of the battle.
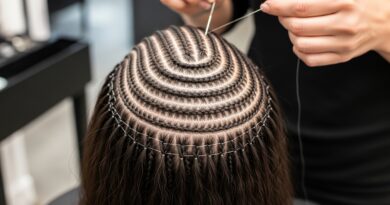
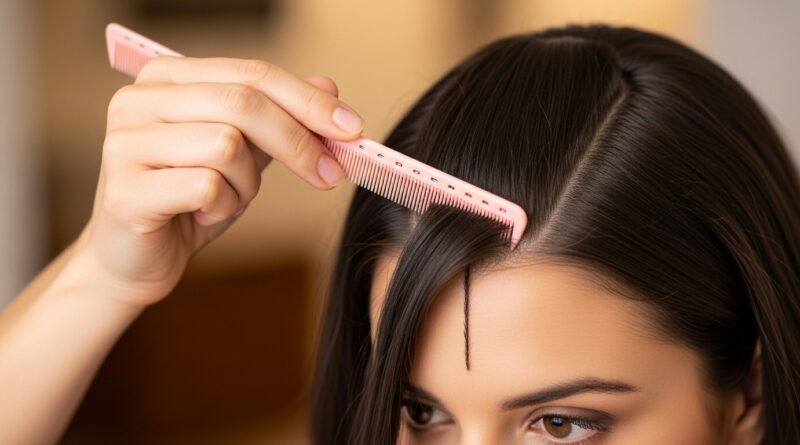
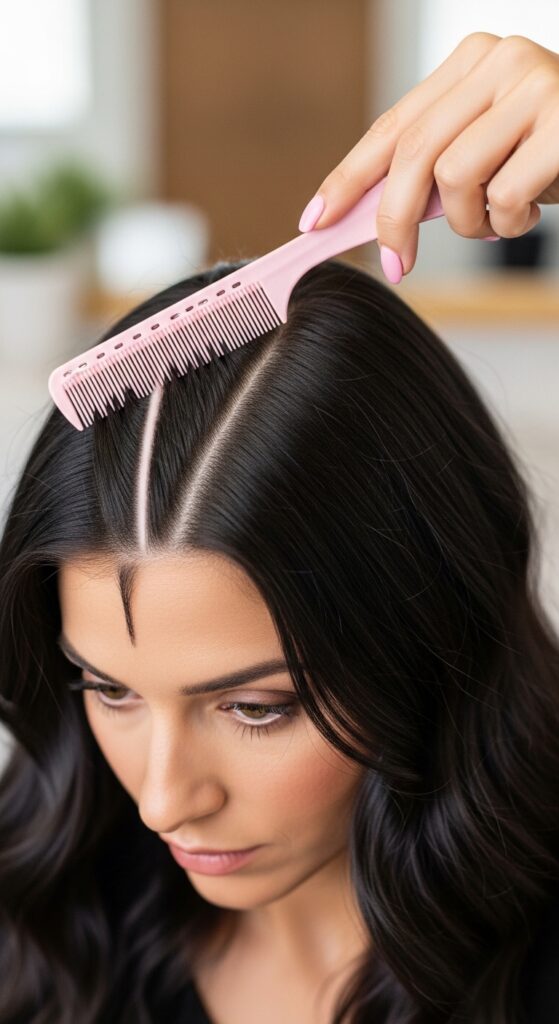
Section Your Top Crown of Hair
For your first Dutch braid, let’s start with a simple side or crown braid. Use your comb to create a clean part. Then, gather a section of hair from the front of your part, going back to about your ear.
This will be your starting “triangle” section. Hold it at the top of your head. The rest of your hair can hang loose for now. A smaller section is easier to control as you learn the new underhand motion.
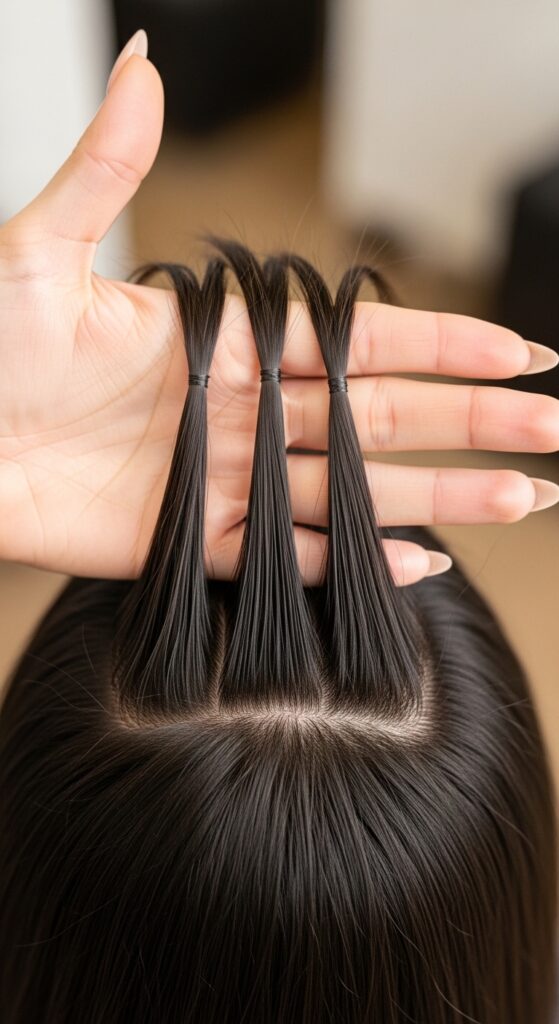
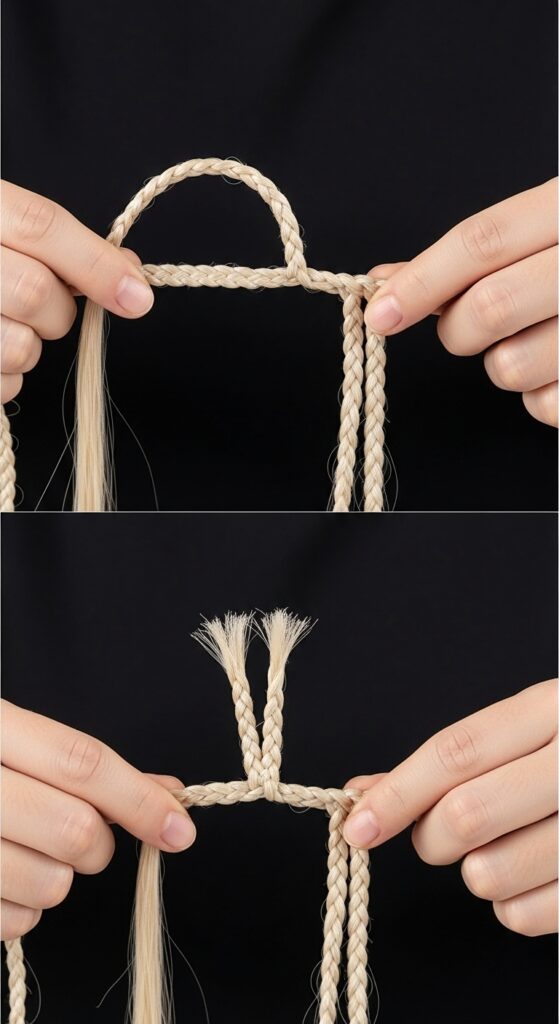
Divide Into Three Equal Sections
Now, split that top section you’re holding into three equal parts. Hold one in your left hand, one in your right, and let the middle one be held by your fingers.
Make sure the sections are neat and separate all the way to the ends. This gives you a clean foundation. If the sections are tangled or uneven at the start, the whole braid gets messy fast.
The First “Under” Cross is Key
Here we go! Take the section in your right hand. Instead of crossing it over the middle section, you’re going to move it under the middle section.
Now, that right section becomes the new middle section. Transfer it to the fingers holding the middle. This feels backwards at first, but trust the process. You’ve just done the first stitch of your Dutch braid!

Now Cross the Left Side Under
Next, take the section now in your left hand. Cross it under the new middle section (which was originally from the right).
That left section now becomes the newest middle section. See the pattern? Right under, left under, right under, left under. The braid is already starting to form on top of your head.
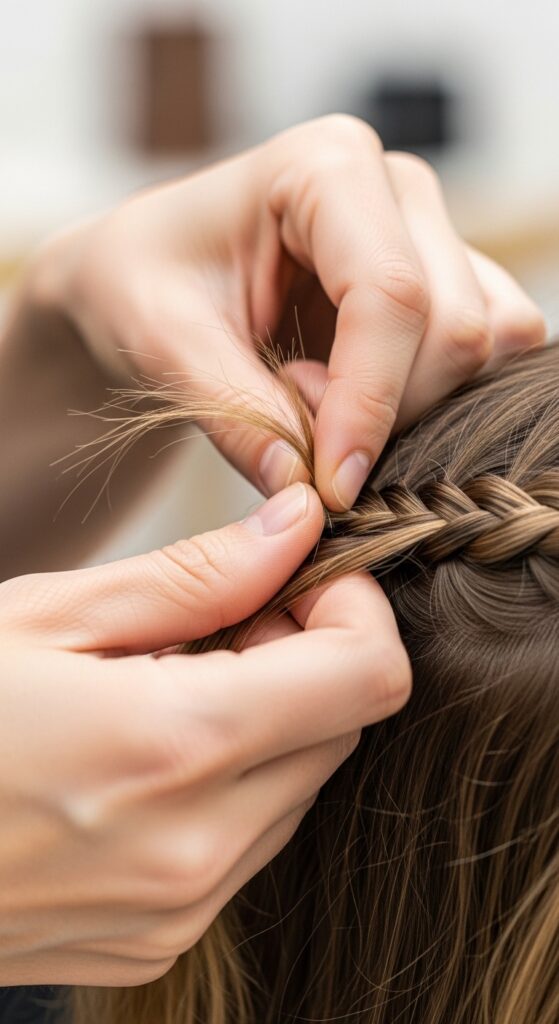
How to Add Hair Correctly
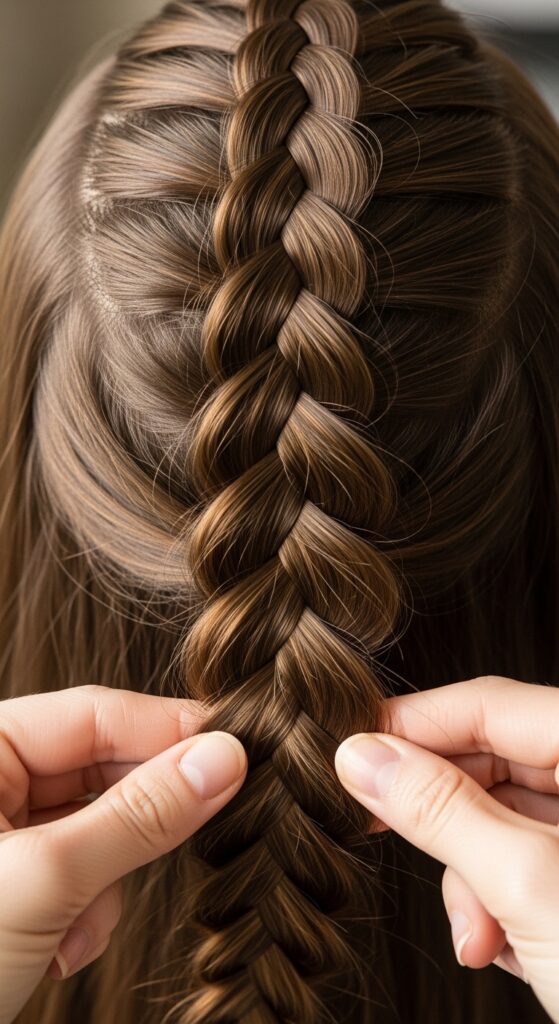
This is the magic part. Before you cross your next right strand under, you’re going to add more hair to it. Grab a thin, horizontal section of loose hair from the right side of your head.
Combine it with the right strand you’re already holding. Now, cross this thicker right strand under the middle. You’ve just added hair into the braid! This is what makes it a Dutch braid and not just a regular underhand braid.
Repeat Adding on the Left Side
Now do the same on the left. Before crossing the left strand under, grab a thin section of loose hair from the left side of your head.
Add it to the left strand you’re holding. Then, cross this thicker left strand under the middle. You are now officially Dutch braiding! Keep this pattern going: add hair to the right strand, cross it under. Add hair to the left strand, cross it under.
Keep Your Tension Consistent
The biggest beginner mistake is pulling too tight or too loose. Aim for a firm, even tension. Pull each section snugly under, but don’t yank it.
If you pull too tight, you’ll get a headache and the braid will look skinny. Too loose, and it will fall apart. Find a comfortable, consistent pull. This gets easier with practice.
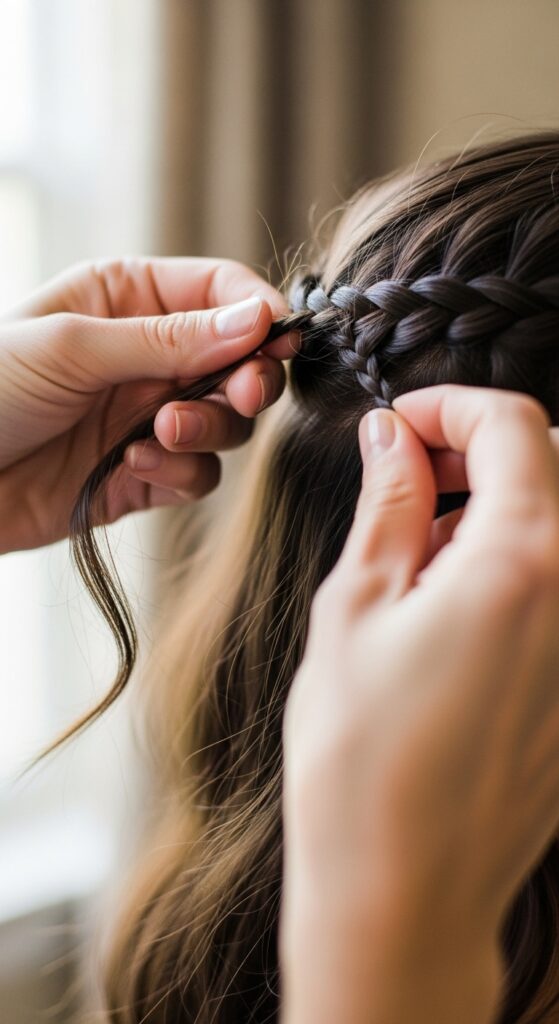
Follow Your Head’s Shape
As you add hair and braid down, let the braid follow the curve of your head. For a crown braid, you’ll naturally start to curve the braid around the back of your head.
Your hands will angle downwards. Don’t try to braid in a straight line off the back of your skull. Follow your natural hairline for a seamless look.

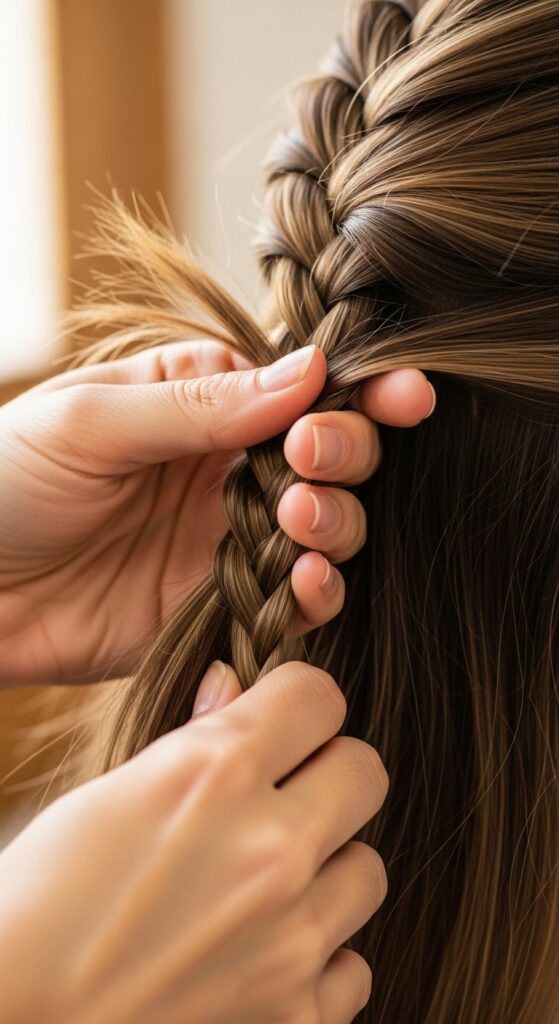
When to Stop Adding Hair
You’ll add hair with every cross until you run out of loose hair to pick up. This is usually when you get to the nape of your neck or behind your ears.
You’ll feel it. Once all the loose hair from the sides is incorporated, you’re left with just three sections in your hands. That’s your cue to move to the final step.
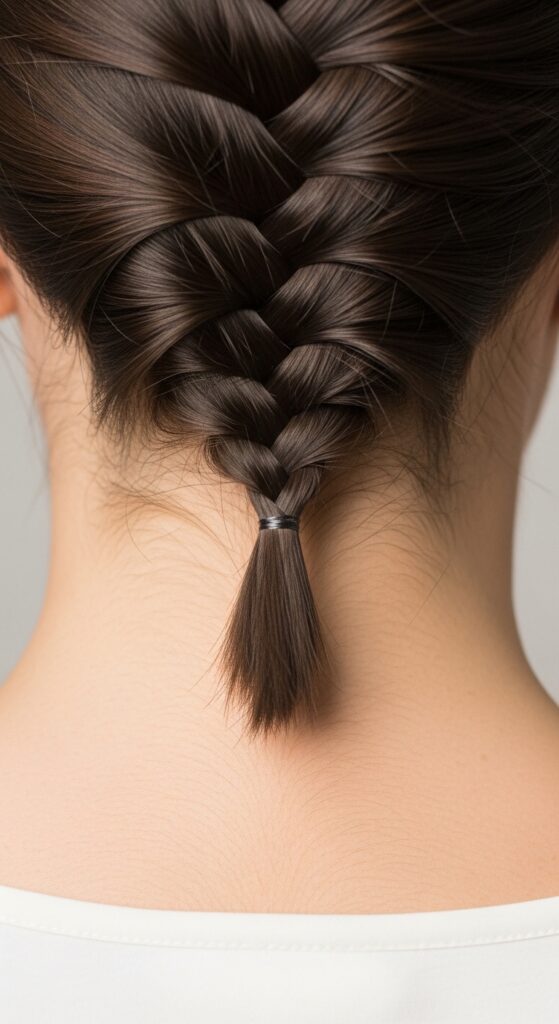
Finish With a Regular Three-Strand Braid
Once no more hair is left to add, simply finish the braid like a normal one. You can continue the “under” pattern, or switch to a regular overhand braid—it won’t show much.
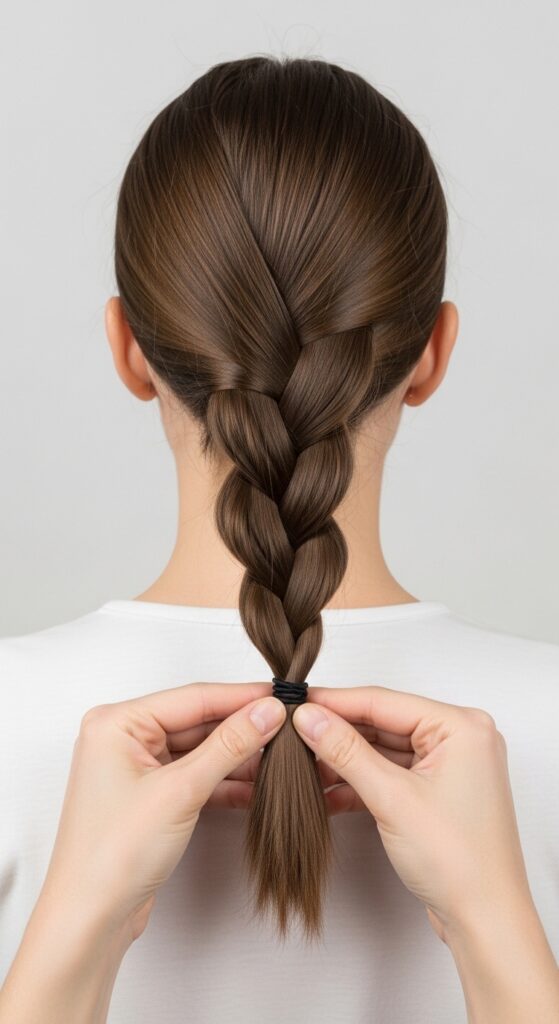
Braid all the way down to the ends of your hair. Secure the end tightly with a hair tie. Congrats! The main structure is complete.
The Gentle Tug to Perfection
This is the pro secret. Gently tug on the outer loops of your braid to loosen it and make it look fuller. Start from the top and work your way down, pulling each “bump” outward a little.
Be gentle! You’re not trying to undo it, just to plump it up. This gives it that effortless, romantic, and voluminous look that works for everything from quiet luxury bob accents to full vampire haircut drama.
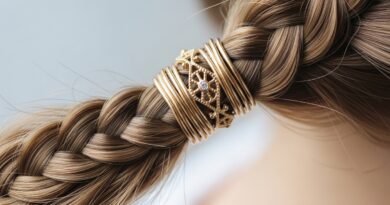
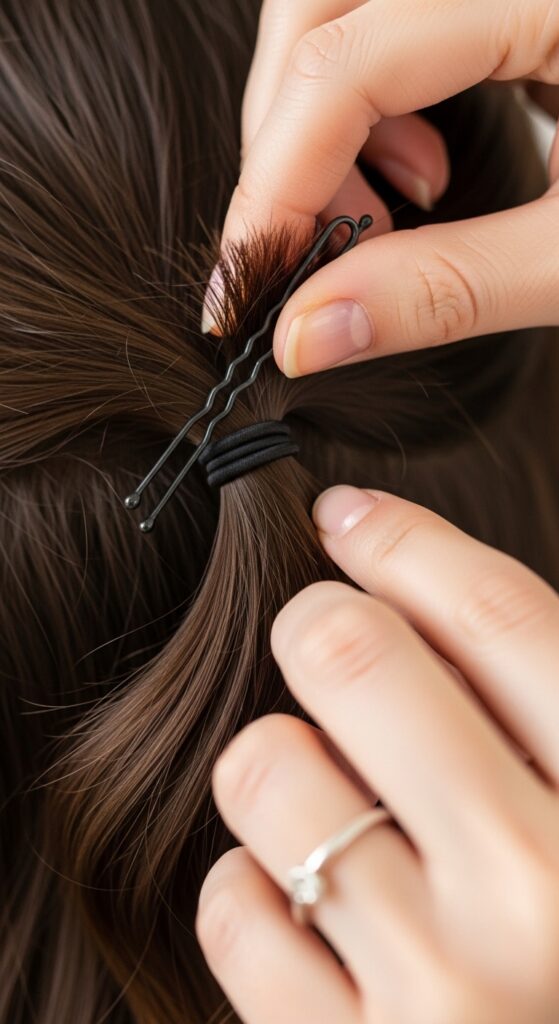
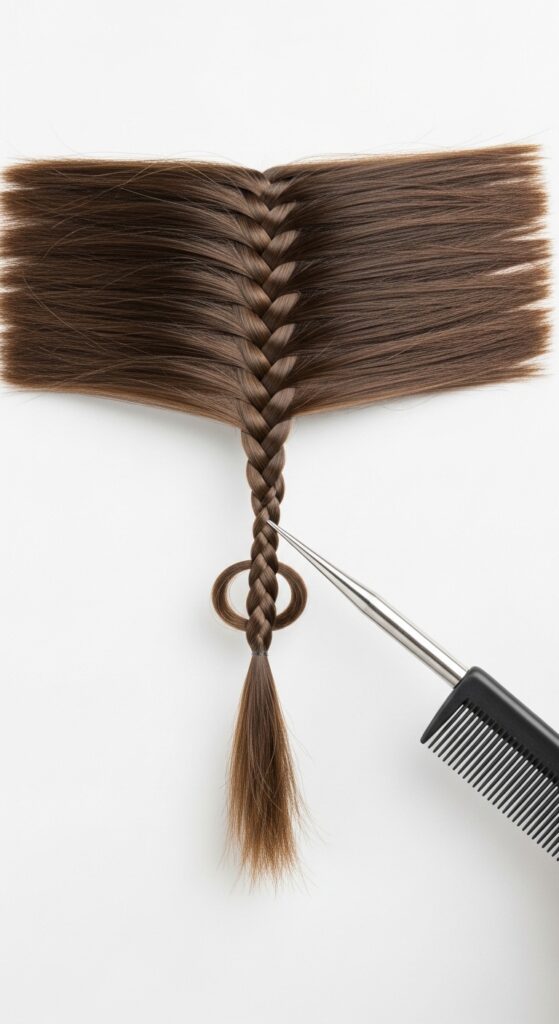
How to Hide Your Hair Tie
See the little “tail” of hair wrapped in the elastic? Take a tiny piece of hair from just under the elastic and wrap it around the elastic to conceal it.
Secure the end of that wrapping piece with a bobby pin, tucking it under the braid. This makes your braid look professionally finished and seamless, perfect for that hime cut hybrid style.
Fixing a Wobbly or Loose Section
First try a mess? Totally normal. If a section is loose, don’t take it all out. Just hold the braid firmly below the messy part, and use the tail of your comb to gently tighten just that one loop from above.
Slide the comb under the loose loop and nudge it tighter. This is a much faster fix than starting over and is a crucial skill for any intricate 2026 hairstyles you’ll try later.
Practice Schedule for Beginners
Don’t expect perfection. Set a goal to try it three times this week. Do it while watching TV. The first time will be clunky. The second time, your hands will remember a bit more.
By the third try, you’ll feel a rhythm. Muscle memory is real. Soon, you’ll be able to do it without a mirror, which is the ultimate goal for quick, beautiful hair.

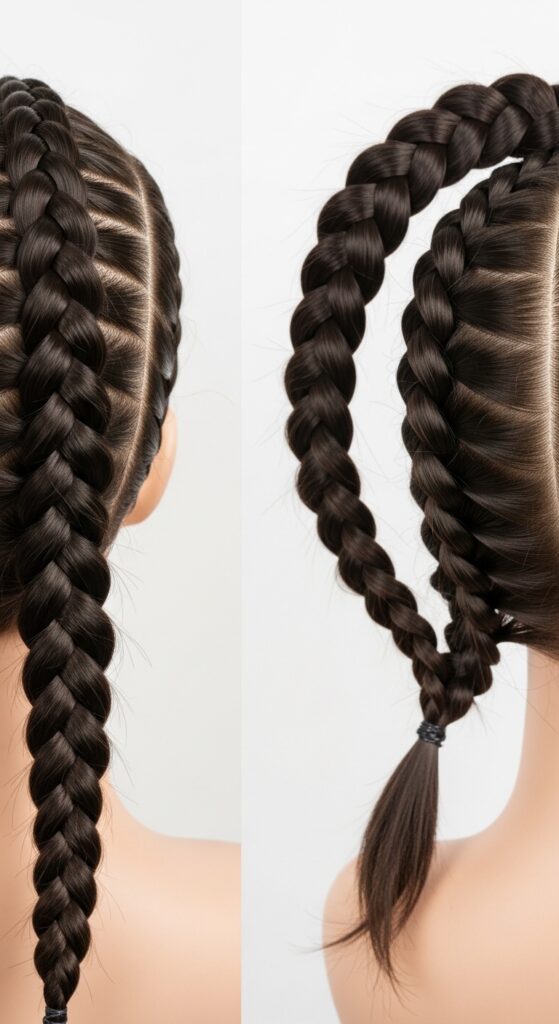
Styling Your First Dutch Braid
You did it! Now, how to wear it? A single side Dutch braid is chic and simple. Pull a few face-framing pieces loose for softness.
For a bolder look, try two Dutch braids—it’s the same process, just divided down the middle. This style has major versatility, fitting into romantic goth hairstyles or a sporty, cute look.

Next-Level Styles to Try Later
Once you’ve nailed the basic Dutch braid, a world opens up. Try a Dutch braid into a low bun for an old money hair event look. Or, braid just the front section of your asymmetrical lob to pin it back.
You can create a headband effect, or even a full crown braid. This skill is the foundation for so many trending looks, including the edgy glitchy glam hair we’re seeing everywhere.
See? You totally did it. Maybe it’s not perfect, but you got the pattern, you felt the rhythm, and you created something beautiful with your own two hands. That’s a huge win.
The best part about learning the Dutch braid is that it never gets old. It’s a classic technique that adapts to every trend, from the softest quiet luxury bob detailing to the most dramatic vampire haircut accents. It’s a tool you’ll use forever.
Now I’d love to hear from you! Was there a step that finally clicked for you? Or are you still struggling with a specific part? Tell me in the comments below—let’s troubleshoot together. And if this guide helped you, do me a huge favor and Save this post to Pinterest so your bestie can learn it too!