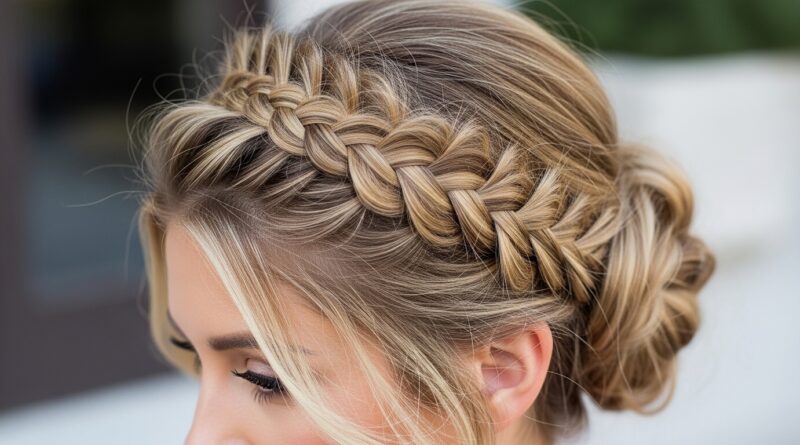
How to Do a Halo Braid on Short Hair
Okay, let’s be real. We’ve all scrolled through endless halo braid tutorials and sighed, “That’s gorgeous, but my hair is way too short for that.” I’ve been there. I spent years thinking this ethereal, crown-like style was only for those with waist-length locks.
But guess what? I was totally wrong. Doing a halo braid on short hair is not only possible, it’s absolutely stunning and way easier than it looks. It’s the perfect blend of effort and elegance.
This guide is for everyone with a bob, a lob, or even a pixie with some length on top. We’re going to break it down into super simple, manageable steps. No fancy skills required, just your hands, a few pins, and a little texture spray. Let’s turn that “I can’t” into your new signature look.
Why a Halo Braid Works on Short Hair
You might think your hair needs to be long to wrap around your head. The secret isn’t length, it’s technique and texture. Short hair actually holds this style beautifully because it’s lighter and less likely to slip.
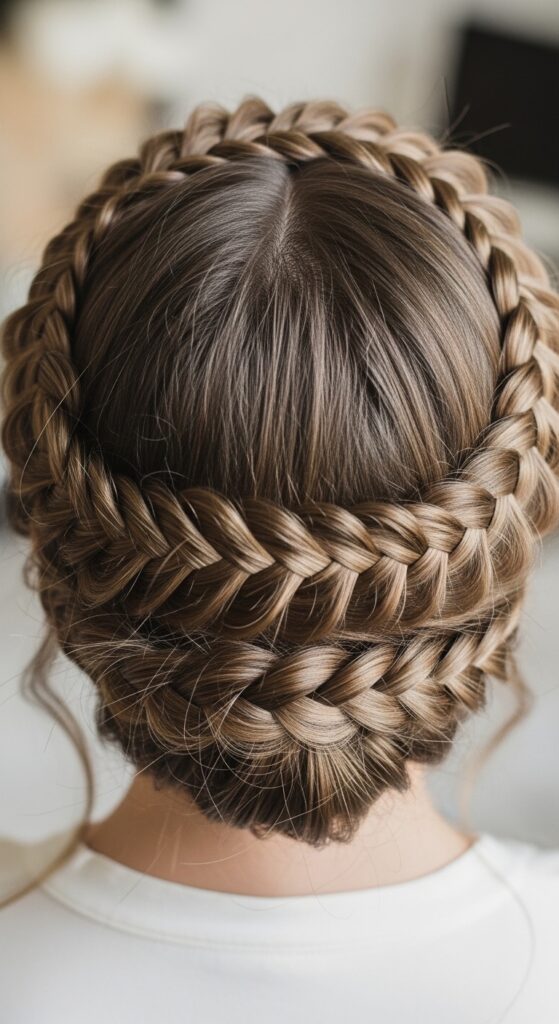
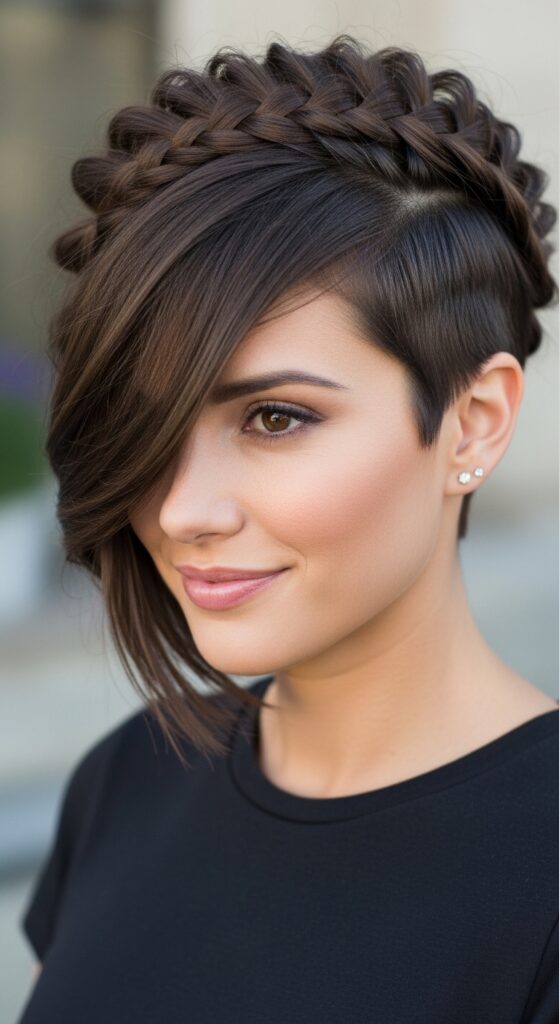
We’re not creating one thick braid. Instead, we’ll work with two smaller, strategic braids that meet at the back. This method gives you that gorgeous halo effect without needing extra inches. It’s a game-changer for modern cuts like the asymmetrical lob or a textured quiet luxury bob.
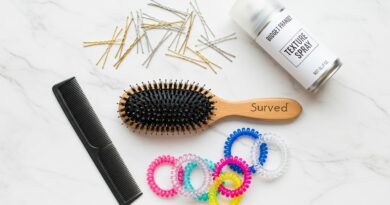
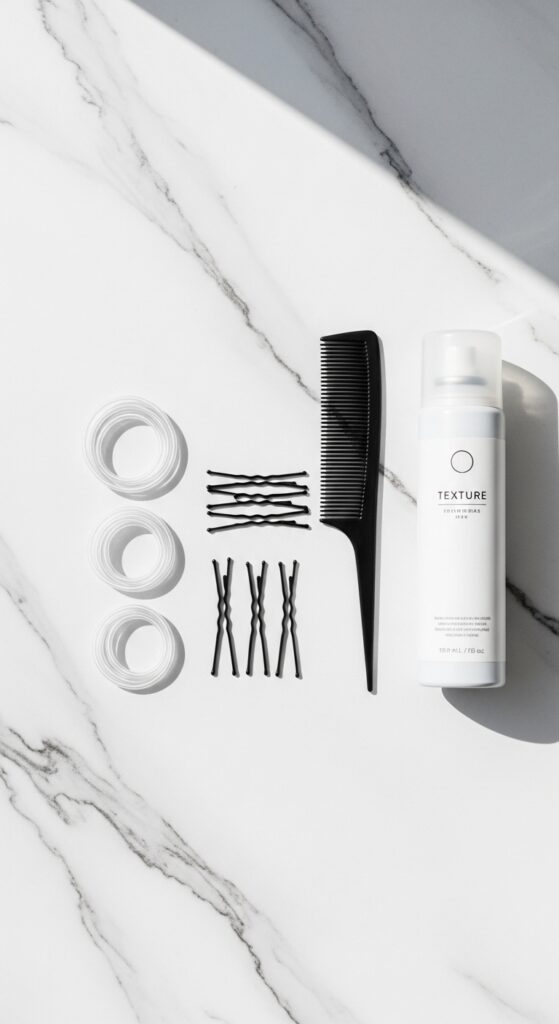
Gather Your Simple Tools
You don’t need a pro kit. Just a few basics from your drawer will do the trick. Having these ready makes the whole process smooth and stress-free.
- Fine-tooth comb for parting
- Small, clear elastic bands (they’re invisible!)
- Bobby pins that match your hair color
- Light-hold texture spray or dry shampoo
- A mirror you can walk around
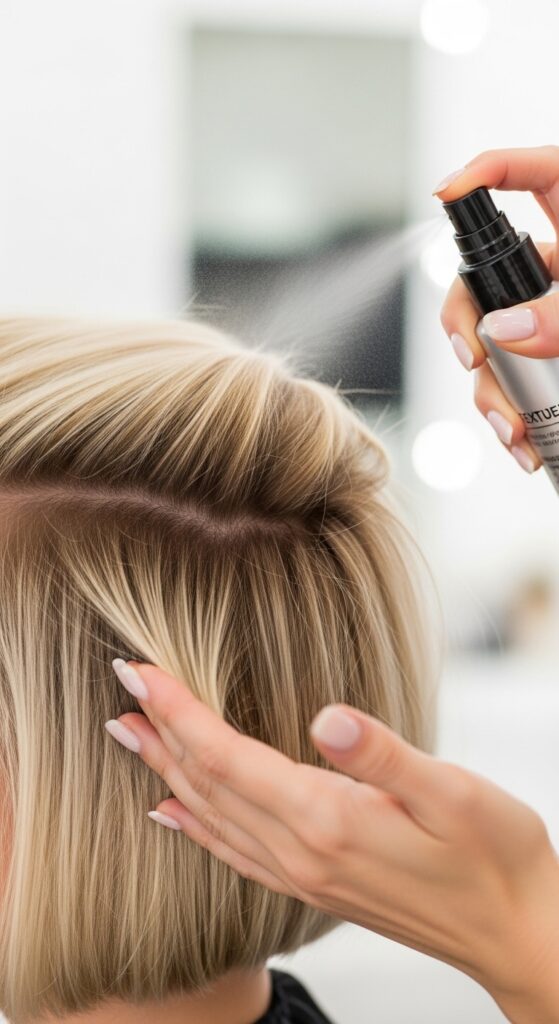
Start With Day-Old Hair (Seriously!)
This is the golden rule for any great braid, especially on short hair. Freshly washed hair is often too slippery. Day-two or even day-three hair has the perfect amount of natural grip and texture.
If your hair is clean, no worries. Just spray a light texture or sea salt spray at the roots and through the mid-lengths. This gives your strands something to hold onto, making every braid section more defined and secure.
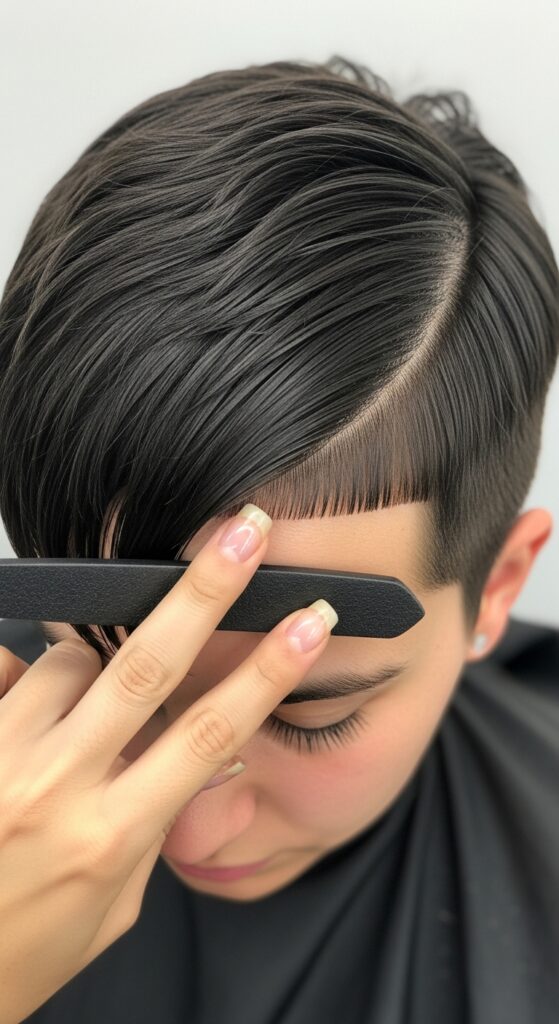
Create a Deep Side Part
Don’t just brush your hair back. A deep side part is your best friend for this style. It creates asymmetry, which adds volume and makes the braid path more interesting.
Use the end of your comb to create a clean, deep part from the front of your hairline back to the crown. This divides your hair into two main sections and sets the stage for where your braids will start. It instantly feels more polished.
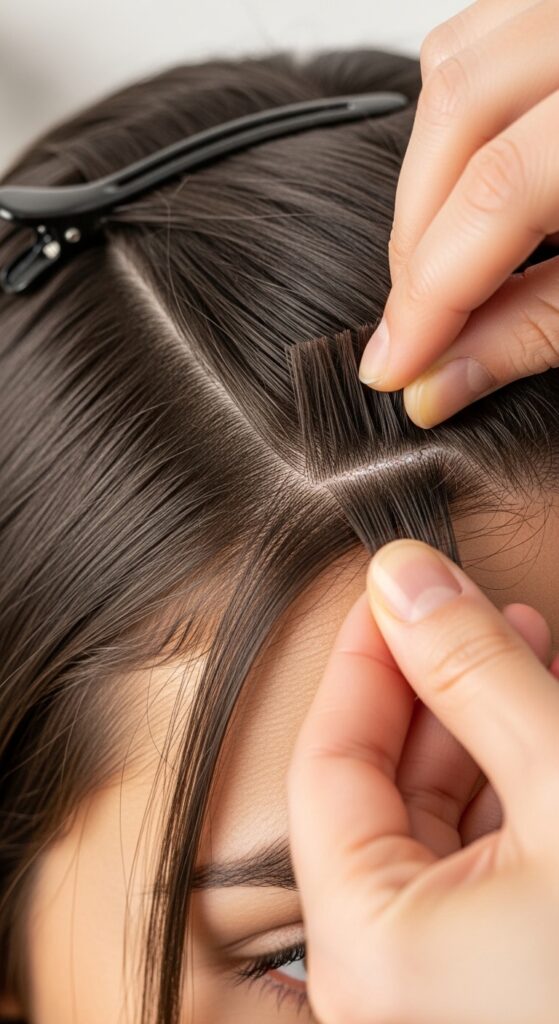
Section Out Your First Piece
On the side with more hair (the larger side of your part), start at your hairline near your forehead. Take a section about two inches wide from the part down to your temple.
Clip or loosely hold the rest of your hair out of the way. This first section will become your first braid. Keeping it neat and separate is key to avoiding a tangled, messy start. Precision here makes everything easier later.
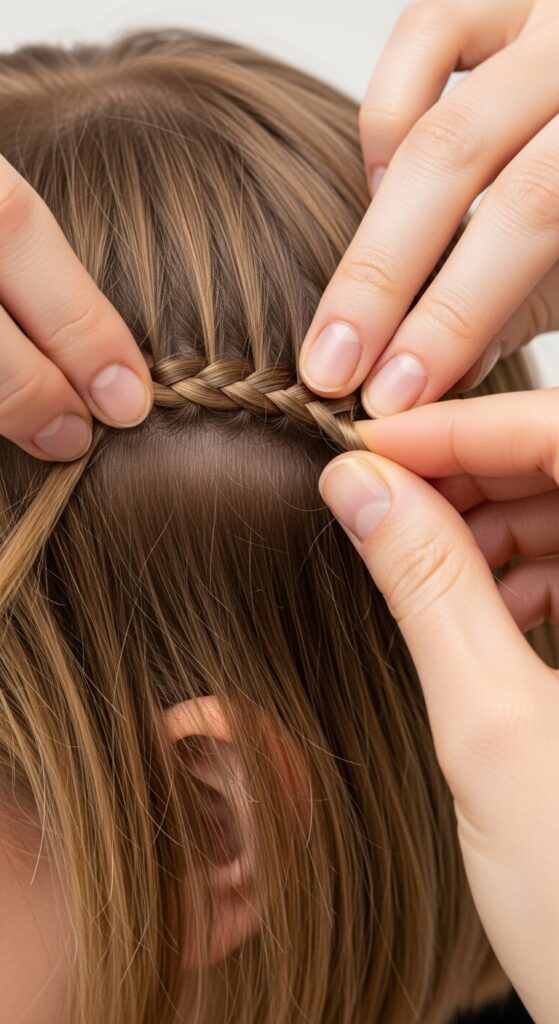
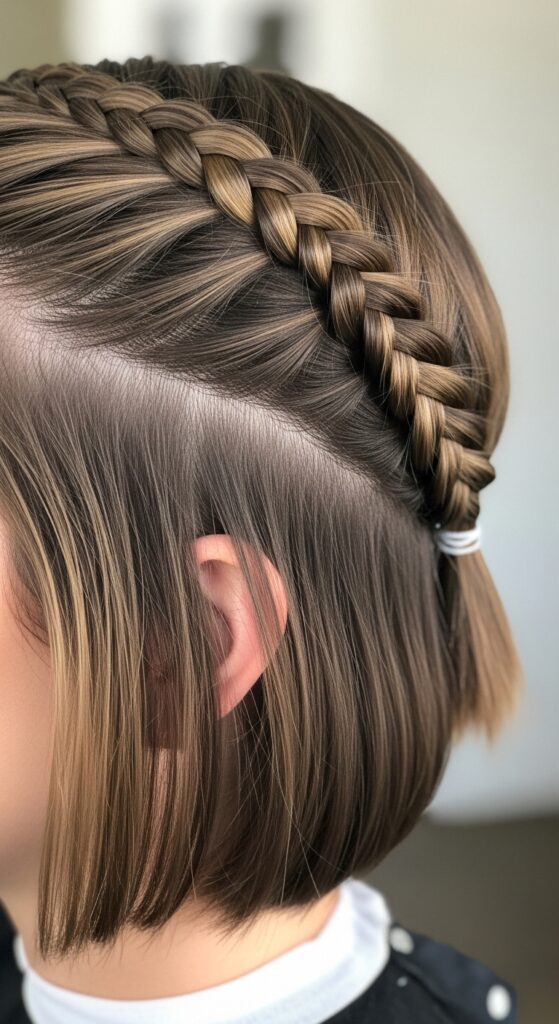
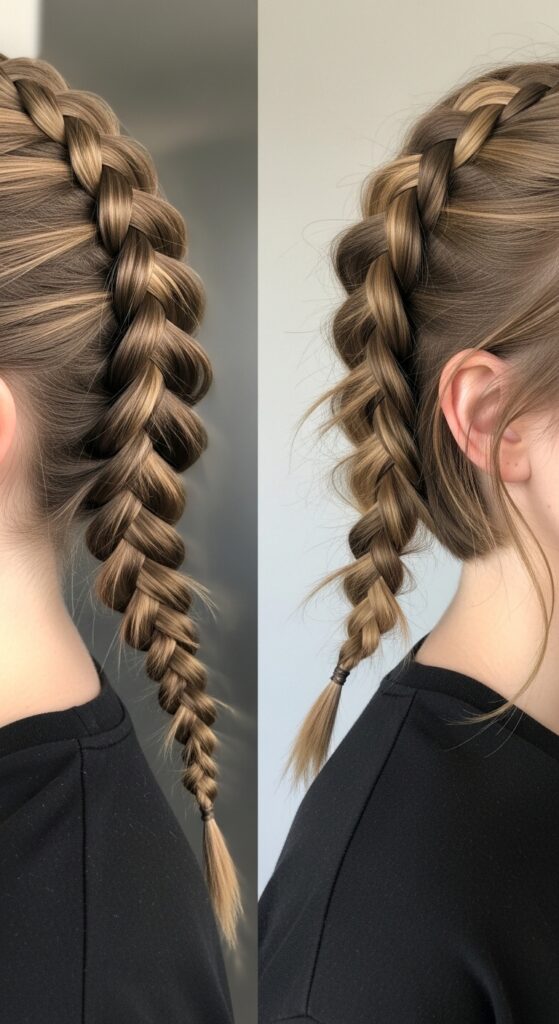
Begin a Dutch Braid Along the Hairline
We’re using a Dutch braid, which is just an inside-out French braid. It pops out instead of lying flat, giving amazing dimension. Start your braid right at the hairline where your part begins.
Take three small strands. Instead of crossing them over the middle, cross them under. Add a little hair from the top into the braid with each stitch, moving along your hairline towards your ear. Keep it snug but not tight.
Braid to Just Behind Your Ear
You don’t need to braid all the way down. For short hair, you only need to braid until you reach the area just behind your ear. This is usually where the natural curve of your head starts.
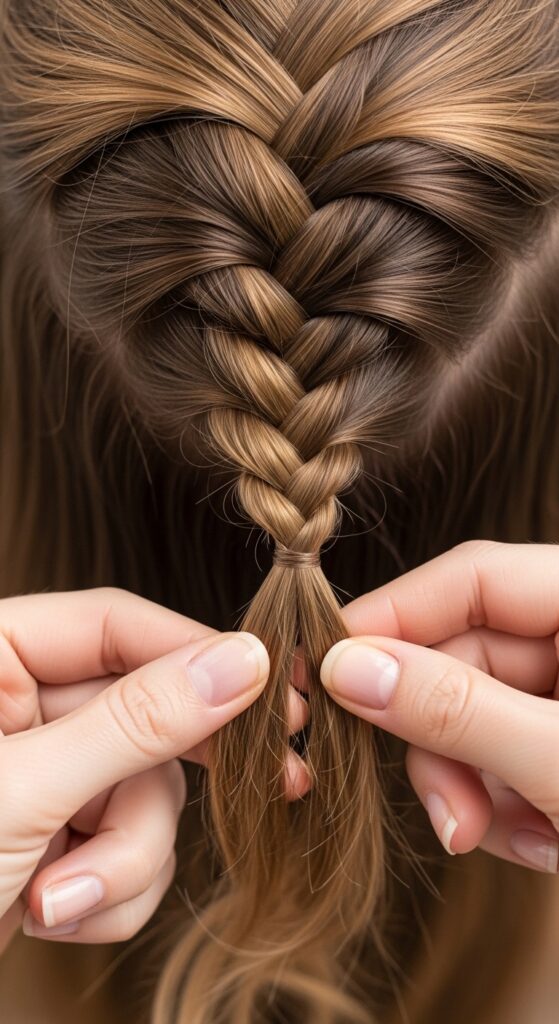
Once you’re behind the ear, stop adding new hair into the braid. Simply finish the section you have with a regular three-strand braid for another inch or two. Secure the end tightly with a clear elastic.
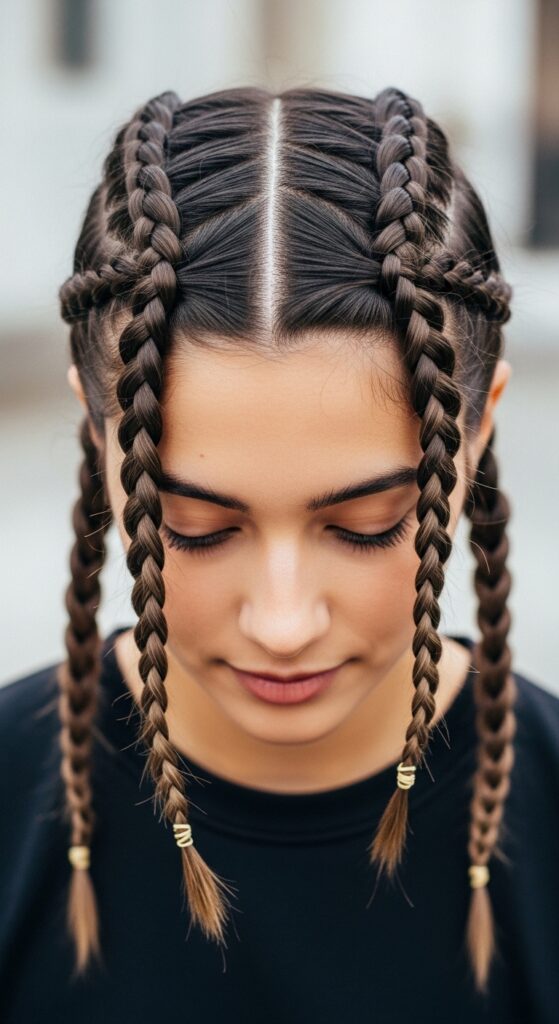
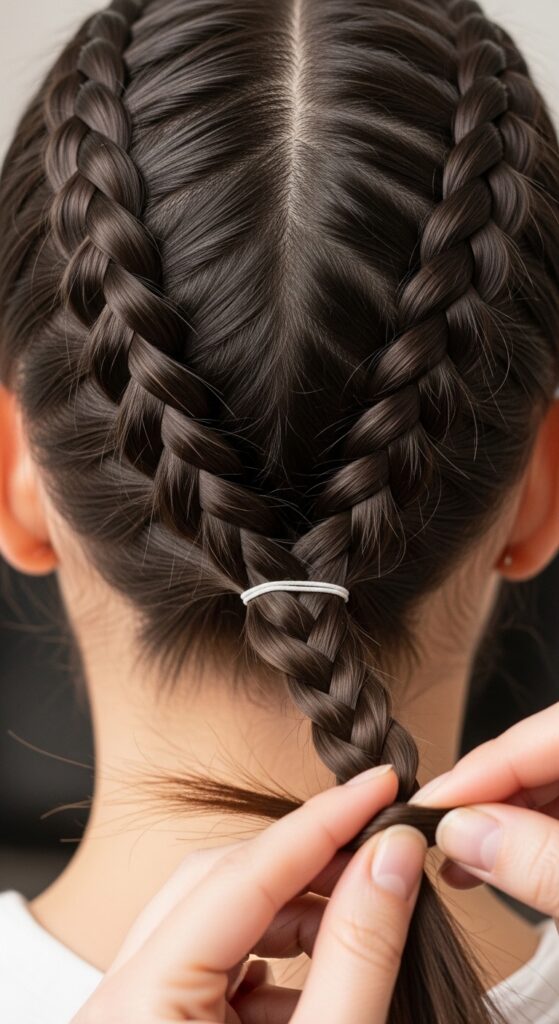
Repeat on the Other Side
Now, go back to your deep side part. On the smaller side of your part, section out another two-inch piece at the front hairline. This section will be a bit smaller, and that’s okay.
Repeat the exact same Dutch braid process on this side. Braid along the hairline, adding hair in from the top, until you reach just behind your opposite ear. Secure this braid with a clear elastic too. You should now have two little braids.
Loosen the Braids for Volume
This step is magic. Gently tug on the outer loops of each braid to loosen and pancake them. Start from the top and work your way down.
Pulling the braid wider makes it look fuller, softer, and more romantic. It also helps the braid cover more ground as you wrap it. Don’t be shy here—this volume is what makes the style look intentional and not too “tight.”
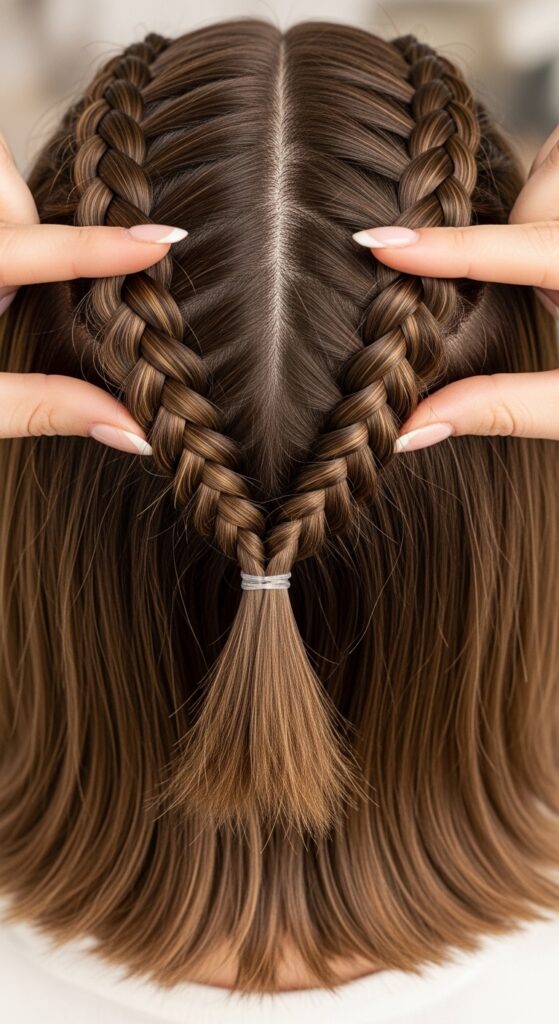
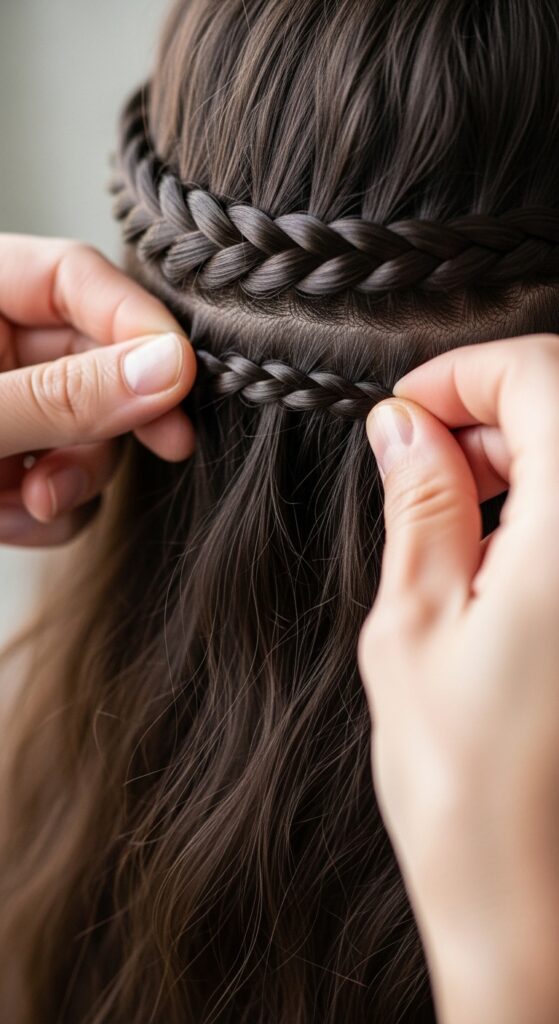
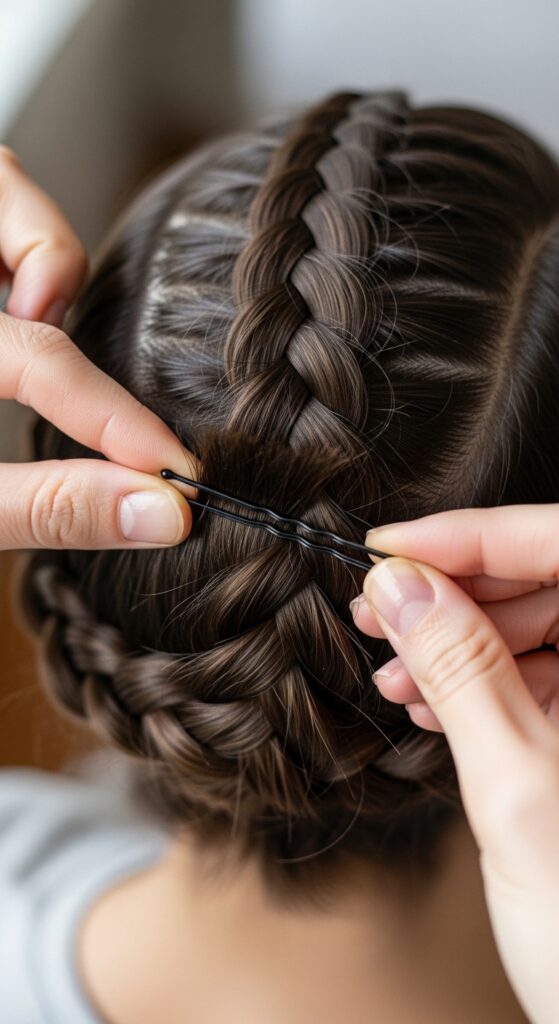
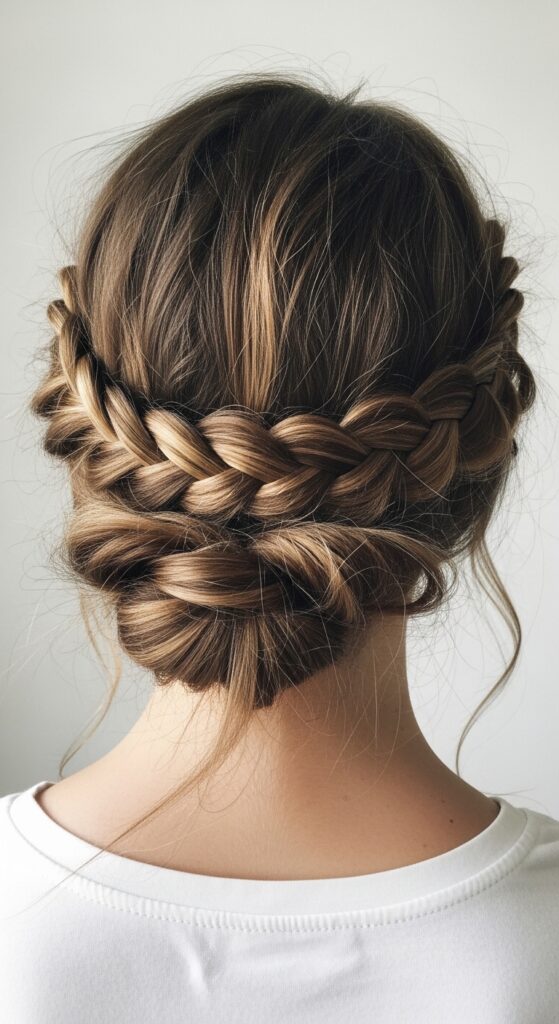
Bring the First Braid Across the Back
Take the braid from the larger section of your hair. Gently pull it across the back of your head, following the natural curve where your head meets your neck. Think of it like placing a headband.
Use your other hand to feel where it sits naturally. You want the end of the braid to meet the starting point of the opposite braid. Hold it in place at that meeting point with a finger.
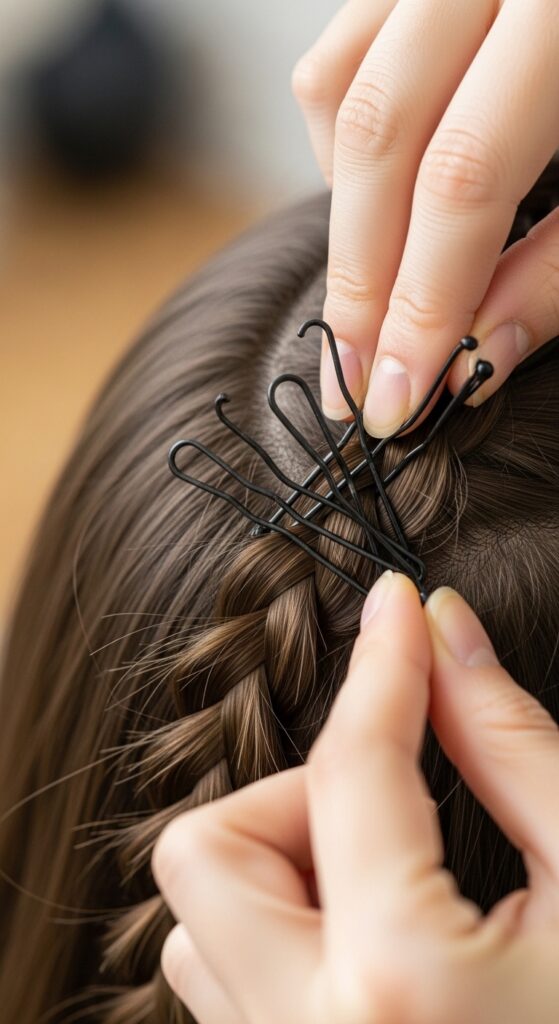
Pin the First Braid Securely
This is where bobby pins save the day. Take 2-3 bobby pins. Open them, and slide them through the elastic of the braid and then into the hair underneath.
Criss-cross the pins for maximum hold. Make sure they are grabbing both the braid and your natural hair. Tug gently on the braid to test it’s secure. It should feel firm, not wobbly.
Wrap the Second Braid to Meet It
Now, take the second braid. Wrap it in the opposite direction along the same path, going over the tail end of the first braid you just pinned. This covers the elastic and creates a seamless look.
The end of this second braid should meet the starting point of the first braid. You’re essentially connecting the two ends to form the complete “halo.” Hold this end in place right at that starting point.
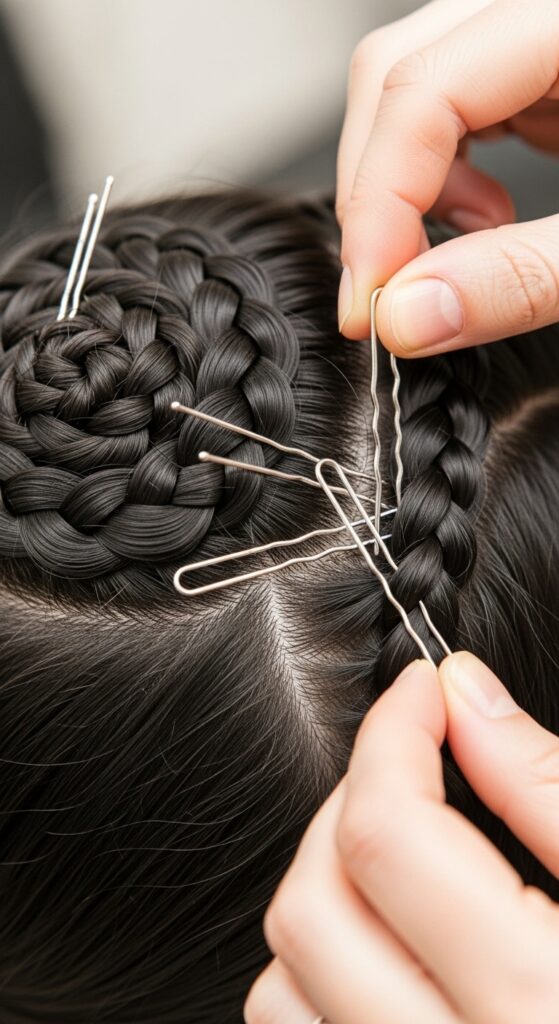
Pin the Second Braid in Place
Just like before, use 2-3 bobby pins to secure the end of the second braid. Slide the pins through its elastic and into the hair and the first braid’s base underneath.
Really anchor it here. This is the main connection point. Give it another gentle tug test. If both ends feel rock solid, you’re almost done with the structure.
Tuck and Pin Any Loose Ends
You might have little tails or shorter pieces sticking out. That’s normal with short hair! Take any loose ends and tuck them under the body of the nearest braid.
Use a few more bobby pins to secure these hidden pieces. The goal is to have all the elastics and ends concealed under the pretty, puffed-out parts of the braids. This creates that flawless, finished look.
Pull Out Face-Framing Pieces
For a soft, romantic feel, don’t make it too perfect. Gently pull out a few tiny pieces around your forehead and temples. These wispy bits frame your face beautifully.
This is a signature of romantic goth hairstyles and old money hair—that effortless, slightly undone elegance. It also makes the style look more natural and less like a stiff updo.
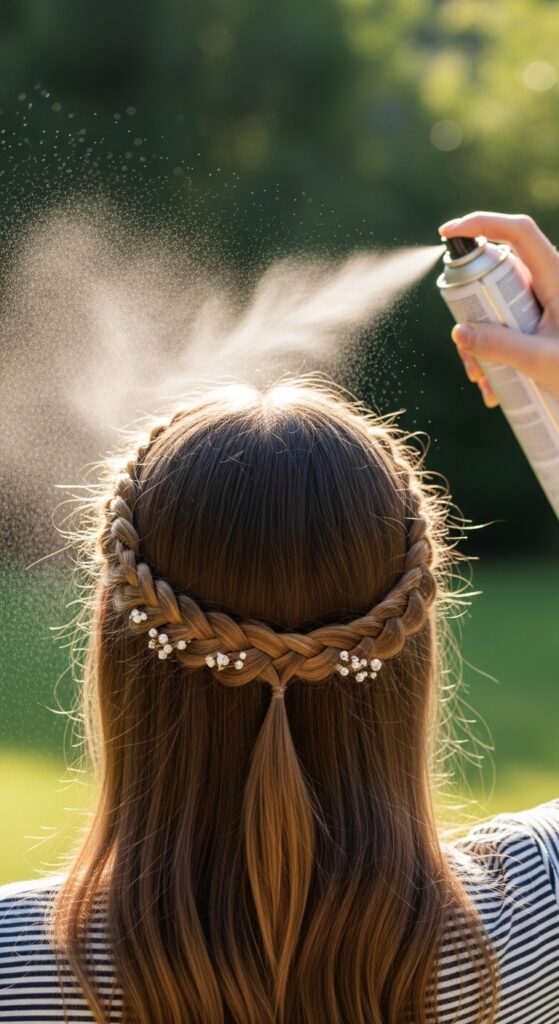
Set It With a Light Hairspray
Give your masterpiece some staying power. Hold a light-hold hairspray about 10 inches away and give it a quick, all-over mist. Focus a little extra on the pinned areas.
Avoid heavy, crunchy sprays. You want to maintain the soft, touchable texture. This just locks in the wisps and keeps any flyaways in check for the day or night.
What to Do With Your Bangs
If you have bangs, this style is fantastic. You can leave them out entirely for a bold look. Or, incorporate them into the front of the braid for a seamless finish.
For a hime cut or blunt bangs, try sweeping them to the side and pinning them back with a decorative clip just behind the braid. It adds a touch of glitchy glam hair personality.

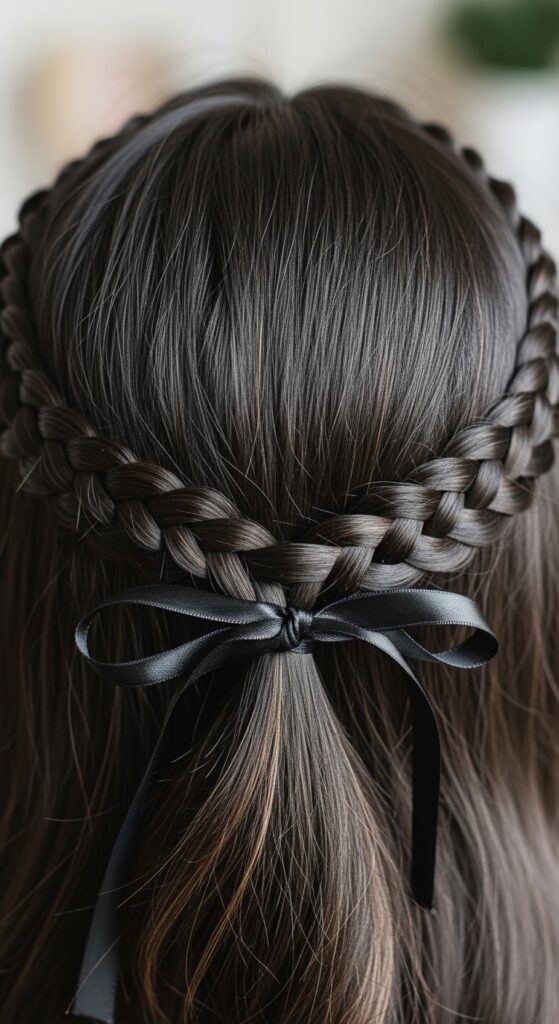
Add a Ribbon for Extra Charm
Want to elevate it? Weave a thin silk ribbon into your braid as you do it, or tie one around your head where the braids meet at the back. This is pure, soft quiet luxury vibes.
Choose a color that complements your outfit. You can also use a scarf for a boho touch. It’s an easy way to make the style feel special and custom, perfect for a wedding or date night.
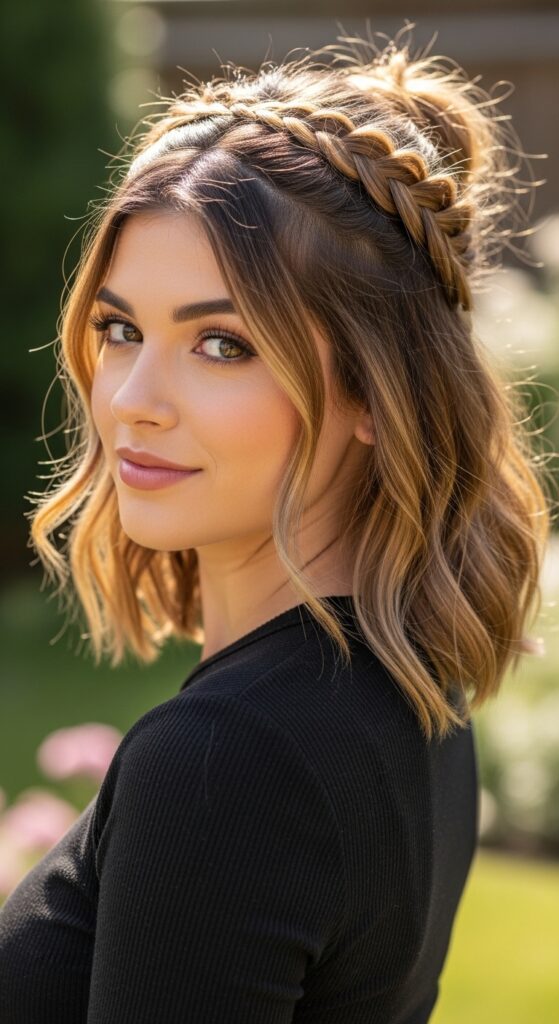
Turn It Into a Half-Up Style
If your hair is very short or layered, a full halo might be tricky. Adapt it! Stop the braids halfway, pin them at the back, and leave the rest of your hair down.
This gives you a gorgeous, detailed half-up look that still has that crown-like feel. It’s a modern take that works with every length and is totally on-trend for 2026 hairstyles.
Try It on an Asymmetrical Cut
Own an asymmetrical lob or a vampire haircut? This braid is your perfect match. Work with the longer side, making that braid slightly thicker.
Let the braid follow the dramatic line of your cut. The contrast between the structured braid and the sharp asymmetry is incredibly chic and editorial. It highlights your unique cut, doesn’t hide it.
Make It Messy for Day Two
The best part? This style gets better on day two. Sleep in it loosely (maybe on a silk pillowcase!). In the morning, gently pull out more pieces, reshape the braid, and add more texture spray.
The slightly lived-in, fuller version has major cool-girl energy. It feels effortless and is perfect for running errands or a casual lunch while still looking put-together.
Common Short Hair Mistakes to Avoid
Let’s troubleshoot. Don’t braid too tightly—it pulls on short hair and can look severe. Don’t skip the texture spray—grip is non-negotiable. Don’t use bulky, dark elastics—clear ones are invisible.
And don’t give up after one try! Like any skill, it gets faster and easier. The first time might take 15 minutes, but soon you’ll do it in five while watching TV.
Your New Go-To Style is Ready
And there you have it! A gorgeous, ethereal halo braid that works on your short hair. It’s proof that you don’t need long locks to try the styles you love.
This look is versatile enough for the office but special enough for a night out. It works with so many aesthetics, from old money hair to romantic goth. You’ve just added a major tool to your style toolkit.
See? I told you we could do it. That feeling when you master a hairstyle you thought was off-limits is the best. It’s like a little secret between you and your mirror—you know exactly how to create something beautiful, no matter your length.
This braid is more than just a way to wear your hair. It’s a reminder that a lot of style “rules” are just waiting to be bent. With the right technique, you can make almost any look your own.
Did you try it? I want to see! Tag me on Instagram or save this post to Pinterest to keep the tutorial handy for your next hair day. What other “long-hair-only” styles should we tackle next for short cuts? Let me know in the comments below!