How to Get bouncy bob Hair That Looks Effortless (But Isn’t)
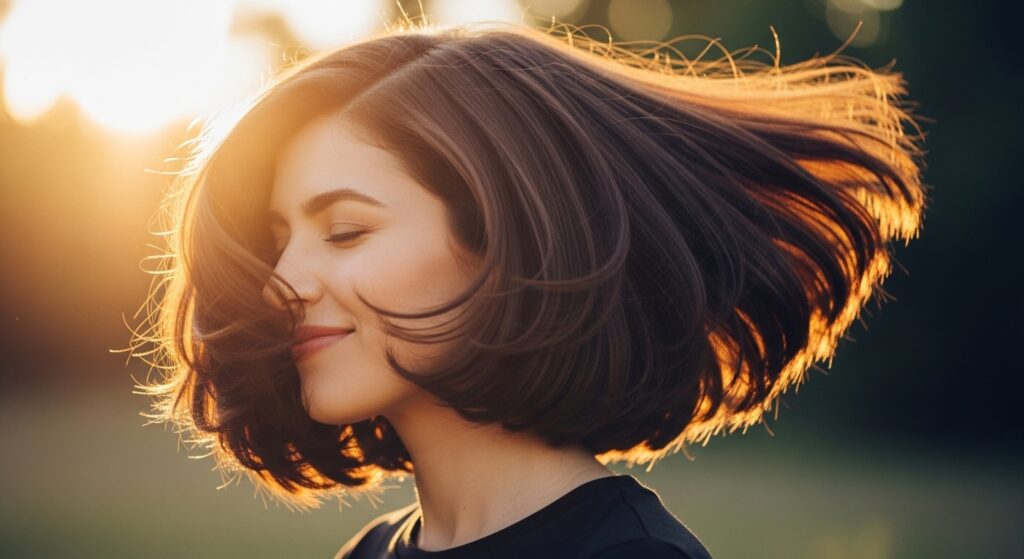
You’ve seen it everywhere: on your favorite actress on the red carpet, on that impossibly cool influencer, and on your friend who just seems to have won the genetic lottery. It’s the bouncy bob. Hair that swings with a life of its own, grazing the jawline or collarbone with a weightless, perfectly imperfect curve. It looks fresh, modern, and—most importantly—like you simply rolled out of bed with this chic ‘do.
But here’s the secret the fashion magazines won’t tell you: that effortless bounce is almost always the result of some very effortful work. The good news? You don’t need a celebrity stylist on speed dial to achieve it. You just need to know the tricks of the trade. This isn’t about helmet-head perfection; it’s about creating a shape that has movement, body, and a touch of that “I’m not trying” magic.
Ready to unlock the secrets to the bounciest bob of your life? Let’s dive into the step-by-step guide that bridges the gap between salon-fresh and naturally fabulous.
It All Starts With “The Cut”: The Architectural Blueprint
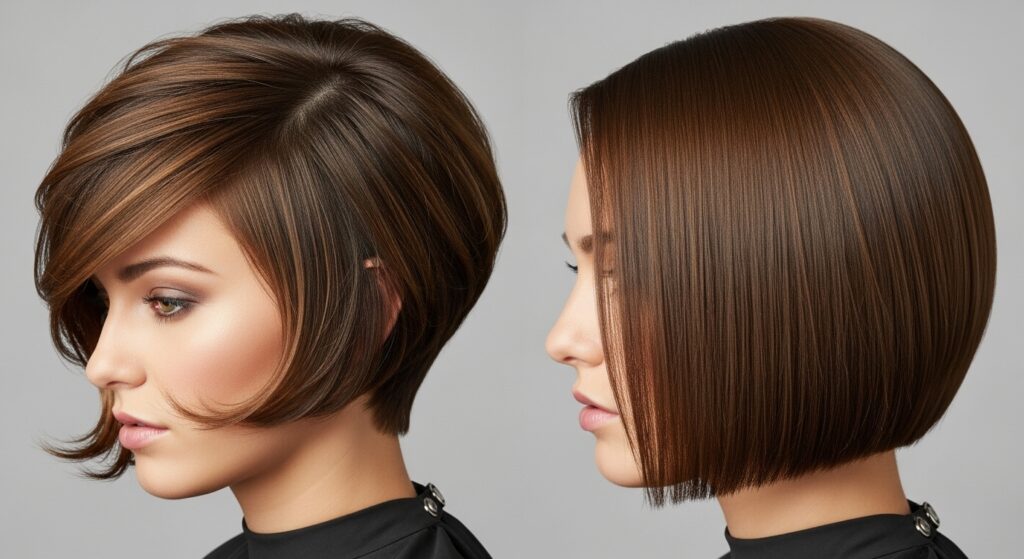
You cannot style your way into a bouncy bob if the foundational cut is wrong. This is the non-negotiable first step. A blunt, one-length bob might be chic, but it often lacks the internal architecture for true bounce. The secret lies in the layers and the weight distribution.
When you sit in your stylist’s chair, you need to ask for more than just “a bob.” You’re asking for a dimensional cut. This often involves:
Internal Layers: These are not the chunky, visible layers of the early 2000s. Internal layers are carefully removed from within the hair’s interior, creating space and removing bulk without altering the strong, clean exterior line of the bob. This is what allows the hair to lift and move instead of lying flat.
Texturizing Techniques: Your stylist might use techniques like point cutting (cutting into the ends of the hair at an angle) or notching (removing small, strategic sections) to break up any hard lines. This creates a feathered, softer perimeter that enhances movement and prevents that dreaded “helmet” effect.
Graduation: A slightly graduated bob, where the back is a touch shorter than the front, helps build a natural curve and support system for the bounce. The weight from the longer front pieces pulls the shape forward, creating that coveted swing.
The Wash Day Ritual: Building the Foundation for Bounce
How you treat your hair in the shower sets the stage for everything that follows. Bounce requires body, and body starts with the right products and techniques.
First, clarify occasionally. Product buildup is the enemy of volume. Once a week or every two weeks, use a clarifying shampoo to reset your scalp and strands, ensuring nothing is weighing them down.
For your regular washes, invest in a volumizing shampoo and conditioner. These are formulated to lift the hair at the root without stripping it. Here’s the critical part: only apply conditioner from the mid-lengths to the ends. Applying it to your roots will instantly flatten the very area you’re trying to lift.
When you get out of the shower, your treatment isn’t over. While your hair is still sopping wet, apply a volumizing mousse or root-lifting spray directly at the roots. Lift sections of your hair and spray or foam the product directly onto your scalp. This is your architectural support beam. Follow up with a heat protectant spray throughout the lengths—this is non-negotiable for healthy styling.

The Art of the Blow-Dry: Engineering Volume and Curve
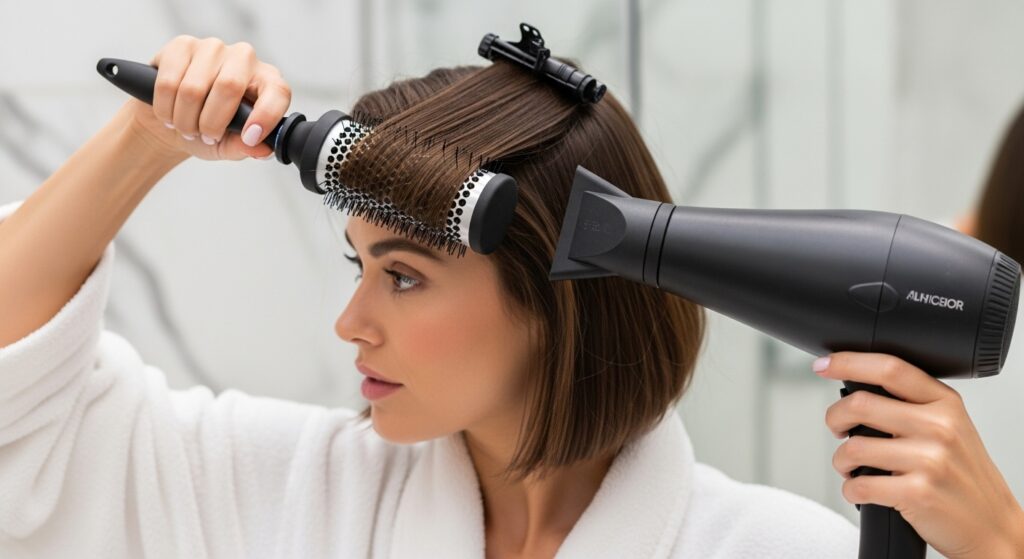
This is where the magic happens. The goal of blow-drying a bob is not just to get it dry, but to pre-shape the bounce. You will need a round brush—the diameter will depend on your desired bounce level; a medium-sized brush is a great starting point.
Start by rough-drying your hair until it’s about 80% dry. This means using your fingers to lift the roots and a dryer on a medium setting to remove the majority of the moisture.
Now, section your hair. Work from the nape of your neck up, and from the sides toward the crown. Take horizontal sections about two inches wide. Place your round brush under the section, close to the roots, and pull the brush down and under as you follow with the dryer.
The key technique: As you reach the ends, wrap the hair over the brush barrel, holding it taut. Direct the heat from the dryer onto the wrapped section for a few seconds, then let it cool completely on the brush before releasing. This “setting” with cool air is what locks in the curve. For maximum root lift, when you start a section, roll the brush up and back, holding it there for a moment with the heat, then proceed down the hair shaft.
Don’t forget to alternate the direction of the curves—some sections curled under, some over—to create that perfectly imperfect, lived-in texture. This subtle variation is what makes the bounce look natural and not like a uniform flip.
The Finishing Touches: Irons, Texture, and the Illusion of Effortlessness
Even after a perfect blow-dry, a little extra finesse with hot tools can elevate your bounce to superstar status. A large-barrel curling iron (1.5 to 2 inches) or a flat iron with a rounded barrel is your best friend here.
You are not aiming for tight curls. The goal is to reinforce the shape and add bend. Take large, vertical sections of hair. Wrap the hair away from your face around the curling iron, holding it for only 5-8 seconds. Alternatively, with a flat iron, simply clamp a section mid-lengths and give it a soft, downward C-shaped curve as you glide to the ends.
Once you’ve waved all your hair, do not brush it out. This is a common mistake that flattens the style. Instead, flip your head over and run your fingers through your roots to break up the waves slightly. Then, flip back and use your fingertips to gently separate and define the curls. You want soft, merged waves, not distinct ringlets.
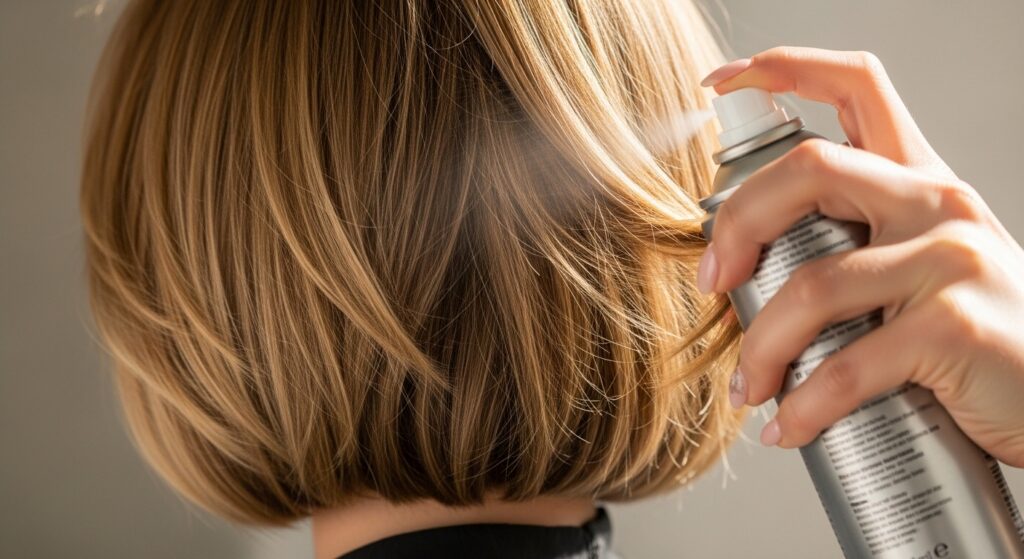
Finally, for that truly “undone” feel, a texturizing spray or a light-hold hairspray is your final act. Hold the can about 10 inches away and mist it lightly over your hair, focusing on the mid-lengths and ends. Then, scrunch the hair upwards towards your scalp with your hands. This adds grit, separation, and holds the style without making it stiff.
Maintaining the Magic: How to Make Your Bob Last Between Washes
A great bob shouldn’t only look good on day one. With the right maintenance, you can keep the bounce alive for days.
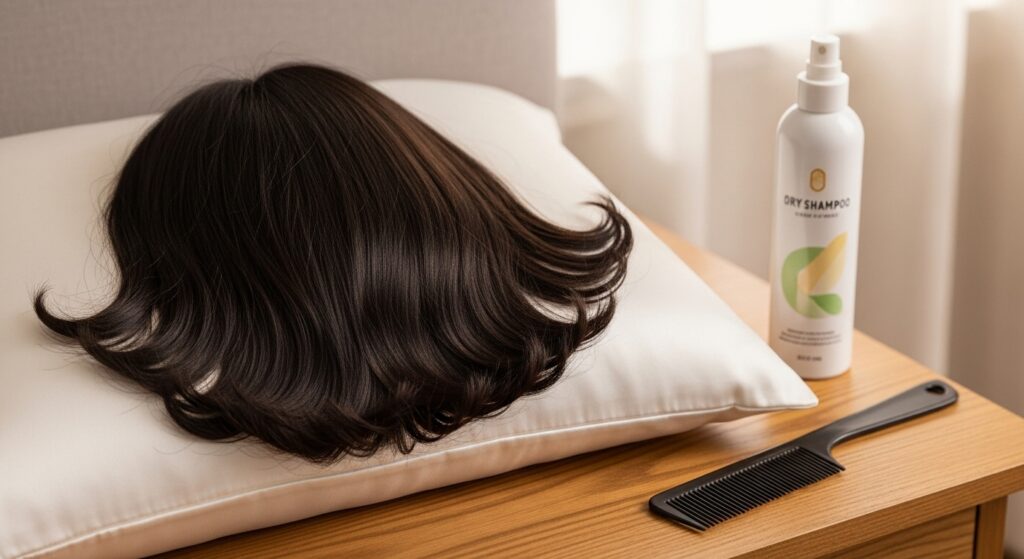
Sleep Smartly: Sleep on a silk or satin pillowcase to reduce friction and prevent your style from getting flattened and frizzy. You can also try a loose, high ponytail (a “pineapple”) on the very top of your head to preserve the root volume.
Revive, Don’t Rewash: On day two and three, your bob might need a quick revival. Dry shampoo is your best friend. Spray it at the roots before bed to let it absorb oils overnight, or use it in the morning. To resurrect the bounce, use a curling iron to quickly re-curl a few random sections that have fallen, focusing on the front pieces. There’s no need to re-do your whole head.
Regular Trims are Mandatory: A bob is a high-maintenance cut in terms of salon visits. To keep the shape sharp and bouncy, get a trim every 6-8 weeks. This prevents the ends from getting heavy and dragging down the entire shape.
The Final Verdict on Effortless Bounce
So, is the bouncy bob truly effortless? As you now know, the answer is a resounding no. It’s a masterpiece of architectural cutting, strategic product use, and precise styling. But the beautiful paradox is that all this effort culminates in a look that is the very definition of cool, casual ease.
It’s a style that says you’re confident, put-together, and in on a delicious secret: that the best beauty looks are often the ones that required a little behind-the-scenes magic. Now that you’re armed with these professional secrets, you have everything you need to create that head-turning, bouncy bob that looks like you were simply born with it.