How to Get classic twist Hair That Looks Effortless (But Isn’t)
You’ve seen it everywhere: from red carpets to your favorite influencer’s feed. That perfectly imperfect, slightly textured, “I just woke up like this” classic twist hairstyle. It whispers of casual elegance and bohemian flair, looking as if it was conjured with a simple, magical flick of the wrist. But let’s be real—achieving that artfully undone, classic twist is anything but simple.
The true magic of this style lies in the delicate balance between structure and spontaneity. It’s a look that says effortless but is built on a foundation of serious technique and the right products. If you’ve ever attempted it only to end up with a messy bun or a too-tight, formal updo, you know the struggle is real.
Fear not. This guide is your backstage pass to mastering the classic twist. We’re pulling back the curtain on the precise steps, the must-have products, and the pro tips that transform a basic twist into a hairstyle that looks like it wasn’t tried at all—even though you’ll know better.
Deconstructing the “Effortless” Illusion: What Makes a Classic Twist Work?
Before we dive into the how-to, it’s crucial to understand the key elements that separate a haphazard twist from an intentionally effortless one. This isn’t just about twisting two sections of hair; it’s about creating a specific aesthetic.
First, there’s texture. Pin-straight, freshly washed hair is the enemy of the effortless twist. It slips, it falls flat, and it lacks the grit needed for the style to hold its shape and appear lived-in. The goal is to have hair that has body, wave, and a bit of resistance.
Second is volume and looseness. A classic twist that is pulled tight against the scalp looks severe and dated. The modern, effortless version is characterized by a gentle pull at the roots, face-framing pieces left deliberately out, and a structure that isn’t perfect. It should look soft and touchable, not shellacked into place.
Finally, there’s the finish. This style should never look overly polished. A light mist of texturizing spray, a few strategically pulled-out strands, and a slightly messy end are all part of the calculated nonchalance. It’s this attention to detail that sells the illusion of ease.
The Foundation: Prepping Your Hair for Twisting Success
Your journey to the perfect twist begins not with the twist itself, but with the preparation of your canvas. Skipping this step is the number one reason twists fall flat—literally.
Start with Day-Old Hair: If possible, begin with hair that hasn’t been washed that day. The natural oils and the remnants of yesterday’s product provide a perfect base of texture and hold. If you must wash your hair, avoid heavy conditioners on the roots, and ensure it is completely dry before you start styling. A twist done on damp hair will not have the same volume or texture.
Create Texture with the Right Products: This is non-negotiable. Work a texturizing spray or a light-hold mousse through your lengths. These products add grit and memory, giving the hair something to “grip” onto. For fine hair, a volumizing spray at the roots will provide the necessary lift to prevent the style from looking limp.
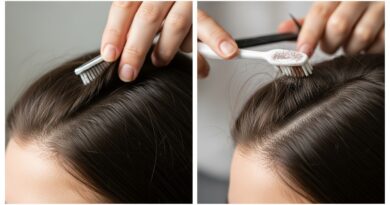
Tease for Hidden Volume: For an extra boost of that coveted volume, gently backcomb the hair at the crown. You don’t need to create 80s-level tease; just a light brushing of the under-layers will add lift that is then smoothed over, creating invisible fullness.
The Step-by-Step Guide to the Effortless Classic Twist
Now for the main event. Follow these steps precisely, remembering that the goal is controlled chaos, not perfection.
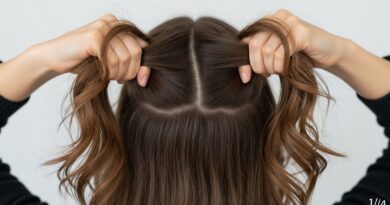
Step 1: Create a Deep Side Part. This immediately adds a touch of sophistication and breaks the symmetry, contributing to the effortless vibe. A middle part can sometimes make the style look too formal.
Step 2: Section Your Hair. Take a section of hair from the front of your head, starting from your part and going back to about your ear. The size of this section will determine the prominence of your twist. A larger section makes a bolder statement.
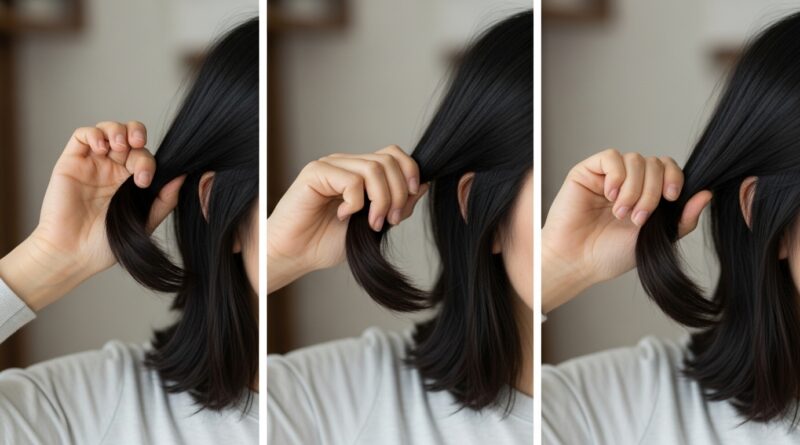
Step 3: The Initial Twist. Split this section into two equal parts. Now, simply twist them away from your face. Not over, not under, but a basic, forward twist. As you twist, gently pull the sections apart to loosen the twist and give it a softer, more textured appearance. Do not twist all the way down; stop about halfway.
Step 4: The “Pancaking” Technique. This is the pro secret. Once you have your initial twist, gently pull it apart laterally. Use your fingers to tug little pieces of the twist outward, loosening the weave and making it look fuller and more organic. This step is what transforms a skinny, tight twist into a voluminous, soft one.
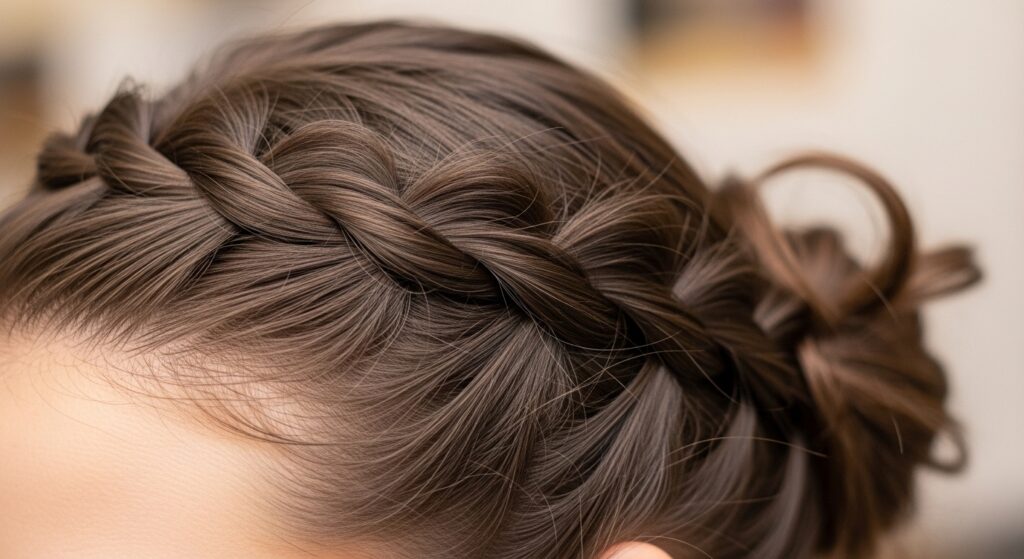
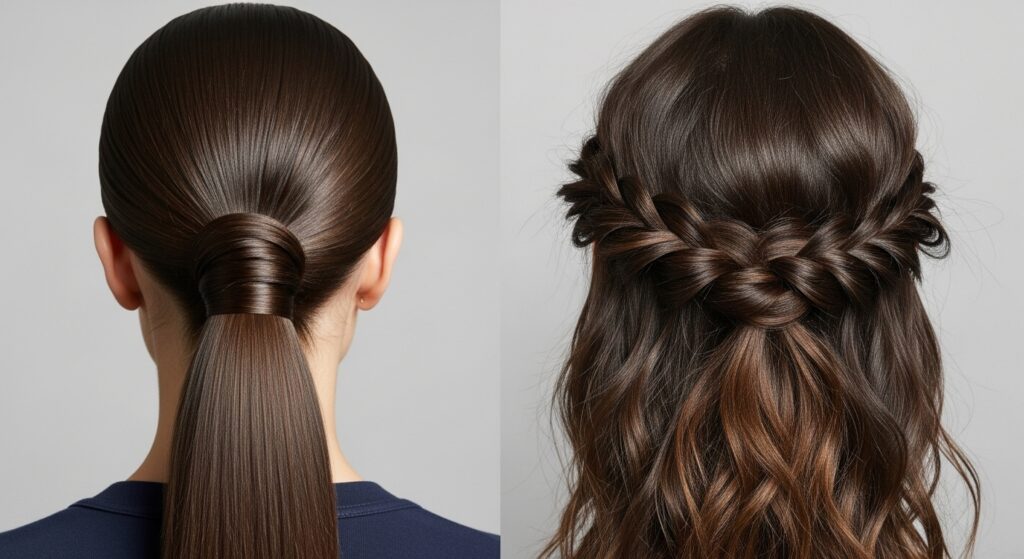
Step 5: Secure and Integrate. Hold the twist in place against the side of your head. Now, gather the rest of your hair—including the tail end of the twist—as if you’re making a low, loose ponytail. Secure it all together with a hair tie. You can leave it as a ponytail with a twist accent, or…
Step 6: The Artful Bun (Optional). To create an updo, twist the ponytail loosely and wrap it into a bun. Don’t tuck the end in neatly; let it fall out a bit. Secure with another hair tie or pins, but remember: the looser, the better. Once secured, repeat the “pancaking” technique on the bun, pulling out sections to create a soft, messy shape.
Step 7: The Final Touch – Strategic Messiness. This is where you sell the “effortless” look. Pull out a few small face-framing pieces around your forehead and temples. Loosen the twist at the crown by gently tugging it upward for more volume. If any part looks too perfect or tight, mess it up!

Pro Tips and Troubleshooting: Navigating Common Twist Disasters
Even with the best instructions, things can go awry. Here’s how to troubleshoot like a professional hairstylist.
Problem: The Twist is Too Slick and Tight.
Solution: You didn’t “pancake” enough! Go back in and gently pull the twist apart. Remember, you are in control of the volume. Also, ensure you used a texturizing spray, not a gel or a sleekening cream.
Problem: The Twist Falls Out or Comes Loose.
Solution: This is often a texture issue. Your hair might be too clean or fine. Next time, add more texturizing product. For immediate fixing, use a small, clear elastic to secure the end of the twist before you incorporate it into the ponytail. You can also use bobby pins that match your hair color to discreetly anchor the twist to the scalp.
Problem: It Looks Messy, Not Effortless.
Solution: There’s a fine line! If it looks truly messy, it’s likely because the initial sectioning was uneven or the twist wasn’t defined enough. Start over, ensuring your two sections are even. The twist itself should be neat at its core; the messiness is added deliberately afterward.
Problem: Lack of Volume at the Crown.
Solution: After you’ve finished the entire style, gently lift the twist at the top and spritz a light-hold hairspray underneath. This will act as a cushion, holding the volume in place all day.
Beyond the Basic Twist: Variations to Master
Once you’ve nailed the foundational classic twist, a world of variations opens up. Playing with these can keep your style fresh and exciting.
The Double Twist: Instead of one large section, create two smaller, parallel twists on the same side. Secure them together into your ponytail or bun for a more intricate, bohemian feel.
The Half-Up Twist: This is a fantastic way to wear the style without committing to a full updo. Simply create your twist on one or both sides and secure it at the back of your head, leaving the rest of your hair down. It’s perfect for showcasing your hair length while still looking styled.
The Accent Twist on Textured Hair: If you have natural waves or curls, a classic twist is a beautiful way to accentuate your texture. The twist will hold the definition of your curls in a elegant way, creating a stunning contrast with your free-flowing hair.

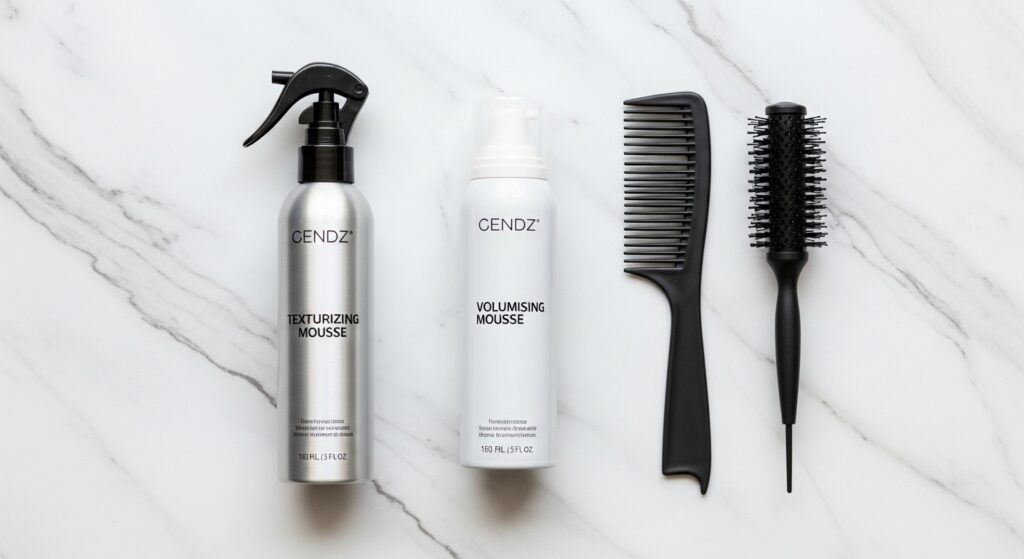
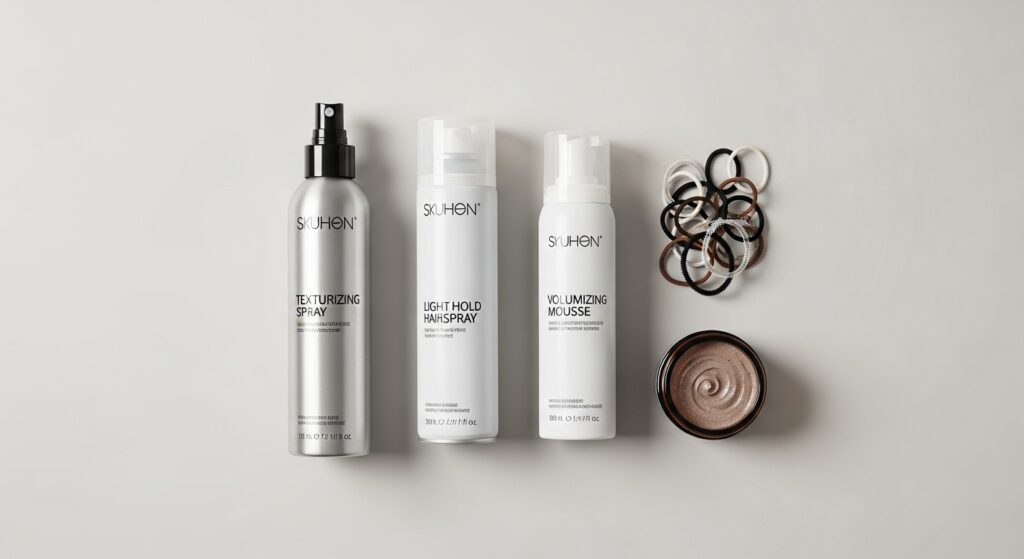
Your Effortless Twist Toolkit: The Essential Products
You can’t build a house without tools, and you can’t build this hairstyle without the right products. Here’s what should be in your arsenal.
Texturizing Spray: The undisputed MVP. Look for ones with sea salt or clay for that perfect beachy, gritty texture. Spritz it generously through your lengths before you start.
Light-Hold Hairspray: You need something that offers hold without stiffness. A flexible-hold hairspray is perfect for locking in the style while allowing for movement.
Volumizing Spray or Mousse: Especially important for those with fine or flat hair. Applied to the roots, it gives the twist the body it needs to stand out.
Matte Finishing Pomade or Paste: This is a secret weapon for taming flyaways without adding shine. Rub a tiny amount between your fingers and smooth down any unruly pieces for a polished-yet-matte finish.
Good Quality Hair Ties and Bobby Pins: Avoid thick, bulky elastics. Use thin, coil-free hair ties or scrunchies that won’t dent your hair. Bobby pins in a color that matches your hair are essential for invisible anchoring.
Embrace the Art of Calculated Nonchalance
Mastering the classic twist is a lesson in the art of calculated nonchalance. It’s a style that requires effort, technique, and the right products to achieve its signature “I didn’t try” aesthetic. But the payoff is immense. It’s a versatile, elegant, and timeless hairstyle that works for the office, a weekend brunch, or a formal event.
So, the next time you see someone rocking that perfectly imperfect twist, you’ll know the secret. It’s not magic—it’s method. It’s not luck—it’s technique. With this guide in hand, you have everything you need to practice, perfect, and proudly wear a classic twist that looks effortlessly chic, even though you now know the beautiful truth: it’s anything but.