How to Get medium bangs Hair That Looks Effortless (But Isn’t)
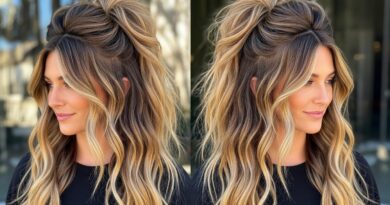
You’ve seen them everywhere: on your favorite influencer, the cool-girl actor, that stylish stranger you passed on the street. Medium bangs, the haircut that screams “I woke up like this” while secretly requiring a precise blend of strategy and skill. They’re the sweet spot between bold, heavy fringe and wispy, face-framing layers—versatile, flattering, and impossibly chic.
But here’s the secret no one tells you: that perfectly piecey, slightly tousled, I-didn’t-even-try look is almost always a carefully constructed masterpiece. The good news? You can absolutely master it. This isn’t a style reserved for the genetically blessed or professionally styled. This is your ultimate, no-fluff guide to achieving medium bangs that look beautifully effortless, but are, in fact, anything but.
What Exactly Are “Medium Bangs”?
Before we pick up the scissors (or, more wisely, book the appointment), let’s define our target. Medium bangs are the Goldilocks of the fringe world. They’re not as dramatic and dense as blunt, heavy bangs, nor are they as ephemeral and sparse as wispy, baby bangs. They typically fall somewhere between the eyebrows and the lash line, offering a balance of coverage and lightness.
The key characteristics of medium bangs include:
Texture: They have a mix of longer and shorter hairs, creating natural-looking separation and movement.
Softness: The ends are rarely a harsh, straight line. Instead, they’re often point-cut or textured to blend seamlessly into the rest of your hair.
Versatility: They can be styled straight, swept slightly to the side, or given a bit of a bend for a modern, piecey effect.
This style works beautifully on a variety of face shapes—round, oval, square, and heart—because of their ability to soften features and draw attention to the eyes.
The Foundational Cut: It All Starts Here
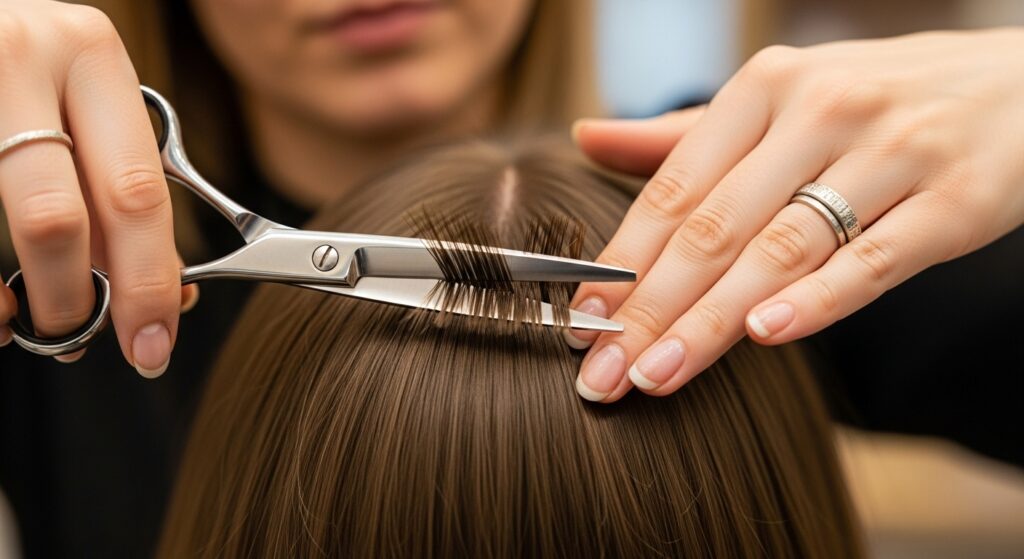
You cannot style your way into effortless medium bangs if the initial cut is wrong. This is the most critical step. Walking into a salon and asking for “bangs” is a recipe for potential disaster. You need to be specific.
Bring a Photo: Don’t rely on words alone. Find 2-3 photos that showcase the texture and length you’re after. Pay attention to how the bangs interact with the model’s face shape, especially if it’s similar to yours.
Use the Right Vocabulary: Tell your stylist you want “medium-weight, textured bangs” or a “lived-in fringe.” Emphasize that you don’t want a solid, blunt block. Key phrases like “piecey ends,” “soft layers within the fringe,” and “something that can be styled messy” will guide them perfectly.
The Technique Matters: A good stylist will likely use a technique called point cutting—snipping into the ends of the hair vertically instead of straight across. This breaks up the line and instantly creates that effortless texture we’re chasing. They might also use thinning shears strategically to remove bulk without sacrificing the overall shape.
The “Effortless” Styling Toolkit
Now, let’s demystify the daily routine. The magic doesn’t happen with one tool or one product; it’s a symphony. Here’s what you need in your arsenal.
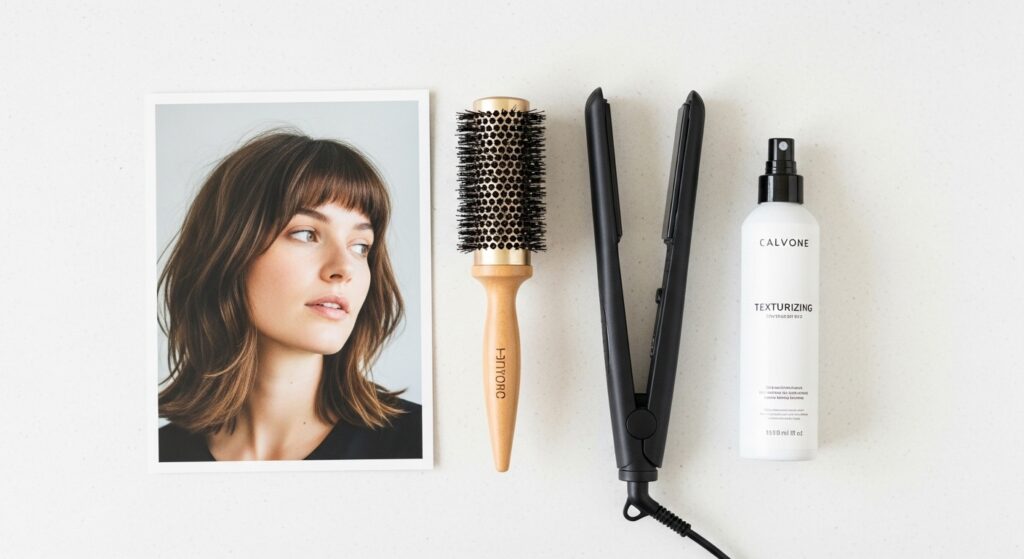
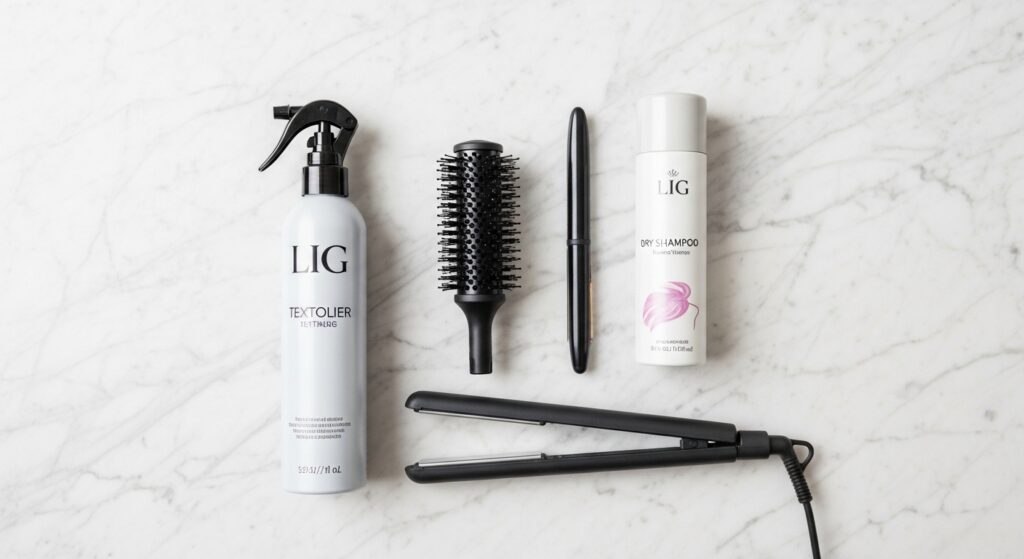
1. The Right Tools:
A High-Quality Round Brush: This is non-negotiable. A medium-barrel brush (like one made of boar bristles) is perfect for adding a soft curve under rather than a tight, dated flip.
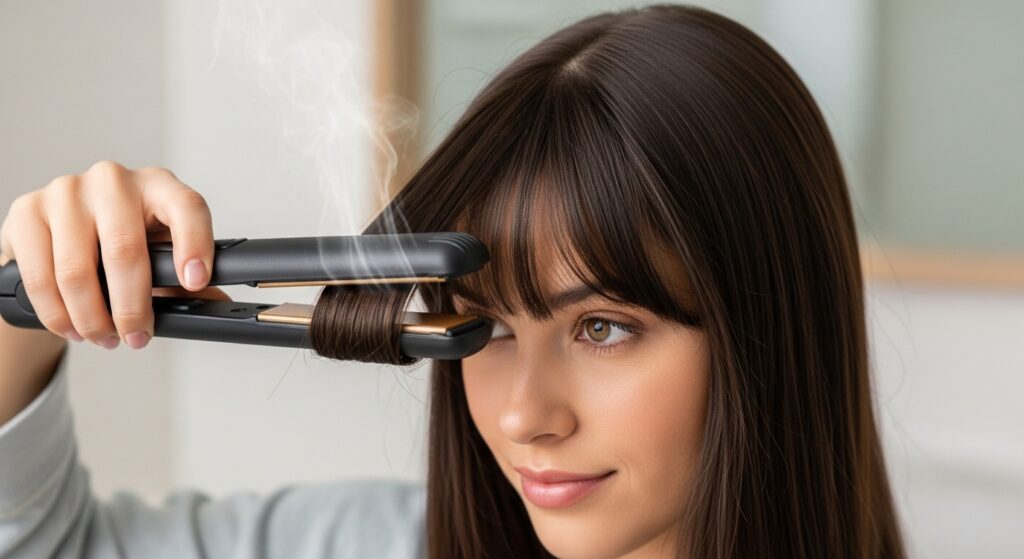
A Flat Iron with Rounded Edges: A 1-inch flat iron is your best friend for fixing kinks, adding direction, or creating a slight bend. The rounded edges prevent harsh, angular lines.
A Strong-Hold Hairdryer: You need power to set the shape quickly before the hair cools.
2. The Product Pantheon:
Heat Protectant: Always. Your bangs are the most frequently styled part of your hair and need protection.
Volumizing Mousse or Blow-Dry Spray: Applied to damp roots, this gives your bangs the lift and body they need to hold their shape all day.
Texturizing Spray or Paste: This is the secret weapon. It’s what creates that separation and “lived-in” feel. It’s the opposite of a sleek, shiny finish.
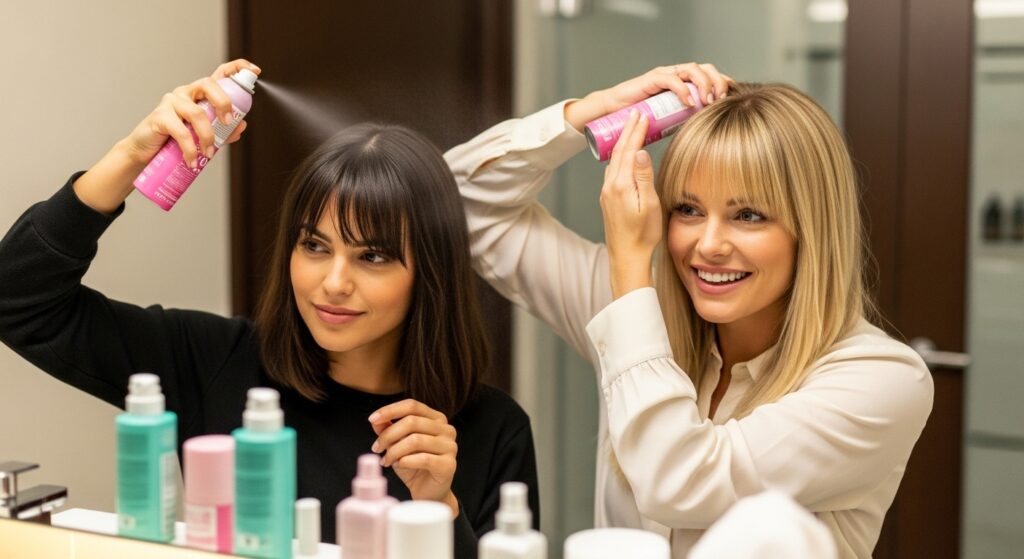
Dry Shampoo: Not just for second-day hair! A quick spritz at the roots on day one can add grit and volume, helping your bangs stay put.
The Step-by-Step Styling Ritual
Follow this routine to bangs nirvana. Consistency is key here—your bangs will learn to behave the more you train them.
Step 1: The Prep. Start with towel-dried hair. Spritz a heat protectant followed by a volumizing mousse or spray directly onto your damp bangs, focusing on the roots.
Step 2: The Blow-Dry. Using your round brush, section your bangs. Pull the brush down and slightly back (toward your crown), directing the hair dryer nozzle from root to tip. The goal is to get them about 90% dry while setting a memory of lift at the root and a soft curve.
Step 3: The Finishing Touches. This is where the effortlessness is manufactured. Let’s break down two popular finishes:
For the “Slight Bend”: Take your flat iron. Clamp a section of bangs near the roots, then gently twist the iron as you glide it down the length, ending by turning the iron slightly under. Repeat piece by piece, never doing the entire fringe in one solid clamp. This creates irregular, natural-looking movement.
For the “Piecey Texture”: Warm a tiny, tiny amount of texturizing paste between your fingers. Then, literally pinch individual pieces of your bangs and gently twist them. Focus on the ends and the areas around your eyes. You’re manually creating separation.
Step 4: The Final Lock. A light mist of flexible-hold hairspray from a distance, or a quick blast of cool air from your dryer, will set everything in place without making it look stiff.
Mastering the Art of Maintenance
Effortless bangs are a commitment, and maintenance is the silent contract. Here’s how to keep them in peak condition between salon visits.
Trims are Sacred: The myth of frequent trims is true. To maintain the perfect length and shape, you’ll need a minor trim every 2-3 weeks. It’s a quick 5-minute job for any stylist.
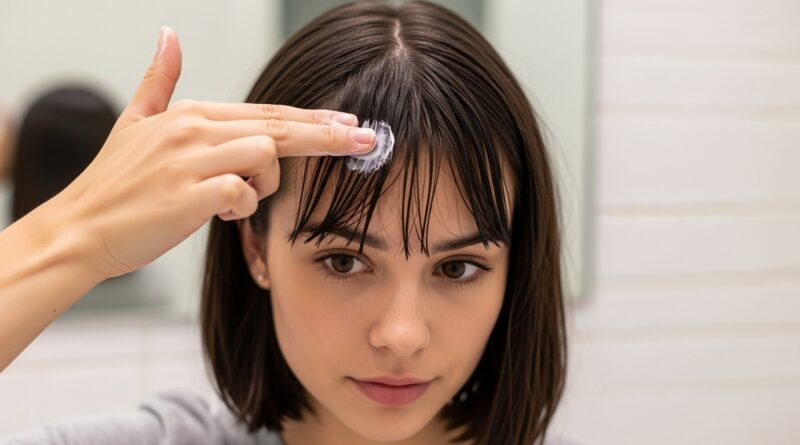
Conquering the Cowlick: Many people have a natural cowlick at the front of their hairline. The trick is to blow-dry it in the opposite direction first (while it’s very wet) to break its spirit, then style it into place. Using a concentrator nozzle on your dryer is crucial for this targeted attack.
The Day-Two (and Three) Refresh: No one wants to fully wet and style their bangs every single day. On day two, use dry shampoo at the roots to absorb oil and add volume. Then, use the steam from your shower to dampen them slightly, or use a continuous spray bottle with water to re-wet them just enough to reshape with your round brush or flat iron. Often, just a quick pass with the flat iron is all they need.
Embrace the Imperfections
Perhaps the most important secret to truly effortless-looking bangs is your mindset. A perfectly symmetrical, helmet-like fringe will always look styled. The goal is artful imperfection.
If one piece is slightly longer, let it frame your eye. If they part a little off-center one morning, lean into it. The beauty of this style is in its lived-in, human quality. The more you fuss, the less effortless they become. After you’ve done your styling ritual, run your fingers through them, shake your head a bit, and then leave them alone.