How to Get retro hair Hair That Looks Effortless (But Isn’t)
We’ve all seen them—those impossibly chic women in mid-century films or old photographs, their hair a cascade of perfect waves, intricate rolls, or a casually tousled bouffant. It looks as if they simply woke up like that, a happy accident of genetics and good luck. This is the allure of retro hair: the appearance of nonchalant, throwaway glamour. But let’s be perfectly clear. That effortless look is, in fact, a beautiful, clever lie.
The truth is, achieving hairstyles from the 1940s, 50s, and 60s that look both authentic and easy requires a bit of a magic act. It’s about mastering the techniques and using the right products to create a style that feels soft, touchable, and never stiff or “helmet-like.” It’s the art of making hard work look simple. If you’re ready to learn the backstage secrets to front-page vintage hair, you’ve come to the right place. Let’s dive into the world of calculated nonchalance.
The Foundation: It All Starts With The Right Haircut & Texture
You cannot build a cathedral on sand, and you cannot build authentic retro hair on the wrong foundation. Many iconic vintage styles rely on a specific shape and body that modern, often heavily layered, cuts can’t provide. The goal is a solid, manageable base of hair that holds a set.
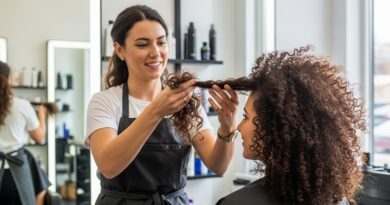
Consider a Vintage-Inspired Cut: Talk to your stylist about a cut with minimal layering, especially if you have longer hair. Blunt or slight U-shaped cuts provide the weight and uniformity needed for smooth, defined rolls and waves. For shorter, pixie-esque styles, having enough length on top to create volume and direction is key.
Texture is Your Best Friend: Contrary to popular belief, perfectly sleek, straight hair can be one of the most challenging canvases for vintage styling. Naturally wavy or textured hair often grips curls and sets better. If your hair is pin-straight, don’t despair! This is where pre-styling texture sprays and mousses become your secret weapon. They add grit and hold, giving your hair something to “grab” onto.
The Unsung Hero: Perfectly Prepped Hair
Skimp on prep work, and your style will skimp on longevity. Retro hairstyles were designed to last for days, and that kind of staying power doesn’t happen by accident. How you wash and prepare your hair is as important as the styling itself.
Clean, But Not Squeaky Clean: For most people, day-old hair holds a set infinitely better than freshly washed hair. The natural oils act as a protective barrier and a light styling agent. If you must wash, avoid heavy conditioners on your roots, as they can weigh hair down and make it slippery.
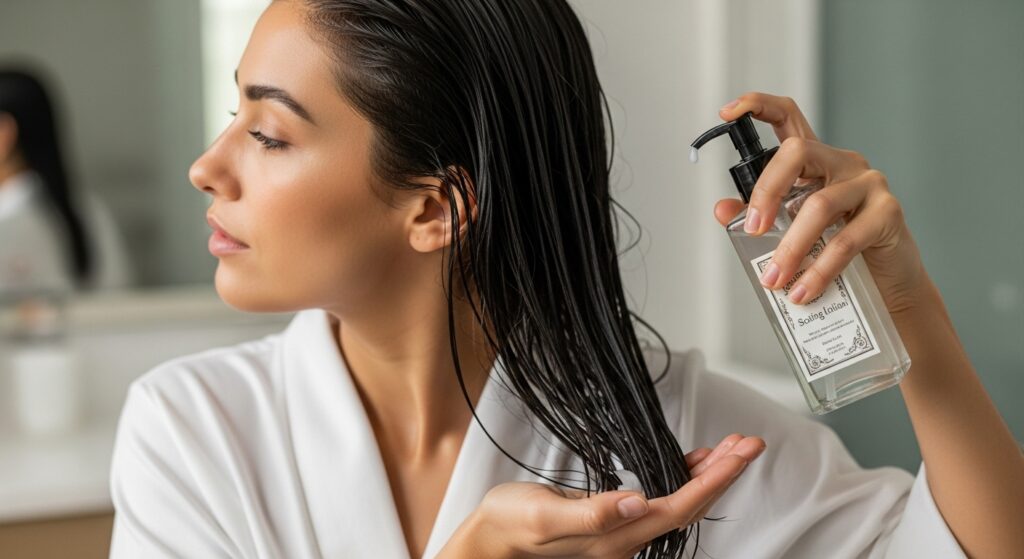
The Magic of Setting Lotions and Mousses: This is the step that separates the amateurs from the pros. After towel-drying your hair, apply a setting lotion or a volumizing mousse from mid-lengths to ends. These products aren’t just for hold; they define curls, fight frizz, and add body. For a truly authentic feel, you can even dilute a classic setting lotion like Lottabody with water. Distribute it evenly—this is non-negotiable for a uniform set.
The Art of The Set: Rollers, Pin Curls, and Strategic Direction
This is where the magic happens. The “set” is the process of shaping your hair while damp and allowing it to dry completely, creating the memory for your style. The placement and direction of your rollers or pin curls directly dictate the final look.
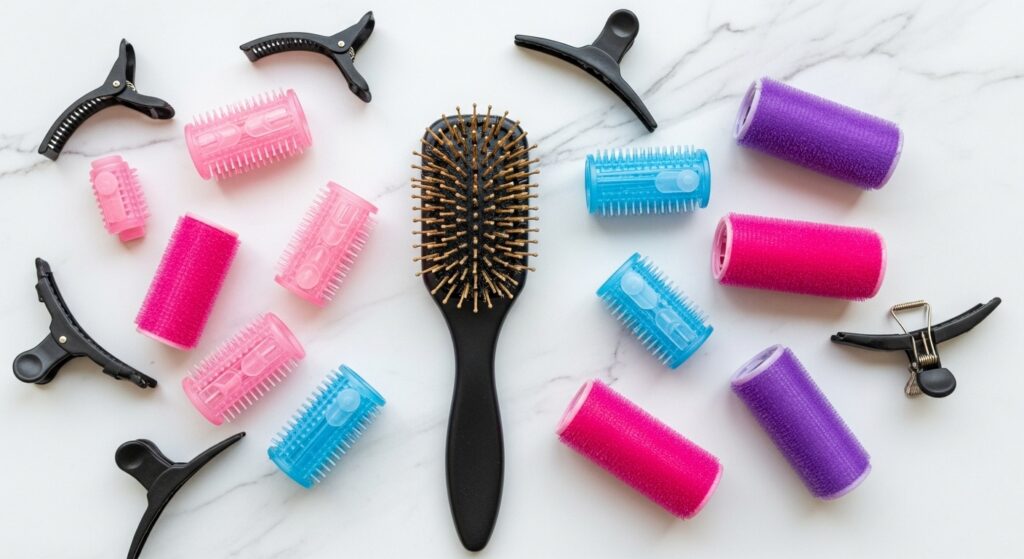
Choosing Your Weapon:
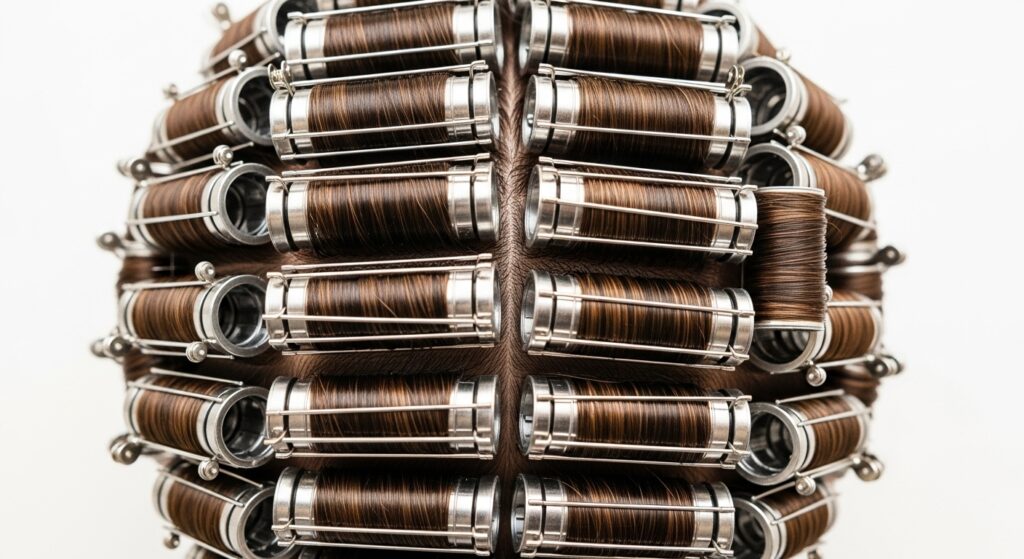
Rollers: Great for overall volume and uniform waves. Velcro rollers are quick for volume, while magnetic or plastic rollers with clips give a more defined, smooth wave. The size of the roller determines the tightness of the curl—larger for loose waves, smaller for tight curls.
Pin Curls: The original, most versatile method. Pin curls allow for incredible control over the direction of the wave and are perfect for creating flat, sculptural shapes like pompadours and flat curls around the face. They take practice but offer the most authentic result.
Direction is Everything: For classic 1940s waves, you often roll two rollers towards each other, creating an “S” shape wave pattern. For 1950s volume, rollers are often placed standing up off the head (teasing the roots first helps). Always think about where you want the hair to fall once the rollers are out. This strategic placement is what creates that seemingly natural flow.
The Grand Reveal: Brushing Out and Shaping
This is the most critical—and most satisfying—step. Taking the rollers out reveals a head of tight, springy curls that look nothing like the final goal. Do not panic. This is exactly what you want.
Wait For It…: Your hair must be completely 100% dry. Any dampness and the style will fall flat in minutes. If you’re impatient, use a hooded dryer or the cool shot on your blow dryer to speed up the process.
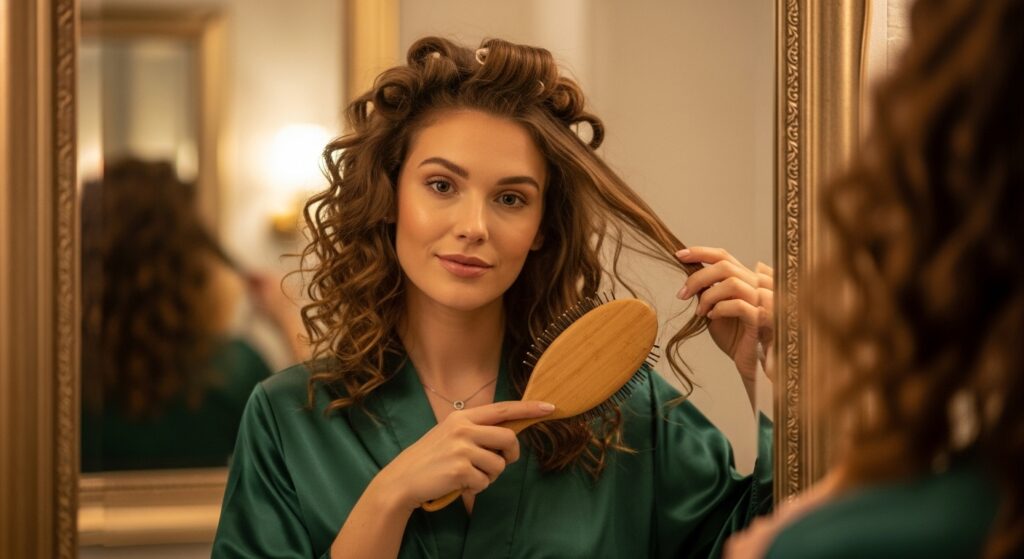
The Ritual of Brushing Out: Using a paddle brush or a wide-tooth comb, gently brush through the curls. Start from the ends and work your way up to the roots to avoid breakage. You will see the tight curls dissolve into soft, dense waves. This process separates and marries the curls, creating that seamless, full-bodied wave. Don’t be afraid to brush thoroughly—vintage hairstyles involve a lot of brushing!
Shaping With Your Hands: After brushing, use your hands to shape the style. Gently push up the roots for volume, or use your fingers to define specific waves. This is where you add the “effortless” touch, softening any harsh lines created by the rollers.
The Finishing Touches: Securing the Illusion
Your style is brushed out and looks beautiful. Now, how do you make it stay that way all day (or all night) without looking stiff? The finishing touches are all about invisible support.
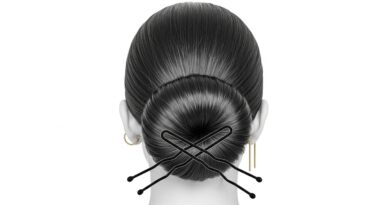
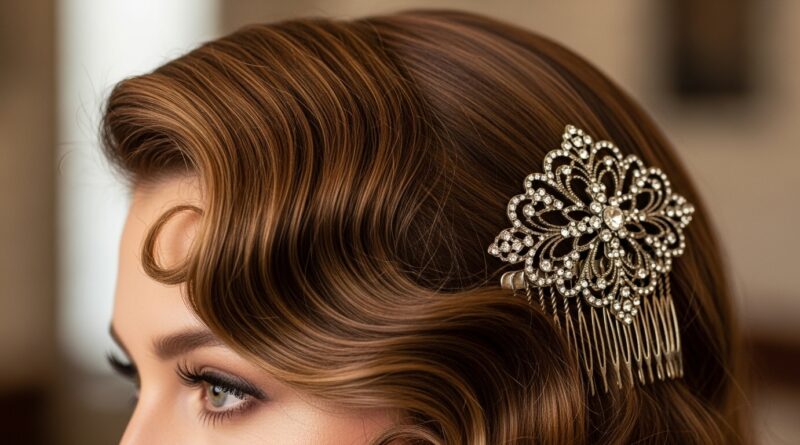
Pins and Combs: Bobby pins are your best friend. Instead of just clipping them straight on, use the criss-cross method for a more secure, invisible hold. For updos or to secure rolls, hairpins (or U-pins) are far superior. Decorative combs can also add a beautiful, period-appropriate touch while helping to hold volume in place.
Hairspray with Finesse: The goal is not to create a shell. Choose a flexible-hold hairspray. Hold the can at least 10-12 inches away from your head and mist lightly. For extra hold on specific curls, spray a bit on your fingers and gently glaze it over the wave. A light texturizing spray can also be used at the roots for a lived-in, piecey finish.
Embrace a Little “Mess”: Perfection is the enemy of effortless. Don’t fret over every single stray hair. A few soft tendrils around the face or a slightly less-than-perfect wave pattern adds to the charming, “I just threw this together” vibe. The key is that it’s a controlled mess.

Effortless Retro Styles to Master
Let’s apply these principles to some specific, iconic looks that perfectly balance polish and ease.
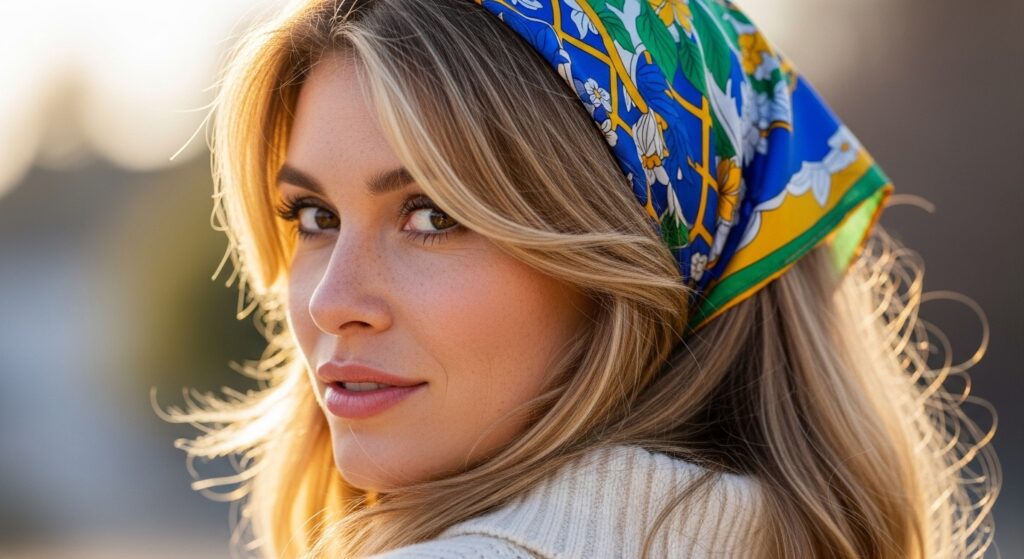
The Tousled Bardot: This 60s icon made big, soft hair look innate. The secret? A thorough backcombing at the crown for volume, followed by a smooth-over with a brush to hide the evidence. Large rollers are used to create loose, bent-under ends and body, not tight curls. The finish is soft, brushed-out, and held with a headband or a casual scarf.
The Soft Victory Roll: Often seen as intimidating, victory rolls become much easier when you focus on the shape, not the perfection. Instead of tight, cylindrical rolls, create softer, more relaxed rolls. Use a curling wand to create a wave pattern first, then loosely roll the hair back and secure it with pins. Gently pull at the sides of the roll to loosen it and create a fuller, less rigid shape.
The “I Woke Up Like This” Flip: The quintessential 60s flip is all about the ends. Set just the ends of your hair on large rollers, rolling them under and away from the face. When you brush out, focus on flicking the ends out and up. Use your fingers to shape it, not a brush, and secure with a light spray, ensuring the ends remain bouncy and separate.
Conclusion: The Beauty of the Secret
Mastering retro hair is a journey of practice, patience, and product knowledge. It’s about understanding that the glamour of a bygone era was built on skill, not serendipity. The true joy comes not just from the compliments you’ll receive, but from the private knowledge that you’ve mastered a beautiful art form. You’ll know the hours of setting and the precise brush strokes that went into creating that single, perfect wave that looks like it was caught by a gentle breeze.
So, embrace the process. Celebrate the secret work that goes into creating something that looks beautifully, wonderfully effortless. Because now you know the truth: the most effortless looks often require the most effort, and that’s what makes them so special.