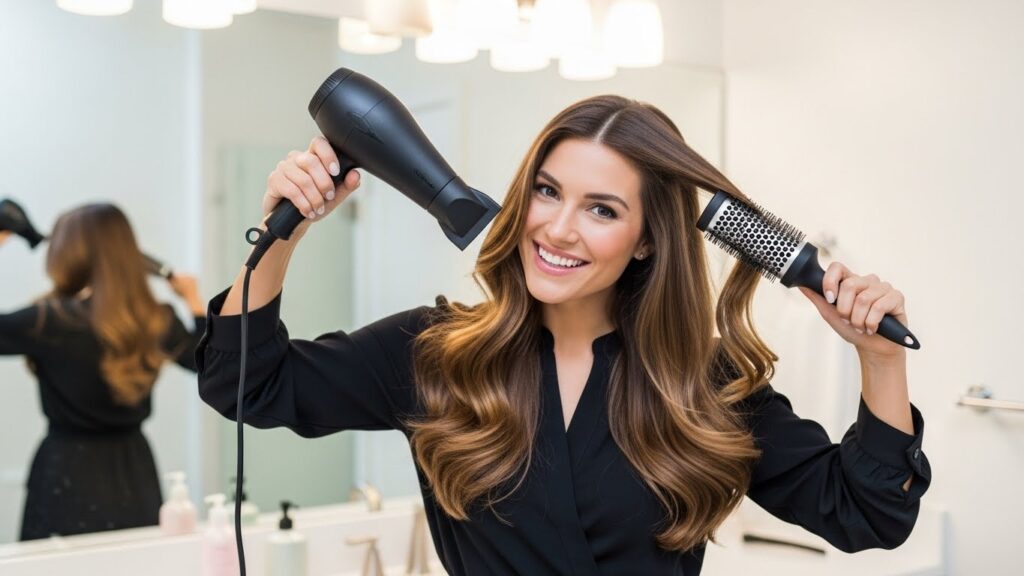
How to Get Salon-Quality Blowouts at Home
There’s nothing quite like the feeling of walking out of a salon with a perfect blowout. Your hair is bouncy, shiny, and moves like a slow-motion scene in a shampoo commercial. But between the cost, the time, and the scheduling, weekly salon visits aren’t realistic for most of us. What if you could capture that magic in your own bathroom?
Gather Your Arsenal: The Right Tools Make All the Difference
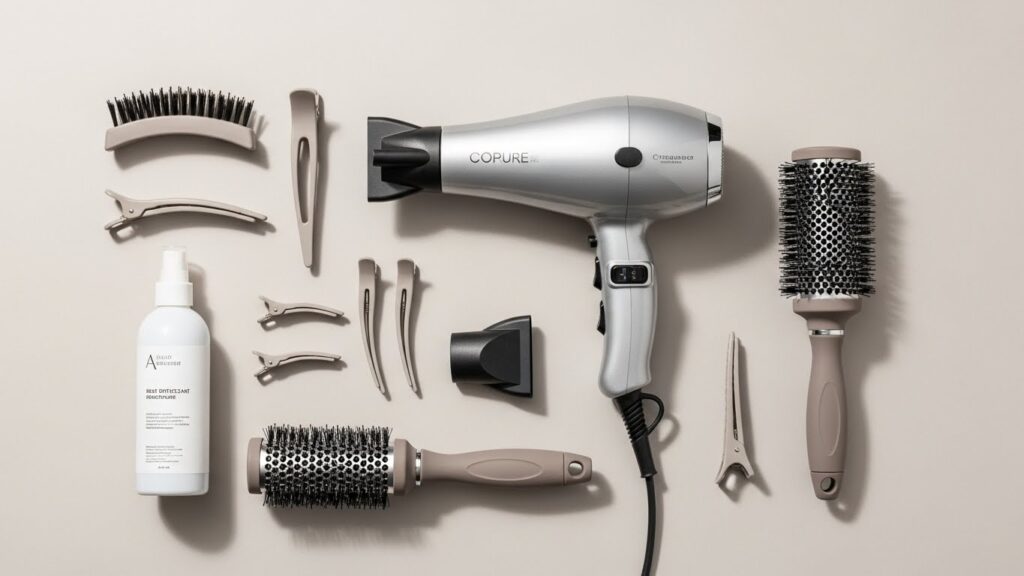
You wouldn’t try to paint a masterpiece with a worn-out brush, and the same logic applies to your hair. Investing in the right tools is the non-negotiable first step to blowout success.
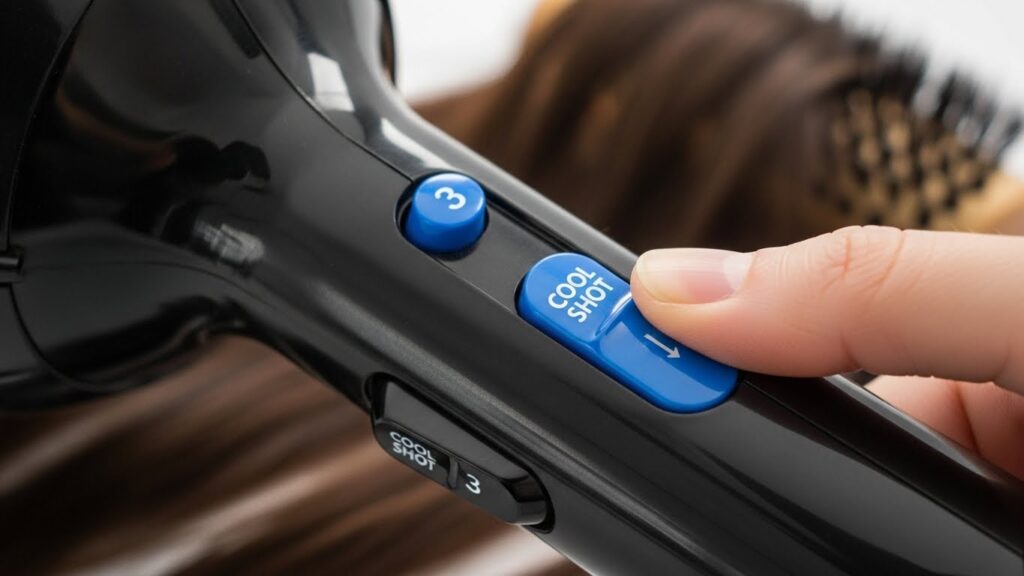
Start with the hairdryer. Look for one with multiple heat and speed settings and, crucially, a cool shot button. Ionic and ceramic dryers are worth the investment as they help break down water molecules faster, reduce frizz, and increase shine. Next, the brushes. A large, vented round brush (about 2 inches in diameter) is ideal for creating volume and smoothness on medium to long hair. A smaller round brush is perfect for curling ends and framing the face. A paddle brush is excellent for detangling and straightening. Finally, don’t forget heat protectant spray, a sectioning clip, and a concentrator nozzle for your dryer—it directs airflow for precise styling.
Pre-Game Preparation: The Wash and Care Ritual
Your blowout begins in the shower. The products you use and how you treat your hair when it’s wet set the stage for everything that follows.
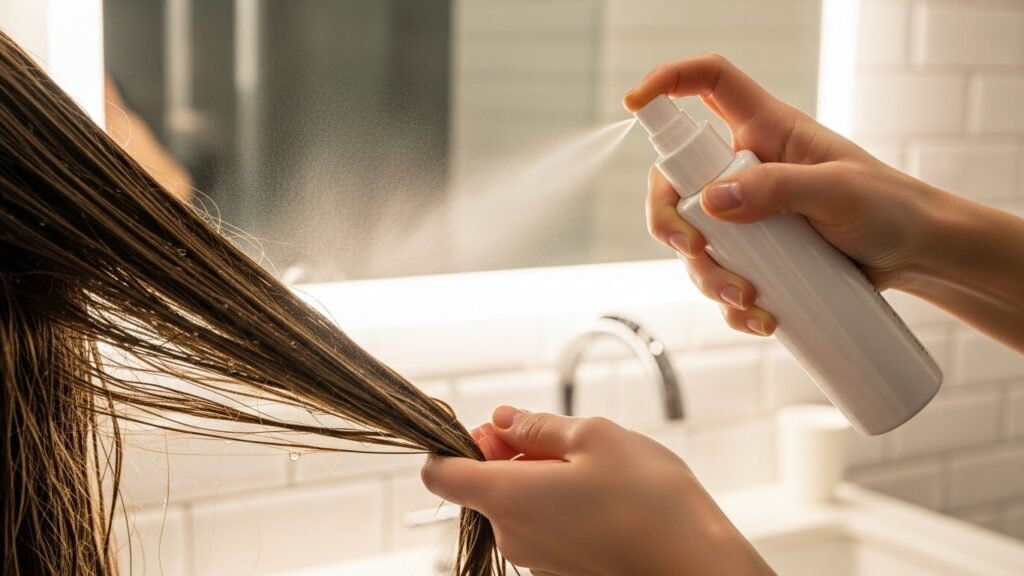
Always start with a thorough rinse. Use a clarifying shampoo occasionally to remove product buildup that can weigh hair down. For most washes, choose a shampoo and conditioner suited to your hair type—volumizing for fine hair, hydrating for thick or dry hair. When applying conditioner, focus on the mid-lengths and ends, avoiding the roots to maintain lift. After your shower, gently squeeze excess water from your hair with a microfiber towel. Never rub vigorously, as this causes frizz and damages the hair cuticle. While your hair is still damp, apply a generous amount of heat protectant spray from roots to ends. This is your shield and is non-negotiable for healthy styling.
The Secret Weapon: Perfectly Prepped Hair
Before you even turn on the dryer, there’s a crucial step that professionals swear by: product application and detangling.
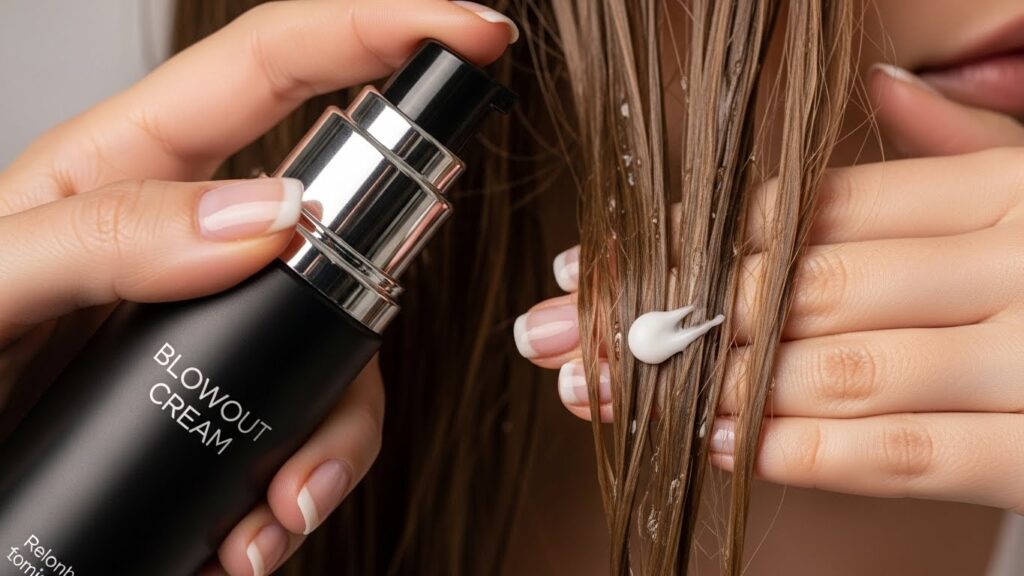
After your heat protectant, apply a blowout cream or mousse. These products are designed to smooth the hair, provide hold, and combat humidity. Use a small amount, working it through your hair from roots to ends. Then, using your paddle brush or a wide-tooth comb, gently detangle your hair completely. Starting with knot-free hair ensures even drying and prevents breakage during the blow-drying process. If your hair is very thick, you can even do a rough pre-dry at high speed and low heat to get it about 50-60% dry before sectioning begins.
The Professional Technique: Section, Tension, and Follow-Through
This is the core of the blowout. The magic words are section, tension, and airflow.
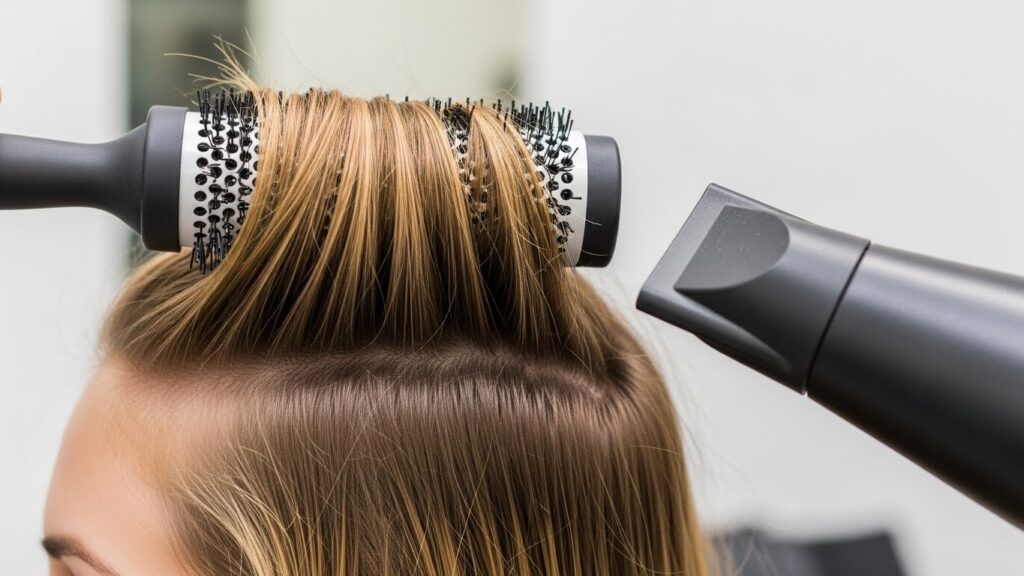
Start by clipping the top half of your hair up. Work on the bottom back section first. Take a horizontal subsection about one to two inches thick. Hold your round brush under the subsection, close to the roots. Place the dryer (with its concentrator nozzle attached) above the hair, pointing down the hair shaft. This direction smooths the cuticle. Apply gentle tension by pulling the brush down and slightly away from your head as you slowly move the dryer down the section of hair. The key is to follow the brush with the dryer, keeping them close together. Dry each section completely before moving on. Once the hair is smooth and dry, hit the cool shot button for 5-10 seconds to set the style. Repeat this process, working from the nape of your neck up to the crown, and then from the sides to the front.
Mastering Volume and Root Lift
A salon blowout is defined by its body and bounce. Getting lift at the roots is a specific technique that takes practice.
For the crown and front sections, change your brush angle. When drying the roots of these top sections, roll the brush under and back, lifting the roots away from the scalp. Hold the dryer above, directing the airflow into the roots at the base of the brush roll. Keep tension and dry thoroughly before blasting with cool air. For even more volume, once a section is dry, you can roll it back up onto the brush, pin it against your head with a clip, and let it cool completely. This “sets” the volume like a roller would.
The Finishing Touches: Polishing for Perfection
You’ve dried every section. Now, it’s time to polish and perfect.
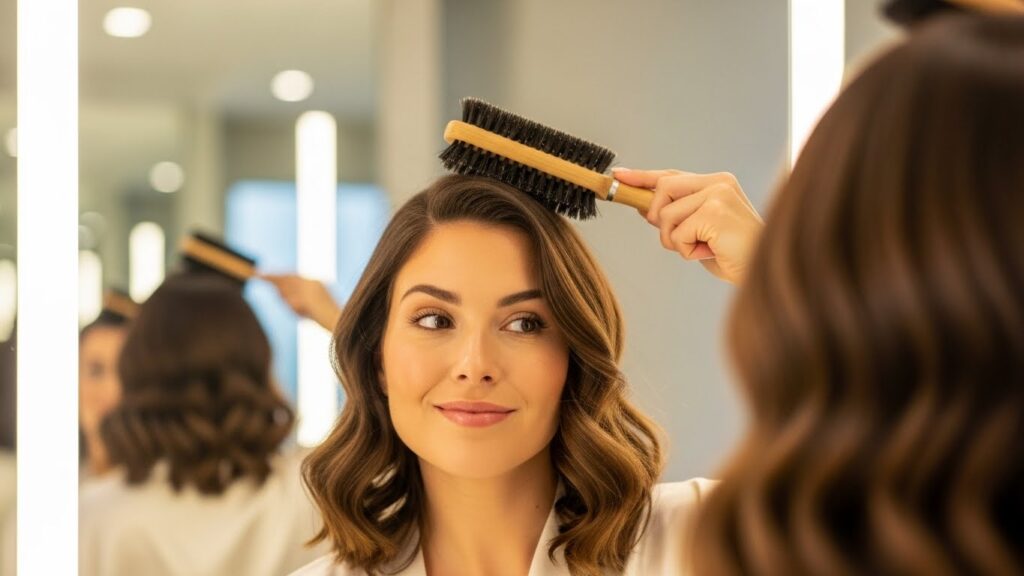
Go over your entire head with a boar bristle brush or a clean, soft paddle brush. This helps distribute your hair’s natural oils from root to tip, adding incredible shine and smoothing any final flyaways. If you have any areas that need a touch more smoothness or shape, use your round brush and dryer with the concentrator nozzle for a quick, targeted pass. For a sleek look, you can run a flat iron on low heat over the very top layer. Finally, a light mist of flexible-hold hairspray or a drop of shine serum on your palms smoothed over the surface will lock in your style without making it stiff or crunchy.
Pro Tips for Making Your Blowout Last For Days
The true test of a great blowout is its longevity. Here’s how to make yours last.
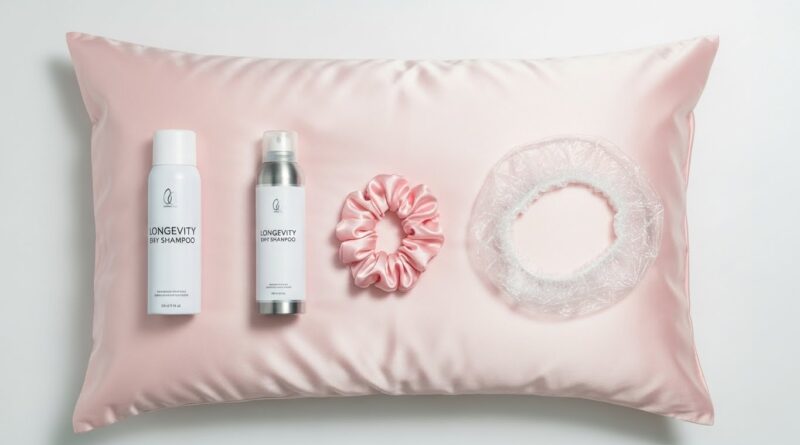
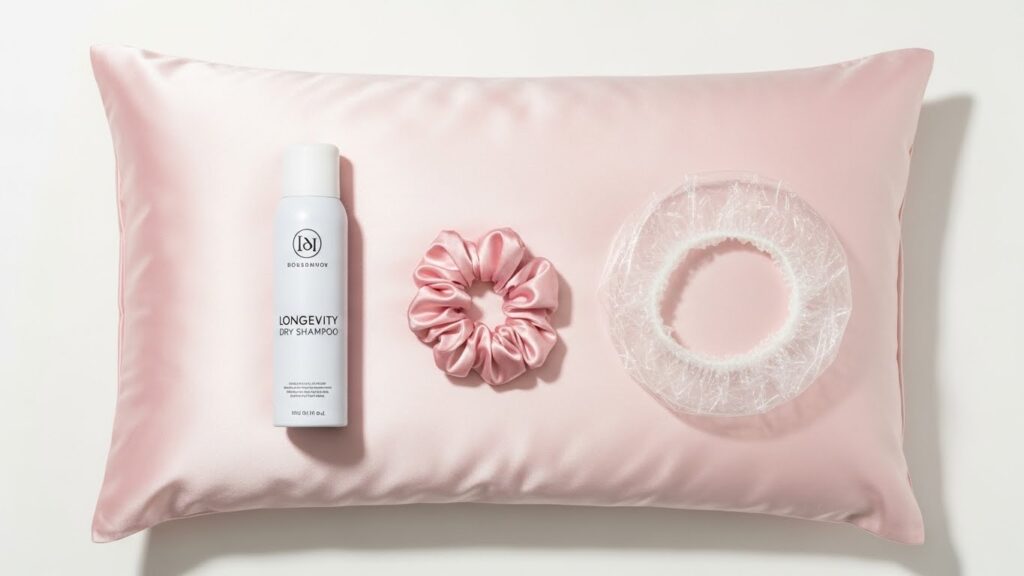
Sleep smartly. Use a silk or satin pillowcase to reduce friction, or loosely tie your hair up in a silk scarf or in a loose topknot. Dry shampoo is your best friend. Apply it at night before bed on day two or three to absorb oil before it starts. It also adds texture and grip, refreshing your volume. When showering, protect your style with a good-quality shower cap. If some sections fall flat, use a large-barrel curling iron to revive curls and volume at the mid-lengths and ends, rather than re-drying the entire head. The goal is maintenance, not a restart.
Conclusion: Embrace the Practice
Your first at-home blowout might not be perfect, and that’s okay. Like any skill, it takes practice. The more you do it, the faster and more intuitive the process will become. You’ll learn the quirks of your own hair—which sections dry faster, which way your crown likes to be brushed for maximum volume.
Mastering the at-home blowout is more than a beauty trick; it’s an act of self-care that saves you time and money while giving you the confidence of great hair days, on demand. Arm yourself with the right tools, follow the process, and don’t rush the sections. Before long, you’ll be your own favorite stylist, achieving that coveted salon-quality bounce and shine whenever you please.