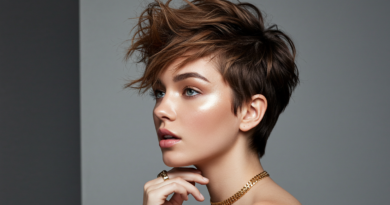
How to Get short bun Hair That Looks Effortless (But Isn’t)
You’ve seen it everywhere: on runways, on your favorite style icon, on that impossibly cool barista. The messy bun. It whispers of nonchalant elegance, a style achieved in mere seconds before dashing out the door. But if you have short hair, you know the truth. That “effortless” bun is often a distant, frustrating dream, a tangled mess of pins and prayers that collapses before you’ve even left the bathroom.
What if we told you that the perfect short bun isn’t a myth? That it’s not about having more hair, but about knowing the right tricks? The secret lies in the art of controlled chaos. It’s a style that looks effortless but is, in fact, a beautiful little lie—a meticulously crafted masterpiece of texture and technique. This guide is your key to unlocking it. We’re going to move beyond the basic ponytail and delve into the methods that transform your short locks into a chic, secure, and stunning bun that lasts all day.

Why the Short Bun is a Different Beast Altogether
Let’s first acknowledge the struggle. Attempting a bun with short or medium-length hair presents unique challenges that those with waist-length locks simply cannot comprehend. Your hair lacks the length and weight to naturally coil and stay put. The ends refuse to tuck in, sticking out like rebellious little flags. You run out of hair before you’ve even made a full loop, and the entire structure often relies on a precarious fortress of bobby pins that inevitably fails.
But within these challenges lies the beauty of the short bun. Because it’s not about a perfect, sleek ballerina knot. It’s about texture, volume, and attitude. It’s inherently more modern, more interesting, and far more personal. It’s a style that celebrates what you have, rather than mourning what you don’t. By embracing the piecey, undone nature of shorter hair, you can create a bun that is infinitely cooler than its longer-haired counterpart.
The Foundation: Prepping Your Hair for Bun Glory
An effortless-looking bun is built long before you twist a single strand. The foundation is everything, and it starts with the right texture. Pin-straight, freshly washed hair is your enemy here—it’s too slippery and soft to hold any shape.
Embrace Day-Old Hair: The natural oils and slight residue from your previous style add grit and hold. If you must wash your hair, spritz a texturizing spray or dry shampoo at the roots and through the lengths. This product is your best friend, adding the necessary volume and friction for pins to grip.
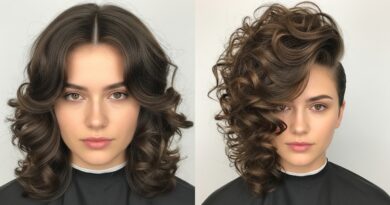
Create Waves and Texture: If your hair is straight, use a curling wand to create loose, piecey waves. You don’t need uniform curls; in fact, randomness is better. Alternatively, braid your hair loosely the night before and sleep on it. When you take it out in the morning, you’ll have a beautiful, natural texture that’s perfect for bundling.
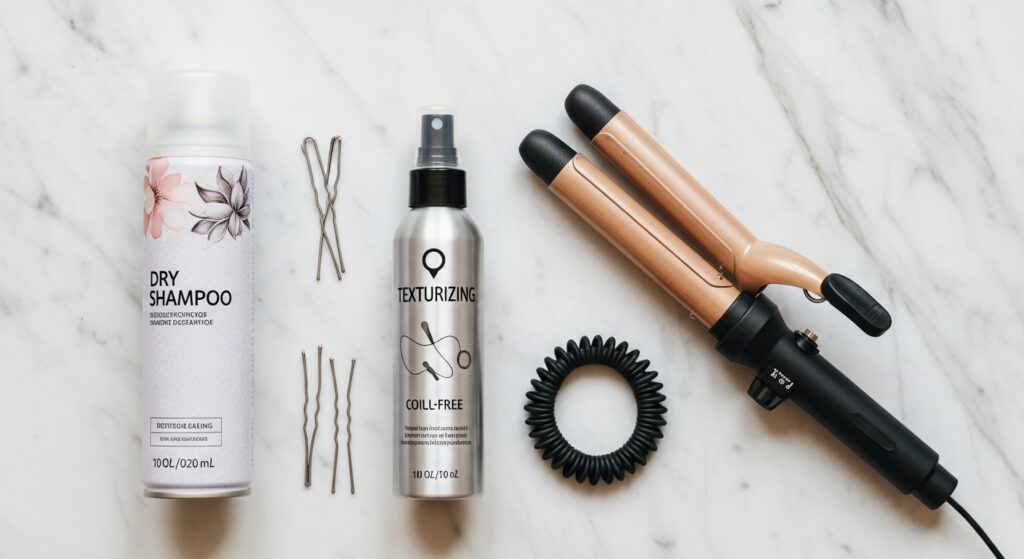
Gather Your Tools: You will need a coil-free elastic (or two), a bag of strong, quality bobby pins that match your hair color, texturizing spray, and a light-hold hairspray. That’s your arsenal.
Method 1: The Classic Twist & Tuck for Shoulder-Length Hair
This is the go-to method for those with hair that grazes the shoulders or is collarbone-length. It creates a classic, low bun that sits elegantly at the nape of your neck.
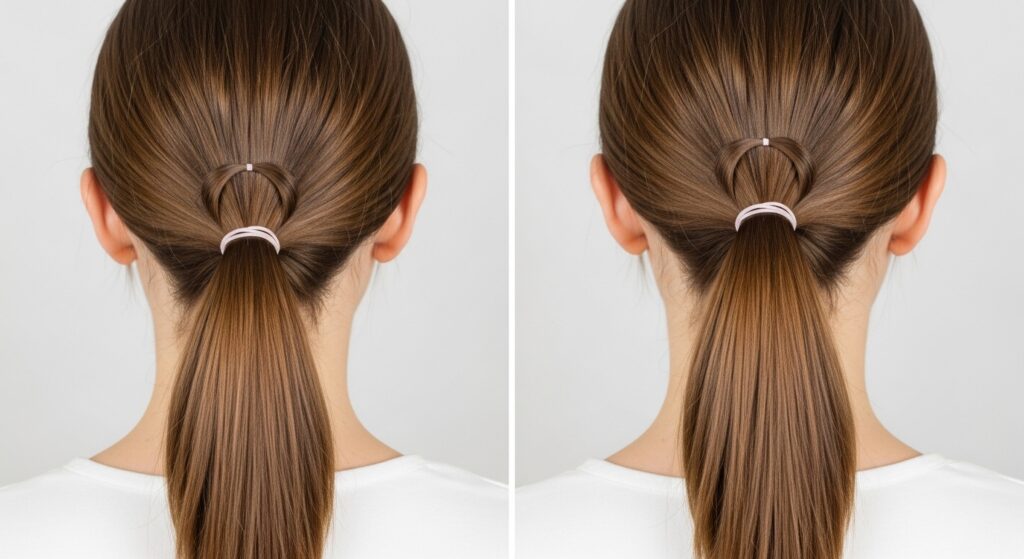
Step 1: The Low Ponytail. Start by gathering your hair into a low ponytail, but do not pull the hair all the way through the elastic on the last loop. You should be left with a looped ponytail, or a “half-ponytail.” This instantly creates the bulk of your bun.
Step 2: Divide and Conquer. Split the looped section down the middle, creating a hole. Gently pull the ponytail’s tail (the part you didn’t pull through) upwards and tuck it down through this hole. You’re essentially creating a simple knot.
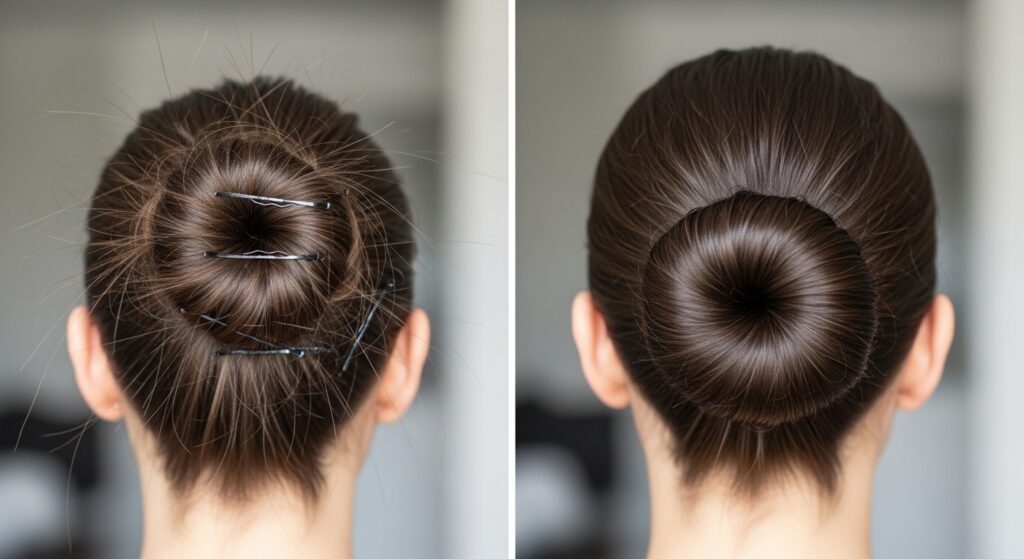
Step 3: The Art of the Tuck. Now, gently loosen the bun with your fingers. Don’t be afraid to pull at it! The goal is volume, not tightness. Take the remaining tail and wrap it around the base of the bun. Use bobby pins to secure the tail underneath the bun, sliding them in horizontally and pointing slightly upwards for a secure hold. Tuck in any stray ends.
Step 4: The Messy Perfection. Pull out a few face-framing pieces around your forehead and temples. Gently tug at the sides of the bun to create a softer, larger shape. Finish with a light mist of hairspray to tame flyaways without sacrificing the texture.
Method 2: The Mini Top Knot for Lob & Bob Lengths
For those with a long bob (lob) or a bob with some layers, a full bun might be tricky. The solution? The chic, perky mini top knot. It’s playful, stylish, and perfect for keeping hair off your face.
Step 1: Section Strategically. You won’t be using all of your hair. Gather the top section of your hair, from about your temples back to the crown. Tease this section lightly at the roots for extra volume. This is the core of your bun.
Step 2: Create a Mini Ponytail. Secure this top section into a high ponytail. Again, on the last loop of the elastic, don’t pull the hair all the way through. You should have a small, stubby loop.
Step 3: Pin and Fluff. Unlike the previous method, you may not have much of a tail to wrap. Instead, take the loop and gently twist it around the base of the ponytail to form a small knot. Use multiple bobby pins, criss-crossing them at the base, to anchor this knot securely to your head.
Step 4: Integrate the Bottom. The key to making this look intentional is to leave the bottom section of your hair down. You can leave it straight, or curl it to blend with the texture of the bun. Use your fingers to gently pull the top knot apart, making it look fuller and more effortless. The contrast between the loose bottom hair and the structured top knot is what makes this style so modern.

Method 3: The Double Ponytail Power Bun for Pixie-Length Hair
Yes, even if you have a pixie cut or a very short bob, you can achieve a bun-like style. This method is all about illusion and clever layering.
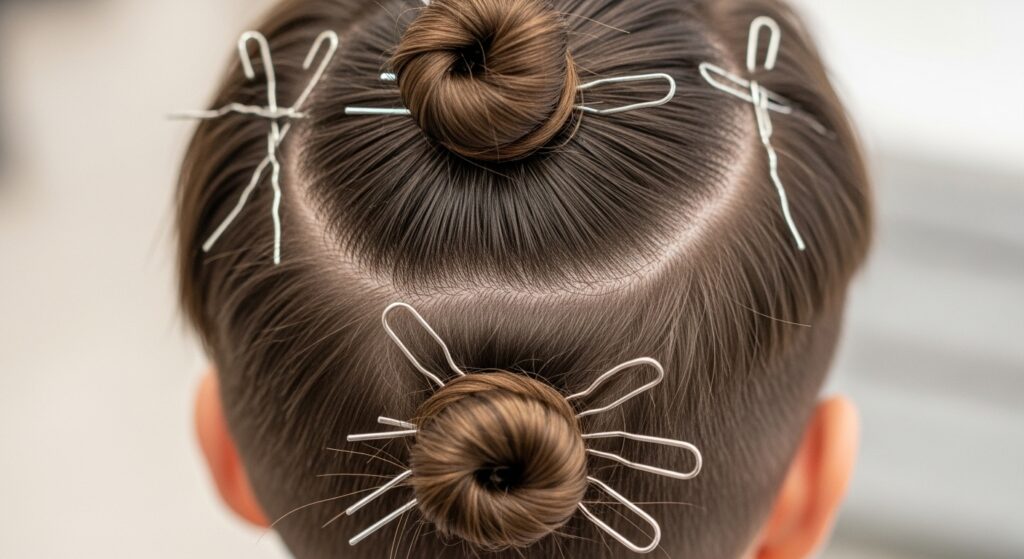
Step 1: The First Ponytail. Gather whatever hair you can at the crown of your head and secure it with a small, clear elastic. It might be a tiny, sad little nub—that’s okay!
Step 2: The Second Layer. Directly below this first ponytail, gather another section of hair. Pull this section up and over the first ponytail, securing it with another elastic, essentially wrapping it around the first one. You are now building volume and hiding elastics.
Step 3: The Teasing & Twisting. Gently backcomb or tease the hair in both ponytails to create maximum volume and texture. Then, take the ends of the hair from both ponytails and twist them together loosely. Wrap this combined twist around the base of the two ponytails to form a small, messy bun.
Step 4: Pin Like Your Life Depends On It. This is where the bobby pins come in heavy. Secure the twisted bun from every angle, weaving pins through the base and into your thicker hair underneath. Don’t worry about it being perfect; the messier, the better. The goal is to create the impression of a full bun.
Pro Secrets: The Details That Make All the Difference
Mastering the mechanics is one thing, but elevating your bun to “effortless chic” status is about the finishing touches.
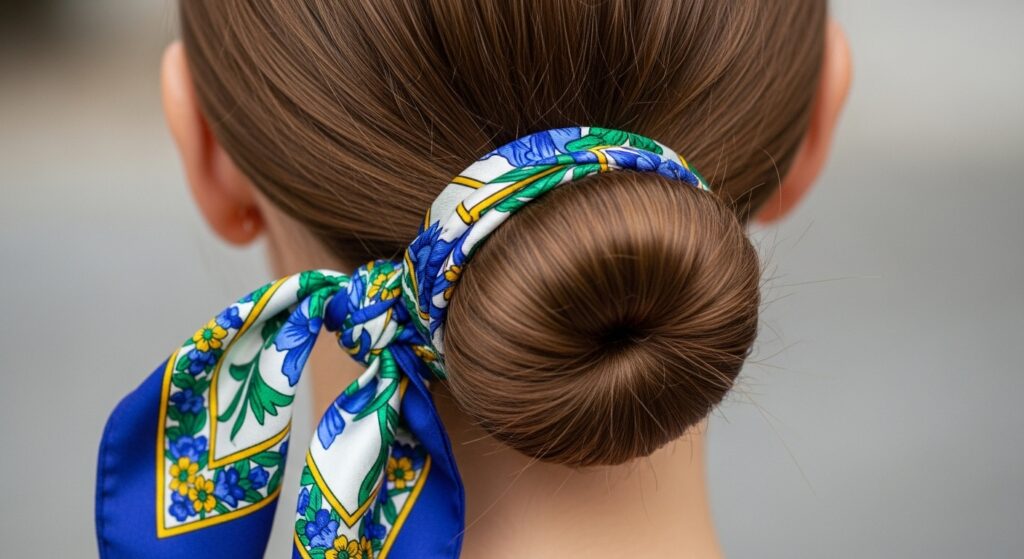
Accessorize Strategically: A thin, elegant scarf tied around the base of your bun can hide a multitude of sins (like visible elastics) and add a pop of color. Decorative bobby pins or a small, delicate clip can also add a touch of glamour and help secure stray pieces.
Embrace the Pieces: Never, ever make your bun too tight or too sleek. After you’ve pinned it, always pull out a few strands around your neck, ears, and forehead. These wispy pieces are the very soul of the effortless look.
Texture is King: Before you even start, scrunch your hair with a texturizing cream or spray. The more lived-in your hair looks to begin with, the more believable your “I just threw it up” bun will be.
Your Effortless Short Bun Awaits
The journey to the perfect short bun is one of practice, patience, and a healthy dose of texturizing spray. It’s about letting go of the idea of perfection and embracing the unique, piecey beauty of your hair length. What seems like a complex series of twists and pins will soon become second nature—a five-minute routine that yields a whole day of chic, confident style.
So gather your pins, embrace the mess, and remember: the most effortless looks are often the ones with the most thought behind them. Now go forth and conquer that bun.