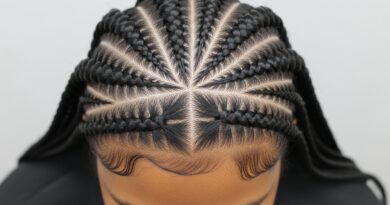
How to Grow Out Bangs Gracefully (No Awkward Stage!)
You did it. You took the plunge into bangs, and for a glorious moment, you felt like a French film star or a chic, modern icon. But now, the maintenance has lost its charm. The constant trimming, the oily forehead situation, the commitment it’s time for a change. So, you’ve decided to grow them out. Cue the ominous music and the memory of that one awkward photo from the last time you attempted this. We’ve all been there: that frustrating in-between phase where your bangs are too long to be bangs but too short to blend seamlessly with the rest of your hair. It feels like a style purgatory.
But here’s the secret: the awkward stage is entirely optional. Growing out your bangs doesn’t have to be a test of your patience and hat collection. With a strategic plan, a few clever styling tricks, and the right mindset, you can navigate this transition with grace and even discover new, flattering hairstyles along the way. Consider this your survival manual no, your thrival manual for turning a potentially frustrating grow-out period into a journey of stylish experimentation.
1. The Mindset Shift: From “Grow-Out” to “Hair Evolution”
Before you pick up a single bobby pin, you need to win the mental game. If you view this as a punishment, every stray hair will feel like a disaster. Instead, reframe the narrative.
- Think of it as an evolution, not a mistake. You aren’t stuck with a bad haircut; you are transitioning to a new look.
- Focus on the possibilities. Each week of growth unlocks a new styling technique you couldn’t do before.
- Practice patience with purpose. Know that this phase is temporary, but the styling skills you learn will last forever.
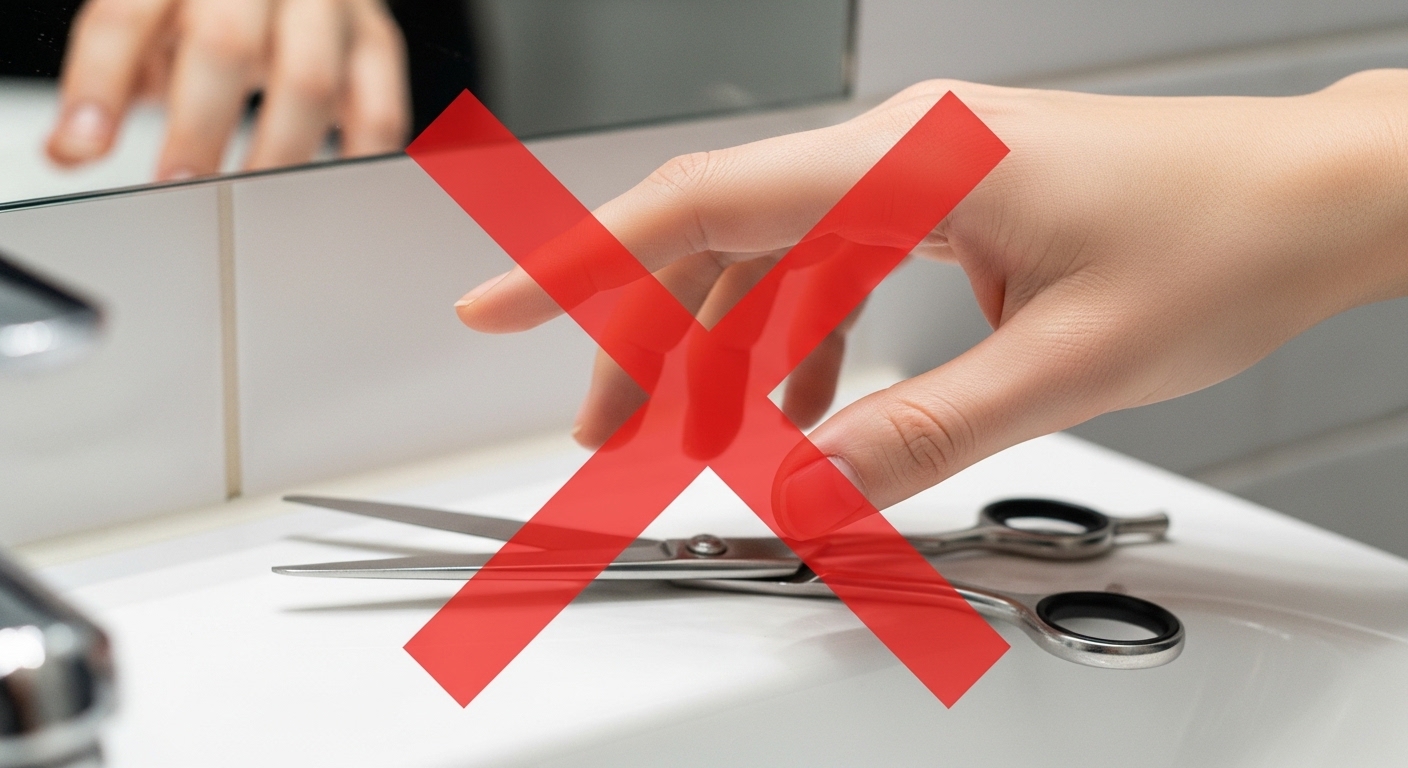
2. The Golden Rule: Why You Must Put Down the Scissors
It happens to the best of us. You’re staring in the mirror, one strand is poking you in the eye, and the kitchen shears start to look tempting. Stop. Right. There.
- DIY cuts are never straight. You will likely create an uneven, choppy line that is harder to fix.
- Cutting them shorter resets the clock. You will erase weeks of progress in one snip, prolonging the awkward stage.
- Professionals have blending tools. A stylist can cut around the bangs to integrate them; you cannot do that yourself.
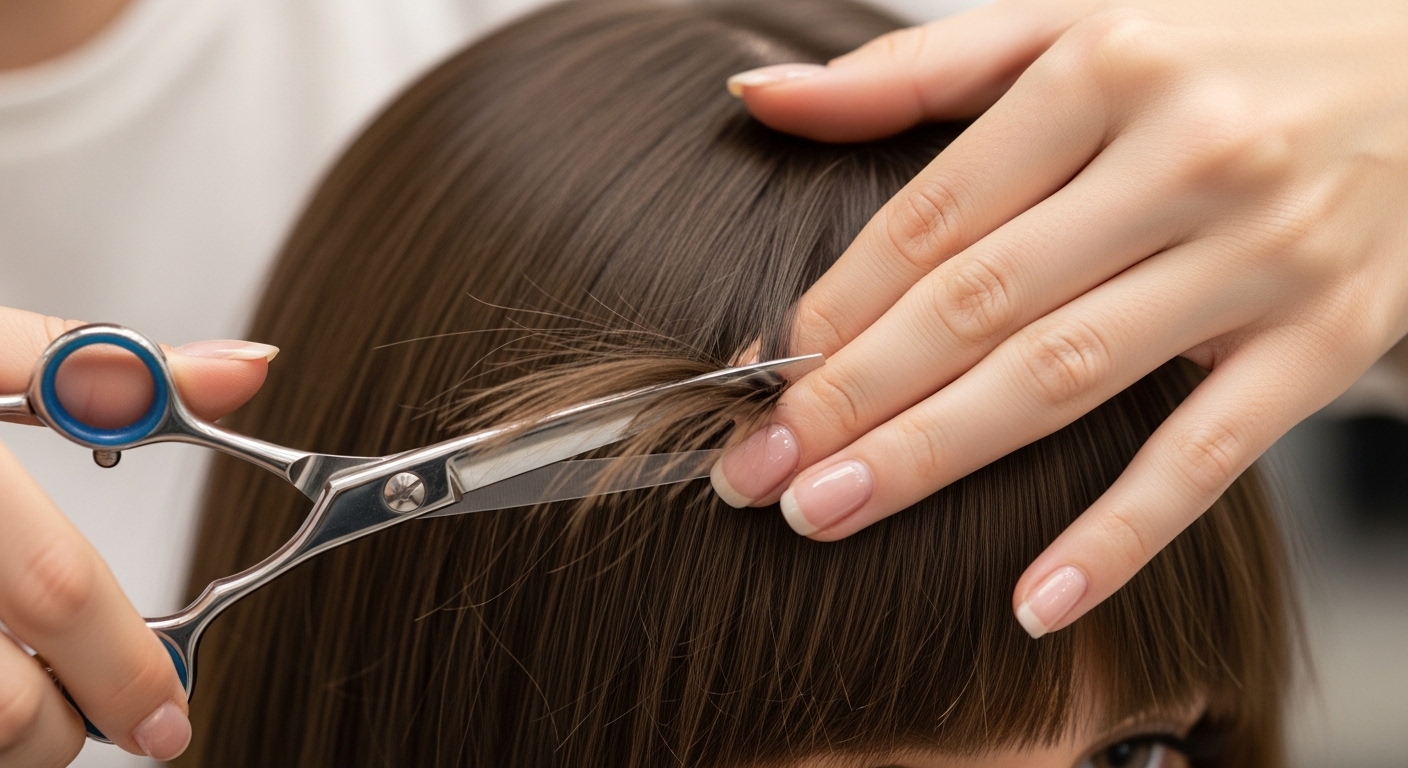
3. The Strategic Trim: Your Secret Weapon for Blending
This sounds counterintuitive, but hear us out: trimming is not the enemy of growth. The goal isn’t to cut your bangs shorter, but to shape the surrounding hair to facilitate a smoother blend.
- Ask for “blending trims” or “shape-up trims” every 8-10 weeks.
- The focus should be on softening the hard line of the growing fringe.
- This creates a cascading layer effect, preventing the dreaded “shelf” look where your bangs stick out like a separate piece of hair.
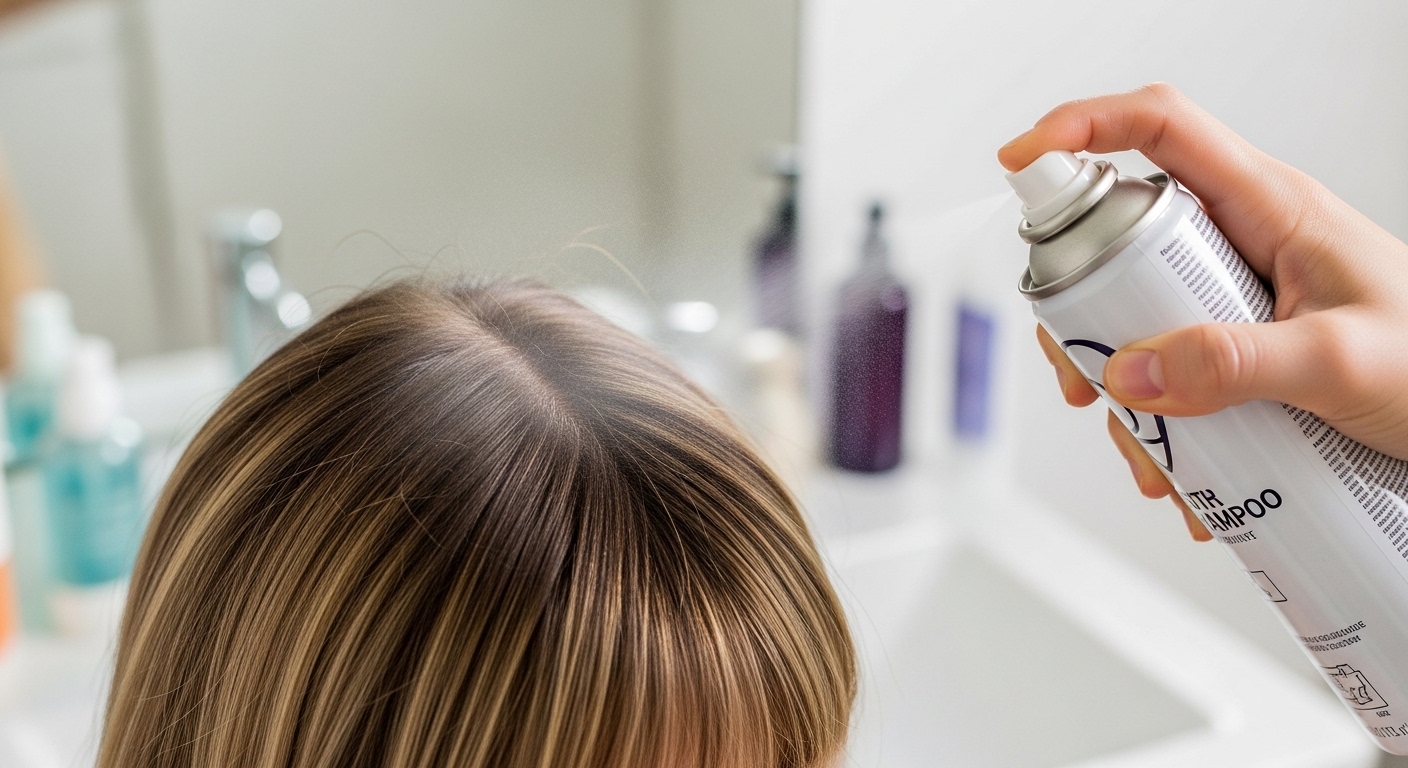
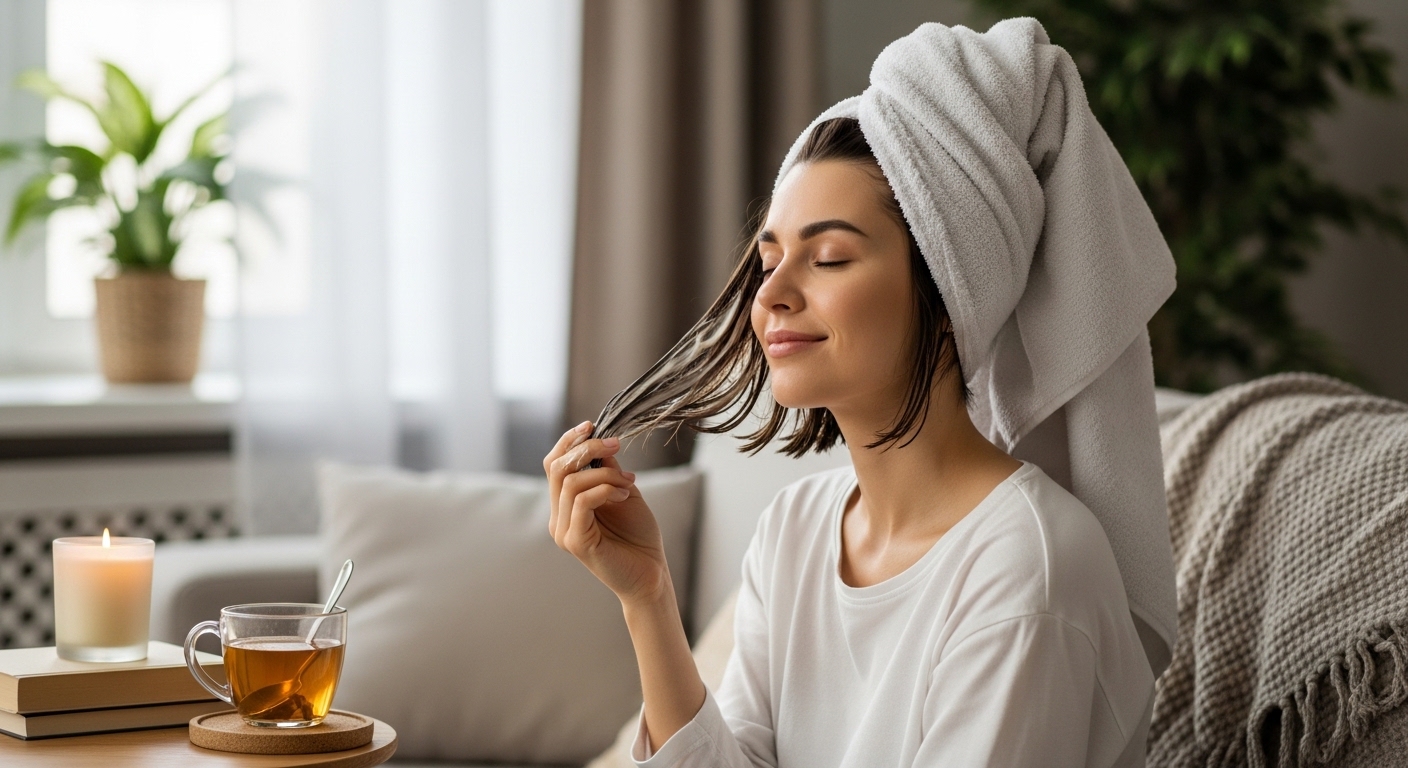
4. The Texture Savior: Why Dry Shampoo is Essential
When bangs are growing out, they tend to get oily faster than the rest of your hair because they touch your forehead constantly. They also become slippery and hard to pin. Texture is the answer.
- Dry shampoo soaks up excess oil at the roots, keeping bangs fresh.
- It adds grit and volume, giving your hair something to hold onto so pins don’t slip out.
- It helps bangs hold a curl or a side-swept shape much better than clean, slippery hair.
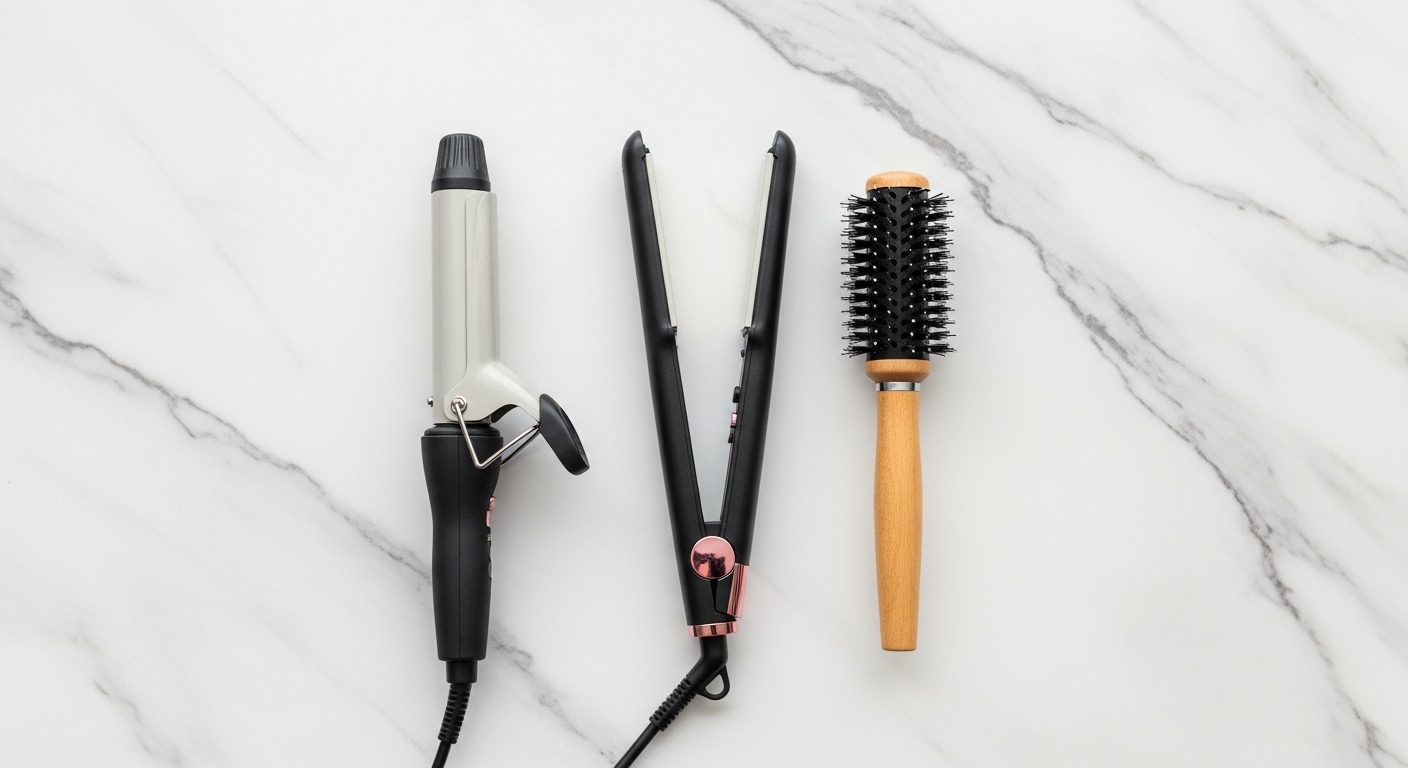
5. The Small Tool Kit: Must-Have Heat Tools
You can’t style your way through this phase with just your fingers. Having the right small tools makes a massive difference in training your hair to behave.
- A 1/2-inch to 1-inch curling iron: Perfect for adding small bends or flipping the ends under or out.
- A flat iron: Ideal for smoothing cowlicks and gently directing hair to sweep to the side.
- A small round brush: Used with a blow dryer to create volume at the roots and train the hair to curl under rather than stick out.
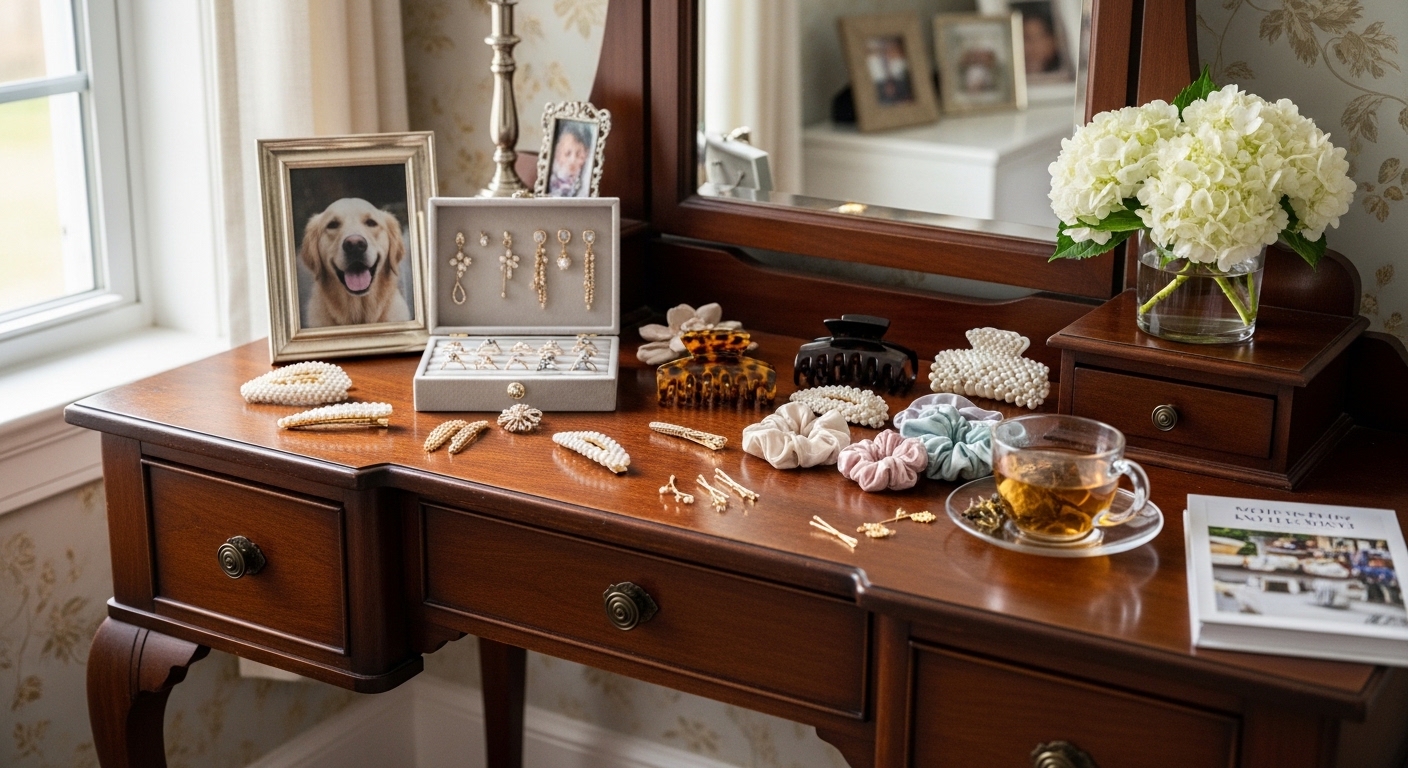
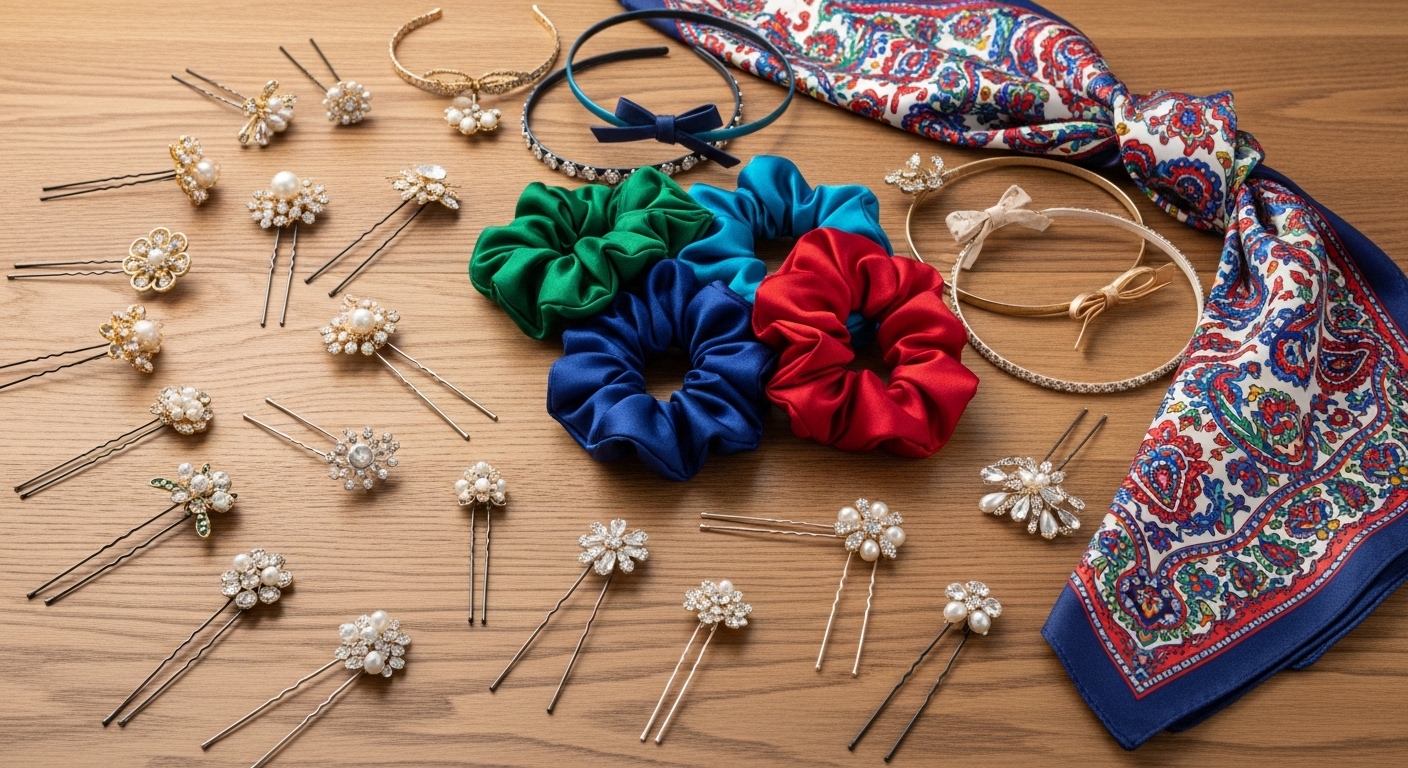
6. The Accessory Arsenal: Your New Best Friends
During the grow-out phase, your hair accessories become just as important as your styling products. They are not just for hiding bad hair days; they are for creating intentional, stylish looks.
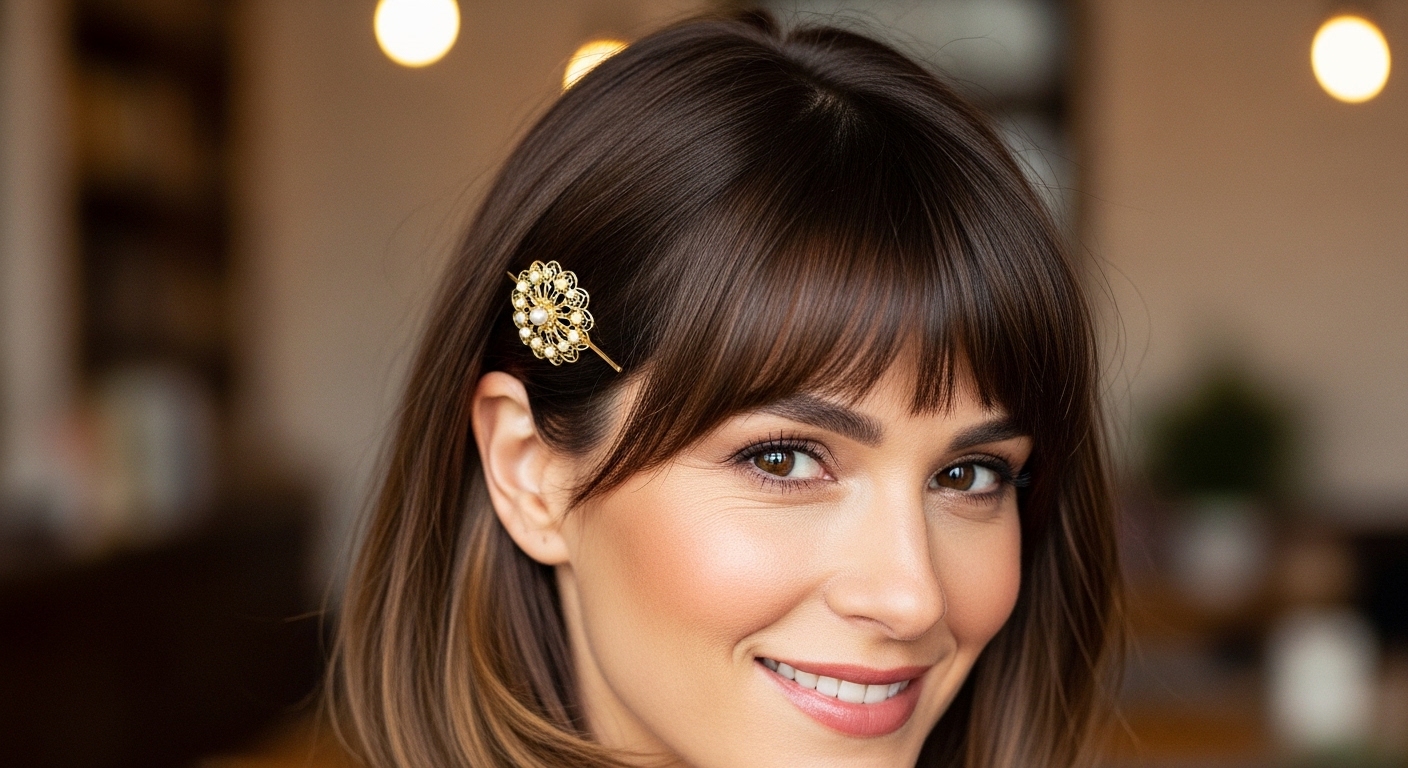
Decorative bobby pins and snap clips: Use them to pin back stray pieces in a way that looks purposeful.
Thin fabric headbands: Perfect for holding back the “eye poker” stage while adding a retro vibe.
Silk scrunchies and claw clips: For creating half-up styles that keep bangs off your face without damaging the hair.
Silk scarves: Can be tied as headbands, wrapped around ponytails, or used to protect hair while sleeping.
7. Stage 1 Survival: The “Eye-Poker” Phase (Eyebrows to Eyelids)
This is the shortest, most frustrating stage. The bangs are long enough to be annoying but too short to stay behind your ears. The goal here is containment and direction.
- The Side Sweep: Use a flat iron to smooth them and direct them strongly to one side.
- The Mini Pin: Secure the longest piece with a bobby pin crossed with a decorative pin for a polished look.
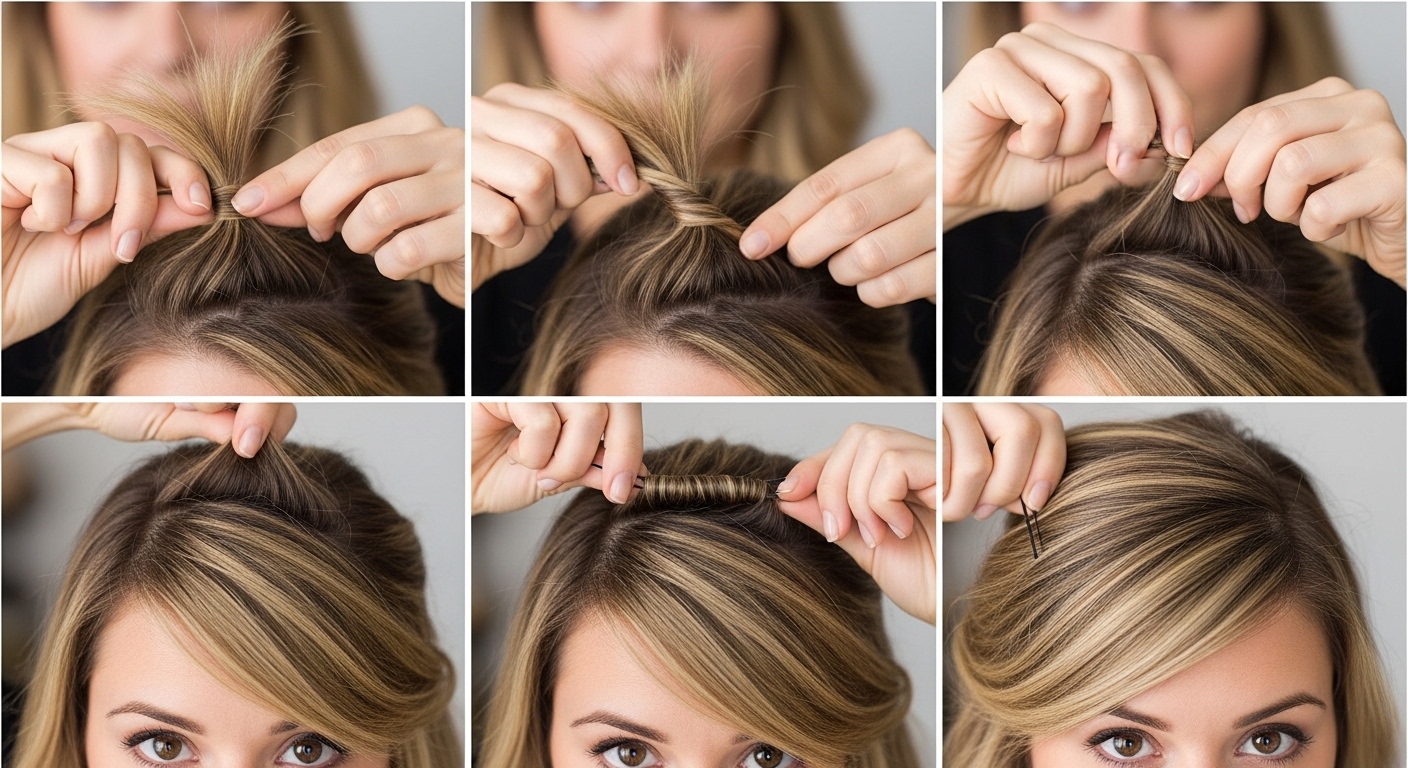
- The Twist and Pin: Mix them with the front section of your hair and pin them back just above your ear for a cute, face-framing effect.
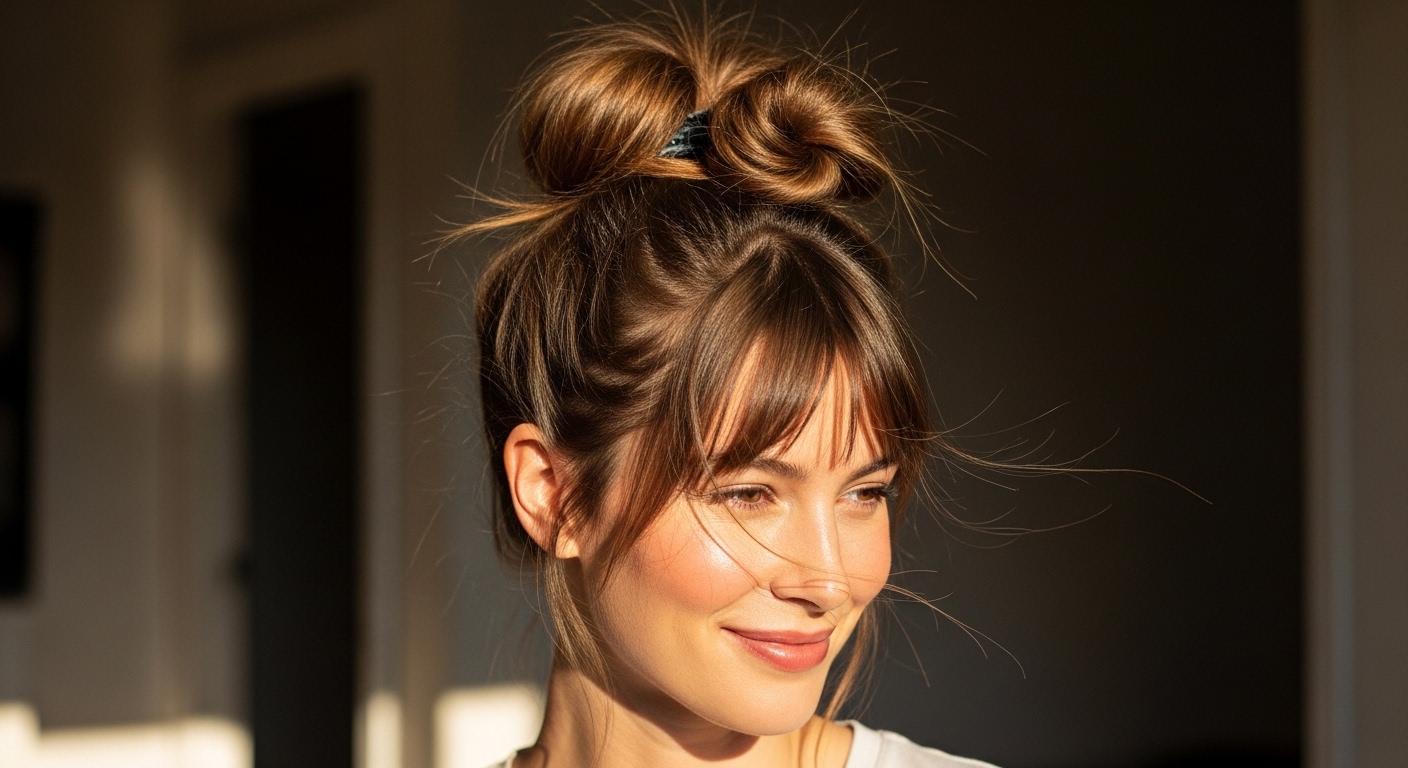
8. Stage 2 Survival: The “Awkward Middle” Phase (Cheekbone)
They are now long enough to get in your mouth when you smile, but still too short to blend. This is where accessories truly shine and save the day.
- The Half-Up Twist: Take the front section (including bangs), twist it gently back, and secure it at the crown with a small clip. It creates instant volume.
- The Headband Hero: A thin, fabric headband or scarf elegantly holds back the fringe while adding style.
- The Braided Accent: Create a small Dutch or French braid starting at the temple, incorporating the bangs, and pinning it at the back.

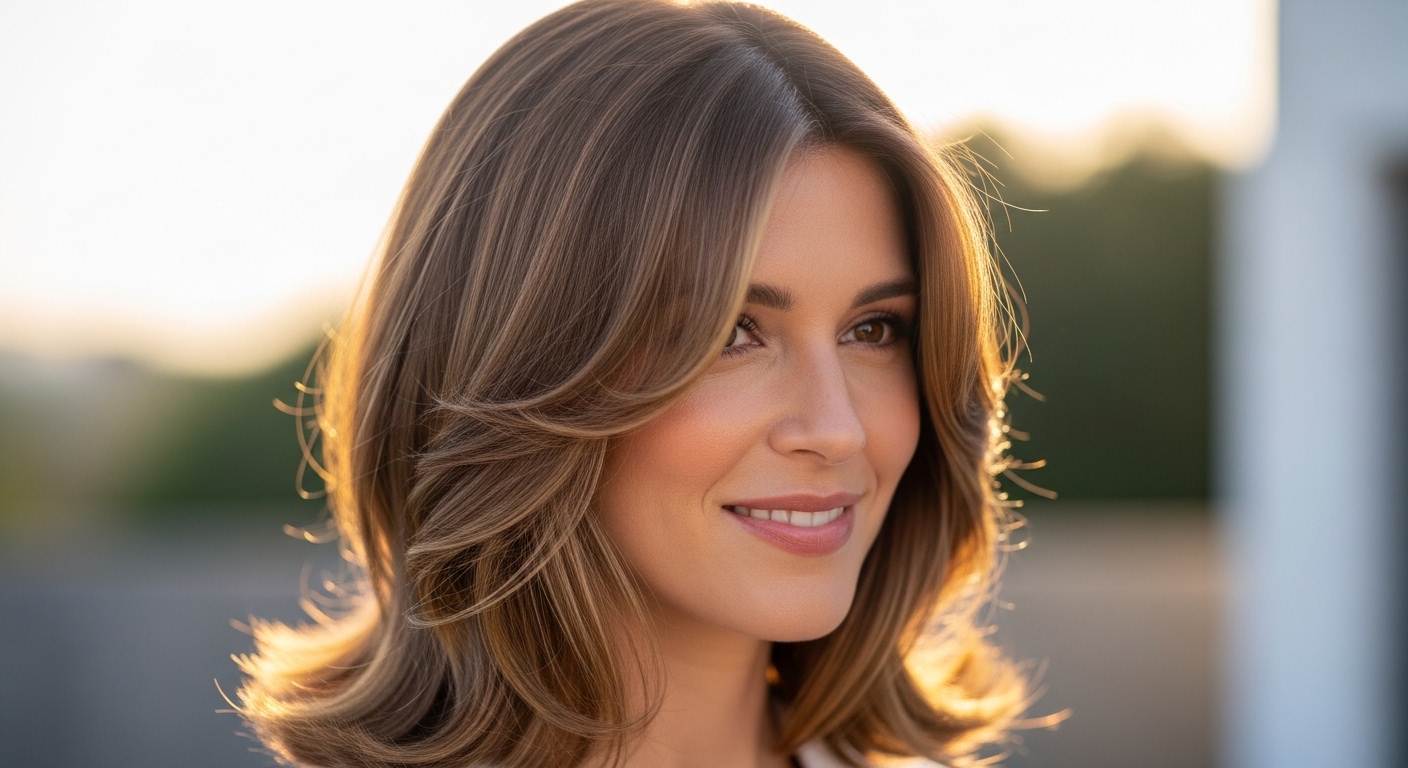
9. Stage 3 Survival: The “Blending” Phase (Jawline)
Congratulations, you’re in the final stretch! At this length, your bangs can finally start to act like regular face-framing layers.
The Soft Wave: Use a larger curling iron to add soft waves to your bangs and the hair around your face, curling away from your face to blend them seamlessly.
The Low Ponytail: Pull hair back, but leave out the bangs and front pieces. Curl these loose pieces for a soft, romantic frame.
The “Push Back” Style: Use a light gel or pomade to push them straight back for a sleek, wet-look style.
10. Mastering the Deep Side Part
Changing your part is one of the most powerful and instant tricks in the book. It changes the direction of the hair and hides the fact that the pieces are uneven.
- How to do it: Take your comb and create a dramatic side part, much deeper than your usual part.
- Why it works: It redistributes the volume and trains the stubborn, forward-falling bangs to lay sideways.
- Pro Tip: When hair is wet, set the new part with a clip or blow-dry it in that direction to train the hair memory.
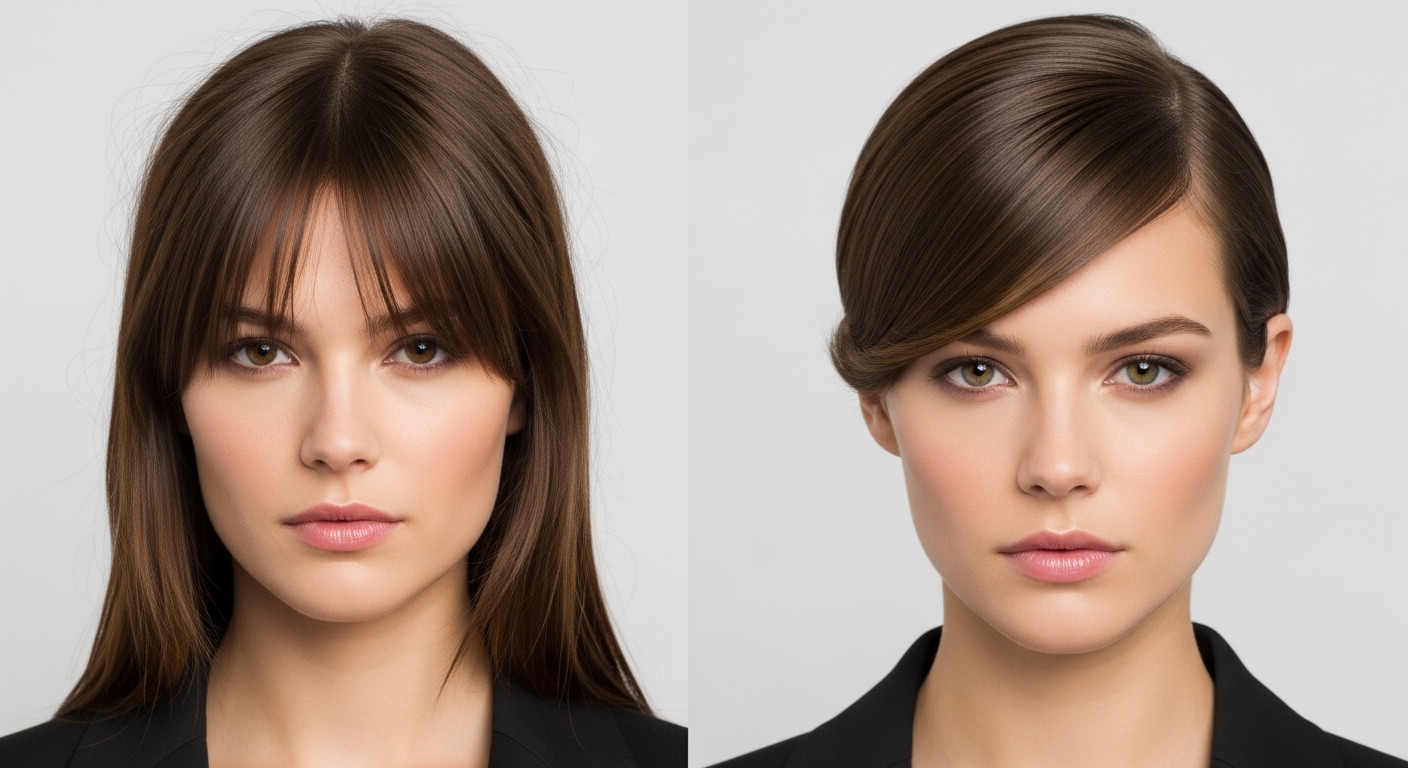
11. When to Try the Middle Part
As your bangs get longer (approaching the chin), a middle part can actually become your ally. It creates a symmetrical, “curtain bang” effect.
Use bobby pins strategically: Place a pin or two vertically behind the ear to hold the shorter pieces back until they catch up.
Embrace the wave: A middle part looks best with textured, wavy hair that softens the lines.
Avoid a harsh line: Don’t force a perfectly straight middle part if your bangs aren’t long enough; a slightly soft, grown-out part is more forgiving.
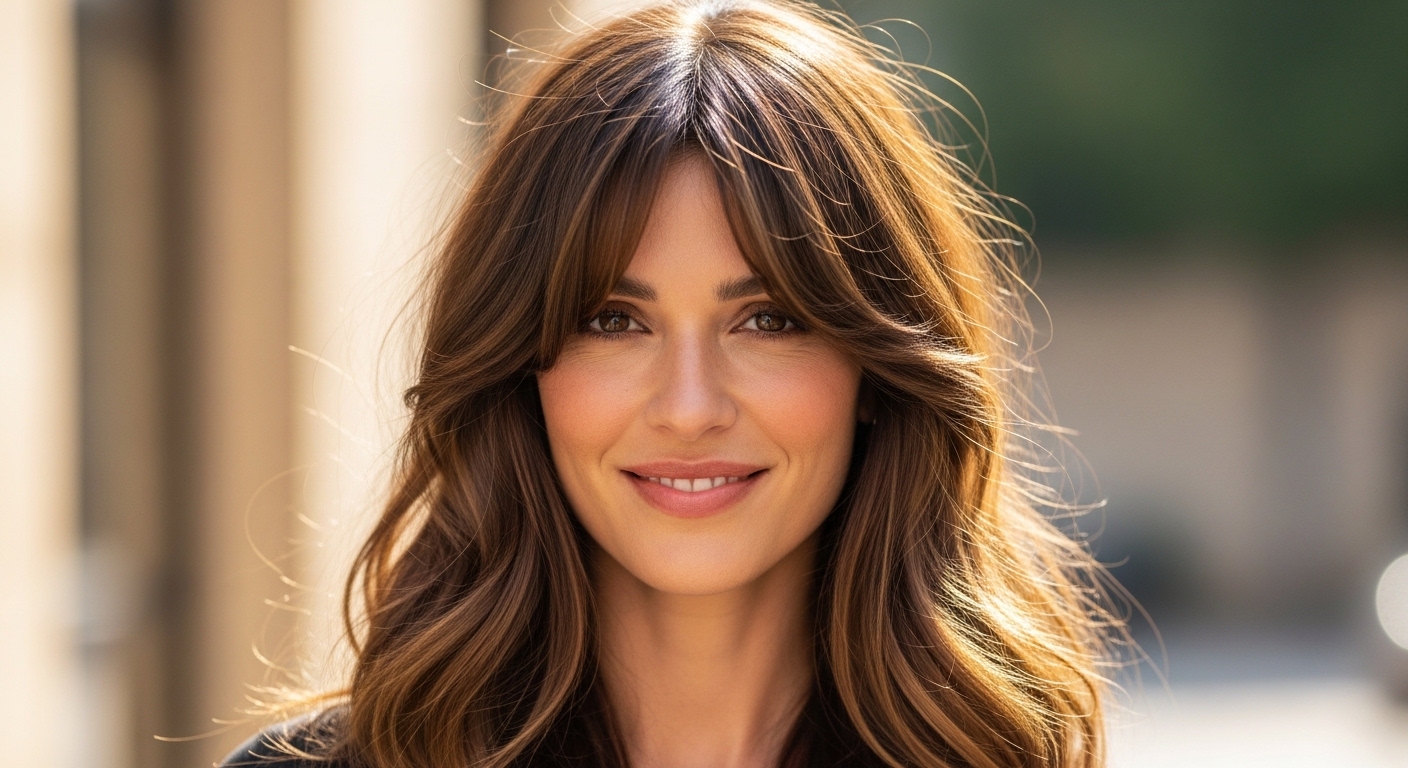
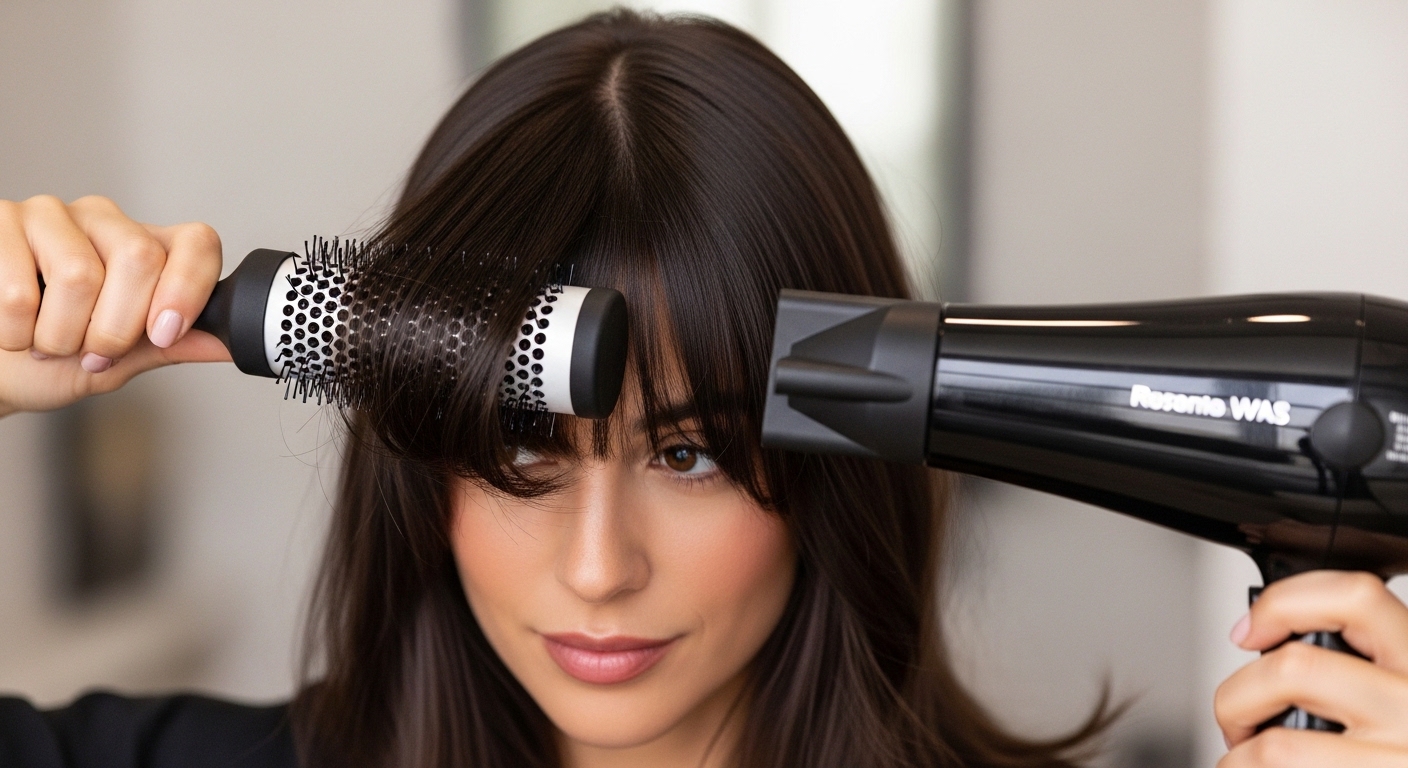
12. The Curtain Bang Illusion
If you love the look of bangs but are trying to grow them out, simply style them as “curtain bangs” during the transition. This is a happy medium.
- How to style: Use a round brush to blow-dry them backward and away from your face, creating a “C” shape.
- The result: They frame your face beautifully without covering your forehead, and they look intentional rather than “in-between.”
- Products to use: A volumizing mousse at the roots and a light hairspray to hold the shape.
13. The Tuck and Roll Technique
This is a go-to trick for stylists when hair is at that annoying cheekbone-to-chin length. It looks polished and keeps hair off your face.
Step 1: Take the section of your bangs plus a little bit of hair behind them.
Step 2: Twist the section loosely backward (towards the back of your head).
Step 3: Tuck the ends into the rest of your hair and secure with a bobby pin hidden underneath.
The Look: It creates a beautiful, face-framing wave that looks like it was done on purpose.
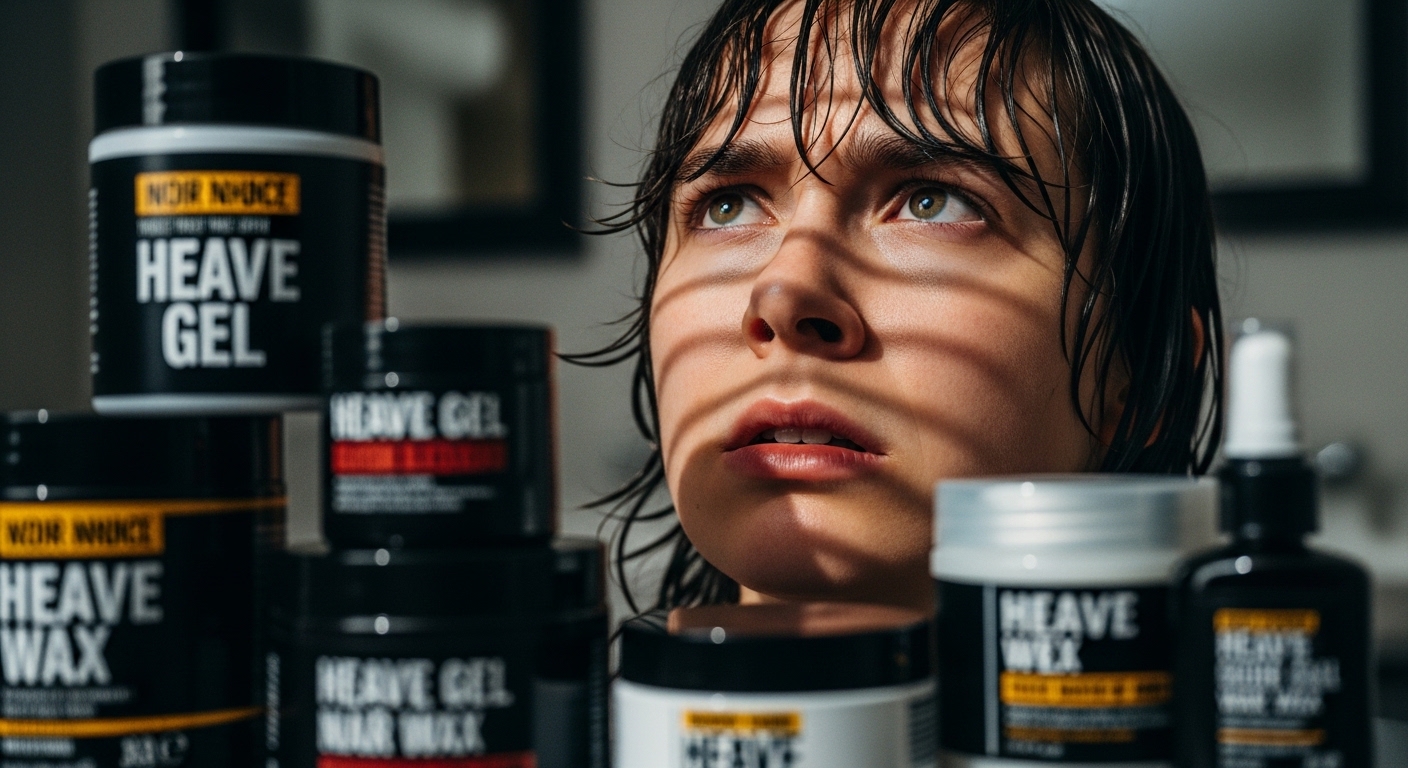
14. Fight the Urge to Over-Product
When hair is acting up, our instinct is to douse it in product to make it behave. With growing-out bangs, less is almost always more.
Avoid heavy gels and waxes: These weigh down fine bangs, making them look greasy, stringy, and separate from the rest of your hair.
Stick to lightweight formulas: Use texturizing sprays, dry shampoos, or light-hold styling creams.
Apply sparingly: Start with a tiny amount you can always add more, but you can’t take it out easily.
15. The Importance of Hair Health
Growing hair is vulnerable hair. The ends are the oldest and most fragile part, and breakage will ruin your progress.
Weekly Nourishing Mask: Treat your hair to a deep conditioning mask once a week to keep it moisturized and strong.
Heat Protectant is Non-Negotiable: Never use a hot tool without spraying on a heat protectant first.
Silk Pillowcase: Sleeping on silk reduces friction, preventing breakage and frizz while you sleep.
16. The Hat Trap: Why You Can’t Hide Forever
Hats and beanies are great temporary solutions, but relying on them 24/7 can actually backfire.
- The Problem: Constant friction from tight hats can lead to breakage along the hairline.
- The Solution: If you must wear a hat, opt for looser, silk-lined styles, or use a silk scarf underneath as a barrier.
- The Reality: You need to learn to style your hair, not just hide it. The more you practice styling, the easier it gets.

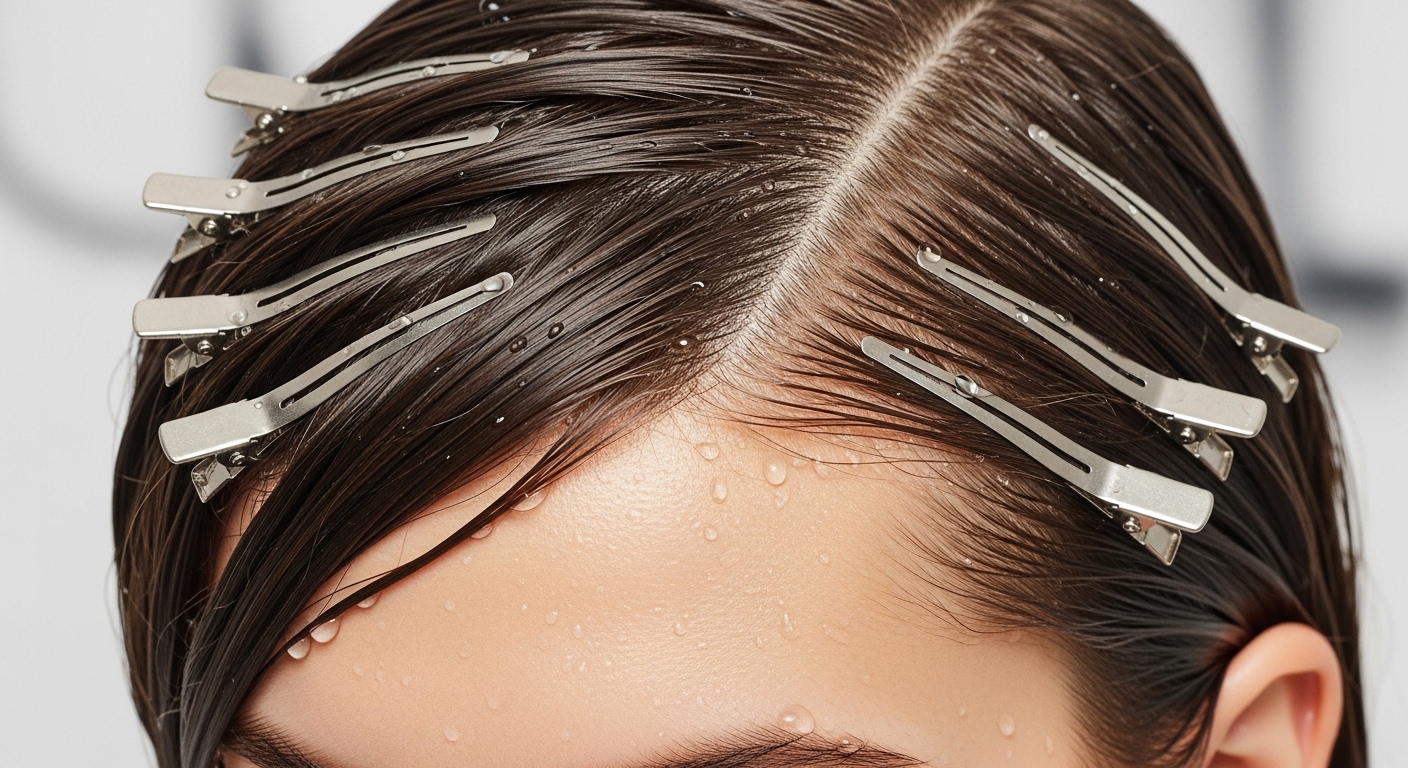
17. Train Your Hair with Wet-Setting
You can actually teach your hair to grow in a new direction using a technique called “wet-setting.”
How it works: After a shower, comb your hair into the desired new direction (e.g., side-swept).
Use clips: Use large duckbill clips or bobby pins to hold the hair in that position while it dries.
The result: As the hair dries, it “learns” to lay that way, making it easier to style the next day.
18. The “Mini Pony” for Short Pieces
When your bangs are too short to reach a full ponytail but too long to leave loose, give them their own tiny ponytail.
How to do it: Gather just your bang section at the top of your head, as if you were making a mini unicorn horn.
Secure it: Use a small, clear elastic.
The look: This is a fun, edgy look that works well with messy buns or high ponytails, turning a problem piece into a statement piece.
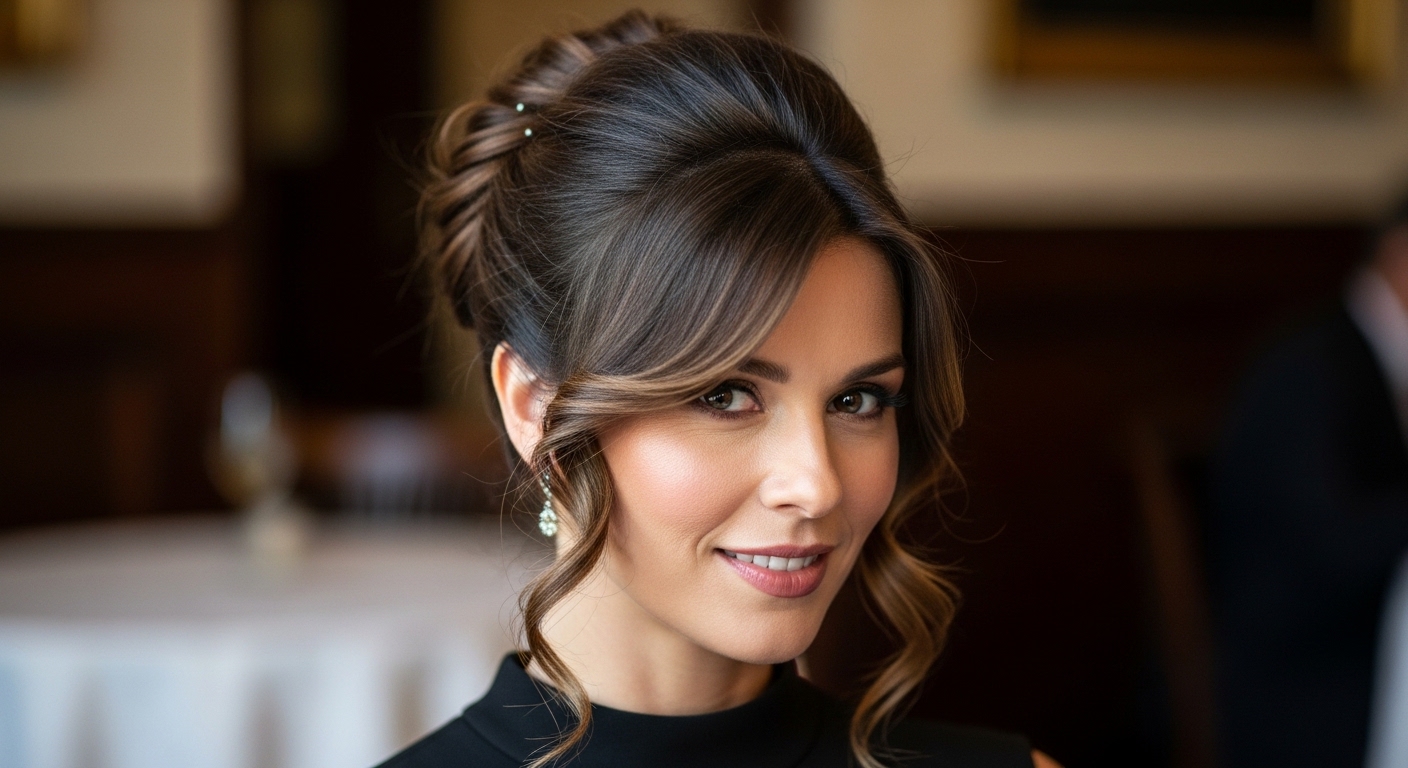
19. Embrace the French Twist (with Bangs)
The French twist is a classic updo, and it’s surprisingly perfect for hiding awkward bangs.
How to adapt: Sweep all your hair back, including the bangs, into a low twist at the nape of your neck.
Dealing with strays: If shorter pieces fall out around the face, leave them! Curl them lightly for a soft, romantic, “intentional” look.
The vibe: It looks elegant and polished, perfect for evenings out when you want to look chic, not like you’re struggling.
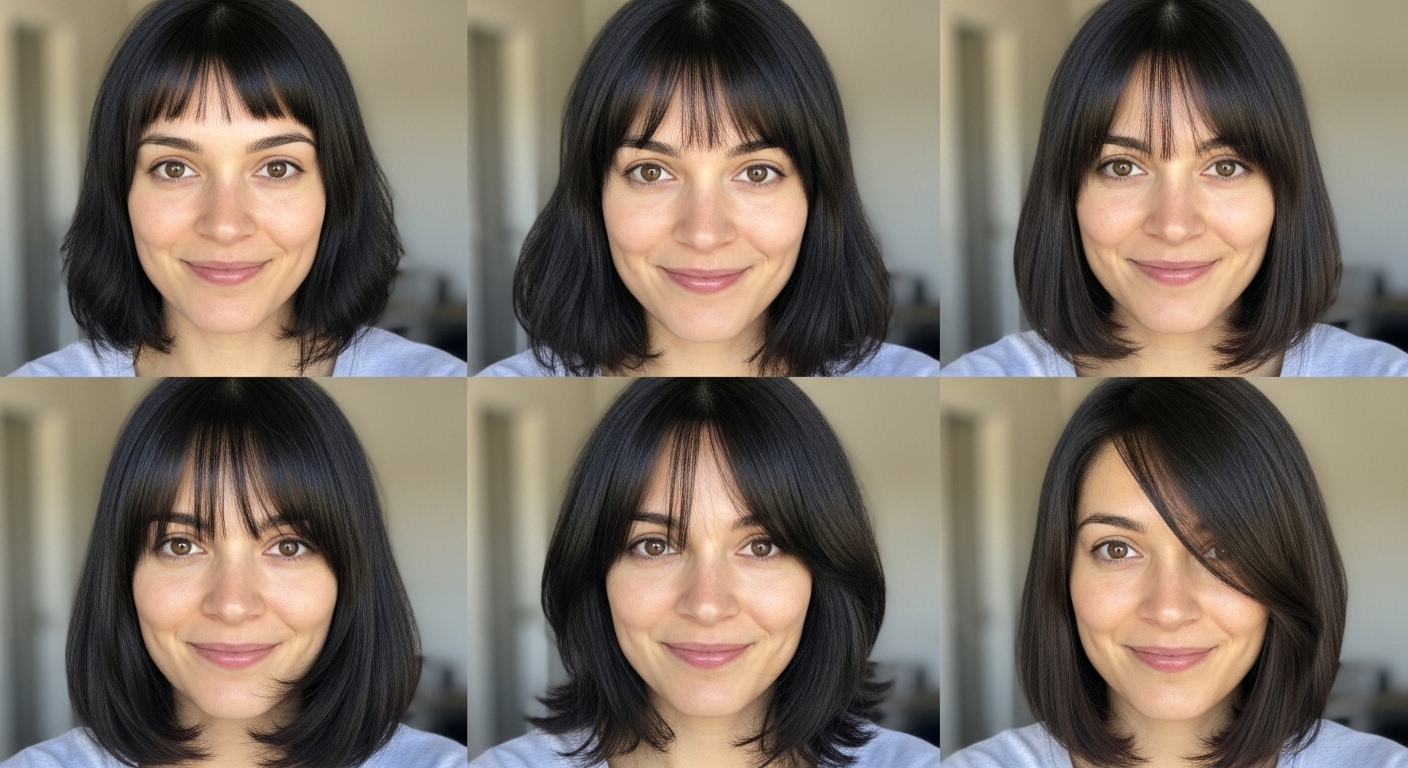
20. Track Your Progress Visually
On the days when you feel like your hair hasn’t grown an inch, visual proof is the only cure. Start a progress diary.
Take a photo every week: Use the same lighting and angle (a plain white wall is best).
Don’t look every day: Compare the photo from Week 1 to Week 8. You will be shocked at the difference.
Celebrate the small wins: Notice when they pass your nose, when they tuck behind your ear, when they touch your shoulder.
21. The Final Frontier: Blending with Long Layers
The ultimate goal is for your former bangs to look like they were always part of the plan. This happens when they reach collarbone length.
- The Final Trim: At this point, one final salon visit for subtle long layers can integrate everything perfectly.
- Style with Confidence: Wear your hair in loose waves, curls, or sleek and straight the transition is officially complete.
- You Did It: Acknowledge that you navigated one of the most annoying hair phases with grace and creativity.

Growing out your bangs is a lesson in patience, creativity, and adaptability. It’s a temporary challenge that teaches you permanent styling skills.
- You are not alone. Every person with bangs has been through this.
- Confidence is key. Wear your evolving style with pride.
- The other side is worth it. A full, glorious head of hair is waiting for you. Enjoy the journey there.