How to Keep Braids from Frizzing in Humidity
Hey friend. If you’ve ever stepped outside on a humid day and watched your fresh, sleek braids instantly puff up into a frizzy halo, you know the struggle is real. That feeling of defeat is the worst, especially when you put so much time and care into your style.
Whether you’re rocking a timeless look or trying out one of the trending 2026 hairstyles, humidity doesn’t discriminate. It can turn your perfect braids into a fuzzy mess in minutes. But here’s the good news: frizz-free braids in any weather are totally possible.
I’ve spent years testing every trick in the book—some wins, some major fails—to figure out what actually works. This isn’t about complicated routines or expensive products. It’s about smart, simple steps that make a huge difference.
Let’s dive into my absolute best tips for keeping your braids smooth, defined, and gorgeous, no matter what the forecast says. Say goodbye to frizz and hello to flawless braids that last.
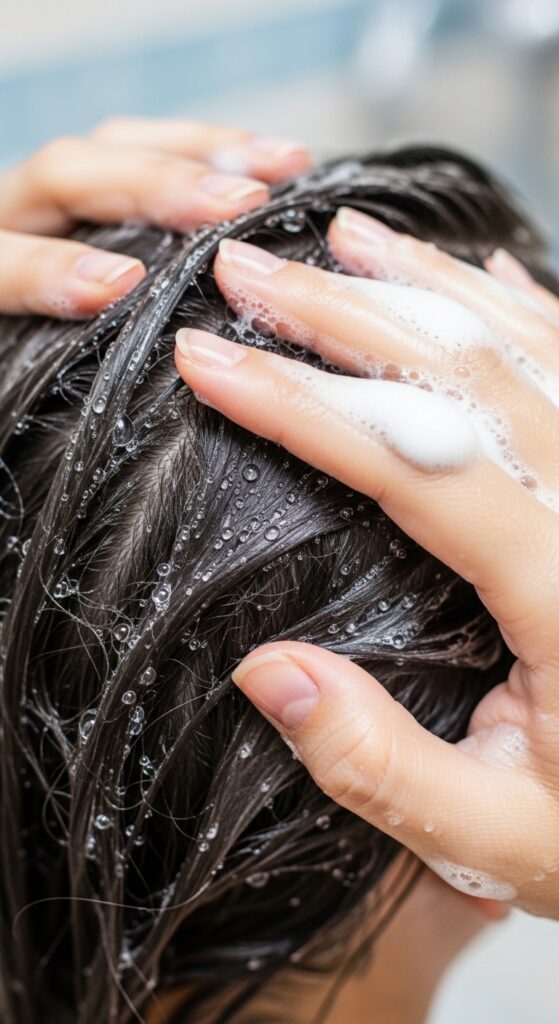
1. Start with Super Clean, Clarified Hair
Everything starts in the shower. If your hair has any product buildup or oils before you braid, that residue will attract moisture from the air like a magnet. This is the first step to frizz city.
Use a clarifying shampoo once a month to deeply reset your scalp and strands. For regular washes, a gentle, moisturizing shampoo is key. The goal is hair that’s clean but not stripped.
- Focus shampoo on your scalp to remove oils.
- Use conditioner only on your mid-lengths and ends.
- Rinse with cool water to help seal the hair cuticle.
This clean base is non-negotiable. It’s the foundation for every style, from an old money hair look to more intricate braids.
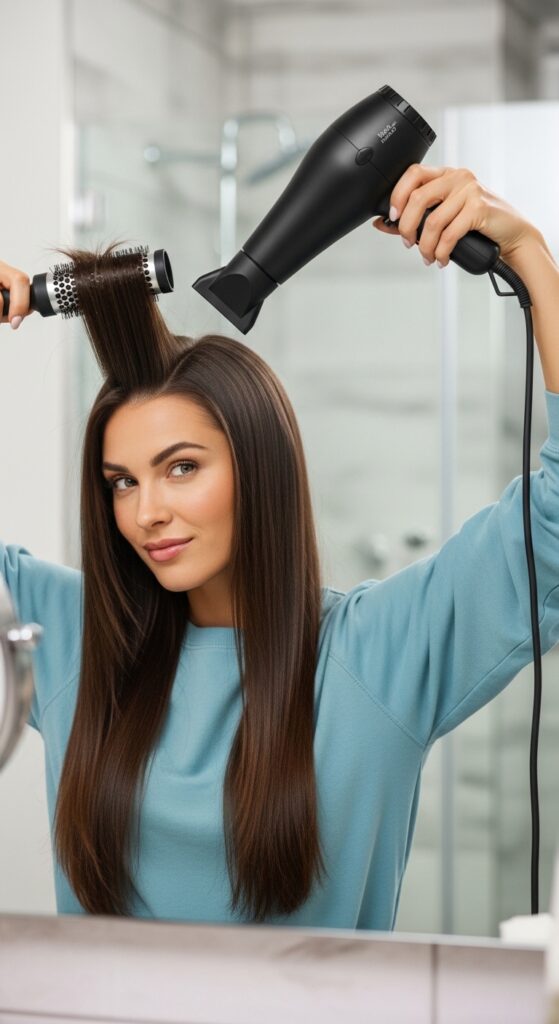
2. The Magic of a Thorough Blow-Dry
Never, ever braid soaking wet hair. This is the biggest mistake I see. Wet hair expands as it dries, which loosens your braids and creates instant frizz. Your hair must be 100% dry before you start.
Take the time to blow-dry your hair completely on a medium heat setting. Use a concentrator nozzle to smooth the hair cuticle down as you dry. This step alone will cut your frizz by more than half.
- Apply a heat protectant spray first.
- Section your hair to ensure every layer gets dry.
- Brush through with a paddle brush as you dry for maximum smoothness.
Think of it as prepping a canvas. A smooth, dry canvas means a smooth, lasting style.
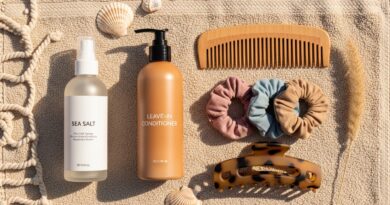
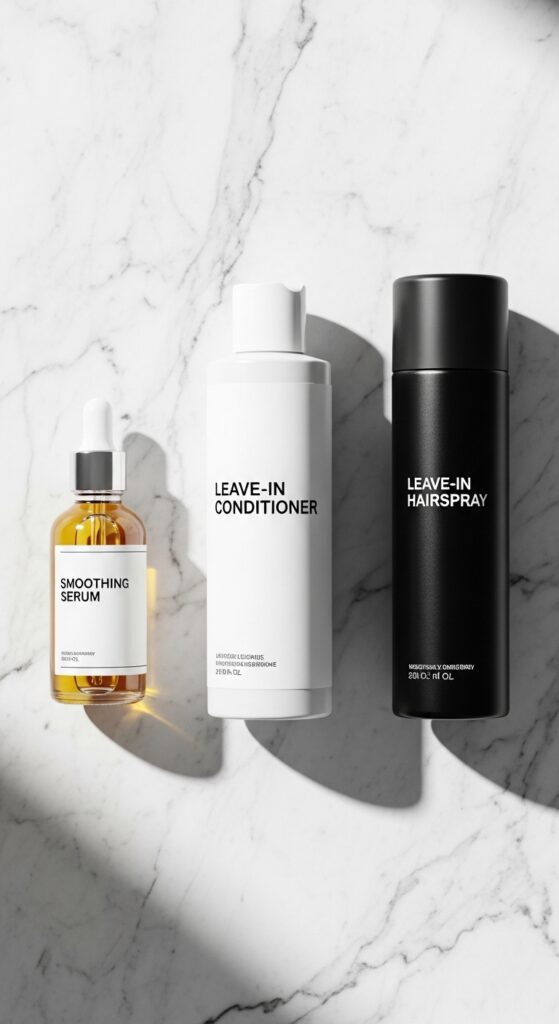
3. Your Anti-Frizz Product Arsenal
Products are your best friends in the fight against humidity. But you need the right ones. Look for formulas that create a barrier against moisture in the air.
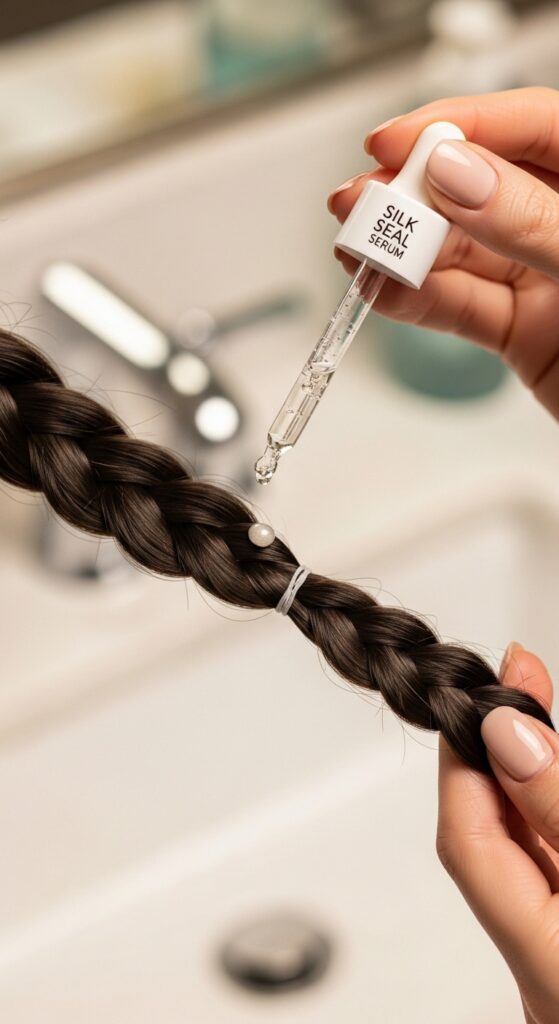
A light leave-in conditioner provides hydration without weight. A smoothing serum or cream is essential for sealing the cuticle. And a strong-hold, anti-humidity hairspray is your final shield.
- Apply a pea-sized amount of leave-in to damp hair.
- Work a smoothing serum through dry hair before braiding.
- Lightly mist the finished braids with anti-humidity spray.
This trio creates layers of defense. It works for any style, whether you’re going for a quiet luxury bob or bohemian braids.
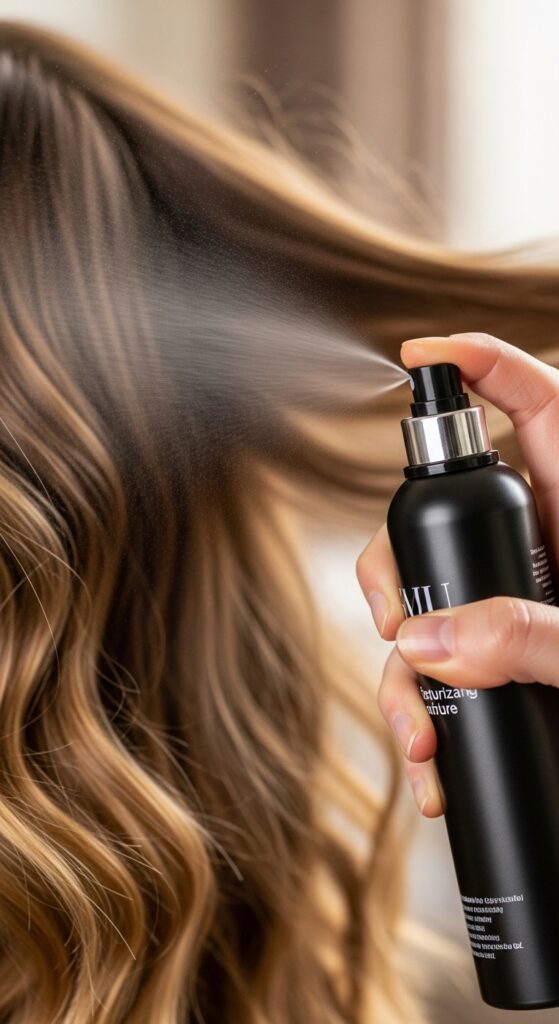
4. Braid on Slightly “Grippy” Hair
This tip is a game-changer. Hair that’s too silky-smooth from products can be slippery, causing braids to loosen and frizz. You want a little texture for grip.
After blow-drying, let your hair cool down completely. Then, add a very light texturizing spray or even a dry shampoo at the roots. This gives your fingers something to hold onto.
- Don’t overdo it—just a light mist is enough.
- Focus on the mid-lengths where you’ll be braiding.
- Brush it through to distribute evenly.
This “grip” helps you create tighter, more secure braids that won’t slip apart the second you walk outside.
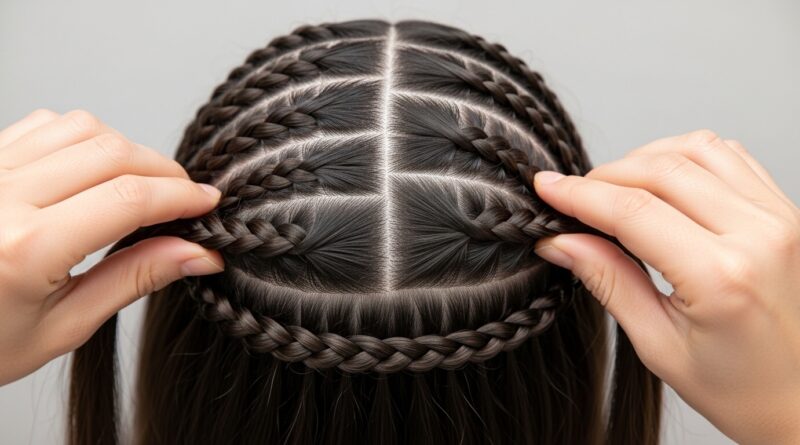
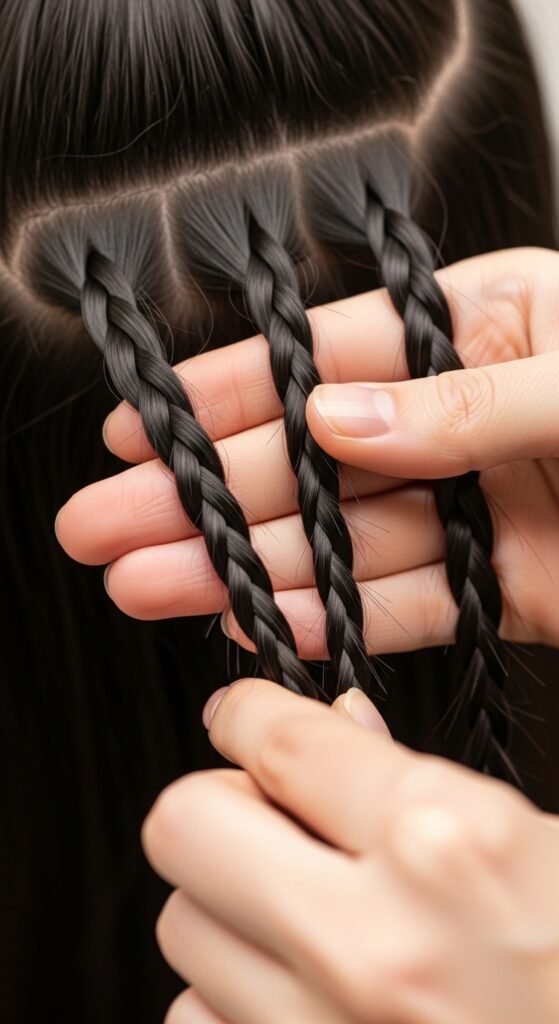
5. Master the Tension: Not Too Tight, Not Too Loose
How tight you braid matters more than you think. Braids that are too tight pull and create tension frizz at the roots. Braids that are too loose will unravel immediately.
Aim for consistent, firm tension from root to tip. Pull each section evenly as you cross them over. The braid should feel secure but not painful on your scalp.
- Start with a firm hold at the top.
- Maintain the same pull pressure all the way down.
- Secure the end with a snag-free elastic.
Perfect tension means your style holds its shape without causing breakage or that fuzzy halo at your part.
6. Seal Those Ends Perfectly
Frizz often starts at the ends of your braids where little hairs poke out. How you finish the tail of your braid is crucial for a polished look.
After securing with an elastic, take a tiny bit of that smoothing serum or even a clear mascara/brow gel. Gently swipe it over the last inch of the braid and the very end.
- This seals down any flyaways.
- It prevents the end from fraying.
- It gives a sleek, finished appearance.
It’s a tiny step with a huge visual impact. Your braids will look professionally done, like a perfect asymmetrical lob version of a braid.
7. The Overnight Protection Ritual
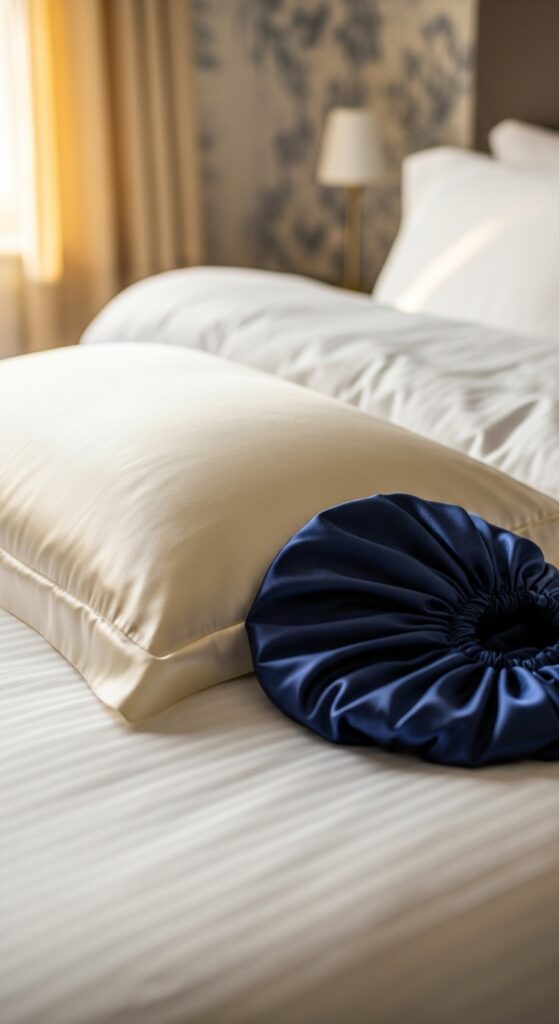
You defend against humidity all day—don’t let friction ruin your work at night! Cotton pillowcases create drag and suck moisture from your hair. Switch to silk or satin.
A silk pillowcase or a satin bonnet/cap is the ultimate investment for any hairstyle. It reduces friction so your braids don’t get fuzzy while you sleep.
- Gently gather your braids on top of your head.
- Slip on a satin bonnet or tie with a silk scarf.
- Alternatively, sleep on a silk pillowcase.
You’ll wake up with your braids just as smooth as when you went to bed. It’s a must for maintaining any style, from romantic goth hairstyles</strong to simple ponytails.
8. Refresh, Don’t Re-Do, Midweek
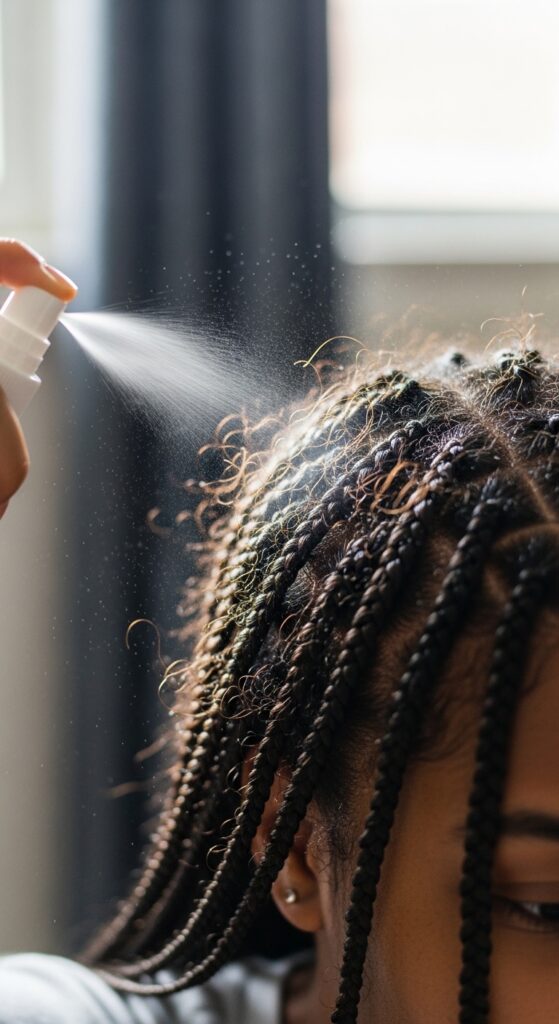
After a few days, you might see some frizz. Don’t take the braids out! A quick refresh can make them look brand new. This saves so much time.
Mix a little water and leave-in conditioner in a small spray bottle. Lightly mist over the surface of your braids, focusing on frizzy areas. Then, smooth them down with your hands.
- Never soak them—just a light dampness.
- Use a soft-bristle brush to gently pat down flyaways.
- Let them air dry or use a blow dryer on cool.
This trick revives the style and tames any escaping hairs without starting from scratch.
9. Choose the Right Elastics & Accessories
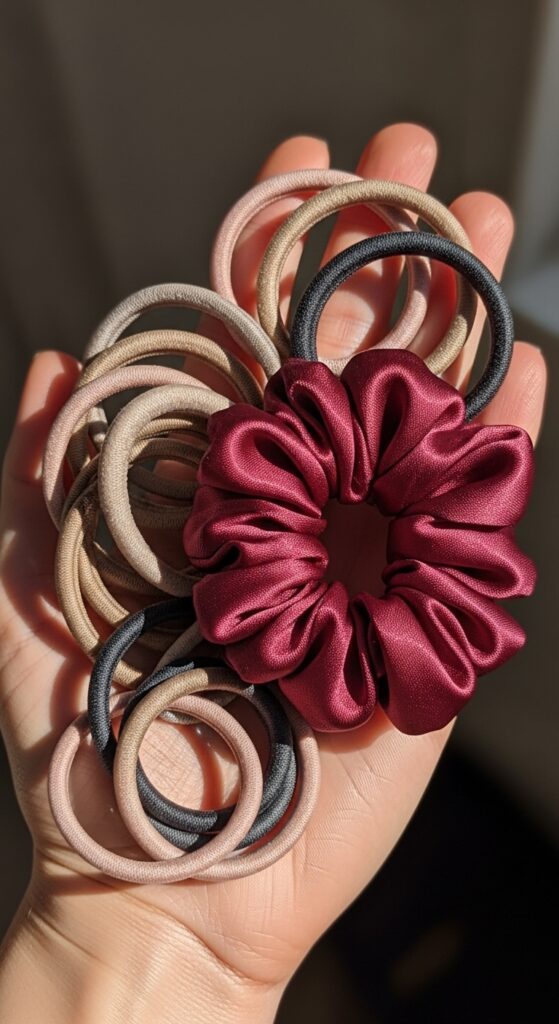
Regular rubber bands can crease your hair and cause breakage, which leads to short, frizzy pieces. The wrong accessories can ruin a good braid.
Always use snag-free, coil-less hair elastics, like those made from silk or soft fabric. For a more decorative look, use silk scrunchies. They hold without damaging.
- Choose elastics that match your hair color for discretion.
- Avoid metal clasps or rough materials on the braid.
- For a vampire haircut or hime cut with braids, use simple, fine accessories.
This small swap protects your hair’s integrity and keeps the ends of your braids looking neat.
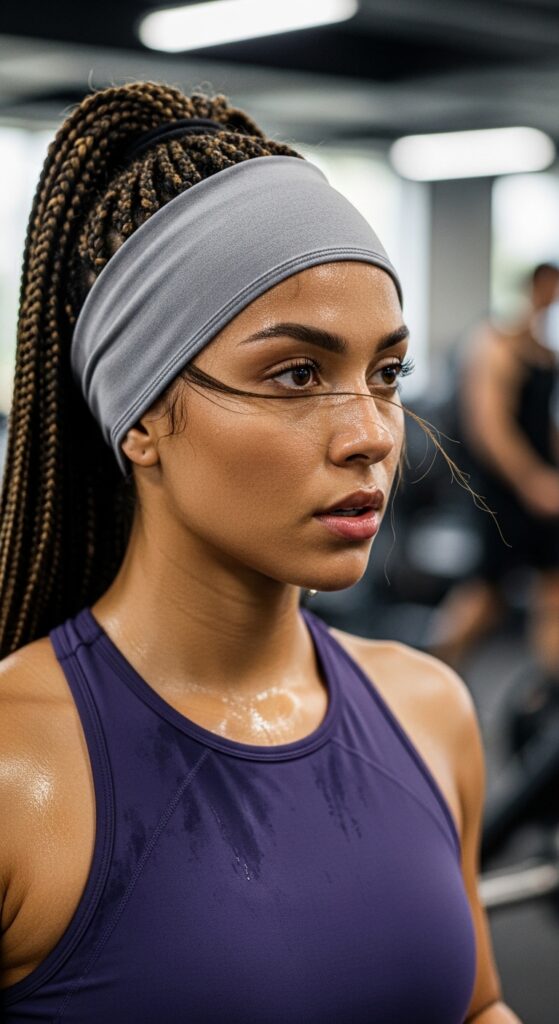
10. Protect Your Braids During Workouts
Sweat is basically humidity coming from your head. If you exercise, you need a plan to protect your braids from the salt and moisture.
Before your workout, wrap your hair in a silk scarf or wear a sweat-wicking headband made of soft material. This absorbs moisture at the roots and hairline.
- After your workout, let your braids fully dry.
- If needed, use a dry shampoo at the roots to absorb sweat.
- Gently smooth any frizz with your serum.
This lets you stay active without sacrificing your style. Your braids will survive spin class.
11. The “Pineapple” Method for Sleep
If you don’t have a bonnet, the pineapple method is your next best bet. It prevents your braids from being crushed under your head and neck all night.
Gather all your braids at the very top of your head, as if you’re making a high ponytail. Loosely secure them with a silk scrunchie. This keeps them elevated.
- Be gentle—don’t pull too tight.
- The goal is to keep them up and out of the way.
- Combine this with a silk pillowcase for best results.
You’ll minimize friction on the length of the braids, which is where most sleep-related frizz happens.

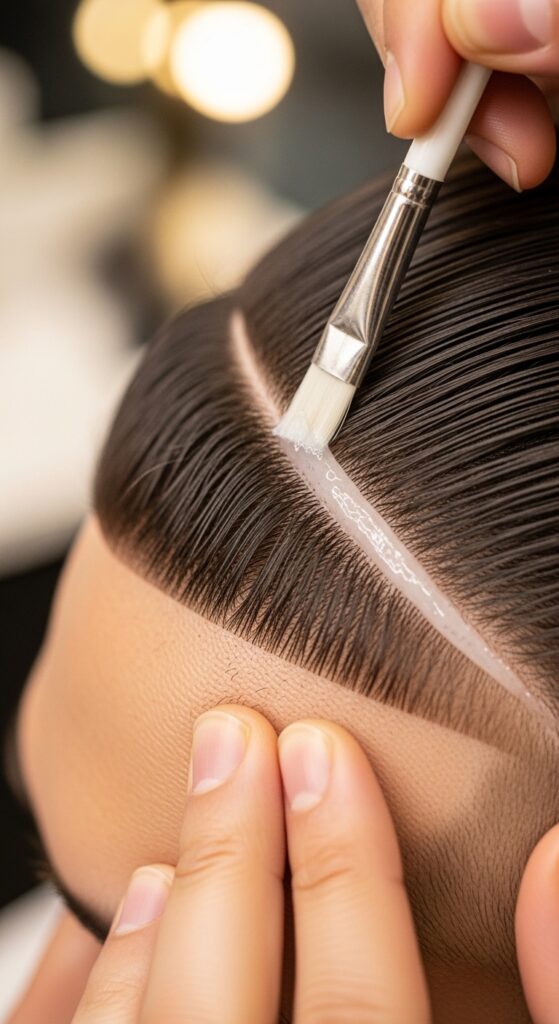
12. Fight Frizz at the Part & Hairline
These areas are the most vulnerable. Baby hairs and edges react fastest to humidity. A strong, but not crunchy, edge control product is your secret weapon.
Use a tiny amount of edge control gel or a dense pomade on a toothbrush or small brush. Gently swipe it over your hairline and part after styling.
- Less is more. Too much product looks greasy.
- Lay edges down in the direction of your style.
- Let it dry naturally for a seamless hold.
This keeps your entire style looking crisp and intentional, perfect for nailing that glitchy glam hair aesthetic with sharp braids.
13. Deep Condition Before You Braid
Well-moisturized hair is less likely to seek moisture from the air. A deep conditioning treatment 1-2 days before you plan to braid makes a dramatic difference.
Use a rich mask or deep conditioner after you clarify. Leave it on for the recommended time, usually 10-20 minutes, with a shower cap for warmth.
- Shampoo as normal.
- Apply mask from mid-lengths to ends.
- Rinse thoroughly and follow with a light conditioner.
This gives your hair the internal hydration it needs, so it’s less reactive to external humidity when you style it.

14. Avoid Touching Your Braids Too Much
Our hands have natural oils that can transfer to our hair. Constantly touching, fidgeting with, or re-smoothing your braids throughout the day can actually make them frizzier.
Once they’re styled, try to leave them alone. If you need to adjust, use the pads of your fingers to gently press, not rub, the braid.
- Oils from your hands can break down product.
- Friction from touching creates flyaways.
- Trust your styling and let them be.
This is a simple habit change that preserves your hard work from morning until night.

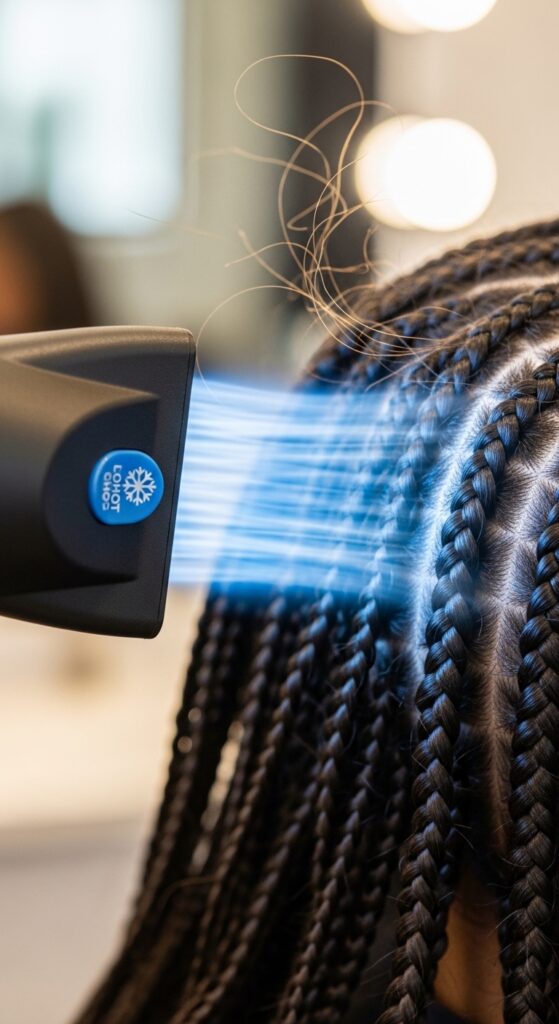
15. Use Cool Air to Set the Style
Heat opens the hair cuticle; cold air seals it shut. After you’ve finished your braids and applied your final holding spray, use the cool shot button on your blow dryer.
Run the cool air over your braids for a minute or two. This helps “set” the products and the style, locking the cuticle down to repel moisture.
- Finish with your anti-humidity hairspray.
- Immediately blast with cool air.
- Focus on the areas most prone to frizz.
It’s like putting a final, protective coat on your style. This trick works for any updo or braided look.
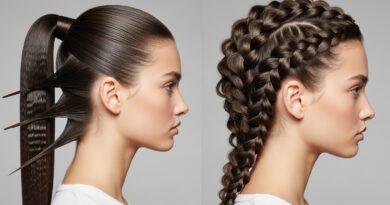
16. Pick Braid Styles That Hide Frizz
Some braid styles are naturally more forgiving. If you know it’s a super humid day, opt for a style where the structure helps conceal potential frizz.
Dutch braids (braids that sit on top of the head) or tight cornrows keep the hair more contained. Fishtail braids also tend to look good even with a little texture.
- Dutch or French braids are great protective styles.
- A sleek braided bun tucks ends away completely.
- Even a braided element in a quiet luxury bob can be strategic.
Choosing the right style is a proactive way to win the battle before it even starts.

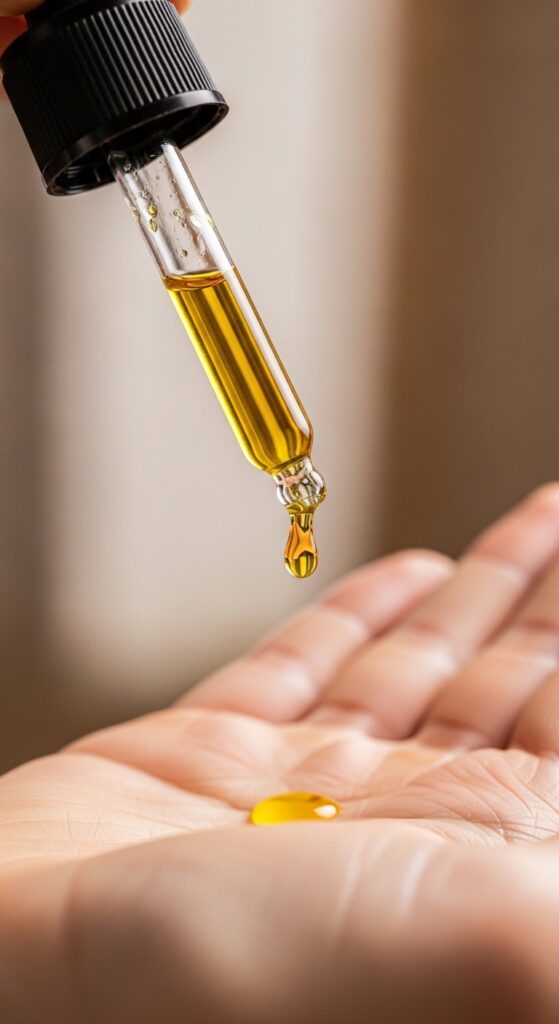
17. Know When to Use Oil (And When Not To)
Oil can be a double-edged sword. Some oils can seal in moisture, but others can attract dirt or weigh hair down. The type and amount matter hugely.
Lightweight oils like argan or jojoba are great for a finishing seal. Heavy oils like pure coconut oil might be too much. Always apply oil to the length of the braid, not the scalp.
- Use just one drop warmed between your palms.
- Glide it over the surface of your braids for shine.
- Avoid the roots to prevent greasiness.
Used correctly, oil gives a gorgeous shine and an extra layer of humidity defense.
18. Protect Braids from Rain & Water
Humidity is one thing, but actual water will cause major frizz. Always be prepared for unexpected rain or even a splash at the pool.
Carry a compact, foldable rain hat or a cute umbrella in your bag. If you get caught in a drizzle, don’t panic—just blot your braids gently with a microfiber towel when you get inside.
- Never rub wet braids with a regular towel.
- Blotting absorbs water without disturbing the style.
- Let them air dry completely after blotting.
A little preparation means a summer rain shower won’t ruin your perfect old money hair inspired braids.
19. Trim Your Ends Regularly
Split ends travel up the hair shaft and create a frizzy, uneven texture that’s impossible to smooth into a braid. Healthy ends braid cleanly.
Get a trim every 8-12 weeks, even if you’re growing your hair out. Just a tiny dusting of the ends makes all the difference in how your hair takes to styling.
- Communicate with your stylist about your braid goals.
- Ask for a blunt or minimal trim to remove splits.
- Healthy ends make for sleek, defined braid tails.
This is basic hair health that pays off in every single style you create.