How to Layer Your Hair at Home (Without a Disaster)

Have you ever looked at salon-fresh layered haircuts and thought, “I wish I could do that myself?” You’re not alone. Many people hesitate to layer their hair at home, fearing uneven results or worse – a haircut disaster. But with the right techniques and some patience, you can achieve beautiful layers without leaving your bathroom.
This comprehensive guide will walk you through the entire process, from preparation to finishing touches. We’ll cover professional techniques adapted for home use, common mistakes to avoid, and tips to ensure your DIY layered cut looks like it came from a high-end salon.
Why Layer Your Hair at Home?
Layering your hair at home isn’t just about saving money (though that’s a nice bonus). It’s about gaining control over your look and being able to refresh your style whenever you want. Professional stylists charge premium prices for layered cuts because they require skill – but that skill can be learned.
Benefits of DIY layering:
- Save hundreds on salon visits
- Maintain your preferred length while adding dimension
- Customize the layers to suit your face shape perfectly
- Refresh your style between salon appointments
Essential Tools You’ll Need
Before you start cutting, gather these essential tools. Using the right equipment makes all the difference between a professional-looking result and a hack job.
Must-have tools:
- Sharp hair cutting scissors (never use regular scissors)
- Fine-tooth comb
- Hair clips for sectioning
- Spray bottle with water
- Hand mirror for checking the back
- Good lighting
Pro tip: Invest in professional shears if you plan to cut your hair regularly. They stay sharper longer and create cleaner cuts.

Preparing Your Hair for Layering
Preparation is 50% of a successful layered cut. Start with clean, dry hair that’s free of products. Your hair should be in its natural state – don’t straighten or curl it before cutting.
Preparation steps:
- Wash and condition your hair as normal
- Let it air dry completely or blow dry without styling
- Brush out all tangles with a wide-tooth comb
- Part your hair how you normally wear it
Why dry hair? Wet hair stretches and can appear longer than it actually is. Cutting dry gives you the most accurate results.

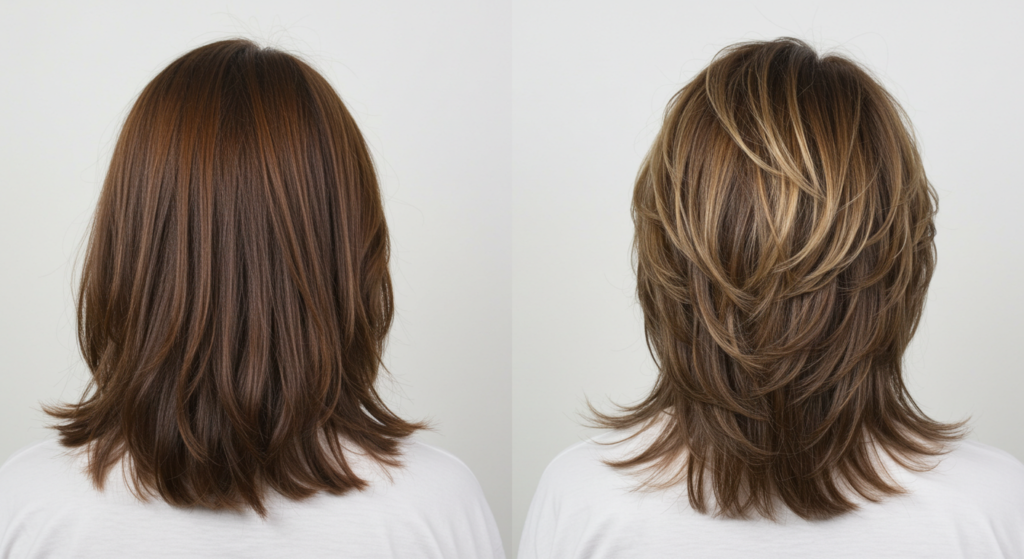
The Basic Layering Technique
Now for the main event. This technique creates soft, blended layers that work for most hair types and lengths. Take your time and work in small sections.
Step-by-step layering:
- Divide your hair into four sections: top, sides, and back
- Start with the bottom back section, combing it straight down
- Hold a section between your fingers at the desired length
- Cut upwards into the hair at a 45-degree angle (this creates texture)
- Work your way up, taking slightly smaller sections as you go
- Repeat on all sections, checking frequently in the mirror
Important: Cut less than you think you should. You can always take more off, but you can’t put hair back once it’s cut.

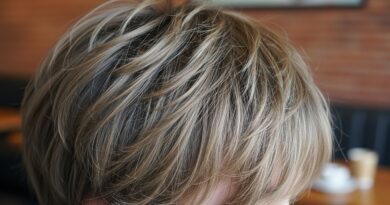
Face-Framing Layers: A Game-Changer
Face-framing layers can completely transform your look by highlighting your best features. These shorter layers around your face add movement and softness.
How to cut face-framing layers:
- Identify the sections that fall near your cheekbones and jawline
- Take small, triangular sections from the front
- Hold the hair out from your face at a 90-degree angle
- Cut at an angle, starting shorter near the face and blending longer
- Check frequently to ensure both sides are even
These layers should be the last you cut, after establishing your basic layers. They’re the most visible, so take extra care.

Blending and Texturizing
This step separates amateur cuts from professional-looking ones. Blending ensures your layers flow seamlessly together without harsh lines.
Blending techniques:
- Point cutting: Hold scissors vertically and make small upward cuts into the ends
- Slide cutting: Open scissors and gently slide them down sections to remove bulk
- Dry cutting: After initial cut, snip individual hairs that stick out
Texturizing removes weight without sacrificing length, perfect for thick hair. Always texturize conservatively – you can always take more, but can’t add back.

Common Layering Mistakes to Avoid
Even experienced DIY cutters make mistakes. Being aware of these common pitfalls will help you avoid them.
Top mistakes:
- Cutting too much at once: Gradual cutting prevents disasters
- Uneven sections: Take time to section hair precisely
- Forgetting to check all angles: Use multiple mirrors
- Using dull scissors: Causes split ends and uneven cuts
- Cutting wet hair: Can lead to surprises when dry
If you do make a mistake, don’t panic. Many uneven spots can be blended or fixed with strategic additional layering.

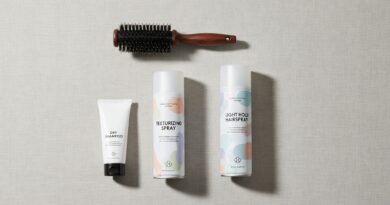
Styling Your New Layers
Now that you’ve perfected your cut, let’s make those layers shine. Different styling techniques can enhance your layers in various ways.
Styling tips for layered hair:
- Use a round brush when blow-drying to accentuate layers
- Try sea salt spray for beachy texture
- Curling just the ends adds movement
- Dry shampoo at the roots boosts volume between washes
Remember, layers are designed to add movement. Over-styling with heavy products can weigh them down. Less is often more.

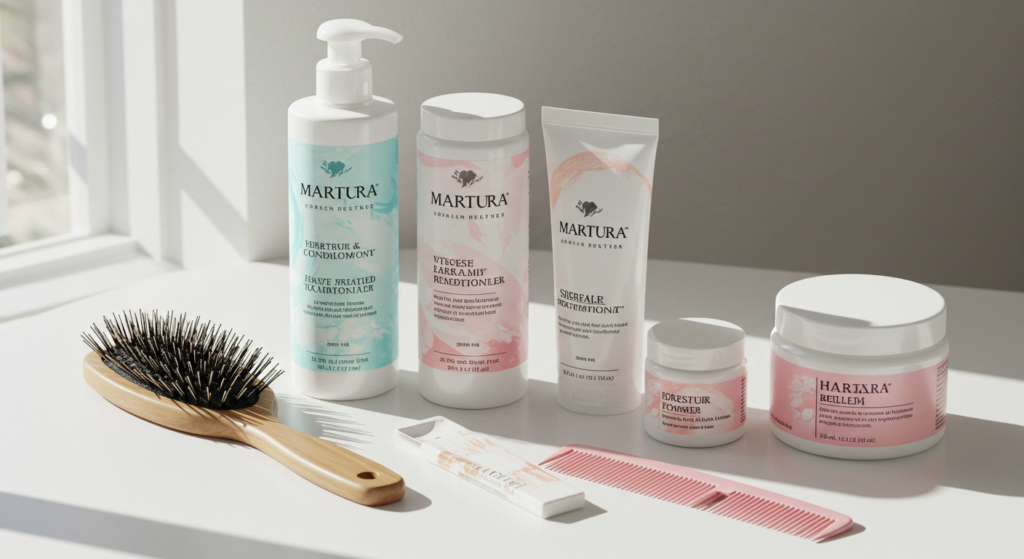
Maintenance Between Cuts
Proper maintenance keeps your DIY layers looking fresh longer. With good care, you might extend time between cuts by several weeks.
Layer maintenance tips:
- Get regular trims (every 8-12 weeks) to prevent split ends
- Use heat protectant when styling
- Sleep on a silk pillowcase to reduce friction
- Refresh layers occasionally with minor at-home trims
When your layers start to lose their shape, you can often refresh them by re-cutting just the face-framing pieces and ends.
When to Call a Professional
While many layering techniques can be done at home, some situations call for professional help.
Consider a stylist if:
- You want dramatic length removal
- Your hair is extremely thick or curly
- You’re attempting advanced techniques like razoring
- You’ve made a significant mistake
Remember, even stylists started as beginners. With practice, your at-home layering skills will improve dramatically.

Final Thoughts
Layering your hair at home is absolutely achievable with the right knowledge and tools. Start conservative, practice often, and don’t be afraid to make minor corrections as you learn. The freedom to maintain your perfect layers whenever you want is worth the initial learning curve.
Have you tried layering your hair at home? Share your experiences and tips in the comments below! For more DIY beauty tutorials, subscribe to our newsletter.