How to Make bouncy wave Hair Look Expensive on a Budget
Let’s be honest, we’ve all scrolled through Instagram, mesmerized by those flawless, bouncy waves that look like they just stepped out of a five-star salon. That effortless, “I woke up like this” texture, the shimmering shine, the movement that seems to defy gravity—it’s the holy grail of hairstyles. But for many of us, the thought of achieving that look often comes with a daunting price tag attached: expensive salon visits, high-end tools, and luxury products that can drain your wallet.
What if we told you that expensive-looking hair isn’t reserved for the rich and famous? The truth is, achieving stunning, bouncy wave hair is more about technique and smart product choices than it is about blowing your budget. With a few insider secrets and a shift in focus, you can create head-turning, luxurious waves that look like a million bucks without spending it.
The Foundation: It All Starts With a Solid Hair Care Routine
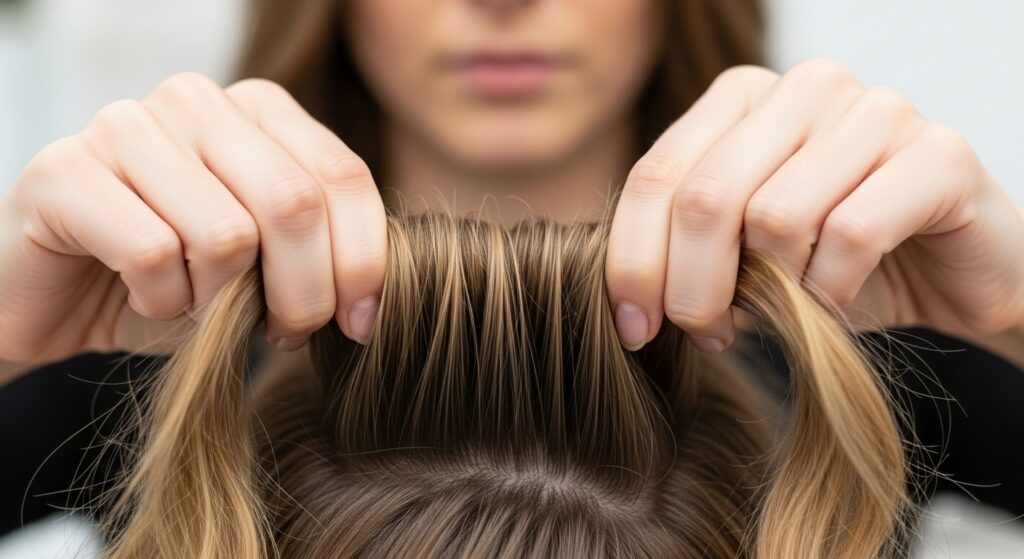
You cannot build a masterpiece on a weak foundation, and the same goes for your hair. The most crucial step to achieving expensive-looking waves is having healthy hair to work with. Expensive hair is, first and foremost, healthy hair. When your hair is nourished, hydrated, and strong, it holds style better, reflects more light (hello, shine!), and feels incredibly soft.
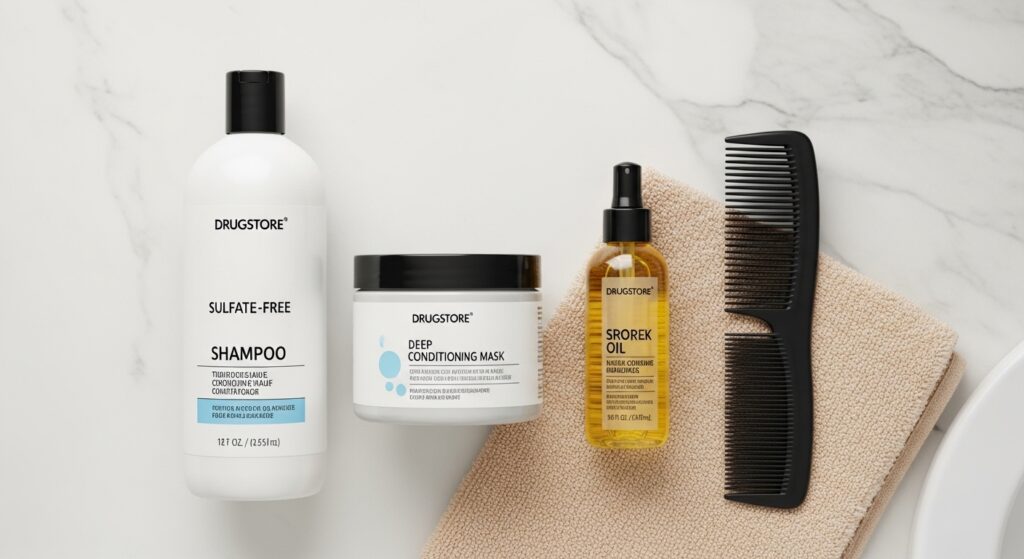
Start by evaluating your washing routine. Over-washing can strip your hair of its natural oils, leaving it dry and brittle. Try to extend the time between washes by using a good dry shampoo. When you do wash, invest in a budget-friendly, sulfate-free shampoo and a silicone-free conditioner. These are gentler on your hair and prevent product buildup, which can weigh waves down. Look for drugstore brands that are transparent about their ingredients; you don’t need a luxury label for an effective cleanse.
Once a week, treat your hair to a deep conditioning mask. You don’t need a $50 jar—a simple pot of pure coconut oil, olive oil, or even a generous application of your regular conditioner left on for 30 minutes under a warm towel can work wonders. This step replenishes moisture, adds incredible shine, and makes your hair more pliable and easier to style into defined, bouncy waves.
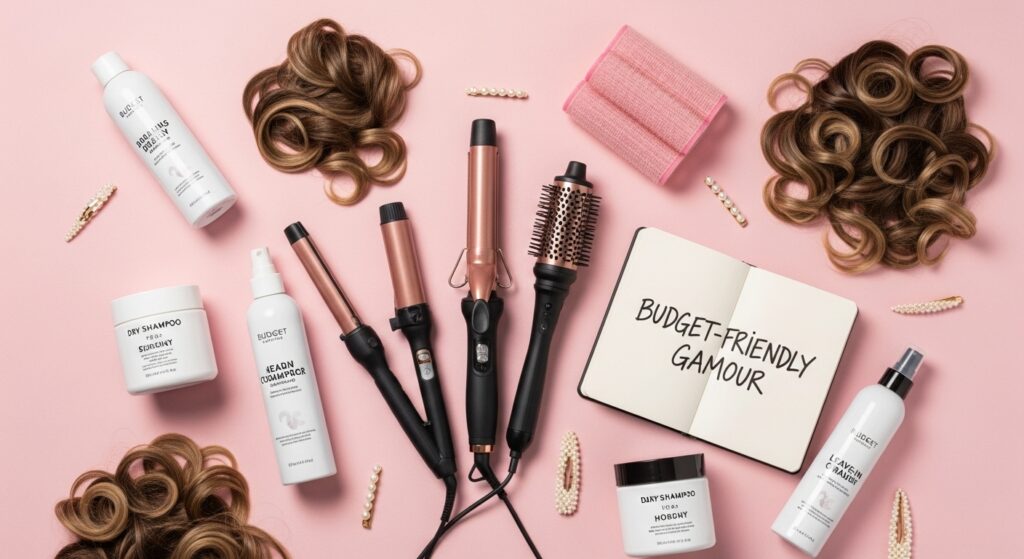
Budget-Friendly Tools: Your At-Home Salon Kit
The right tools are non-negotiable, but “right” doesn’t have to mean “ridiculously priced.” While a high-end curling iron is nice, there are fantastic mid-range and even budget tools that perform exceptionally well with the proper technique. The key is to focus on the features, not the brand name.
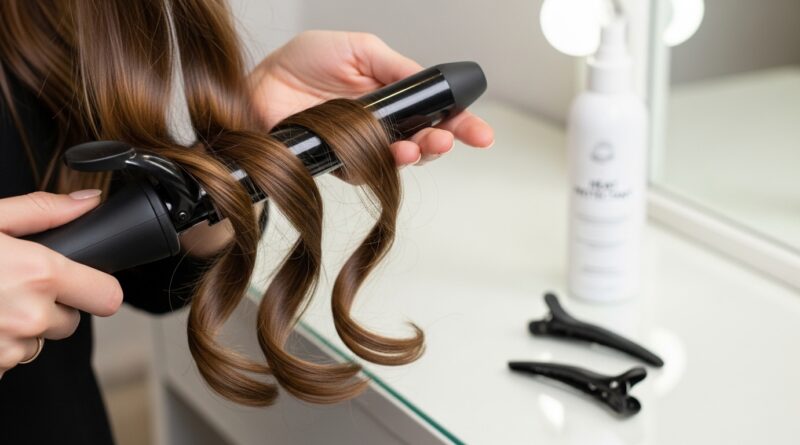
For bouncy waves, a 1.25-inch curling iron or wand is the gold standard. This size creates a loose, natural-looking wave that’s perfect for that bouncy effect. Ceramic or tourmaline barrels are ideal as they distribute heat evenly and help reduce frizz. Many reputable brands offer reliable tools in the $30-$60 range that will last for years if cared for properly.
Another secret weapon? A good quality hairdryer with a concentrator nozzle. Diffusers are great for curls, but for smooth, sleek waves, the concentrator is your best friend. It directs the airflow precisely, helping to smooth the hair cuticle as you dry, which is the first step to achieving that salon-worthy shine. Don’t underestimate the power of sectioning clips and a heat protectant spray—they are the unsung heroes of any great hairstyle.
The Step-by-Step Technique for Perfect Bouncy Waves
This is where the magic happens. Technique trumps everything. You can have the most expensive tool in the world, but without the right method, your waves will fall flat—literally.
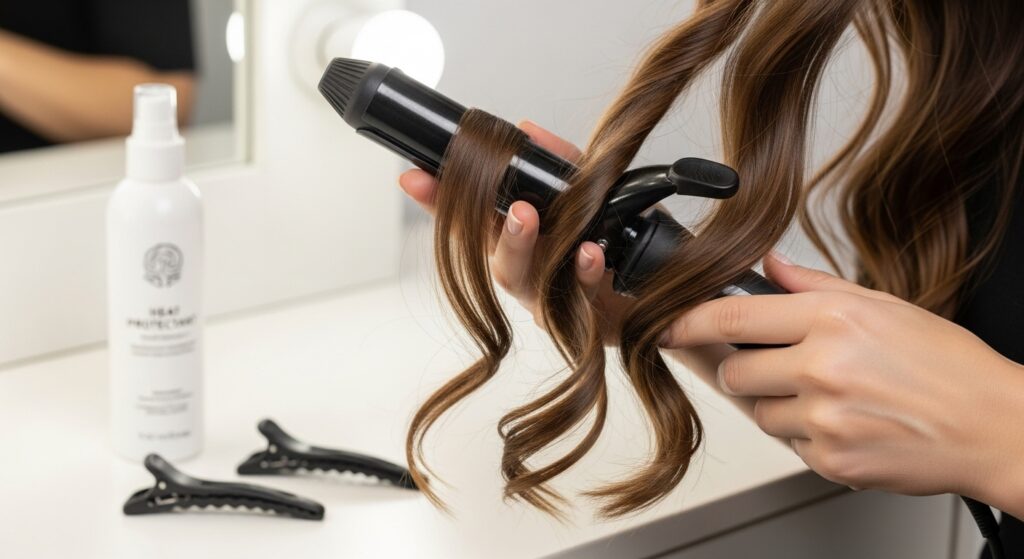
Step 1: Prep and Protect. Start with hair that is about 90% dry. Spritz a heat protectant spray evenly from roots to ends. This is your non-negotiable first step to prevent heat damage.
Step 2: Section Like a Pro. Clip the top half of your hair up and out of the way. Start with the bottom layer. Working with small, horizontal sections (about 1-2 inches wide) is the key to uniform, defined waves.
Step 3: The Wrap-and-Hold Method. Take your first section and wrap it away from your face around the barrel of the iron. Hold it for only 8-10 seconds—do not over-curl! We’re going for a soft wave, not a tight spiral. Release the curl gently and do not touch it until it has cooled completely. This “setting” process is critical for long-lasting bounce.
Step 4: Alternate Directions. For a more natural, Beyoncé-esque effect, alternate the direction of your curls. Wrap one section away from your face, and the next one toward your face. This creates movement and prevents your hair from looking like a uniform, dated perm.
Step 5: Work Your Way Up. Continue this process, unclipping small sections from the top layer until your entire head is done. Remember, let all curls cool completely before moving on.

The Secret Weapon: The “Pancaking” Method
This is the professional stylist’s trick for instant volume and bounce, and it costs you absolutely nothing. Once all your curls have cooled completely, it’s time to break them up. But instead of just running your fingers through them, you’re going to “pancake” them.
Gently take a curled section near the roots and, with your fingers on either side, gently pull it apart horizontally. Then, move down the strand and pull the next part apart. Continue this all the way to the ends. This action separates the curl clumps, adds incredible volume from root to tip, and creates that soft, expansive wave instead of a stringy curl. This single technique is what transforms “curly” hair into “wavy, bouncy” hair.
Budget Products That Deliver a Luxury Finish
Now that your waves are perfectly formed and voluminous, it’s time for the finishing touches that scream “expensive.” You don’t need a cabinet full of products, just a few strategic ones.
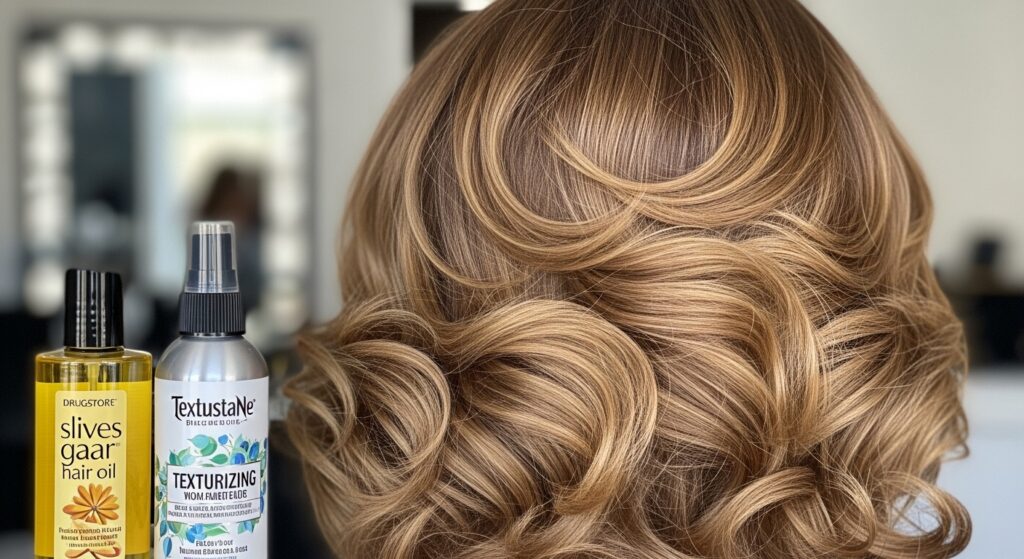
For Shine and Frizz Control: A single drop of argan oil or marula oil rubbed between your palms and gently smoothed over the surface of your hair will catch the light and tame any flyaways. Drugstore brands offer pure oils that are just as effective as their designer counterparts.
For Hold and Texture: Avoid heavy, crunchy hairsprays. Instead, opt for a flexible-hold texturizing spray or sea salt spray. Spritz it from a distance onto your mid-lengths and ends, then scrunch upwards gently. This enhances the wave pattern, adds a touch of grit for hold, and makes the style look lived-in and effortless.
For Root Volume: For an extra boost at the roots, flip your head upside down and spray a light-hold volumizing spray at the roots. Let it dry for a second before flipping back. You can also gently backcomb the very root area with a comb for a little extra lift.
Maintaining Your Waves Overnight and Beyond
You’ve put in the work, so make it last! To preserve your bouncy waves for day two or three, a simple overnight routine will do the trick.
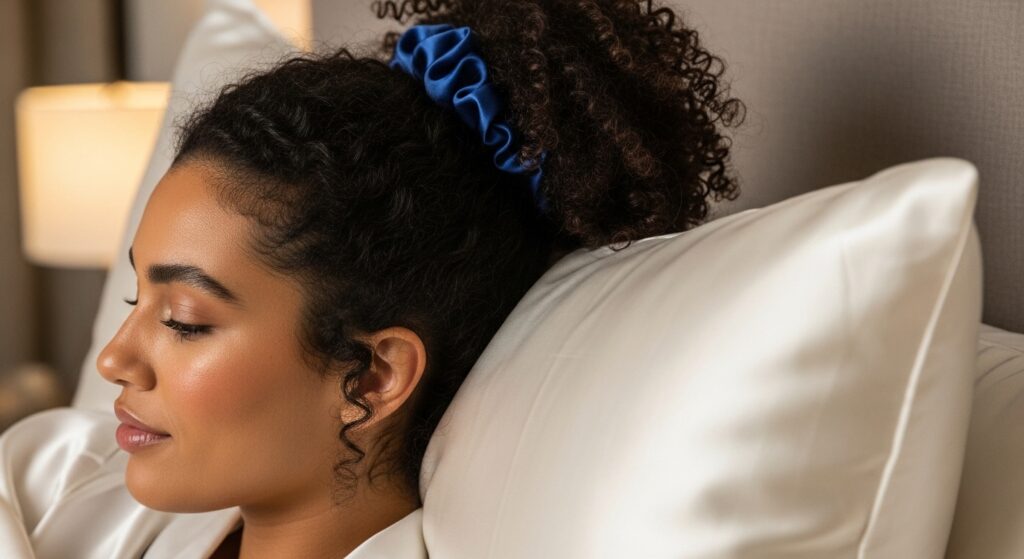
Gather your hair loosely at the crown of your head and secure it with a soft scrunchie or a silk hair tie into a loose, high ponytail or pineapple. This prevents the waves from getting crushed while you sleep. Even better, invest in a silk or satin pillowcase. It’s a one-time, relatively low-cost purchase that reduces friction, prevents frizz, and helps maintain your style and your hair’s health.
In the morning, take your hair down, flip your head over, shake it out, and refresh with a light mist of texturizing spray. Use your “pancaking” technique again to revive the volume. You’ll be amazed at how little touch-up is needed.
Conclusion: Expensive Hair is an Attitude, Not a Price Tag
Creating luxurious, bouncy wave hair on a budget is completely within your reach. It’s a blend of investing in hair health, mastering a few key techniques, and choosing your products and tools wisely. The true secret isn’t found in a bottle with a designer label; it’s in the confidence that comes from knowing how to work with what you have.
Expensive-looking hair is defined by its health, its shine, and its effortless shape. By focusing on a solid foundation, perfecting your curling technique with the “pancaking” method, and using a few strategic, affordable products, you can achieve a look that turns heads and makes you feel like a million bucks. So, grab that curling iron, embrace these budget-savvy tips, and get ready to bounce your way to beautiful, expensive-looking waves.