How to Make curly hair Hair Look Expensive on a Budget
Let’s be honest. Scrolling through social media, it’s easy to feel like achieving those perfect, glossy, “expensive-looking” curls requires a secret handshake and a trust fund. You see influencers with flawless ringlets and assume they’re spending a fortune on salon treatments and high-end products. But what if we told you that the secret to luxurious, healthy, head-turning curls isn’t about how much you spend, but how you spend it and the habits you build?
Expensive-looking hair is fundamentally about health, definition, and shine. It’s hair that looks cared for, intentional, and vibrant. The good news is that you can absolutely fake this look until you make it, all while staying firmly within your budget. This guide is your roadmap to transforming your curly hair from frizzy and frustrated to polished and premium, without breaking the bank.
1. The Foundation: Mastering Your Wash Day Routine
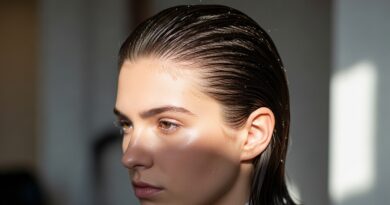
Everything starts in the shower. A haphazard wash day sets you up for a week of struggle, while a strategic one lays the groundwork for effortless, expensive-looking curls. The key is not to use a dozen products, but to use the right techniques.
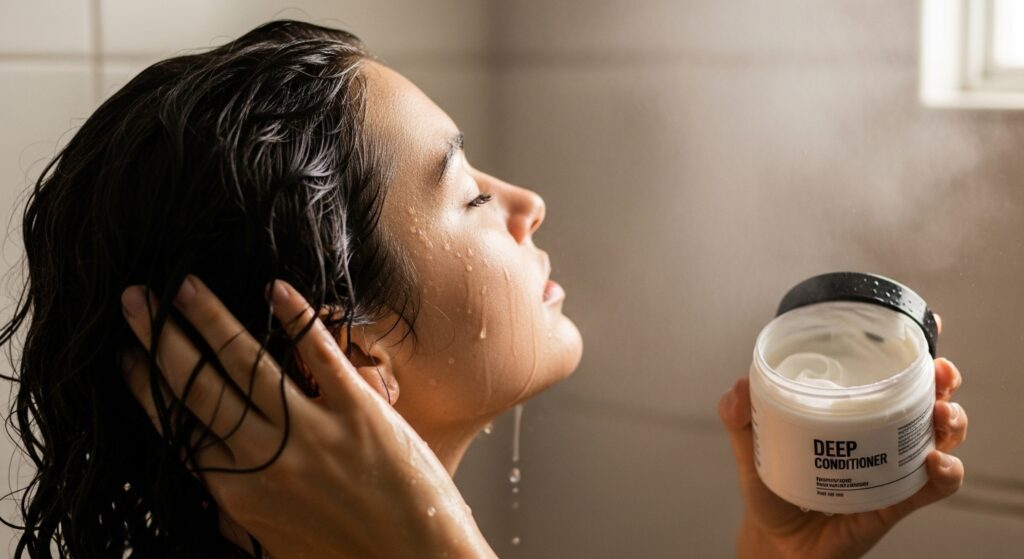
First, consider co-washing. For many curlies, especially those with dry, coarse, or color-treated hair, shampooing every wash can strip essential oils, leading to frizz. A budget-friendly silicone-free conditioner can be used as a “co-wash” to gently cleanse the scalp and hair without drying it out. Follow this with a deep conditioning treatment. You don’t need a $50 jar; many drugstore brands offer fantastic deep conditioners with ingredients like shea butter, coconut oil, and honey. Apply it to sopping wet hair, cover with a shower cap, and let it sit for at least 20-30 minutes. The heat from your scalp will help the treatment penetrate, providing intense hydration that is the absolute bedrock of shiny, defined curls.
2. The Budget-Friendly Product Hall of Fame
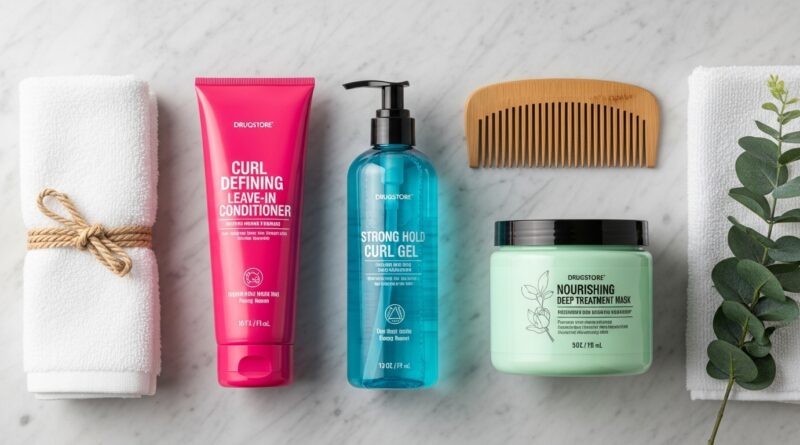
You can bypass the luxury aisle completely. The real gems are often hiding at your local drugstore or supermarket. The trick is to become a label detective, not a brand snob. Look for products that are free of sulfates (which dry out hair) and silicones (which can build up and require harsh sulfates to remove, creating a vicious cycle).
Focus your spending on a good leave-in conditioner and a reliable gel. A leave-in is your curl’s daily dose of hydration, and a gel is what will lock in that moisture and create a cast to define your curls and combat frizz for days. Brands like Not Your Mother’s, SheaMoisture, Cantu, and Aussie offer incredible, curl-defining gels and custards for a fraction of the price of high-end counterparts. Remember, technique often trumps product price. Applying your products to soaking wet hair, using the “praying hands” method to smooth, and then scrunching will make a bigger difference than simply swapping a $10 gel for a $30 one.

3. The Game-Changer: Styling Techniques Over Expensive Tools
This is where the magic truly happens. You can have the best products in the world, but without proper technique, your curls won’t reach their full potential. Two techniques, in particular, can elevate your curl game from amateur to expensive-looking artiste.
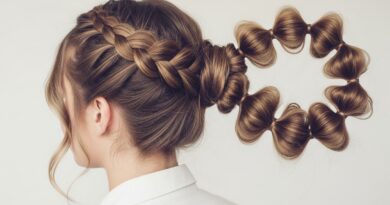
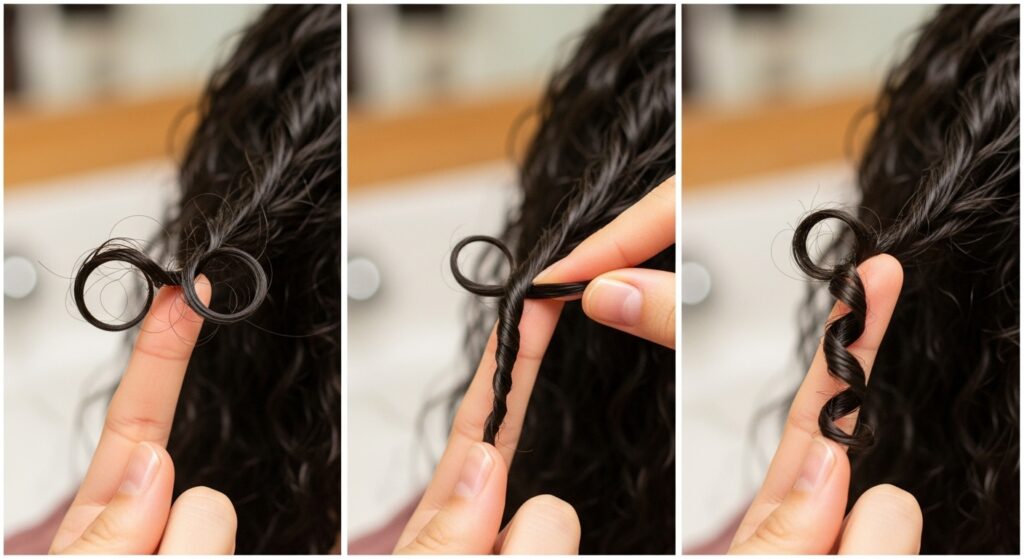
Finger Coiling or Denman Brushing: For defined, uniform ringlets, finger coiling is a free and highly effective technique. Simply take a small section of hair coated in your stylers, and twist it around your finger from root to tip. For a faster, broader approach, a Denman brush (or its many affordable dupes) can be used to smooth and define sections, guiding your curls into beautiful, clumped formations. This instantly reduces frizz and creates a polished, intentional look.
Scrunching and Plopping: After applying your products, lean over and scrunch your hair upwards towards your scalp with a soft cotton t-shirt (not a rough towel!). This encourages curl formation and absorbs excess water without causing friction frizz. Then, “plop” your hair. Lay the same t-shirt flat, place your hair in the center, and fold the shirt up to create a turban. Leave it on for 15-30 minutes. This allows your curls to set in their natural pattern without being disturbed, leading to better root volume and definition.
4. The Secret Weapon: Protecting Your Curls While You Sleep
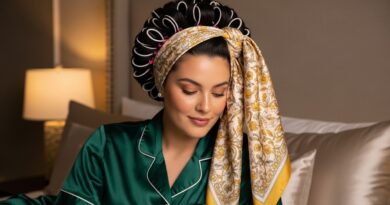
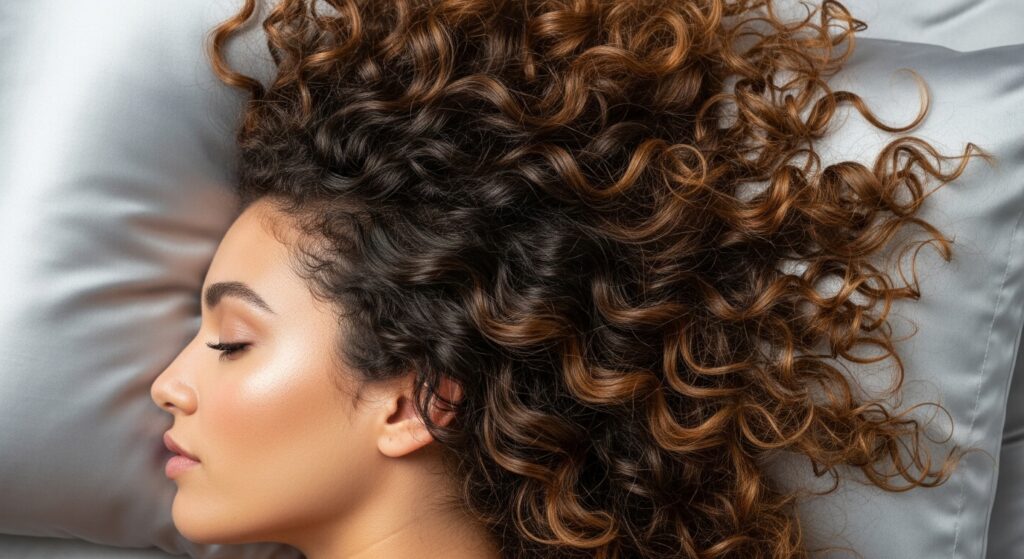
You wouldn’t sleep in your makeup and expect perfect skin in the morning, right? The same goes for your curls. All your hard work on wash day can be undone in a single night of tossing and turning. The solution is a satin or silk pillowcase. Unlike cotton, which creates friction and saps moisture, satin and silk are smooth, allowing your hair to glide as you sleep.
This simple switch prevents breakage, reduces frizz, and helps your style last for days. You can find affordable satin pillowcases online, and it’s a one-time purchase that pays for itself. For even more protection, especially for longer hair, try a “pineapple” style: loosely gathering your hair into a very high, loose ponytail on top of your head using a satin scrunchie. This preserves your curl pattern and volume overnight.
5. The Art of the Refresh: Reviving Curls Between Washes
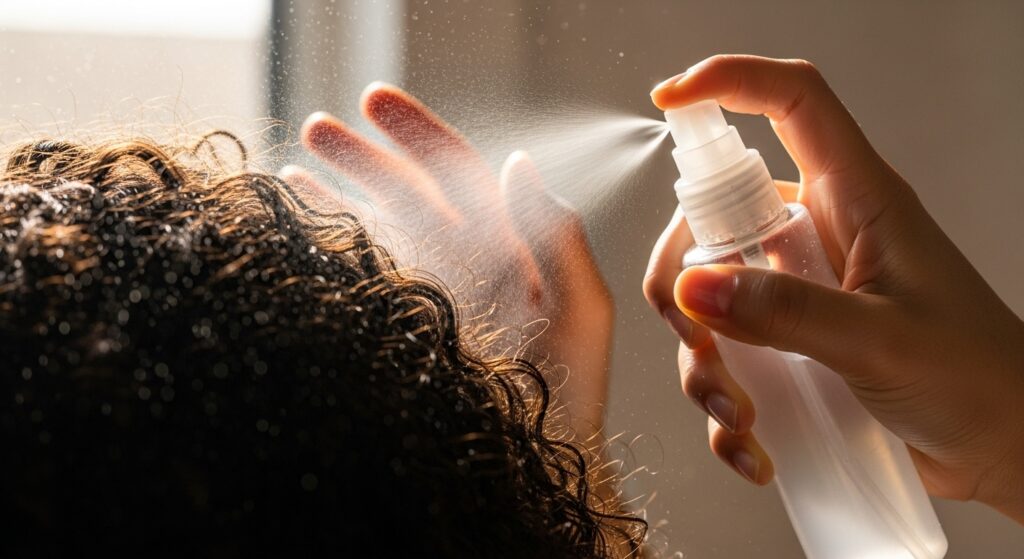
Expensive hair doesn’t just look good on day one; it maintains its allure. You don’t need to fully restyle your hair every morning. The key to a successful refresh is reactivating the product already in your hair. Fill a spray bottle with water and a small pump of your leave-in conditioner. In the morning, lightly mist your hair until it’s damp, not soaking.
Then, using a tiny amount of gel emulsified with water in your palms, gently smooth and scrunch your curls back into place. You might focus on the top canopy of your hair or the frizzy front pieces. Often, just scrunching with wet hands is enough to bring the curls back to life. This process takes minutes but makes it look like you just stepped out of a salon every single day.
6. Trim Your Way to Healthier-Looking Curls
Nothing makes hair look cheaper and more neglected than split ends and straggly lengths. Regular trims are non-negotiable for that expensive, healthy look. You don’t need a $150 curly cut every six weeks. Learn to search for a “DevaCut inspired” stylist or a stylist who specializes in dry cutting curls at a more moderate price point.
Even better, consider learning to trim your own hair. There are numerous tutorials online for “search-and-destroy” methods where you only cut the individual split ends you find, or for giving yourself a simple blunt trim. Keeping your ends fresh prevents damage from traveling up the hair shaft and immediately makes your hair look thicker, healthier, and more intentional.
7. Embrace Your Natural Texture
This might be the most budget-friendly tip of all: stop fighting what you have. Expensive-looking hair is confident hair. It’s hair that looks like it belongs to you. Constantly heat styling to achieve a texture you don’t naturally have is not only costly in terms of tools and products but also in the long-term health of your hair.
Embrace the unique pattern of your curls, whether they are loose waves, tight coils, or something beautifully in-between. Work with your texture, not against it. When you learn to enhance your natural curls, you save time, money, and your hair’s integrity. That confidence and authenticity are the ultimate markers of luxury.

Conclusion: Luxury is a Habit, Not a Price Point
Transforming your curly hair into a luxurious, expensive-looking mane is entirely within your reach. It’s not about the price tag on your products but the consistency of your care. It’s about hydrating deeply, styling with intention, protecting your investment nightly, and embracing the beautiful texture you were born with.
By shifting your focus from expensive buys to smart habits and budget-savvy product choices, you can achieve curls that look like a million bucks without spending it. So, raid your bathroom, grab a cotton t-shirt, and start treating your curls like the priceless assets they are.