How to Make playful curl Hair Look Expensive on a Budget
There’s a certain magic to curly hair. It’s vibrant, full of personality, and inherently playful. But if you have curls, you’ve probably also faced the frustration of the frizz, the dryness, and the feeling that your hair looks more “wild child” than “sophisticated chic.” The narrative often pushed by the beauty industry is that taming and elevating curls requires a small fortune in luxury salon products. What if we told you that’s a myth? Achieving that coveted, expensive-looking bounce, definition, and shine isn’t about the price tag on your products; it’s about the strategy behind your routine. It’s about working with your curls, not against them, and using smart, budget-friendly techniques to make them look their absolute best.
This guide is dedicated to unlocking the luxurious potential already living in your playful curls. We’re diving deep into the methods that create red-carpet-worthy ringlets without draining your wallet. Get ready to transform your curl care routine and discover that the most expensive-looking hair is healthy, happy, and authentically yours.
1. The Foundation: A Scalp-Cleansing Reset
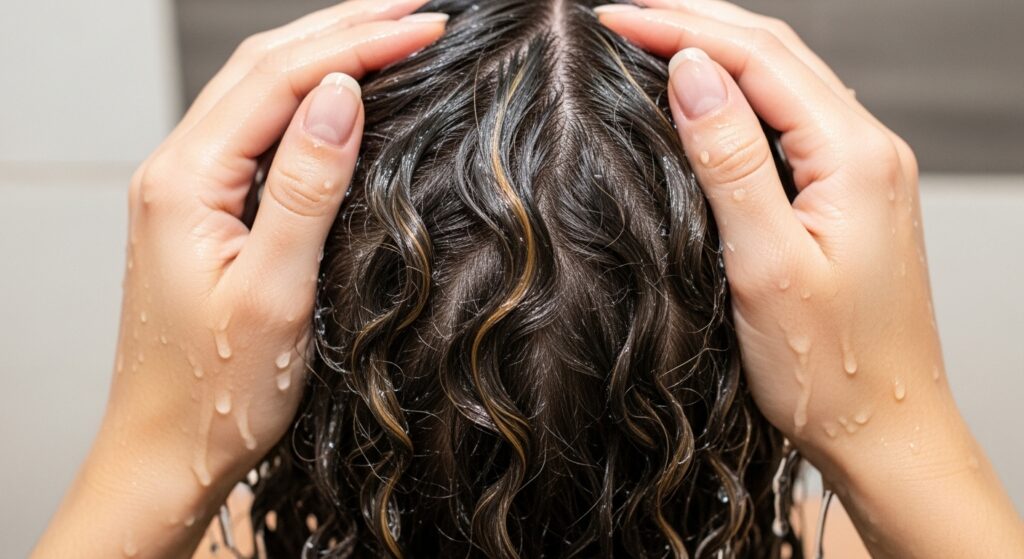
Every masterpiece needs a solid foundation, and for your hair, that foundation is your scalp. Expensive-looking hair is, first and foremost, healthy hair, and it all starts at the root. Many budget shampoos are filled with harsh sulfates like Sodium Lauryl Sulfate (SLS) that strip your scalp and curls of their natural, essential oils. This leads to a cycle of over-production of oil, product buildup, and a dry, frizzy mane.
The first step to elevating your curls is to reset your cleansing routine. Look for a gentle, sulfate-free clarifying shampoo. You don’t need to spend a lot; many drugstore brands now offer excellent sulfate-free options. Use this clarifying shampoo once a week or every two weeks to deeply clean your scalp and remove any stubborn product residue without causing dryness. On other wash days, you can even experiment with co-washing (conditioner washing) using a silicone-free conditioner to gently cleanse while providing immense hydration. A clean, balanced scalp is the non-negotiable first step toward hair that looks and feels expensive.

2. The Game Changer: Deep Conditioning Is Non-Negotiable
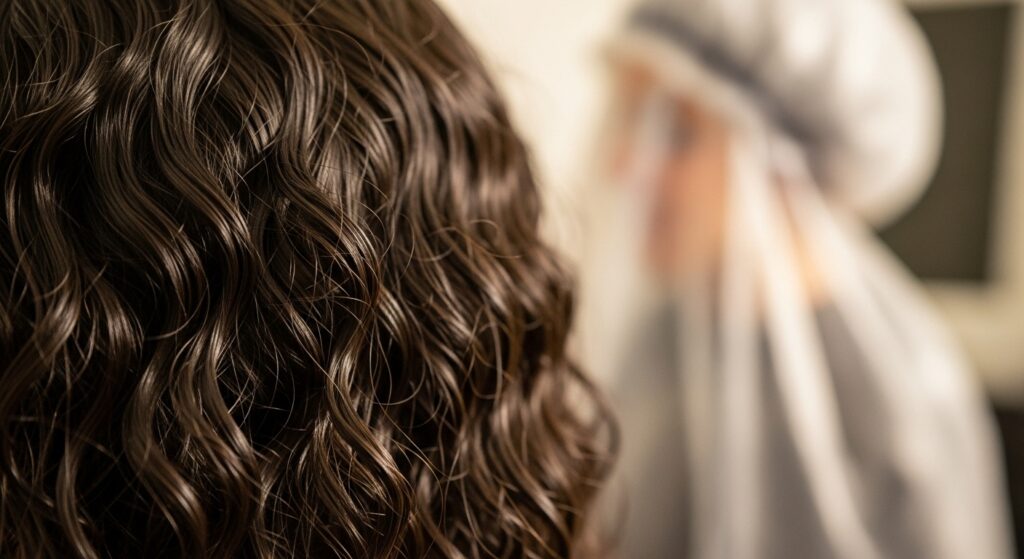
If there is one step that will instantly make your curls look more expensive, it’s consistent deep conditioning. Dryness is the enemy of definition and shine. Playful curls become polished curls when they are supremely hydrated, soft to the touch, and free of frizz. Deep conditioning treatments are the equivalent of a luxurious spa day for your hair, and you can create incredibly effective treatments at home for a fraction of the cost.
Invest in a rich, protein-free deep conditioner (unless your hair is overly elastic and in need of protein) and use it religiously once a week. For an even more budget-friendly boost, you can add natural oils to your conditioner. Warm up some coconut oil, olive oil, or avocado oil and mix it with your regular deep conditioner. Apply it to your hair, cover with a shower cap, and let it sit for 20-30 minutes. The heat helps the cuticle open up, allowing the hydrating ingredients to penetrate deeply. When you rinse, you’ll be left with curls that are incredibly soft, defined, and radiant with health—a key marker of expensive hair.
3. The Technique: Mastering the “Squish to Condish” Method
How you apply your products is just as important as the products themselves. The “Squish to Condish” method is a legendary technique in the curly girl community for a reason: it completely transforms hair hydration and clumping. This technique involves using water and conditioner to create perfectly defined, shiny curl clumps.
After applying your conditioner in the shower, don’t rinse it out completely. Instead, turn your head upside down and cup water in your hands, then squish it up into your sopping wet, conditioned hair. You’ll hear a squishing sound. Continue to do this, adding more water and squishing, until your hair feels like a soft, water-heavy seaweed. The curls will start to form into beautiful, shiny clumps. This technique helps to hydrate the hair shaft thoroughly and encourages the cuticle to lay flat, which is the secret to incredible shine. This costs nothing but a little extra time in the shower and delivers results that rival any high-end salon service.
4. The Budget Styling Secret: Choose Your Potions Wisely
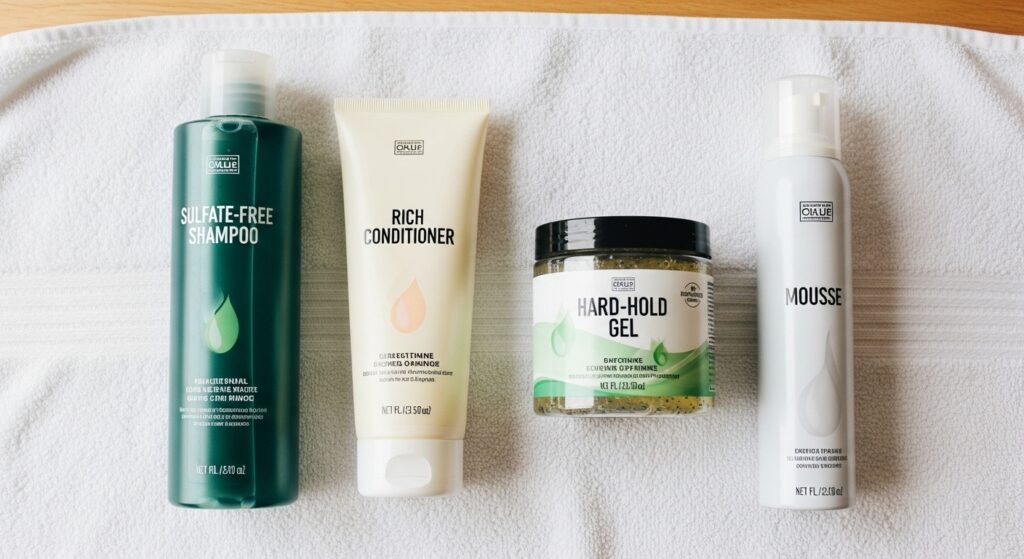
You don’t need a shelf full of twenty-dollar products to style your curls. You need one or two well-chosen, multi-tasking heroes. The goal is to find a product that provides a strong hold without crunch, stiffness, or stickiness. Mousses and gels from the drugstore are often just as effective as their high-end counterparts if you know what to look for.
A hard-hold gel is your best friend for achieving long-lasting definition and fighting frizz. Apply your gel to soaking wet hair after the “Squish to Condish” method, using a praying hands motion to glaze it over your curls and then scrunching it in. The water will dilute the gel slightly, preventing crunchiness. For volume at the roots, a lightweight mousse can be applied before the gel. The key is to apply to sopping wet hair and do not touch your curls as they dry. This is the hardest part! Touching creates frizz. Let them dry completely until they form a “cast” or a slightly hard outer layer. This cast is what locks in the definition and prevents humidity from ruining your style.
5. The Final Act: Perfecting the Dry and “Scrunch Out the Crunch”
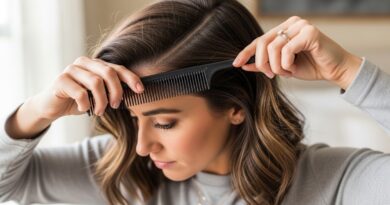
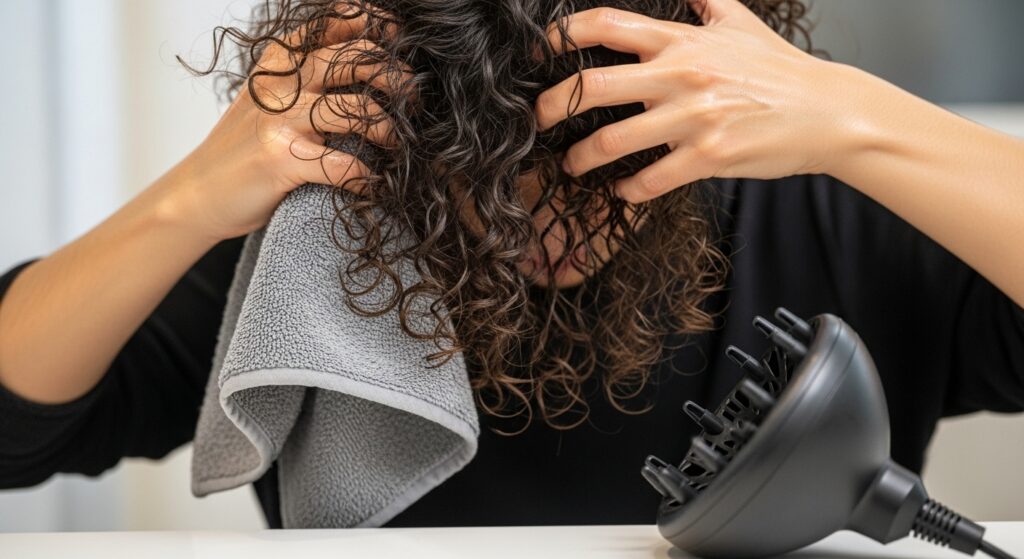
How you dry your hair can make or break your curl pattern. Vigorously rubbing with a terry cloth towel is a recipe for frizz. Instead, you need to treat your curls with care. Use a microfiber towel or a simple old cotton t-shirt to gently scrunch the excess water out of your hair. These materials are much smoother and don’t rough up the hair cuticle, preserving your hard-earned definition.
When it comes to drying, air-drying is free and effective, but for a boost in volume and root lift, try diffusing. You don’t need an expensive dryer; a basic hair dryer with a diffuser attachment will work wonders. Use the low heat setting and hover the diffuser around your roots first to set volume, then gently cup sections of your curls in the diffuser, holding it in place without moving until the section is mostly dry.
Once your hair is completely dry and you feel the hard gel cast, it’s time for the final, magical step. Take a small amount of a lightweight oil (argan oil is a great, affordable option) and rub it between your palms. Then, gently scrunch your hair upwards. You will hear the crunch disappear, leaving behind unbelievably soft, defined, and bouncy curls with zero stickiness. This “scrunch out the crunch” revelation is what makes budget gel look like a hundred-dollar styling treatment.
6. The Maintenance: Protecting Your Curls Between Washes
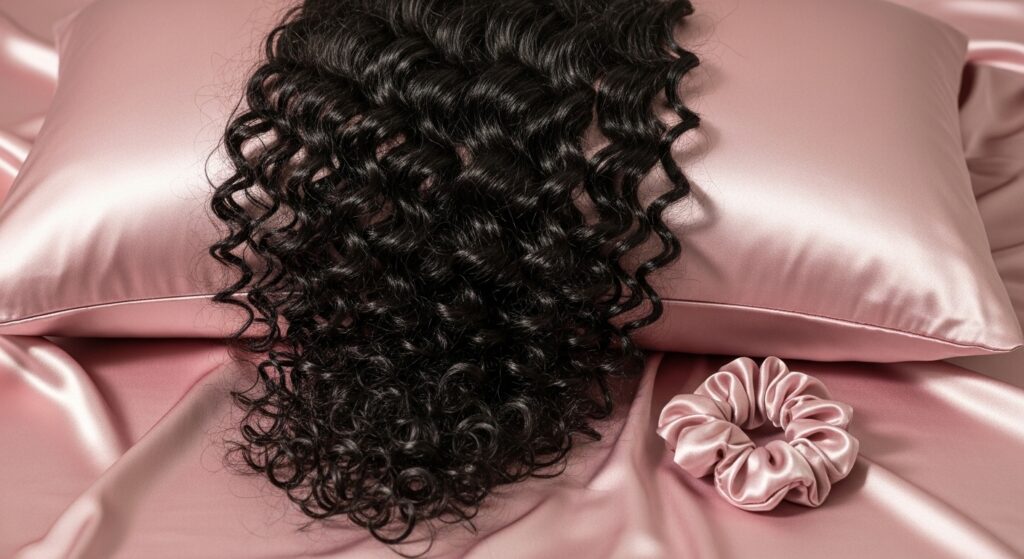
Expensive hair looks good on day one, but it also holds its style for days. To make your budget-friendly style last, you need a solid overnight and refresh strategy. Sleeping on a cotton pillowcase creates friction that sucks the life out of your curls. The simple solution? Switch to a satin or silk pillowcase. They are surprisingly affordable online and will drastically reduce frizz and help maintain your curl pattern as you sleep.
Alternatively, you can protect your style with a “pineapple.” Loosely gather your hair at the very top of your head and secure it with a satin scrunchie. In the morning, your curls will be intact and ready for a quick refresh. For day-two or three curls, mix a little water and conditioner in a spray bottle and mist your hair lightly. Don’t soak it! Then, gently scrunch your curls back to life. You can also use the water from the spray and a tiny drop of gel to smooth down any frizzy sections with praying hands.
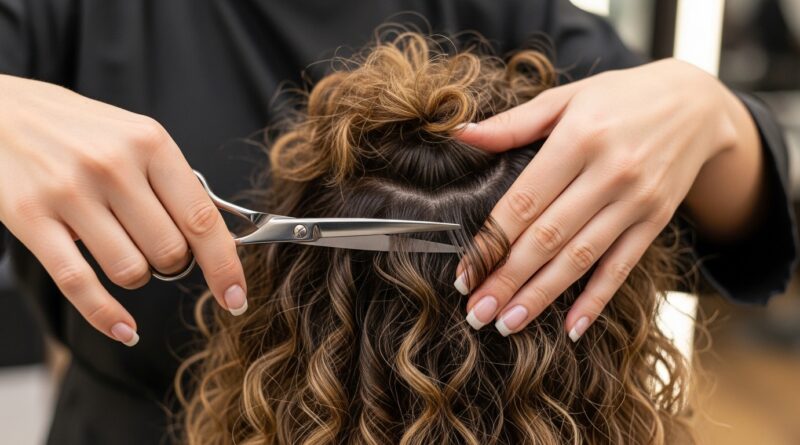
7. The Finishing Touch: Strategic Trims and Healthy Habits
No amount of product can fix ends that are split and damaged. Regular trims are essential for maintaining the shape and health of your curls, which directly contributes to an expensive appearance. You don’t need to get a full haircut every six weeks. Ask your stylist for a “dusting” or a “search and destroy” trim every 3-4 months, where they only cut off the very tips of your splits ends. This preserves your length while keeping your ends fresh and bouncy.
Finally, remember that hair health starts from within. Drinking plenty of water, eating a balanced diet rich in vitamins and protein, and protecting your hair from excessive heat styling are all free or low-cost habits that will make your curls look lush and luxurious. Your hair is a reflection of your overall well-being.
Embrace Your Polished, Playful Curls
Transforming your playful curls into a style that looks expensive and polished is entirely within your reach. It requires not a hefty budget, but a shift in perspective and routine. By focusing on scalp health, intense hydration, smart application techniques, and protective styling, you can unlock the inherent luxury of your natural texture. Your curls are a gift. They are dynamic, unique, and full of character. Now, with these budget-friendly secrets, you have the power to make them look as expensive as they truly are. So go ahead, embrace the bounce, flaunt the shine, and wear your beautiful, budget-friendly curls with confidence.