How to Make retro braid Hair Look Expensive on a Budget
There’s a certain magic to retro braids. From the graceful crown braids of the 1910s to the voluminous side braids of the 70s, these styles whisper of timeless elegance and artistry. Yet, so often, the desire to recreate these looks is met with a daunting thought: that looks expensive. The assumption is that you need a celebrity stylist, a drawer full of high-end products, and hours to spare. What if we told you that the secret to a luxurious, expensive-looking retro braid isn’t in your wallet, but in your technique and a few clever tricks?
An “expensive” hairstyle is defined not by its price tag, but by its execution. It’s about polished details, intentional texture, and an overall look of effortlessness. This guide is your blueprint to achieving exactly that. We’re diving deep into the art of the budget-friendly braid, showing you how to use what you have to create a look that is undeniably chic and sophisticated. Get ready to turn back the clock and turn heads, all while keeping your finances firmly in the present.
Deconstructing the “Expensive” Look: It’s All in the Details
Before we pick up a comb, let’s understand what separates a basic braid from a masterpiece. An expensive-looking braid has a few key characteristics. First, it has polished roots and a relaxed body. The sectioning is clean at the crown, but the braid itself isn’t pulled taut to the point of discomfort; it has movement. Second, it boasts intentional texture. This isn’t yesterday’s bedhead, but a carefully crafted wave or volume that complements the braid. Finally, it features strategic accents—a hidden pin, a subtle accessory, a perfectly placed tendril—that look deliberate, not accidental.
The good news is that none of these elements require a massive investment. They require patience, a keen eye, and a shift in perspective. The goal is to move from simply getting your hair out of your face to creating a piece of wearable art. This mindset is your most powerful tool.
Master the Foundation: Prep is Everything
You cannot build a palace on sand, and you cannot build a luxurious braid on unprepared hair. Your foundation is the single most important factor. Start with hair that is not freshly washed. Day-old or even two-day-old hair has far more natural grip and texture, making it easier to style and helping your braid hold its shape longer.
If your hair is freshly cleaned, don’t panic. Create texture by spritzing a mixture of water and a drop of conditioner, or use a budget-friendly texturizing spray. The key product for that sleek, expensive foundation is a strong-hold mousse or a lightweight gel. Apply it to damp or towel-dried hair, focusing on the roots and mid-lengths. This will create a “grip” that smooths flyaways and gives your braid structure as it dries. Blow-dry your hair using a round brush to smooth the top layer, but don’t aim for pin-straight perfection. A little body is your friend.
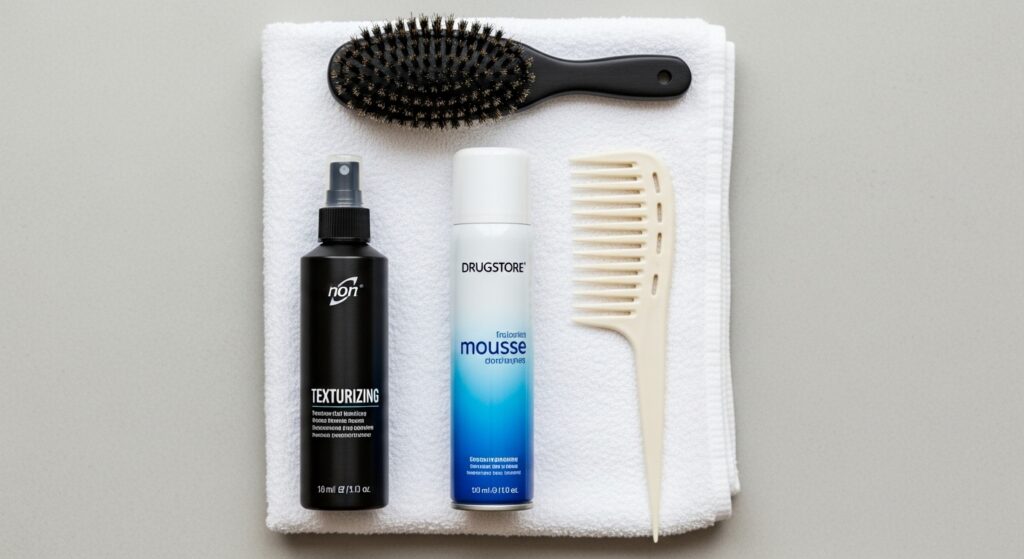
The Tool Kit: Your Budget Beauty Arsenal
You do not need a salon’s worth of equipment. You need a few, multi-purpose heroes. Your essential toolkit includes a fine-tooth comb for impeccable sectioning, a boar bristle brush for smoothing the top layer without causing static, and good-quality, clear elastics that disappear into your hair. Avoid thick, colored bands that look cheap and break your hair.
The real magic, however, lies in your pin collection. Invest in a packet of U-pins or hair pins (bobby pins) that match your hair color. These are your invisible helpers. To make them truly disappear and grip better, slide them into your hair with the wavy side down. For an even more secure hold, cross two pins over each other in an X formation. A little hairspray on the pins before insertion can work wonders for hold.

Accessorize with Intention: The Luxury Touch
This is where you can create a truly high-end look for pennies. The trick is to choose one statement piece rather than several small ones. Scour thrift stores, your grandmother’s jewelry box, or even the craft store for single, elegant pieces. A vintage brooch pinned at the base of a braided bun, a silk scarf woven through the length of a French braid, or a single, delicate gold chain tucked into a crown braid can instantly elevate the entire style.
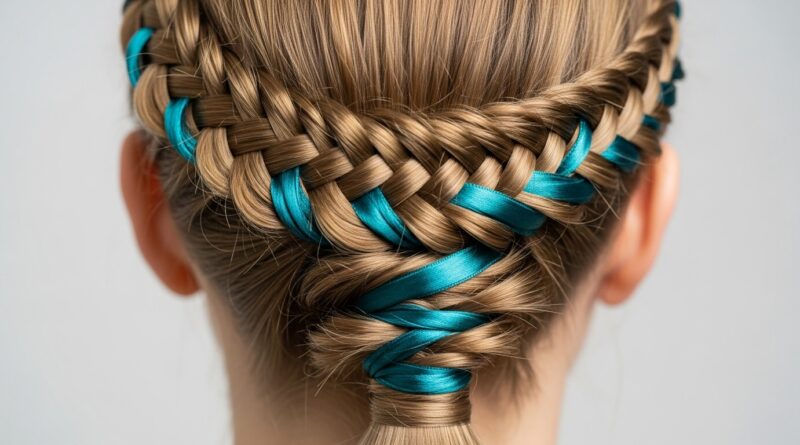
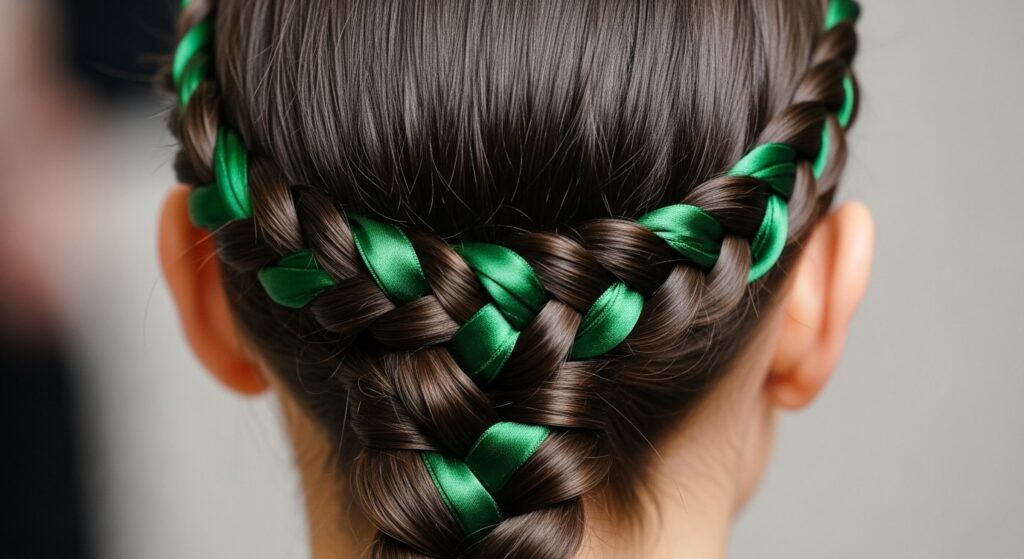
Ribbons are a timeless and affordable secret weapon. Choose a satin or velvet ribbon in a color that complements your outfit. Weave it into your braid from the start, treating it as one of the three strands. As you braid, the ribbon becomes an integral, luxurious part of the hairstyle, not an afterthought. This technique was a staple of retro styling and immediately adds a couture feel.
Texture is King: Say No to Slicked-Back Perfection
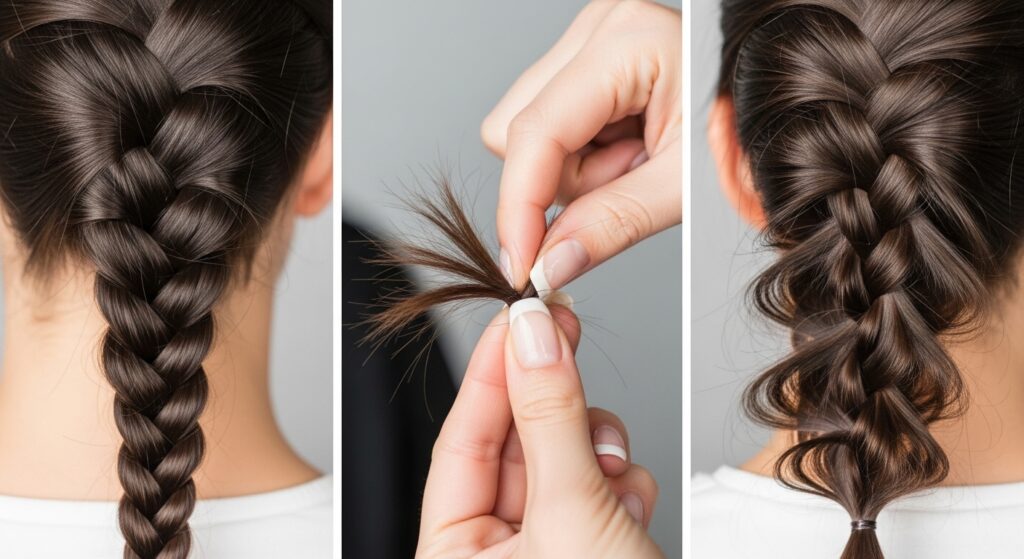
One of the biggest mistakes that makes a braid look cheap is over-slicking. While smooth roots are key, a braid that is pulled too tight and sprayed into submission lacks life and looks severe. The goal is controlled texture. After you’ve finished your braid, the final step is to gently pull it apart. Use your fingertips to lightly tug on the outer loops of the braid, loosening it slightly to create volume and a softer, more romantic appearance.
Don’t be afraid to leave out a few face-framing pieces. Gently curl these tendrils with a budget curling wand or even braid them while damp to create soft, piecey waves. This breaks up the harshness of a perfectly slicked style and makes it look more modern and effortless. A light mist of sea salt spray on these pieces before styling can enhance this lived-in, textured effect.
Classic Retro Braids to Master
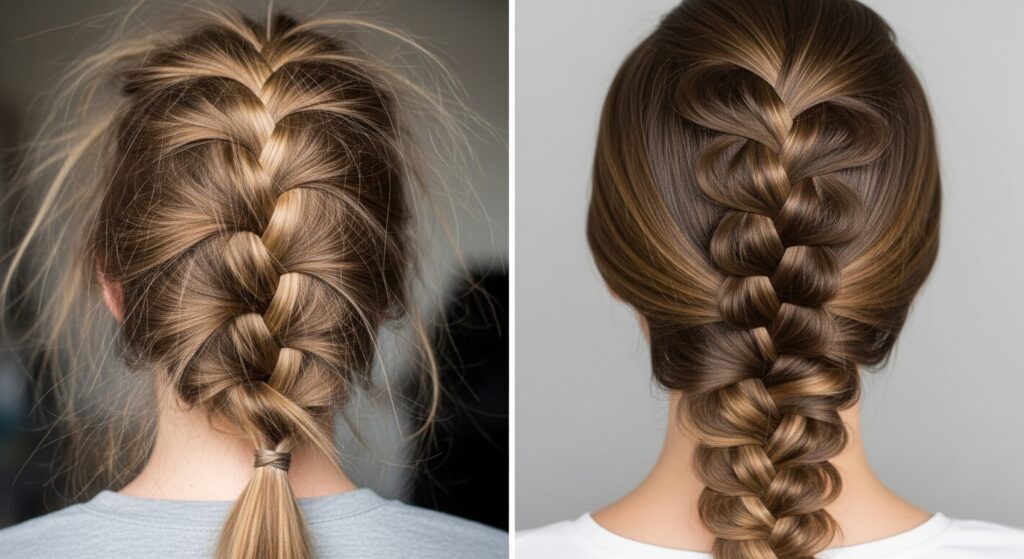
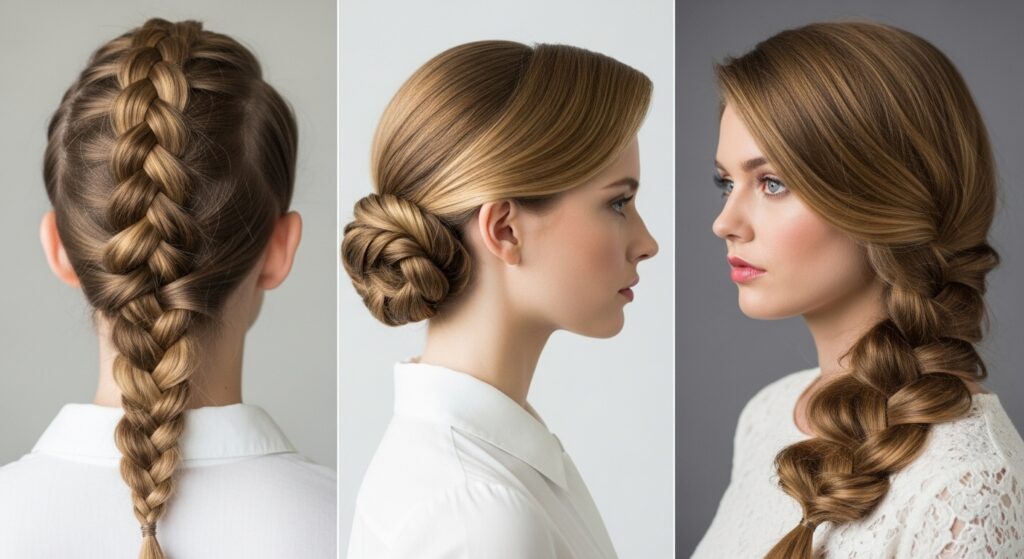
Now, let’s apply these principles to some iconic retro styles. The Dutch Braid (an inverted French braid) is a modern retro staple that creates incredible dimension. Its 3D effect looks intricate and professional. Practice this on slightly dirty hair for the best grip.
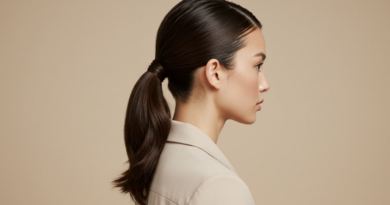
The Gibson Tuck or a simple Braid-Wrapped Bun is the epitome of 1940s and 50s elegance. Create a low ponytail, braid it, and then wrap it around the base to form a bun, securing it with U-pins. The beauty of this style is in the finish—tuck any loose ends neatly and ensure the braid is smoothly wrapped. This style looks incredibly expensive but is deceptively simple.
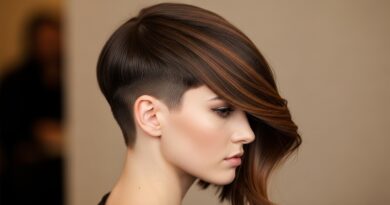
For a 70s boho vibe, the Side Braid is your go-to. The key here is volume at the crown. Before braiding, tease the hair at the crown slightly for lift. Create a loose, textured braid over your shoulder, and remember to pull it apart at the end for that signature soft, romantic feel.
The Finishing Touches: Seal the Deal
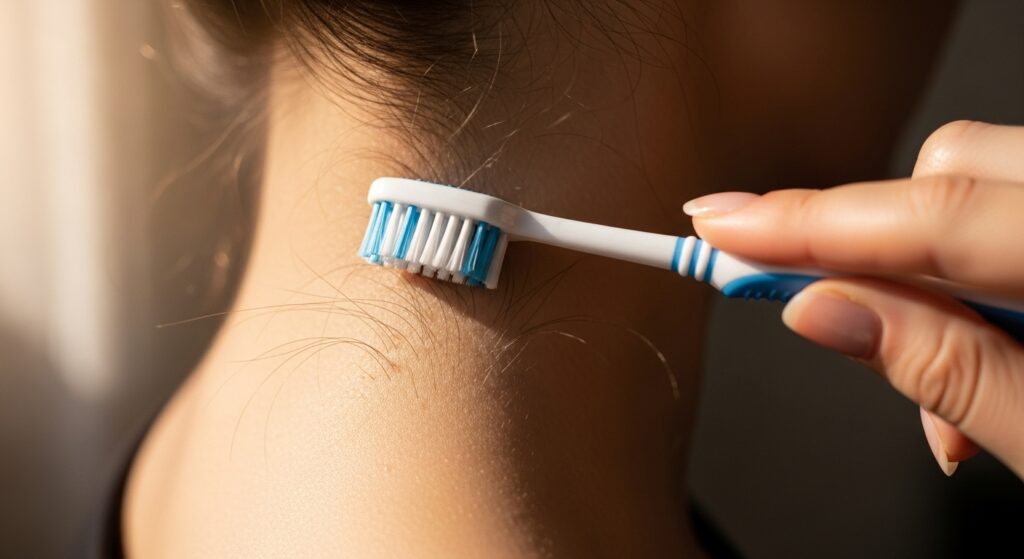
Your final look is all about the details. Take a moment to do a flyaway check. Use a clean, soft toothbrush or a tiny bit of hair gel on a spoolie brush to tame any baby hairs around your hairline and nape of your neck. This creates a incredibly polished silhouette.
When using hairspray, hold the can at least 10 inches away and mist—don’t drench—your style. You want to maintain the movement and texture you’ve just created. For a truly luxurious sheen, a single drop of argan oil or even jojoba oil rubbed between your palms and gently smoothed over the surface of the braid can mimic the effect of high-end shine serums.
Conclusion: Your Hair, Your Masterpiece
Creating an expensive-looking retro braid on a budget is not a fantasy; it’s a skill. It’s the culmination of thoughtful preparation, precise technique, and strategic embellishment. By shifting your focus from costly products to craftsmanship, you unlock a world of creative possibility. Your hair becomes a canvas, and you are the artist.
So, embrace the practice. Experiment with ribbons from the craft store, master the Dutch braid, and learn the power of a well-placed pin. Your journey to luxurious, vintage-inspired hair doesn’t require a deep investment—just a deep dive into your own creativity. Now, go forth and braid like the glamorous, budget-savvy icon you are.