How to Make wavy updo Hair Look Expensive on a Budget
You’ve seen it on red carpets, in glossy magazines, and on your favorite influencers: that effortlessly chic, I-woke-up-like-this wavy updo that looks both perfectly undone and impossibly expensive. It whispers of salon visits, high-end products, and a personal stylist on speed dial. But what if we told you that this look of luxe, salon-quality hair is entirely within your reach, without the luxury price tag?
Creating an expensive-looking wavy updo is less about the money you spend and more about the techniques you use. It’s about understanding texture, mastering a few key moves, and knowing which budget-friendly products can deliver a high-end performance. This guide is your backstage pass to achieving that coveted, elegant hairstyle. We’re diving deep into the tricks that make the difference between a messy bun and a masterpiece, proving that true hair elegance is not for sale—it’s for the savvy. Get ready to transform your everyday waves into a stunning, budget-friendly updo that will have everyone asking, “Who’s your stylist?”
The Foundation: Start with Strategic Texture
An expensive-looking updo never starts with sleek, freshly washed hair. The key foundation for grip, volume, and that desirable texture is what stylists call “second-day hair.” The natural oils and leftover product from a previous style create the perfect base for your updo to hold and look naturally full.
If your hair is freshly washed, don’t panic. You can easily create this texture. Spritz a mixture of water and a leave-in conditioner in a spray bottle onto your roots and lengths. Then, a budget-friendly dry shampoo is your absolute best friend. Not only does it absorb excess oil, but the starch in it adds incredible grit and volume. Spray it at your roots, wait a minute for it to absorb, and then massage it in with your fingertips. This simple step lifts the roots and gives your hair the “tooth” it needs for pins and ties to grip securely, preventing that slippery, falling-apart feeling.
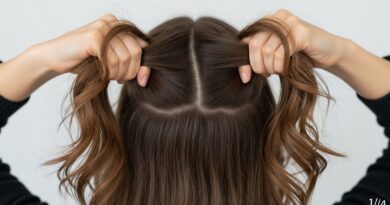
Pro Tip: For even more texture, braid your damp hair the night before and sleep on it. When you unravel it in the morning, you’ll be greeted with a head full of soft, touchable waves that are the perfect starting point for any updo.
Master the Art of the “Undone” Wave
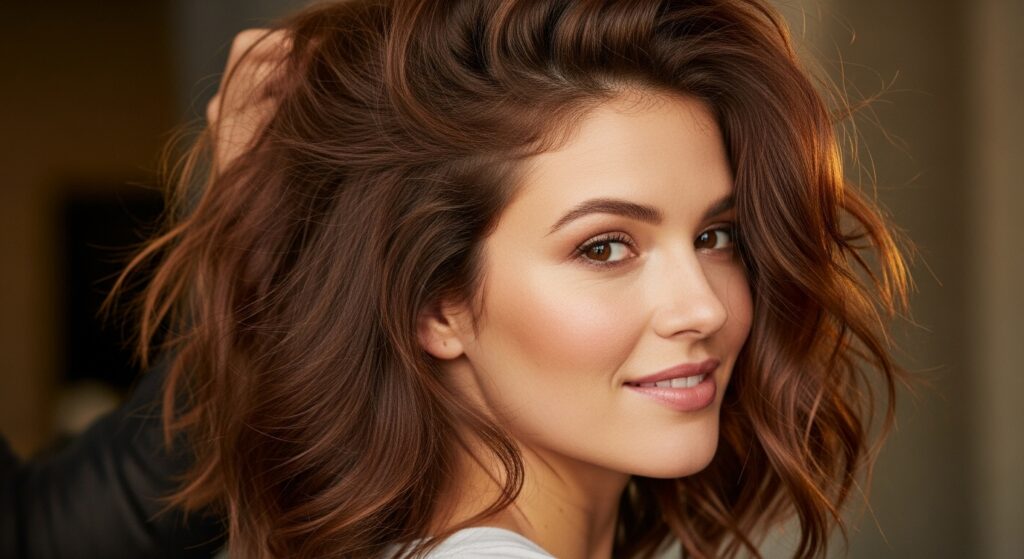
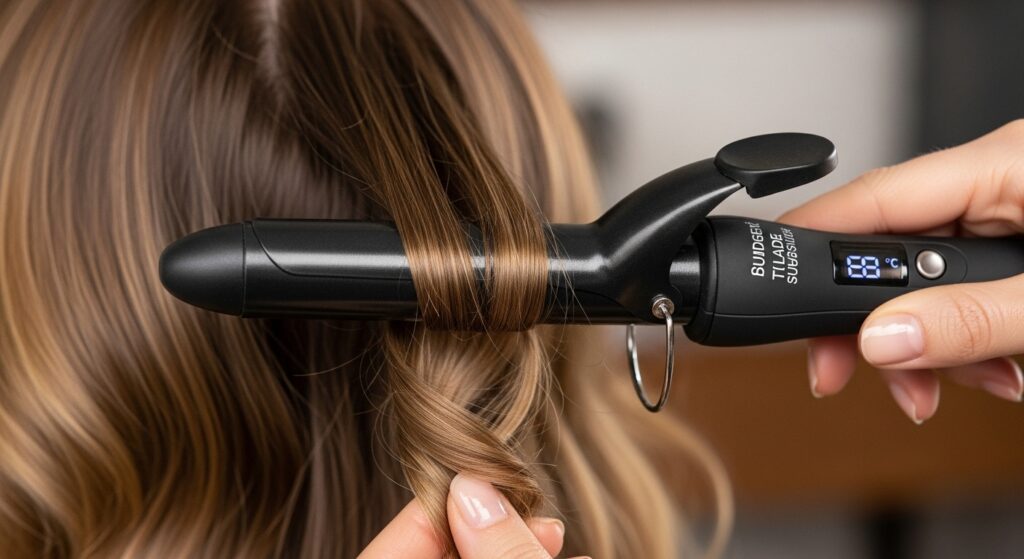
The signature of a high-end wavy updo is the wave itself. It’s never uniform or perfect. Instead, it’s a mix of S-shaped bends, loose curls, and straight pieces that create a dynamic, natural-looking texture. You don’t need a $300 curling wand to achieve this. A simple, drugstore curling iron with a 1-inch to 1.25-inch barrel or even a set of heatless curling rods will do the job beautifully.
The technique is everything. Instead of curling entire sections uniformly, alternate the direction of your curls—some away from your face, some towards it. Leave the very ends out for a softer, more modern finish. Most importantly, once you’ve curled your entire head, you must break the curls up. Run your fingers gently through your hair to separate the waves and soften them. Then, spritz a flexible-hold hairspray from a distance and scrunch the waves lightly with your hands. This “destroys” the perfect spiral pattern and creates that lived-in, artful messiness that looks so expensive.
Budget Tools That Perform Like Pros
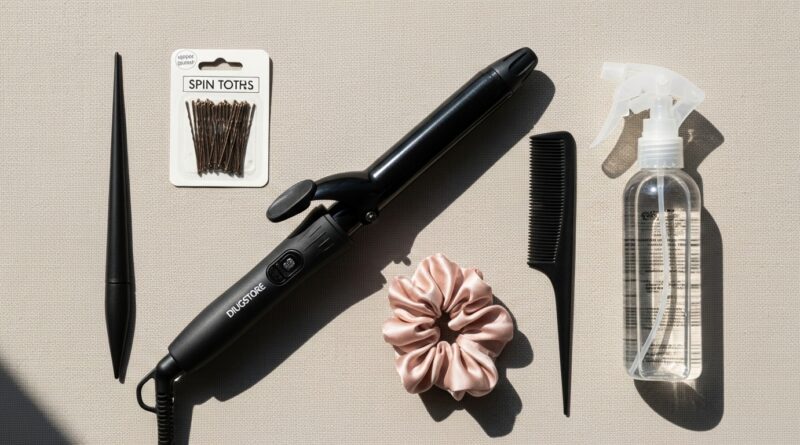
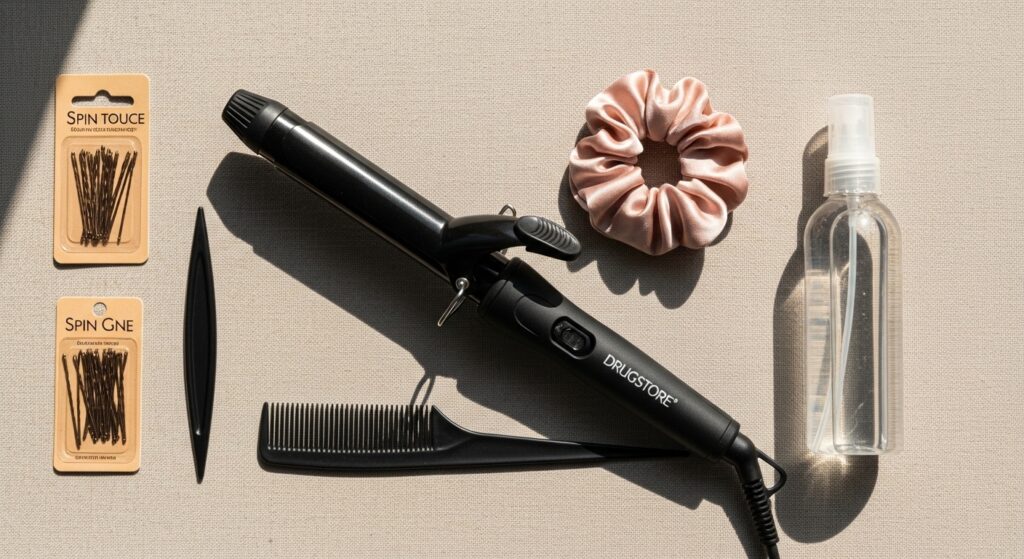
You can build a professional-quality toolkit for a fraction of the price. The secret isn’t in the brand name; it’s in the features. Look for a ceramic or tourmaline curling iron, as these materials distribute heat evenly and minimize damage. A set of spin pins is a game-changer—they hold far more securely than bobby pins and are incredibly easy to use. Goody and Conair make excellent, affordable versions.
Don’t underestimate the power of a teasing comb or a fine-toothed comb for creating sleek sections and smoothing flyaways. A silk or satin scrunchie is another wise investment; it holds hair firmly without causing creases or breakage, and it looks infinitely more luxurious than a standard elastic. Finally, a nozzle-free, continuous mist spray bottle is essential for applying water or product evenly without creating heavy, wet spots.
Drugstore Products That Deliver Luxury Results
The aisles of your local drugstore are filled with hidden gems that can create a high-end finish. The goal is to combine products that add texture, control flyaways, and provide a flexible, invisible hold.
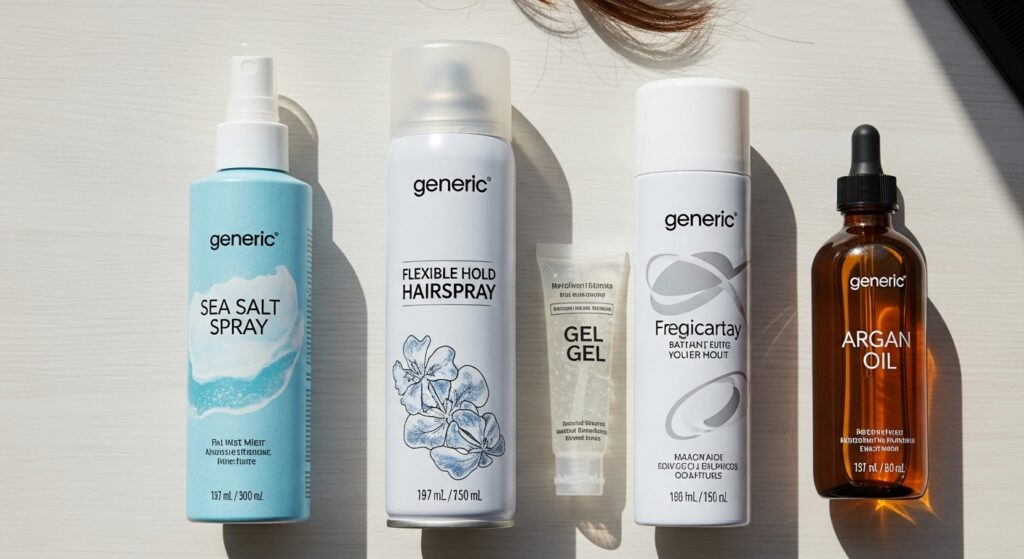
Start with a texturizing spray or sea salt spray. These products are miracle workers for adding that beachy, piece-y texture to your waves. Spray it on before you style for added grit, or after to define individual waves. Next, a light-hold, flexible hairspray is non-negotiable. Avoid anything that promises a “crunchy” or “super hold” finish. You want your hair to move, not be shellacked into place. A light mist from about 12 inches away is all you need.
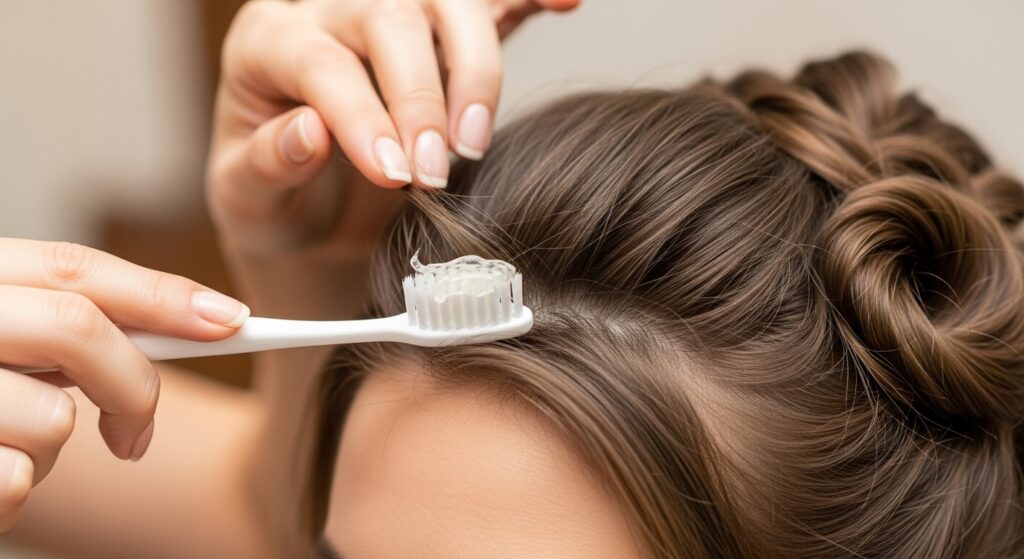
For flyaways and baby hairs, a small, clear eyebrow gel or a tiny bit of hair gel smoothed onto a toothbrush works wonders to tame them without stiffness or residue. And for the final, truly luxurious touch, a single drop of a shine serum or argan oil rubbed between your palms and gently smoothed over the surface of your updo will catch the light and make your hair look incredibly healthy and expensive.
Three Expensive-Looking Wavy Updos You Can Master
Now for the main event. Here are three foolproof, elegant wavy updos that rely on technique, not expensive accessories.
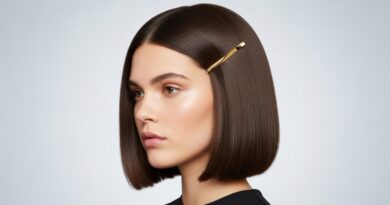
The Tousled Low Bun
This is the ultimate in effortless elegance. Gather your wavy hair at the nape of your neck as if making a low ponytail, but only pull the hair halfway through on the last loop of the hair tie, creating a loose loop. Gently pull apart sections of the loop to enlarge and loosen the bun. The goal is volume, not neatness. Take a few face-framing pieces and pull them out to soften the look. Finally, use a spin pin or two woven through the center of the bun to secure it, not around the base. This keeps the bun looking soft and full, rather than tight and constrained.
The Textured Messy Ponytail
Elevate a simple ponytail by focusing on the details. Before gathering your hair, pull out a few thin sections around your face. Then, flip your head over and gather all your hair into a high ponytail, but use your fingers, not a brush, to maintain all the texture. Secure it with a silk scrunchie. Now, gently tug at the crown of your head to create a little lift and volume. Wrap a small section of hair from the ponytail around the base to conceal the scrunchie, securing it with a discreet bobby pin. Finally, use a texturizing spray on the tail of the ponytail to enhance the waves and separate them for a fuller look.
The Twisted & Pinned Chignon
This style looks intricate but is surprisingly simple. Create a deep side part. On the heavier side, take a section of hair from the front and twist it loosely back towards the crown, securing it with a bobby pin. Then, gather the rest of your hair into a low, loose ponytail but don’t pull it all the way through—you’re creating a base. Twist the remaining length and wrap it around the base of the ponytail, tucking the end under and securing everything with spin pins. Gently pull at the twists and the bun to create softness and volume. The result is a sophisticated, red-carpet-ready chignon.

The Finishing Touches: Details Make the Difference
This is where your updo goes from “nice” to “how did she do that?” The final 10% of the styling process is all about the details. First, always check your profile. Look at your updo from the side and back in a hand mirror. Are there any obvious gaps or tight sections? Gently pull out a few more small waves or pieces to frame your neck and the sides of your face.
Next, address flyaways. Instead of loading on more hairspray, take a clean toothbrush or a small, soft-bristled brush and spray it lightly with hairspray or a tiny bit of hair gel. Then, gently smooth it over the surface of your hair, particularly around your crown and hairline. This tames flyaways without making your hair look stiff or helmet-like.
Finally, add a touch of strategic shine. Remember that drop of serum or oil? Apply it now. Focus on the pieces that are most visible—the ones framing your face and the surface of the updo. This step mimics the look of incredibly healthy, well-cared-for hair and is a hallmark of an expensive salon style.
Maintaining Your Masterpiece on a Budget
An expensive-looking hair routine extends beyond the initial style. To keep your hair healthy and ready for these beautiful updos, incorporate a few budget-conscious habits. Sleep on a silk or satin pillowcase, or use a satin bonnet. This reduces friction, preventing breakage and helping your style last longer. When using heat tools, always apply a heat protectant spray—it’s the most important product in your arsenal to prevent long-term damage.
Once a week, treat your hair to a deep conditioning mask. You don’t need an expensive pot; natural oils like coconut or olive oil warmed slightly and applied to your hair for 30 minutes before washing work wonders. Healthy, well-moisturized hair will always hold a style better and look shinier and more luxurious, no matter how you wear it.
Creating an expensive-looking wavy updo on a budget is a powerful reminder that style is not dictated by your wallet. It’s born from creativity, technique, and a little bit of insider knowledge. By mastering texture, choosing the right affordable tools, and paying attention to the finishing details, you can achieve a look of effortless elegance every single day. So put these tips to the test, embrace the art of the “undone,” and get ready to turn heads with your stunning, and savvy, new hairstyle.