How to Perfect angled braid Hair Without a Trip to the Salon
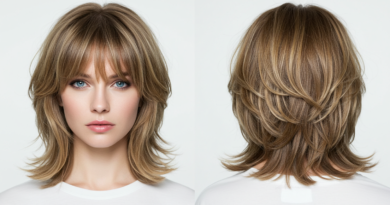
Have you ever scrolled through Instagram, mesmerized by those intricate, cascading angled braids that look like they were crafted by a fairy-tale hairstylist? That elegant plait that sweeps dramatically across the head, adding instant glamour and effortless chic to any look? It’s a style that whispers red carpet and professional touch. For many of us, the immediate thought is, “I could never do that myself,” quickly followed by, “Time to book a salon appointment.”
But what if we told you that the secret to mastering the angled braid is already in your hands? Literally. This stunning hairstyle, often called a side-swept or diagonal braid, is far more achievable than it appears. With the right guidance, a pinch of patience, and a few insider tricks, you can bypass the salon chair and create this head-turning look in the comfort of your own bathroom.
This comprehensive guide is designed to demystify the process. We’re going to walk you through every step, from preparation to the final hold, ensuring your angled braid is not just good, but perfect. Get ready to unlock a new hairstyling superpower and get ready for a flood of compliments.
Gathering Your Tools: The Foundation of a Flawless Braid
Before you even think about sectioning your hair, let’s talk tools. Having the right equipment at your fingertips is half the battle won. You don’t need a salon-full of products, but a few key items will make the process infinitely smoother.
The Essentials:
A Fine-Tooth Comb: This is non-negotiable. You need the precision of a fine-tooth comb to create clean, sharp parts and to smoothly gather sections of hair. A wide-tooth comb or brush simply won’t offer the same control.
Hair Ties: Have a few on hand. You’ll need one for a temporary ponytail and a final, clean one to secure the end of your braid. Clear or matte elastic bands that match your hair color are ideal for a seamless finish.
Sectioning Clips: These are your best friends. They help you manage the hair you’re not currently working on, keeping it out of the way and preventing tangles. This is crucial for maintaining neat sections.
Light-Hold Hairspray or Texturizing Spray: Do not skip this! Slightly textured, second or third-day hair is often easier to braid as it has more grip. If your hair is freshly washed and slippery, a light texturizing spray will add the necessary friction. A light-hold spray can be used during the process to tame flyaways.
Bobby Pins (Optional but Recommended): Choose pins that match your hair color. They are perfect for discreetly securing the end of the braid or tucking away any loose strands.
A Mirror Setup: If possible, try to braid in an area where you have access to two mirrors. Being able to see the side and back of your head will dramatically improve your technique and the final result.

Prepping Your Hair: The Secret to Grip and Volume
Attempting an angled braid on silky, freshly washed hair is a recipe for frustration. The key to a braid that holds its shape and looks voluminous lies in the preparation.
If your hair is clean, add some texture. Spritz a texturizing or dry shampoo spray at the roots and through the mid-lengths. This will absorb excess oil and give your hair a grittier, more manageable texture. If you’re working with second-day hair, you’re already starting from a great place—just give it a quick brush and maybe a light spray for extra hold.
Next, consider adding waves. While not strictly necessary, braiding wavy or curled hair often results in a softer, more romantic, and fuller-looking braid. If your hair is straight, run a curling wand through it quickly to create loose waves. This extra volume and texture will make the braiding process easier and the final product more impactful.
Finally, detangle thoroughly. Use your brush or wide-tooth comb to ensure there are no knots. A smooth canvas is essential for a smooth braid. Once detangled, switch to your fine-tooth comb for the detailed work.

Step-by-Step: Crafting Your Perfect Angled Braid
Now for the main event. Take a deep breath, and follow these steps slowly. It might feel awkward at first, but muscle memory is a powerful thing.
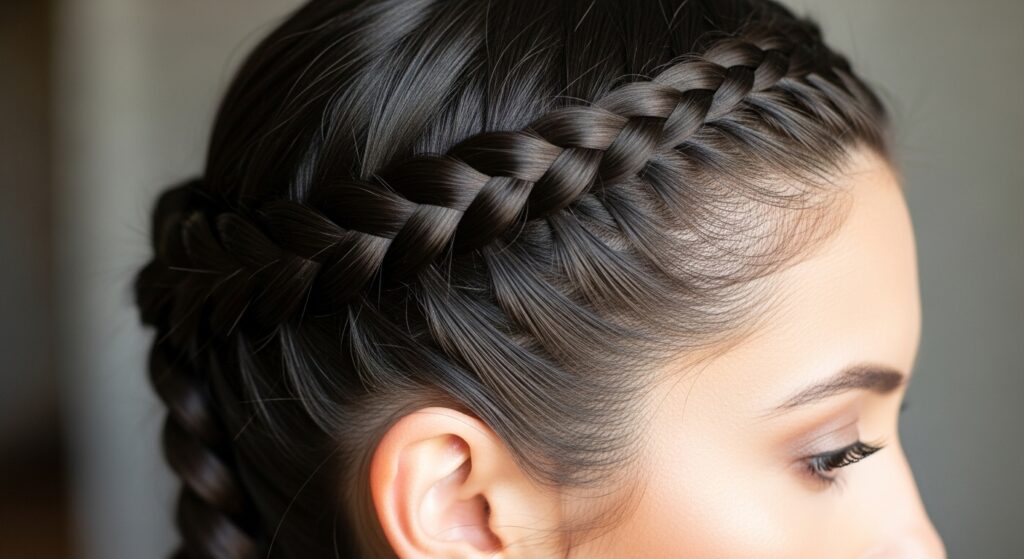
Step 1: Map Your Angle
Decide where you want your braid to start and end. The classic angled braid typically begins at the crown on one side of your head and angles down towards the opposite ear or shoulder. Using the tail of your fine-tooth comb, draw a diagonal line from your desired starting point to where you imagine the braid will end. This mental (or physical) line is your guide.
Step 2: Create Your First Section
At the crown of your head, on the side you’ve chosen to start, take a triangular or rectangular section of hair. This will be the anchor of your braid. Clip the rest of your hair out of the way. Divide this first section into three equal strands, just as you would for a regular three-strand braid.
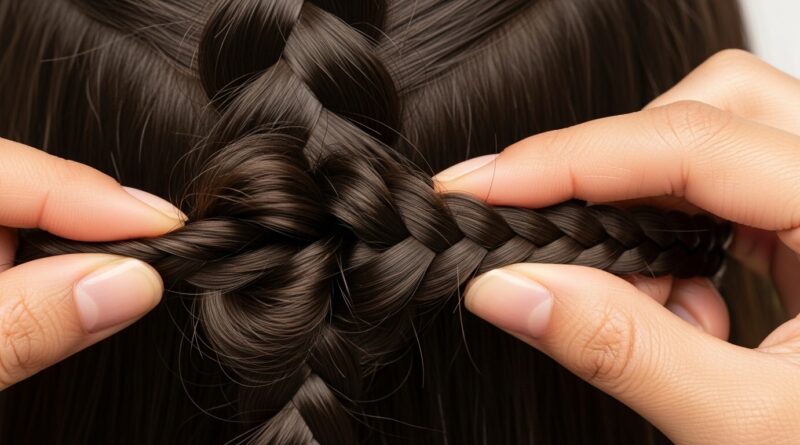
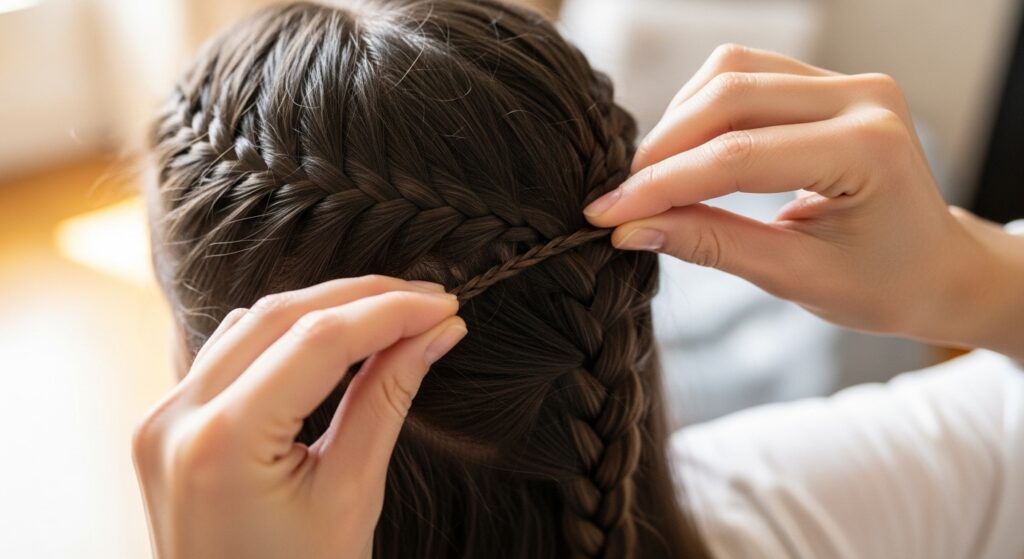
Step 3: Begin the Dutch Braid Technique
This is the most common technique for an angled braid because it creates a braid that sits on top of the head, rather than hanging underneath. A Dutch braid is essentially an inside-out French braid. Instead of crossing the strands over the middle, you will cross them under the middle.
- Take the right strand and cross it under the middle strand. The right strand is now the new middle.
- Then, take the left strand and cross it under the new middle strand.
You’ve completed one full cycle of a Dutch braid.
Step 4: Incorporate Hair as You Go
Now, for the “angled” part. Before you cross the next strand under, you will add more hair to it. As you work your way down the diagonal guide you mapped out, always add hair only from the top section (the side closer to your crown).
- Before crossing the right strand under, grab a small, neat section of hair from the top part of your head and add it to the right strand.
- Then, cross this now-thicker right strand under the middle.
- Next, before crossing the left strand under, grab a small section from the top and add it to the left strand.
- Cross this thicker left strand under the middle.
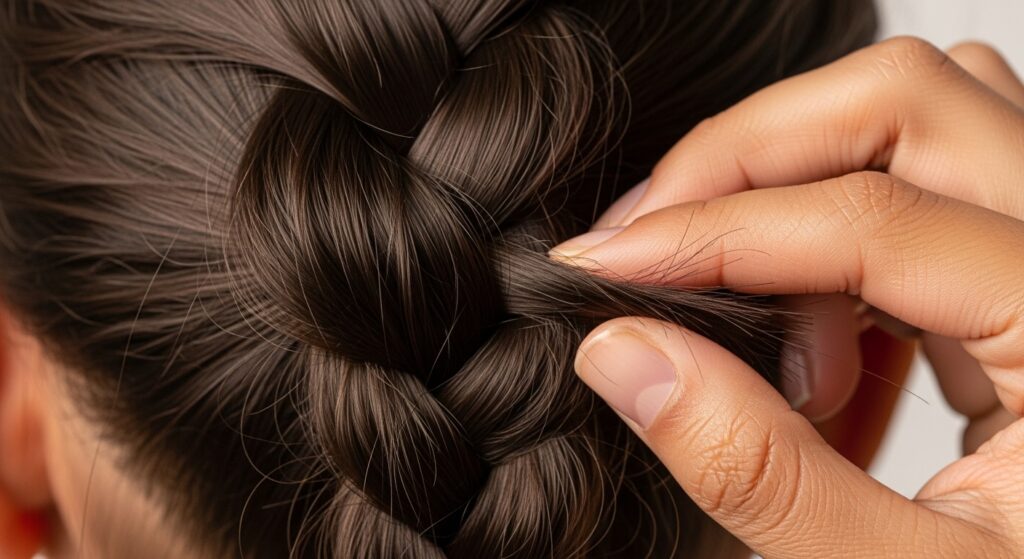
Continue this process—adding hair to the strand from the top only before crossing it under—all the way down the side of your head. The key is to keep your sections small and consistent for a neat, tight braid.
Step 5: Transition to a Regular Braid
Once you have incorporated all the hair from the top of your head and you reach the point where the braid naturally falls behind your ear or onto your neck, you will have no more hair to add. At this point, simply continue braiding the remaining hair using the standard three-strand technique (or continue the Dutch braid underhand technique without adding hair) until you reach the ends.
Step 6: Secure and Tidy
Secure the end of your braid with a hair tie. Now, take a moment to assess. Gently tug on the outer loops of the braid to loosen it slightly and create a fuller, softer look. This is called “pancaking” the braid. Be gentle and pull evenly on both sides. Finally, use a light-hold hairspray to tame any flyaways and use bobby pins to discreetly secure the tail of the braid against your head if you prefer.
Troubleshooting Common Angled Braid Problems
Even with the best instructions, things can go slightly awry. Here’s how to fix the most common issues.
Problem: The Braid is Lumpy or Uneven.
Solution: This is almost always due to inconsistent sectioning. Make sure every new section of hair you pick up is roughly the same size. Using your fine-tooth comb to gather each new section will help immensely with precision.
Problem: My Arms Get Tired and I Lose My Place.
Solution: This is completely normal! Take breaks. The sectioning clips are vital here—if you need to pause, clip what you’re holding so it doesn’t unravel. Practice also builds stamina. The more you do it, the longer your arms will last.
Problem: The Angle is Wrong or the Braid is Too High/Low.
Solution: Don’t be afraid to start over. The beauty of hair is that it’s forgiving. If you don’t like the angle after a few incorporations, take it out and try again. Adjust your starting point or the diagonal line you’re following.
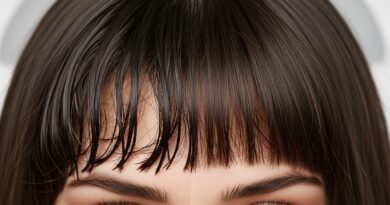
Problem: Short Pieces Keep Falling Out.
Solution: Pay extra attention to those shorter layers around your face. When you incorporate them, make sure they are securely woven into the braid. A small spritz of hairspray on a toothbrush can be used to slick down any stubborn, shorter flyaways after you’re finished.
Styling Variations to Elevate Your Angled Braid
Once you’ve mastered the basic technique, the world is your oyster! Here are a few ways to style your angled braid for different occasions.
The Boho Twist: After you’ve finished your braid, pancake it aggressively. Pull the loops out wide to create a messier, fuller, and more romantic bohemian look. You can even gently pull apart the entire braid for a woven, almost undone effect.
The Elegant Updo: Instead of letting your braid hang loose, twist the tail into a low bun or a chic knot at the nape of your neck. Secure it with bobby pins and you have an incredibly elegant updo that’s perfect for weddings or formal events.
Accessorize: Weave a ribbon into your braid as you go, or slide in some delicate hair pins along the braid’s path after you’re finished. A few strategic accessories can transform the style from daytime casual to evening glamour.

Conclusion: Your New Signature Style Awaits
Mastering the angled braid is a journey, not a destination. Your first attempt might not be perfect, and that’s okay. The true secret is practice. Each time you try, your fingers will become more dexterous, your sectioning more precise, and your understanding of your own hair’ texture and behavior will deepen.
You no longer need to save this stunning hairstyle for a special salon visit. It is now a tool in your personal styling arsenal, ready to elevate a simple weekday outfit or complete your look for a big night out. So grab your comb, embrace the process, and get ready to perfect the art of the angled braid all on your own. The only trip you need to take is to your mirror.