How to Perfect curly updo Hair Without a Trip to the Salon
There’s a special kind of magic in a curly updo. It’s the perfect marriage of effortless elegance and bold, natural texture. It’s the hairstyle you wear when you want to feel put-together yet authentically you. But for many of us with curls, the thought of creating a beautiful, polished updo at home can feel daunting. We imagine it requires a hairdresser’s touch, a cabinet full of professional products, and hours of frustrating effort.
What if we told you that the secret to a perfect curly updo is already in your hands—and on your head? Your natural texture is your greatest asset, and with a few simple techniques, you can harness its volume and beauty to create stunning styles without ever leaving your bathroom. This guide is designed to demystify the process, offering clear, step-by-step instructions to help you achieve a gorgeous, red-carpet-ready curly updo that celebrates your unique curls.
Laying the Groundwork: The Pre-Styling Ritual
The foundation of any great hairstyle is healthy, well-prepared hair. For an updo, this is non-negotiable. Starting with hair that is either freshly washed or refreshed is key. If you’re washing, use your favorite hydrating shampoo and conditioner. The goal is to have hair that is clean, moisturized, and defined, but not weighed down by heavy products.
Day-old hair can often be the best canvas for an updo. The natural oils have had a chance to distribute, providing a slight texture that gives hold and prevents slippage. If your second or third-day curls are looking a little flat, a quick refresh with a water spray bottle and a light leave-in conditioner or curl cream can work wonders. Gently scrunch your curls back to life, aiming for definition without creating a cast that makes your hair difficult to work with.
Before you even think about pins or ties, ensure your hair is completely detangled. Use a wide-tooth comb or your fingers, working from the ends up to the roots. This prevents breakage and ensures a smooth, seamless look when you start to pull your hair up. A little bit of preparation here will save you from a world of frustration later.
Essential Tools for Your At-Home Updo Kit
You don’t need a salon’s worth of equipment, but having the right few tools will make the process infinitely easier. Let’s build your ultimate at-home updo kit.
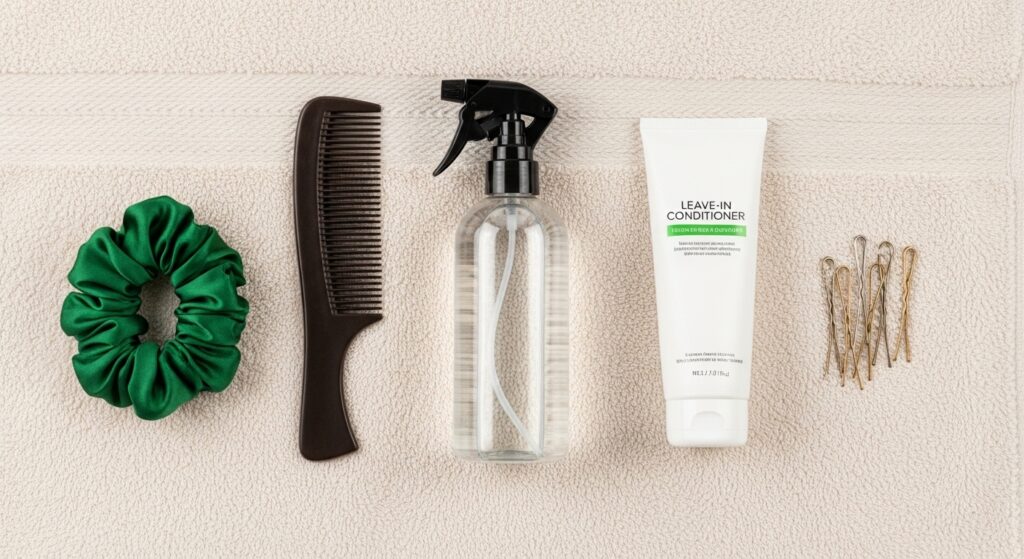
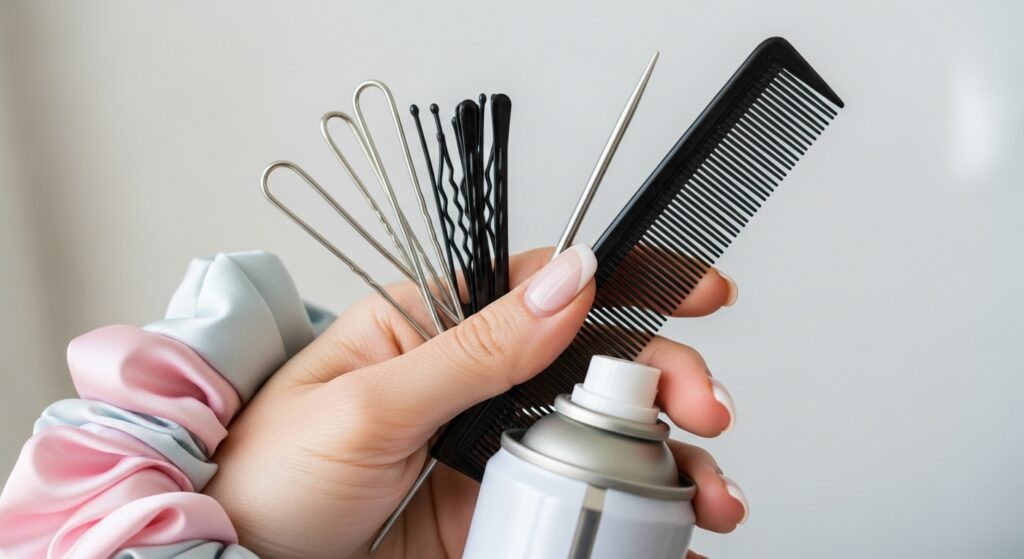
First, the pins. Invest in high-quality, firm-hold bobby pins and U-pins (also called hair pins). U-pins are the unsung heroes of the updo world; their design allows them to securely hold large sections of hair without slipping. Look for pins that match your hair color for a seamless finish. Next, you need hair ties. Ditch the standard elastic bands that snag and break your curls. Opt for spiral hair ties, silk scrunchies, or coil-like elastics. These provide a strong hold without creating a harsh dent or causing damage.
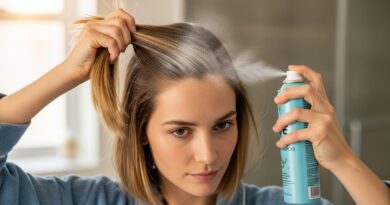
A rat-tail comb is invaluable for creating clean parts and neatly tucking away stray hairs. A good, lightweight-hold hairspray is your friend for locking everything in place and taming flyaways without creating a stiff, crunchy helmet. Finally, consider a texturizing spray or a light-hold mousse. A quick spritz or a small amount scrunched into your roots can add grit and volume, giving your pins something to grip onto and making your updo last all day and night.
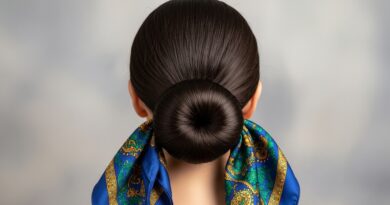
Technique 1: The Effortless Curly Bun
This is the quintessential curly updo—quick, beautiful, and incredibly versatile. The key is to embrace the texture, not fight it.
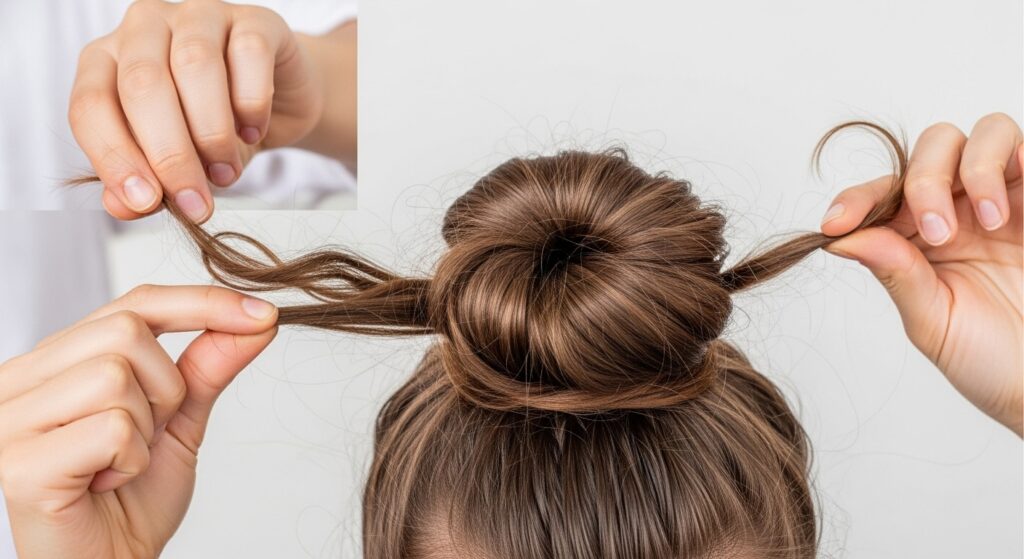
Start by gathering your hair as if you’re making a high ponytail, but don’t pull it all the way through on the last loop of your hair tie. Instead, leave the ends out to create a loose, messy loop. Now, here’s the pro tip: gently separate the loop into two or three sections and pull them apart to create more volume and fullness. Don’t be afraid to gently tug on the sides of the bun to make it wider.
You’ll now have the ends of your hair sticking out. You can either leave them as is for a playful, casual look, or you can tuck them under the base of the bun and secure them with a U-pin. To lock the entire style in place, take a few U-pins and insert them horizontally through the bun and into the hair at the base of your scalp. Criss-cross them for maximum security. The goal is a bun that looks full and organic, as if it formed perfectly by itself.
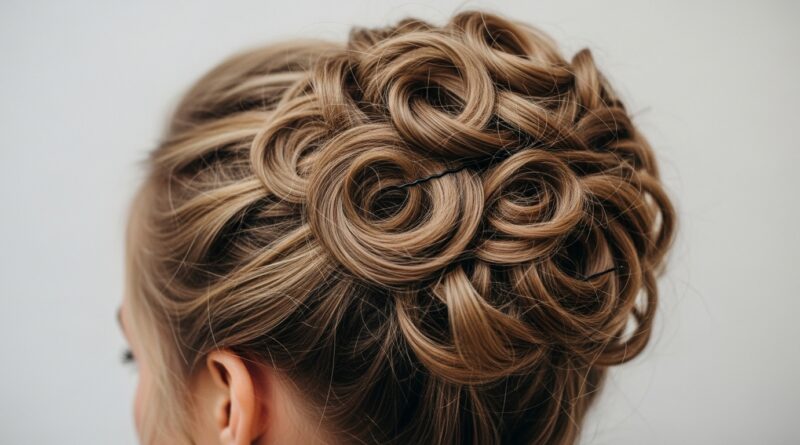
Technique 2: The Romantic Twisted Updo
For a look that feels a little more romantic and intricate, the twisted updo is your go-to. It looks complex but is built on a simple, repeating technique.
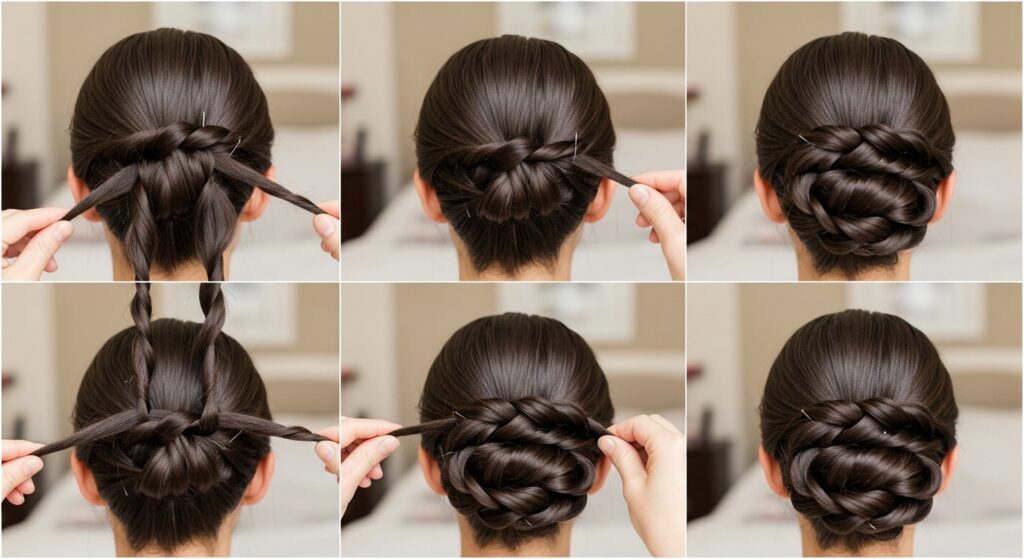
Begin with your hair down. Take two small sections of hair from the front, one from each side of your part. Twist each section away from your face, back towards the crown of your head. You can twist them loosely for a softer look or more tightly for a defined style. Once you have both twists, bring them to the back of your head as if you’re making a half-up style, and secure them together with a small, clear elastic.
Now, from the remaining loose hair, gather a small section from one side. Twist it loosely and wrap it around the base of the half-up section, covering the elastic. Secure it with a bobby pin. Repeat on the other side. Continue this process—taking small sections, twisting them, and wrapping them around the growing bun—until all your hair is incorporated. The beauty of this method is its imperfection; each twist adds texture and depth. Use U-pins to secure the final structure firmly against your head.
Technique 3: The Elegant Braided Crown
A braided crown is a stunning way to showcase your curls while keeping them completely off your face and neck. It works beautifully on medium to long hair.
Part your hair down the middle. On one side, from your temple back, take a generous section of hair and divide it into three parts. Begin a simple three-strand braid, but as you braid, gently pull the loops of the braid outwards to loosen it and make it wider. This is called a “pancaked” braid, and it creates a beautiful, ethereal effect that complements curly hair perfectly. Braid all the way down and secure the end with a small elastic. Repeat on the other side.
Now, take the first braid and drape it over the top of your head, like a crown. Use bobby pins to secure it discreetly into the hair on the opposite side of your head. Do the same with the second braid, bringing it over your head to meet the end of the first braid. Tuck the ends of both braids under and pin them securely. Gently pull apart the braids even more to integrate them and create a seamless, crown-like effect. The remaining hair at the back can be left down in a beautiful cascade or pinned up into a small, soft bun.

Pro Tips for a Flawless Finish
No matter which technique you choose, these final touches are what elevate your updo from “homemade” to “salon-worthy.”
Embrace the Flyaways. Not every single hair needs to be pinned down. A few wispy curls around your face and neck can soften the entire look and make it more romantic. If you have particularly stubborn flyaways, spray a small amount of hairspray on a toothbrush or a clean spoolie brush and gently guide them into place.
Volume is your best friend. Before you even start your updo, gently flip your head upside down and fluff your roots with your fingers. You can also gently tease the hair at the crown with a comb for a little extra lift. When pinning, always insert pins with the wavy side facing down towards your scalp—this provides a much stronger grip.
Finally, the most important tip of all: be patient and practice. Your first attempt might not be perfect, and that’s okay. Curly hair has a mind of its own, and sometimes the best styles are the happy accidents. Learn to work with your texture, not against it. If a section isn’t lying flat, maybe it’s meant to be a beautiful, protruding curl. Adapt and make the style your own.
Conclusion: Your Curls, Your Masterpiece
Creating the perfect curly updo without a salon appointment is not just possible—it’s a empowering way to connect with and celebrate your natural hair. You have learned that the secret isn’t in complex techniques or expensive tools, but in understanding and working with the beautiful texture you already possess. From the simple, voluminous bun to the romantic twisted style and the elegant braided crown, you now have a repertoire of styles to suit any occasion.
Your bathroom is your new salon, and you are the artist. So, gather your pins, embrace the process, and don’t be afraid to experiment. Each attempt brings you closer to mastering the art of the at-home curly updo. Your stunning, salon-worthy hairstyle is waiting to be discovered, one beautiful curl at a time.